
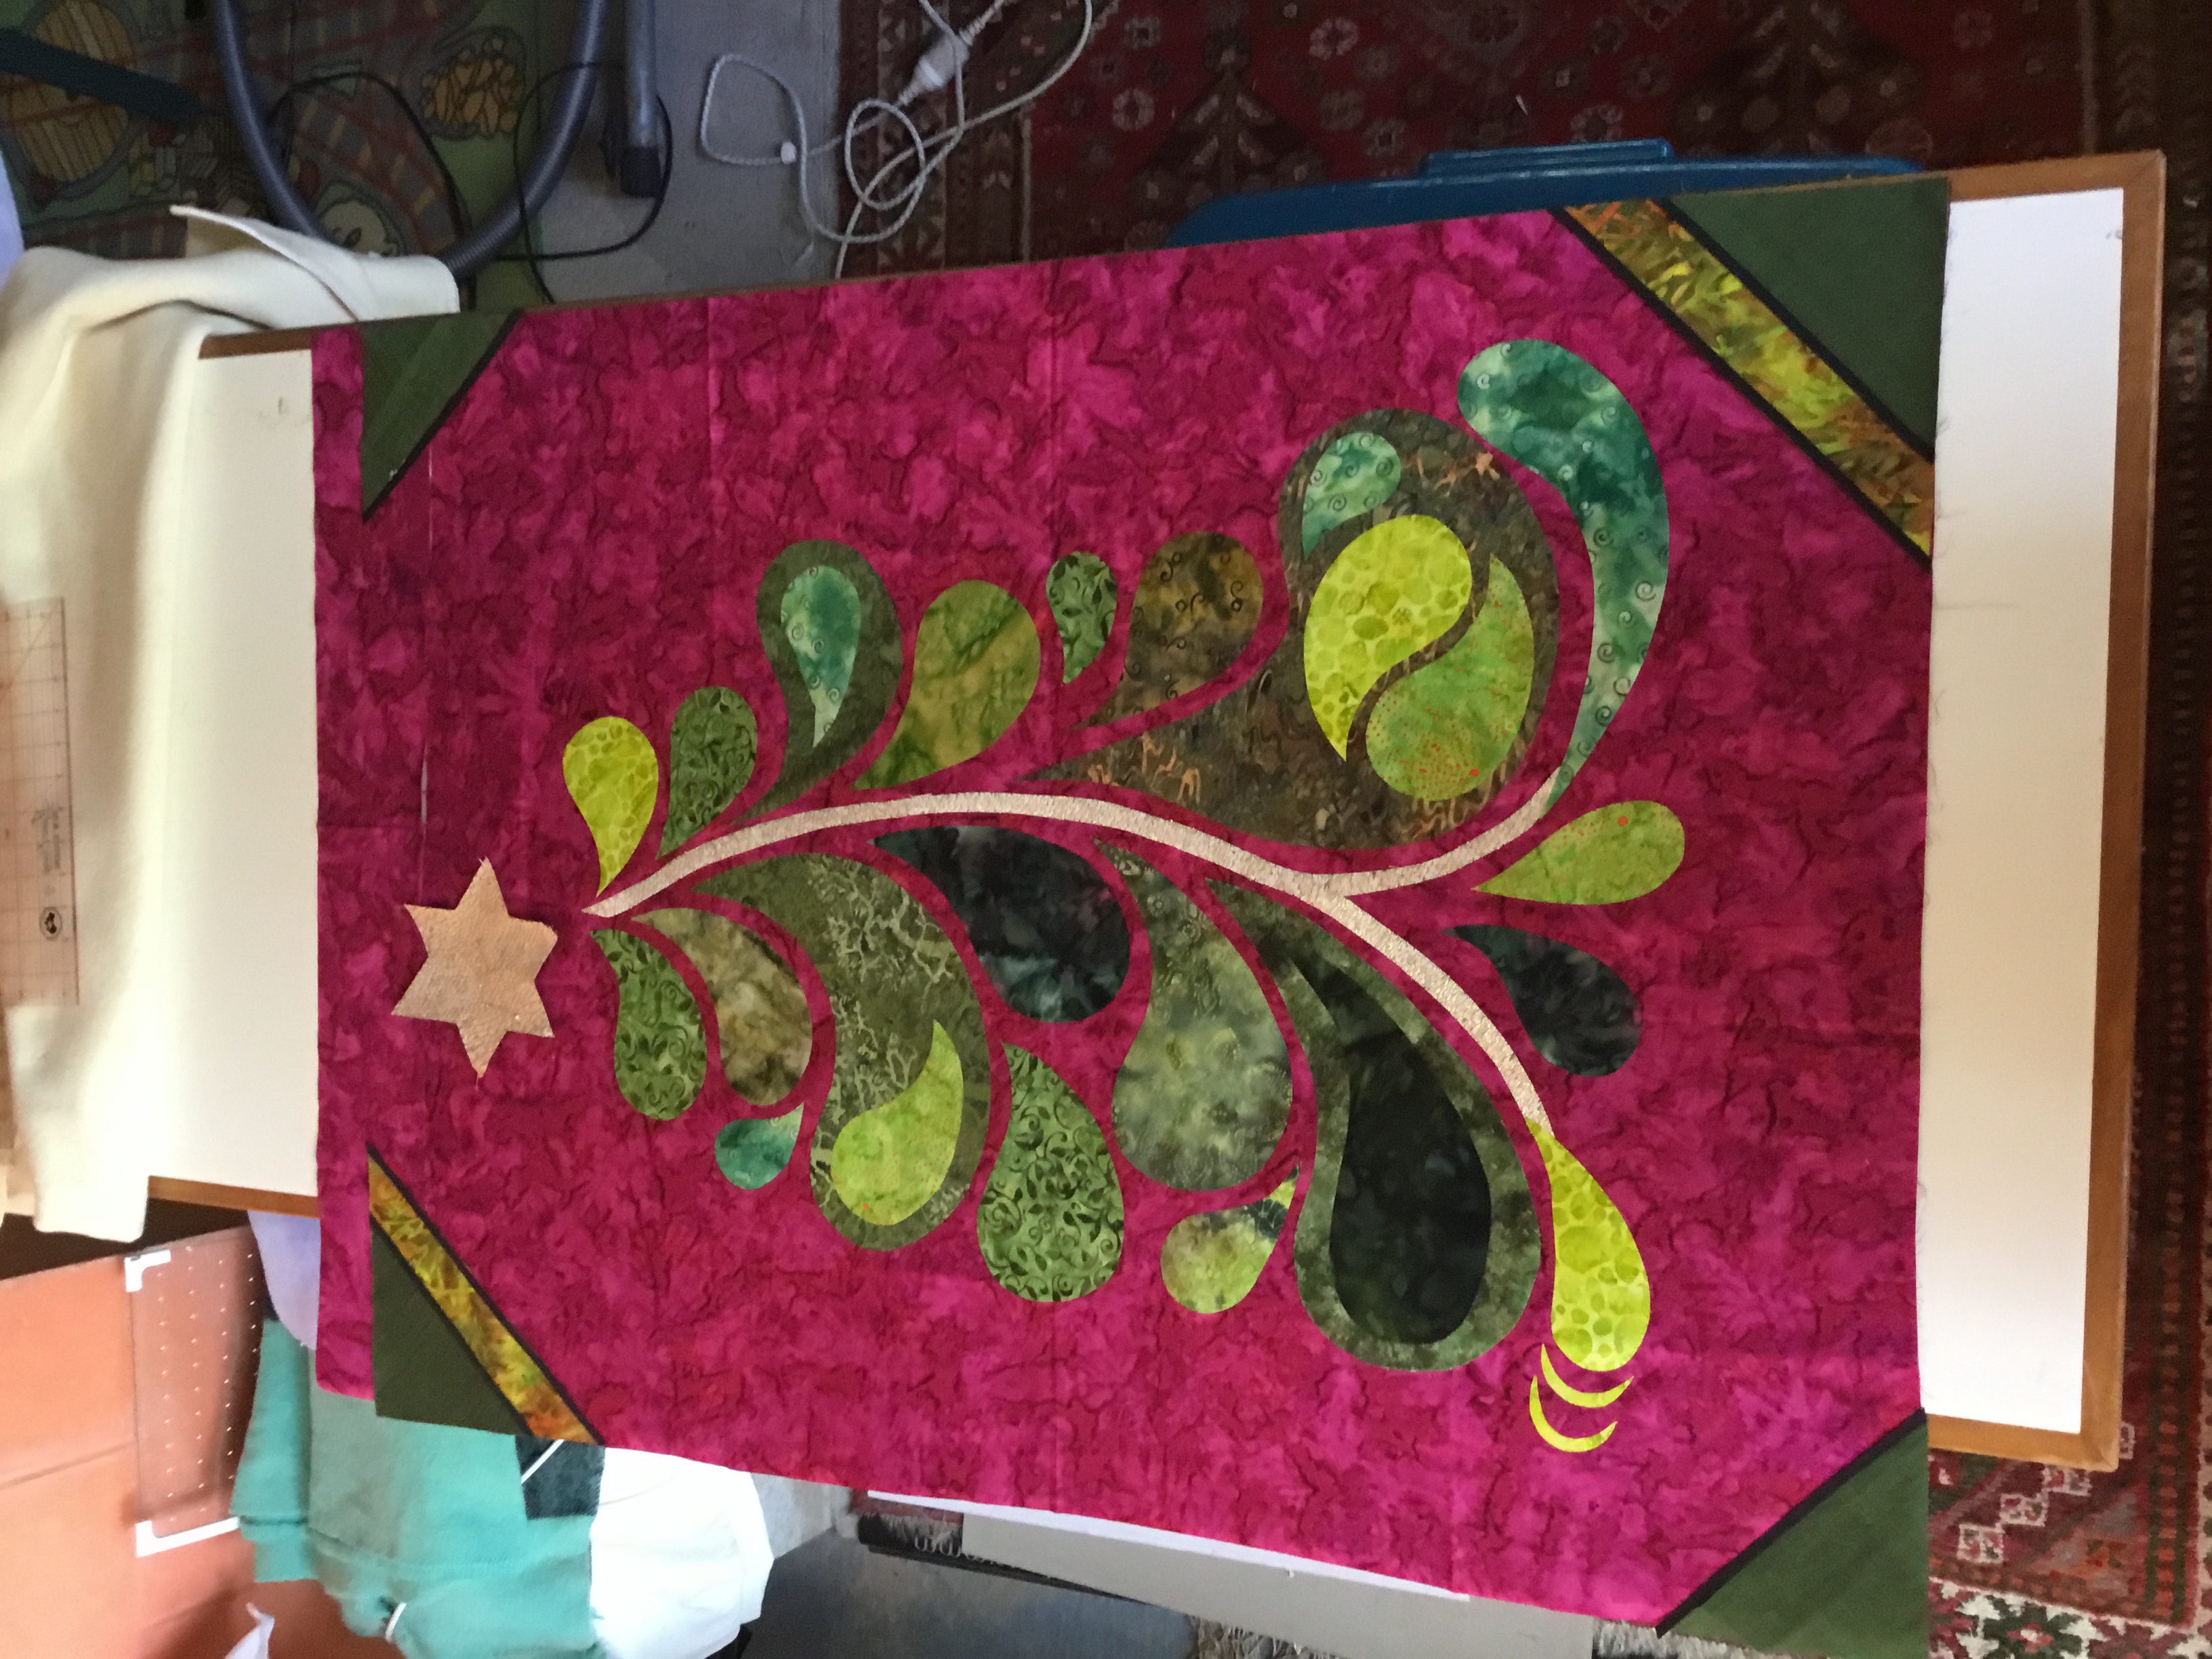
Update 11.50pm Wednesday 6th Dec 2017 Part 2 of Nancy’s Xmas Tree wall art and how to make it for beginners. Happy sewing every one Cheers Glenda
MY day is one mad dash as I try to go faster so I can squeeze some sewing in here and there LOL
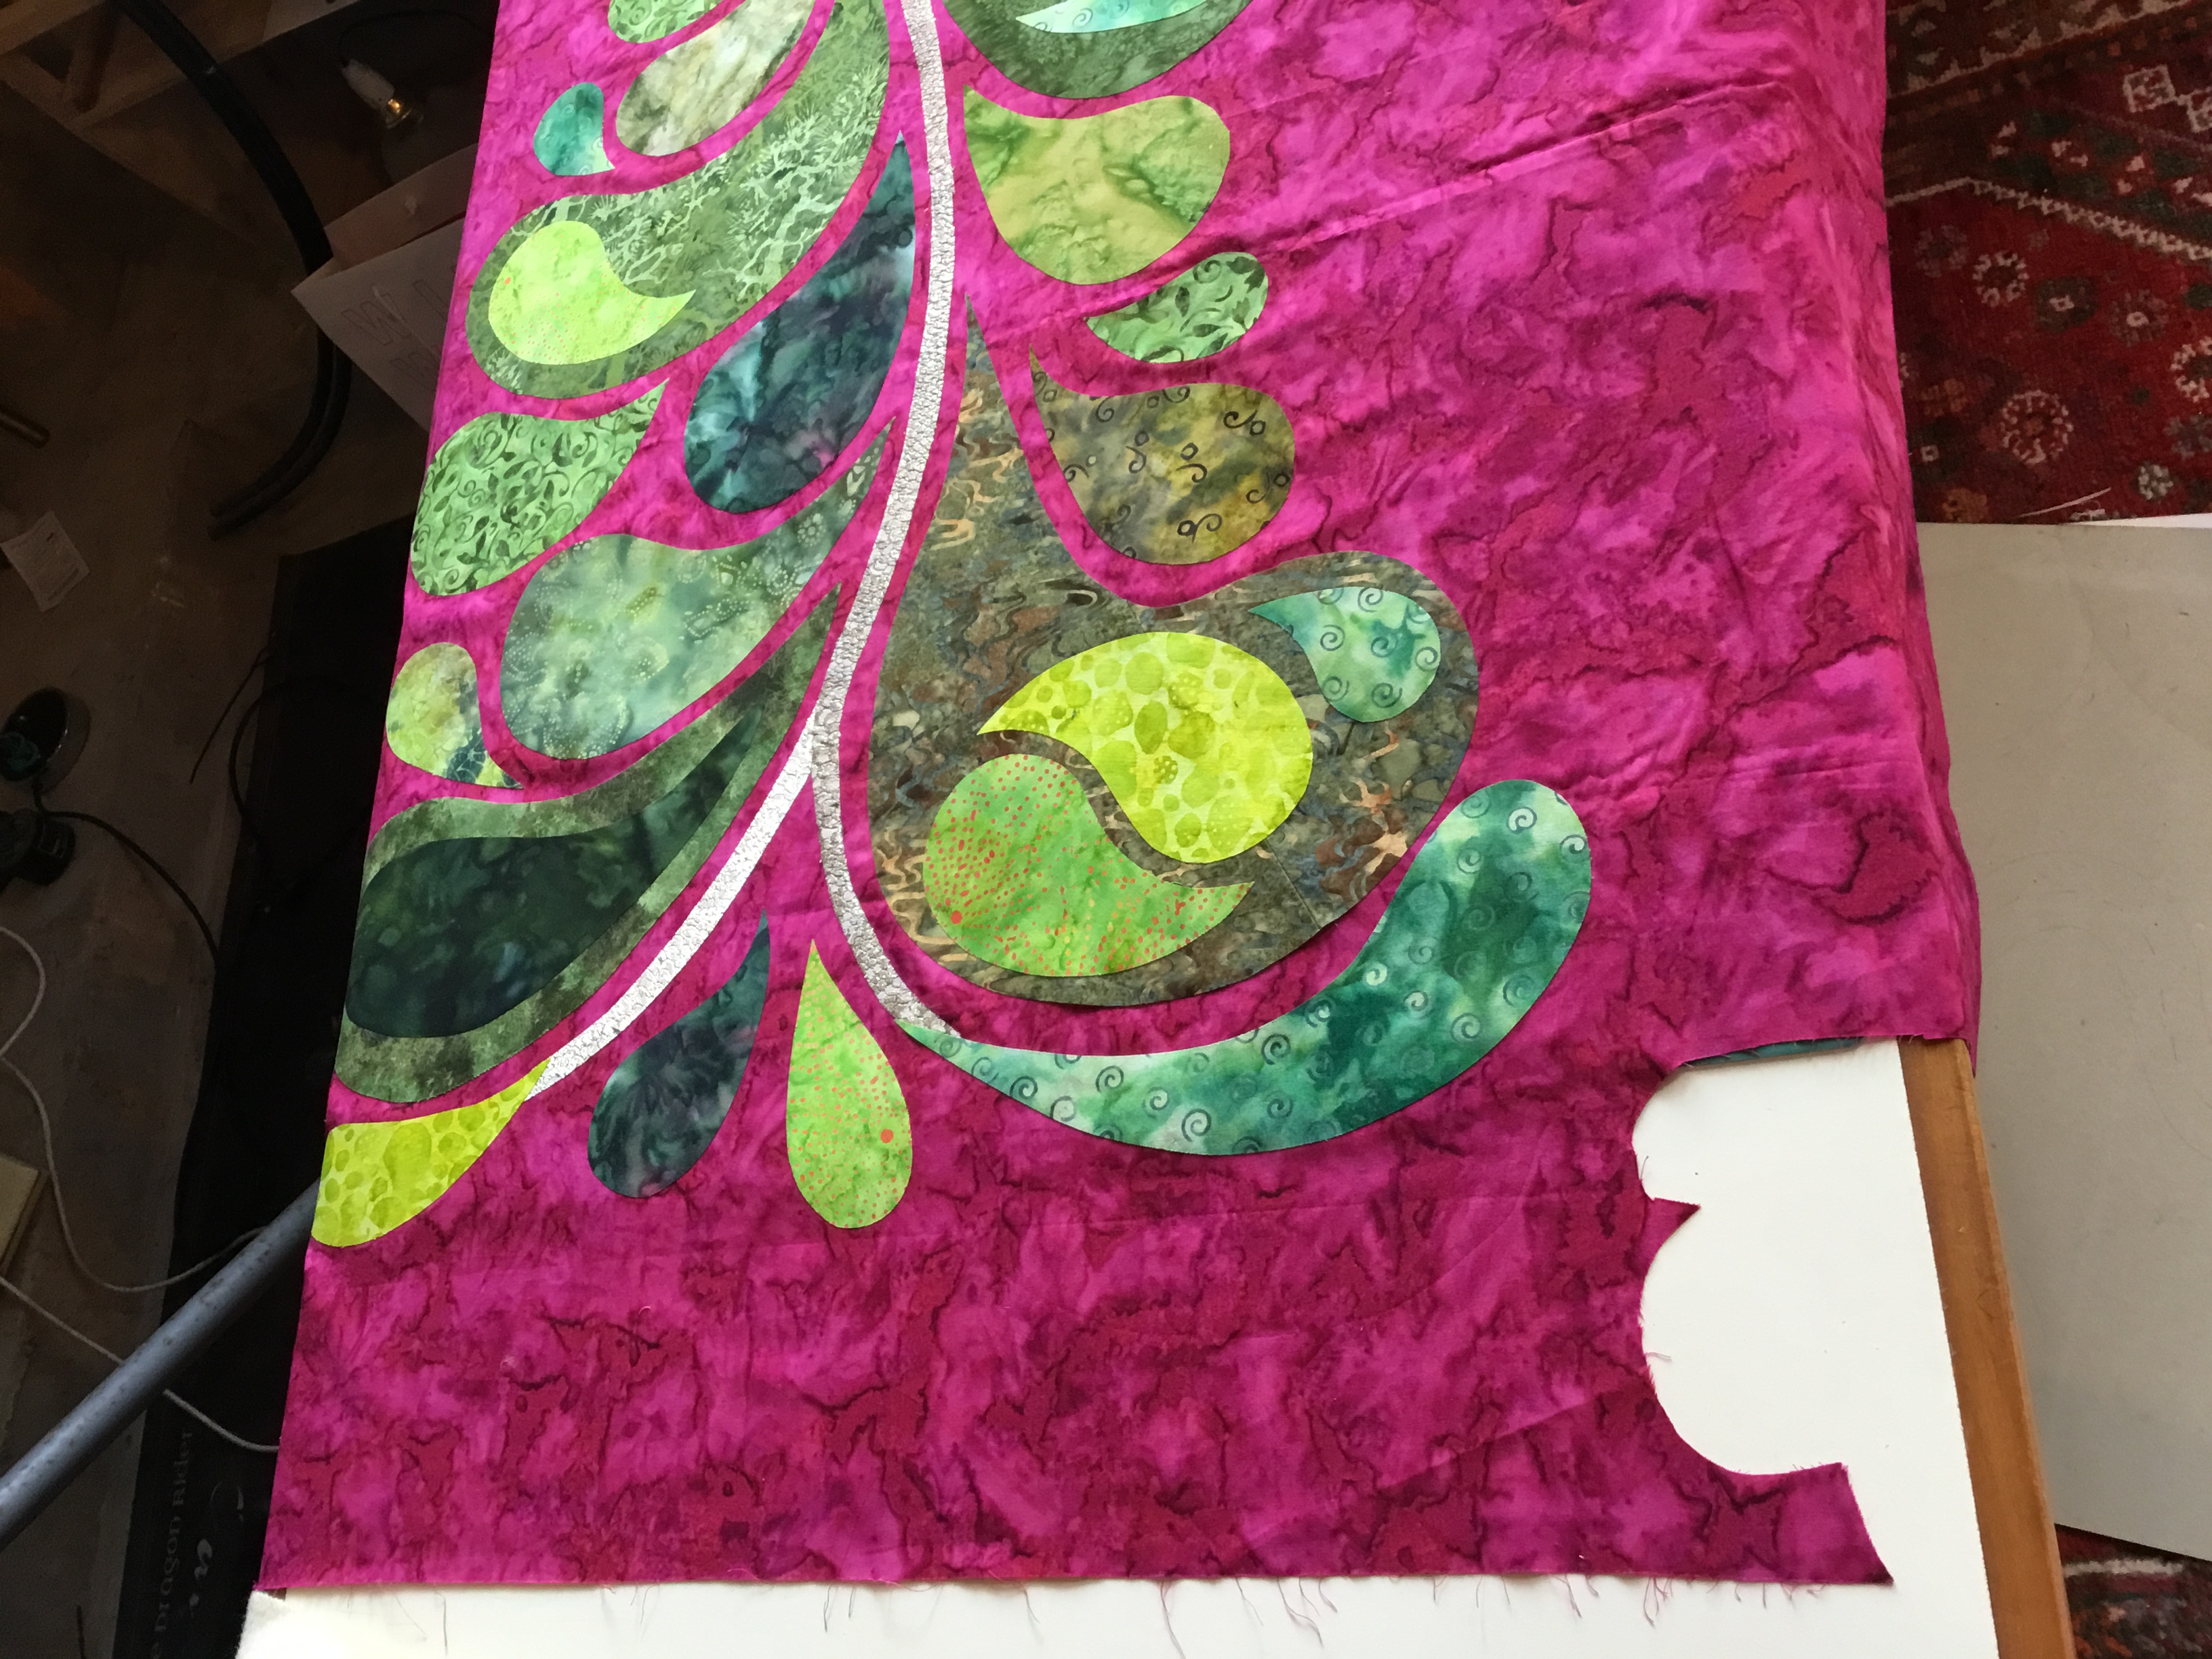
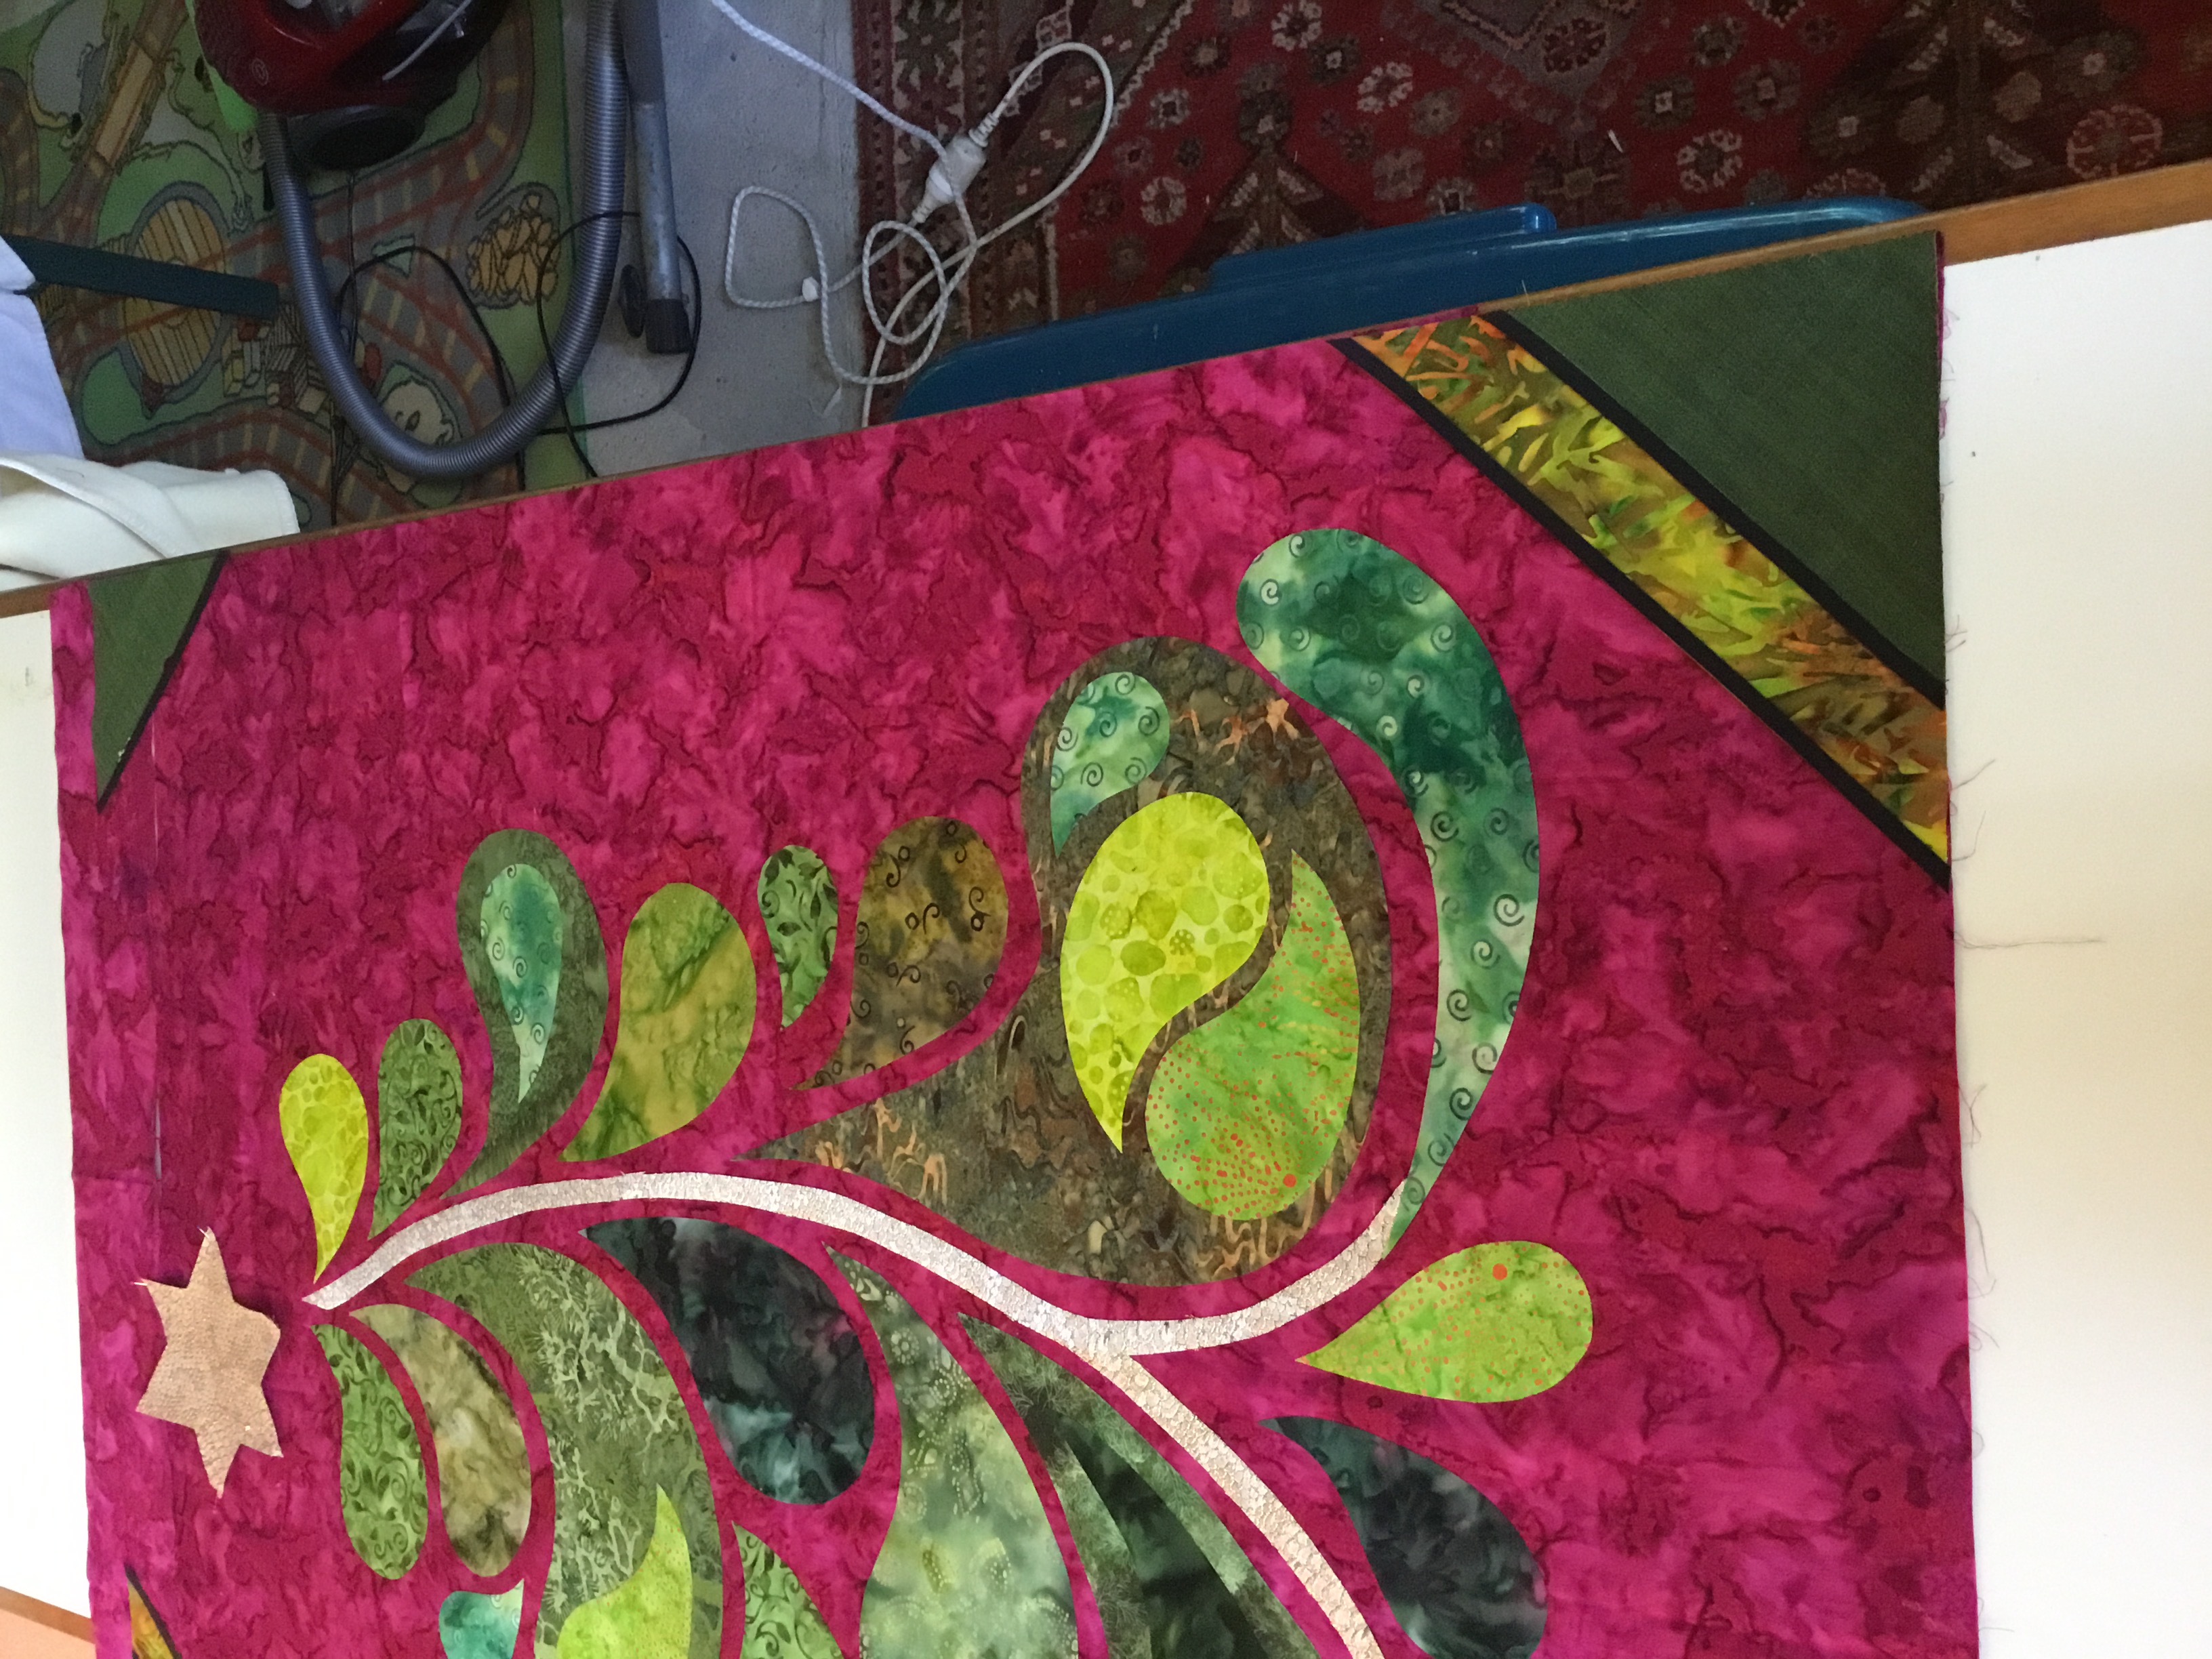
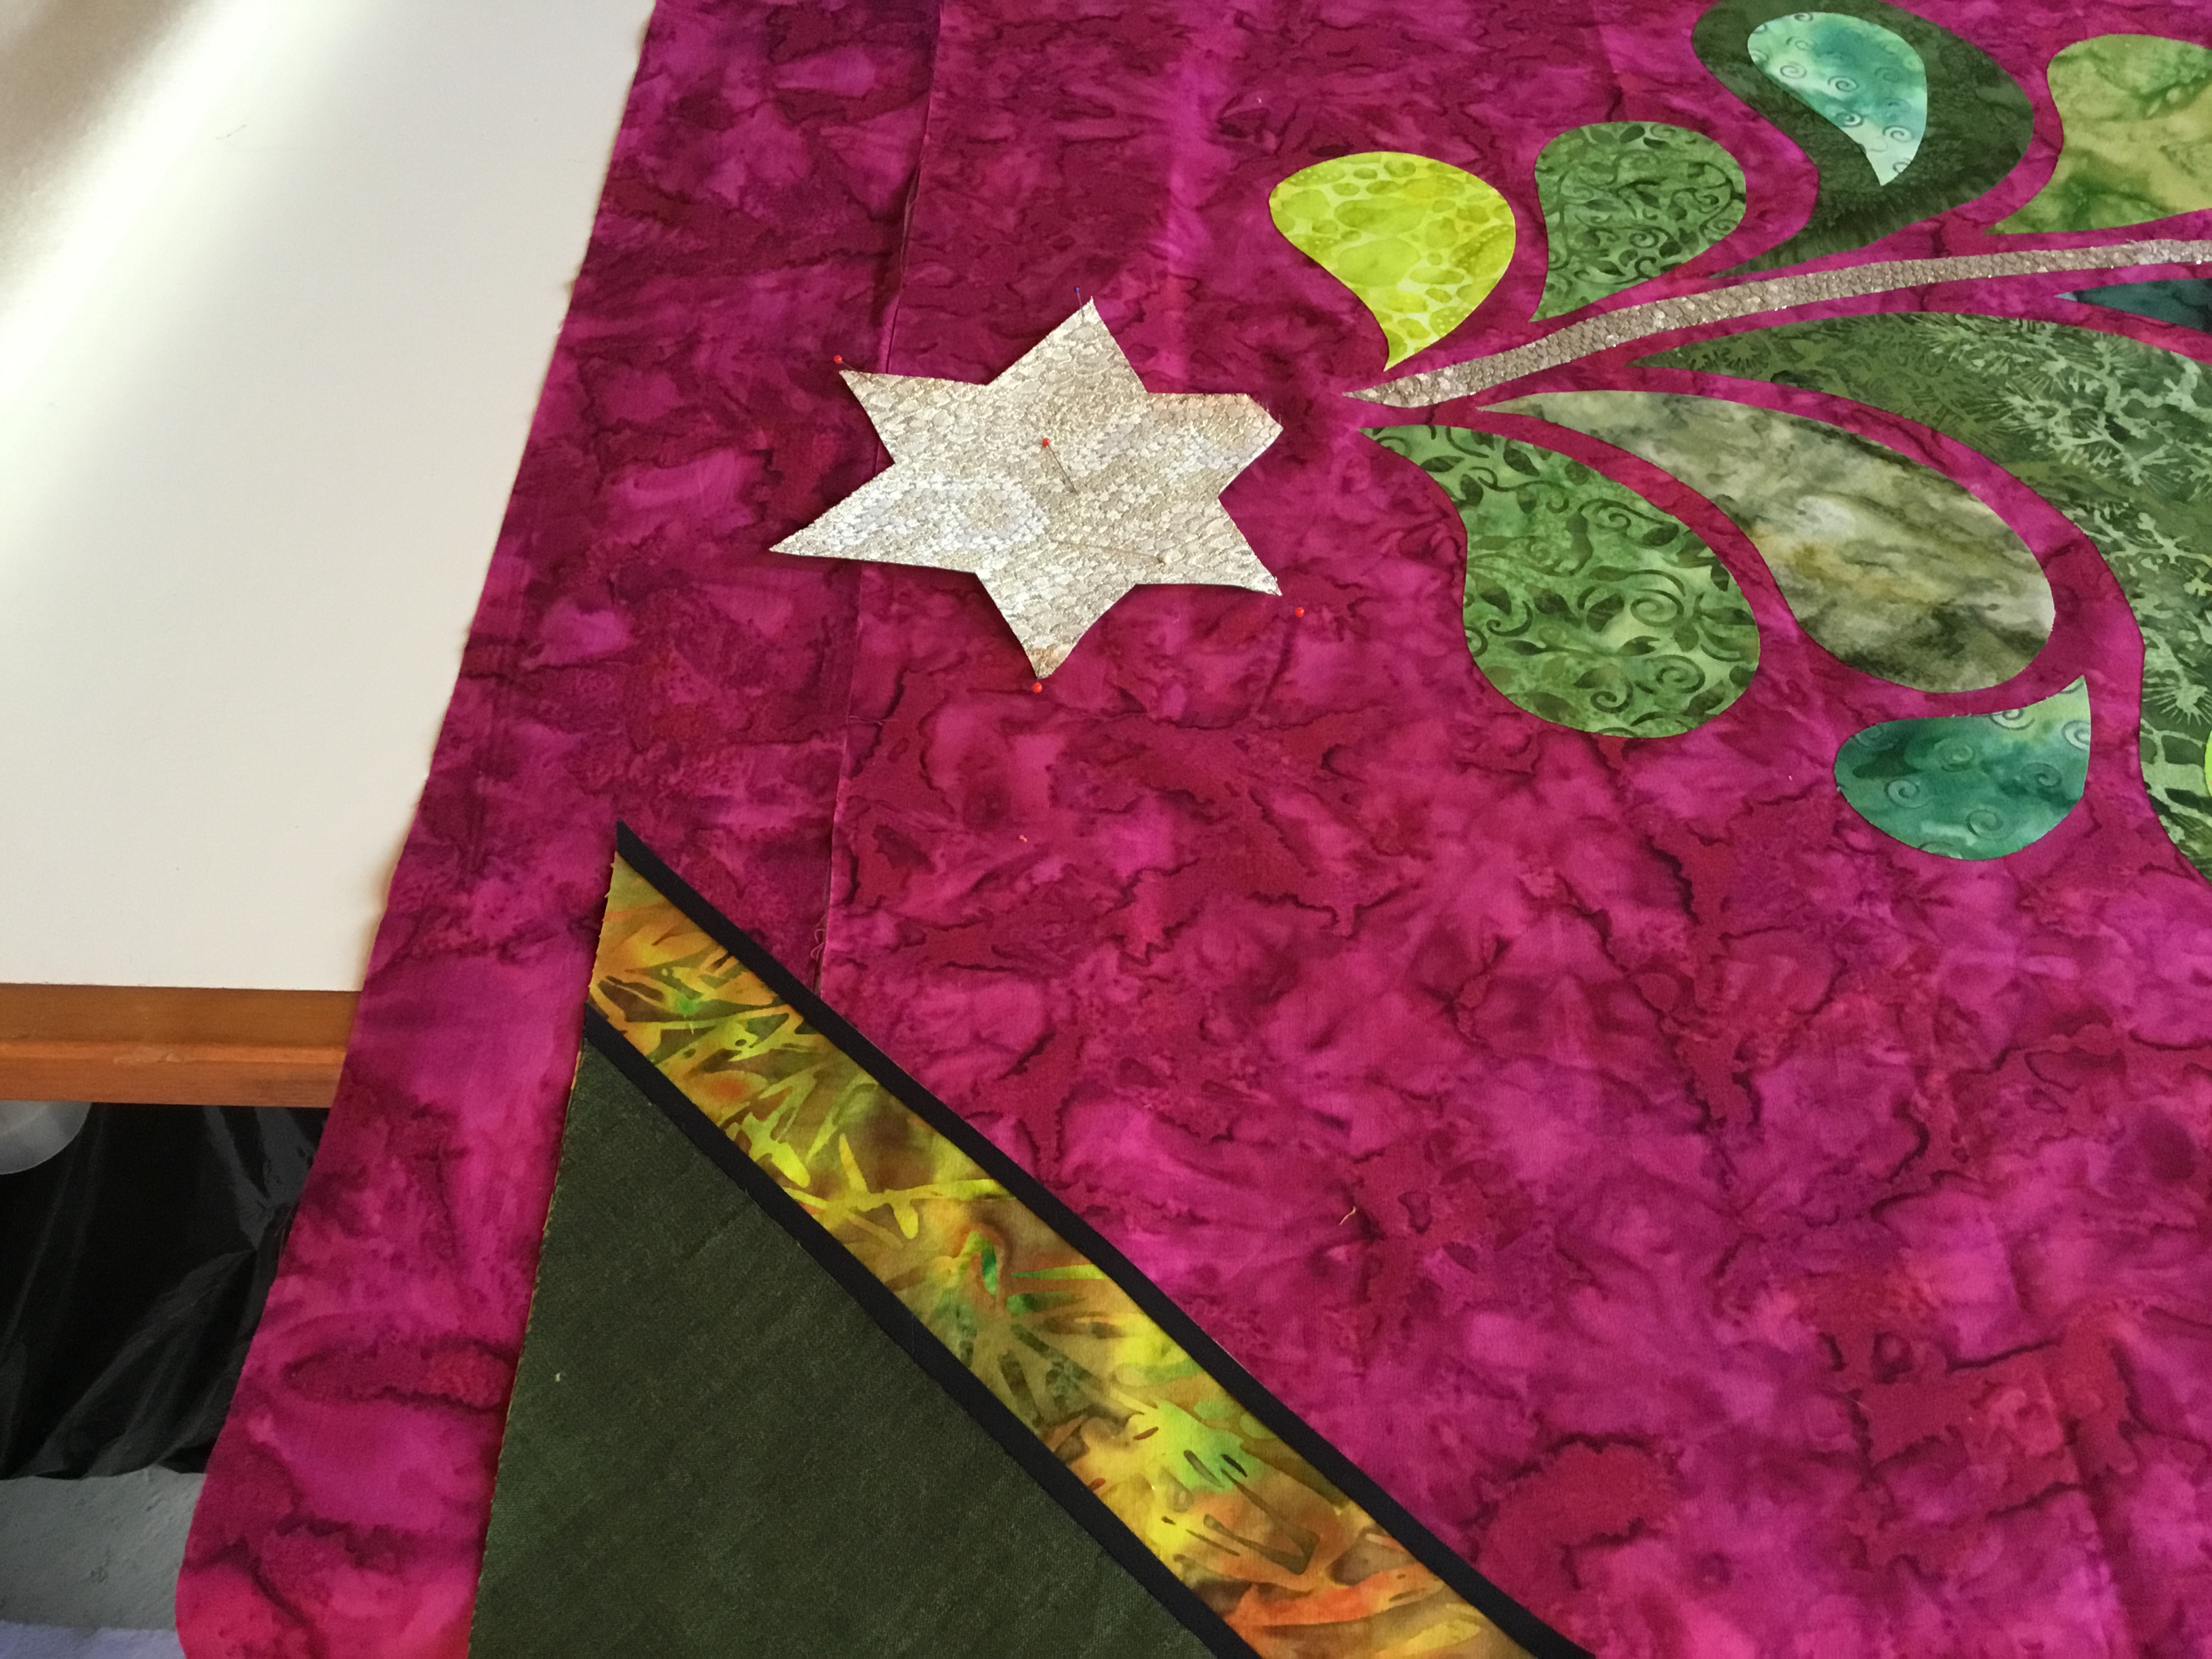
3rd day at working on Nancy’s Xmas Tree. Photo below in the right hand bottom corner you can see where Ive cut in to the fabric for some applique pieces, how am I going to fix this problem?
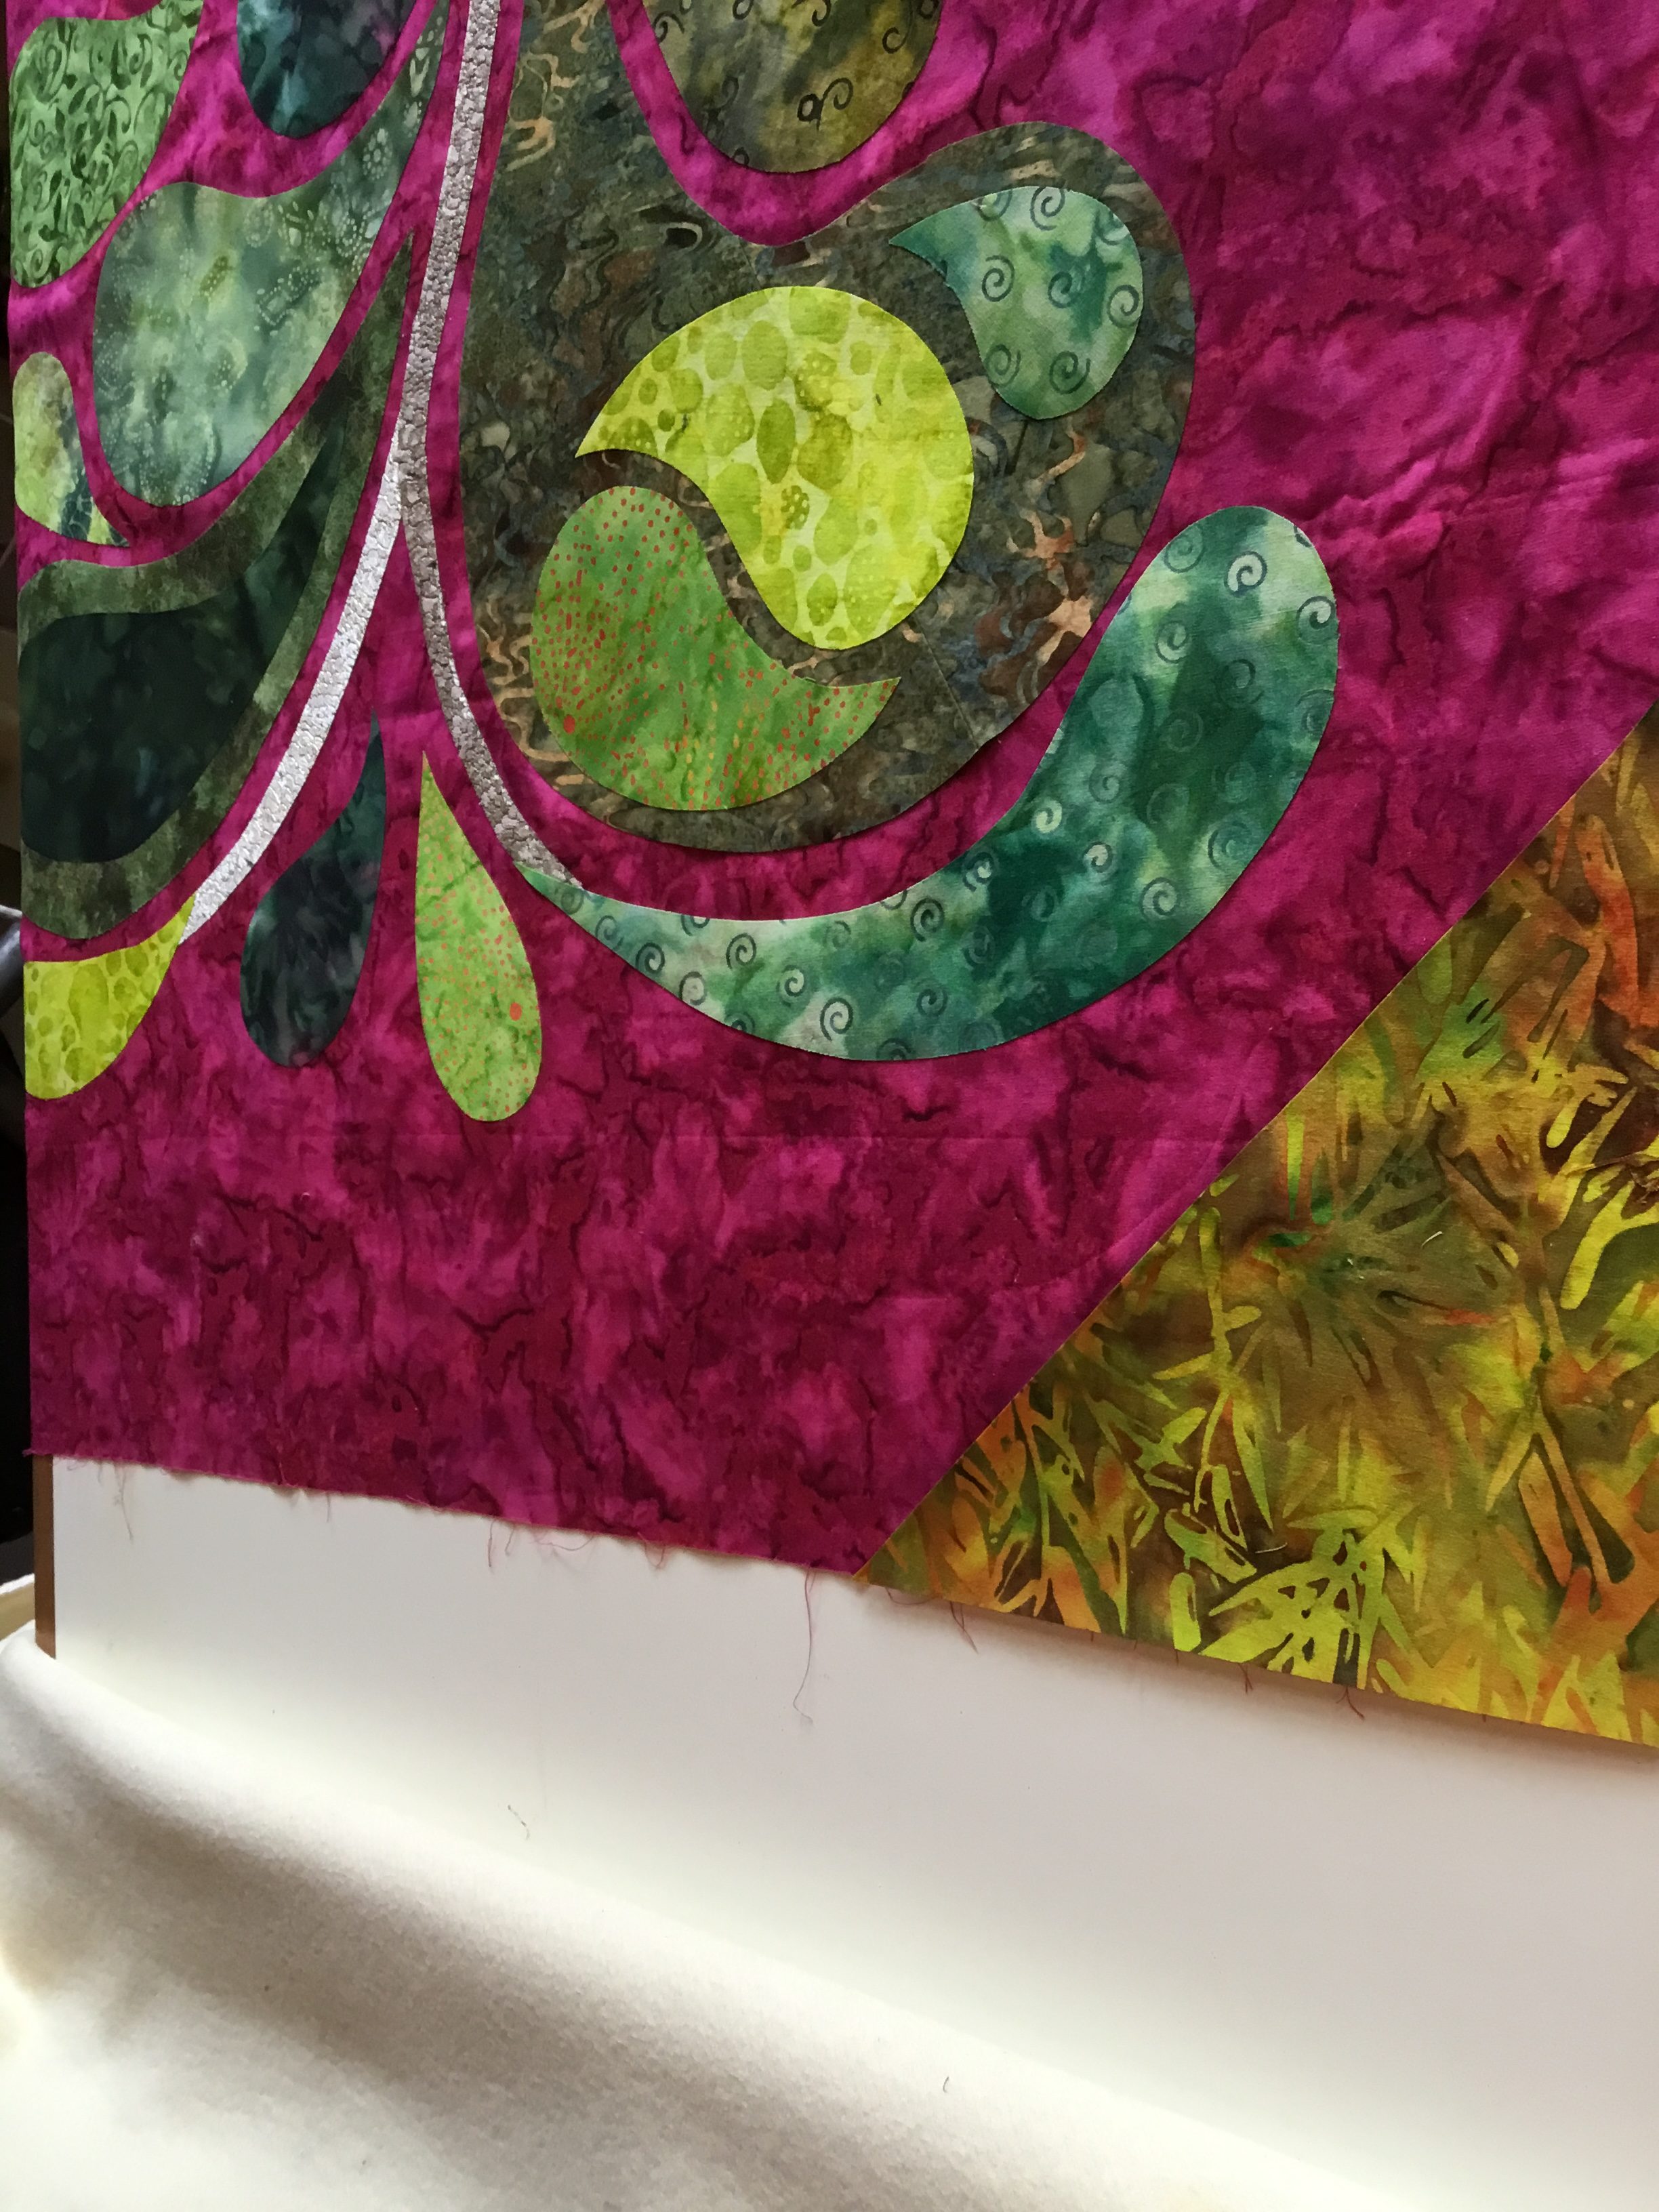
First I cut this fabric and added iron on fussing to it.
Next I added the dark green Thai silk fabric
So I need 4 triangles to make this work!
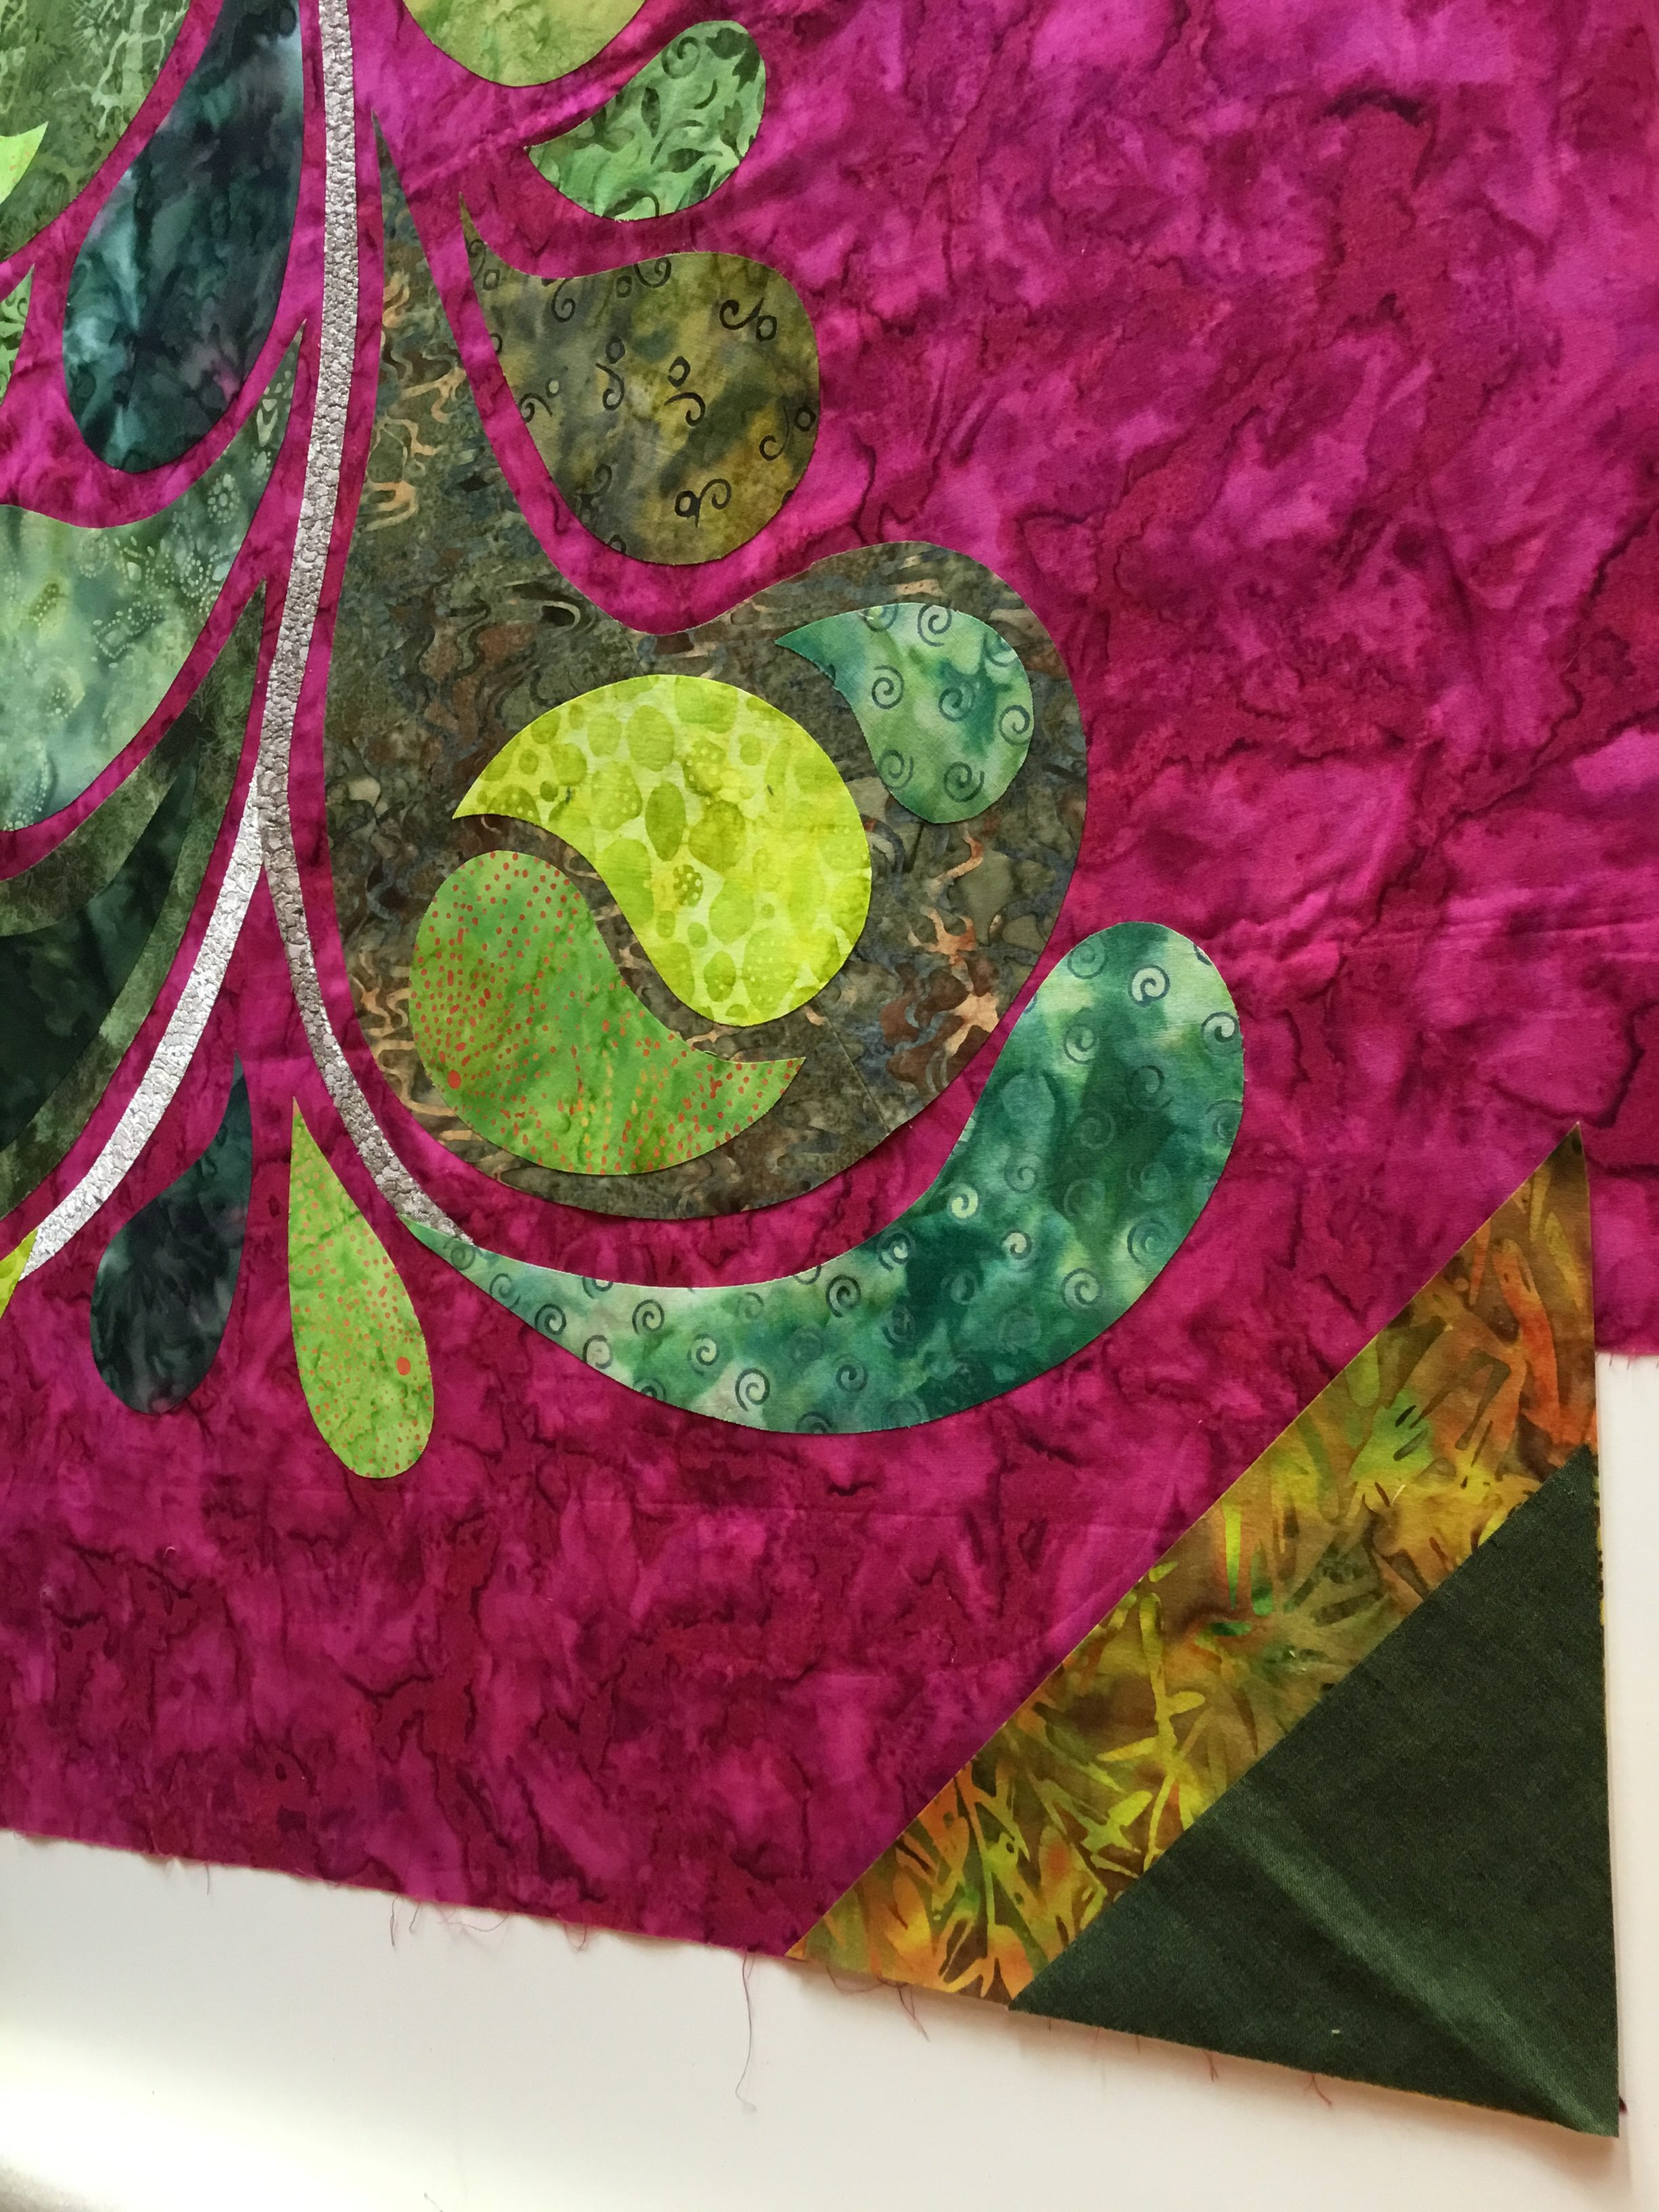
I then added a 1/4 inch black bias strip to either side of the coloured fabrics as a frame and it now looks like its part of the quilt not covering up holes LOL
Before and
After!!!!!
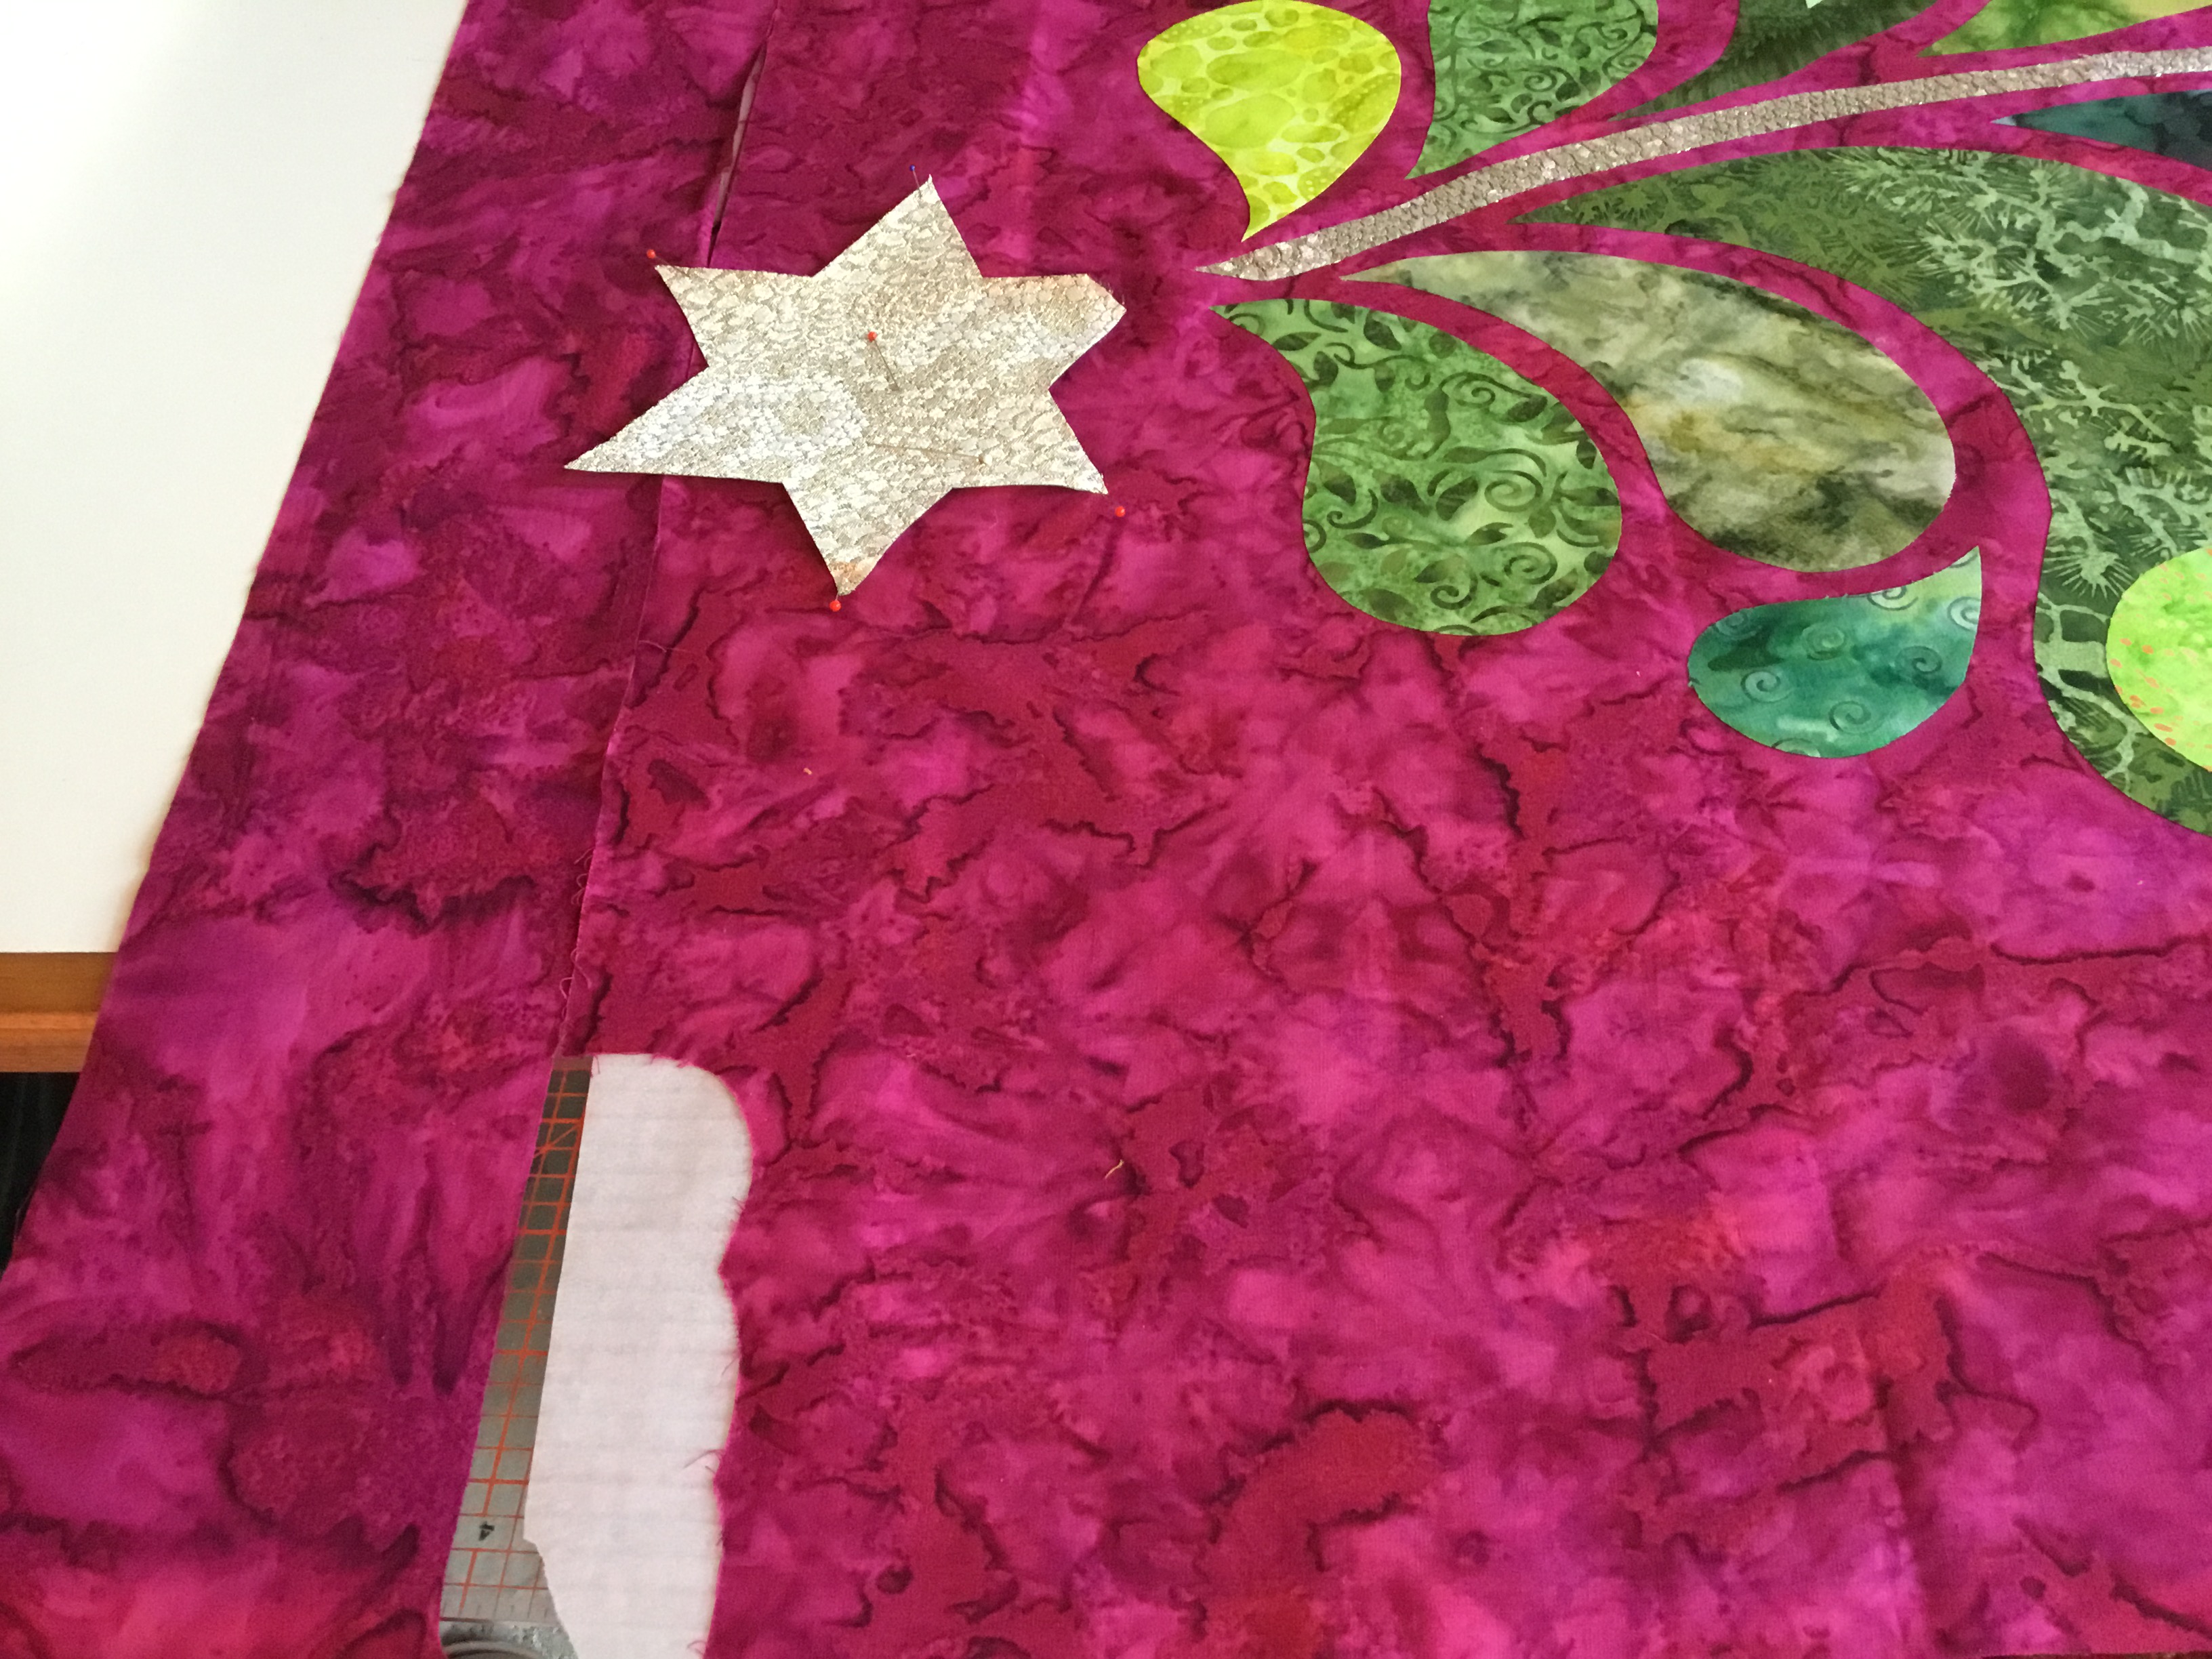
Here I have some more fabric cut out for applique????? Plus I want to make the top a little higher so I can work my star????
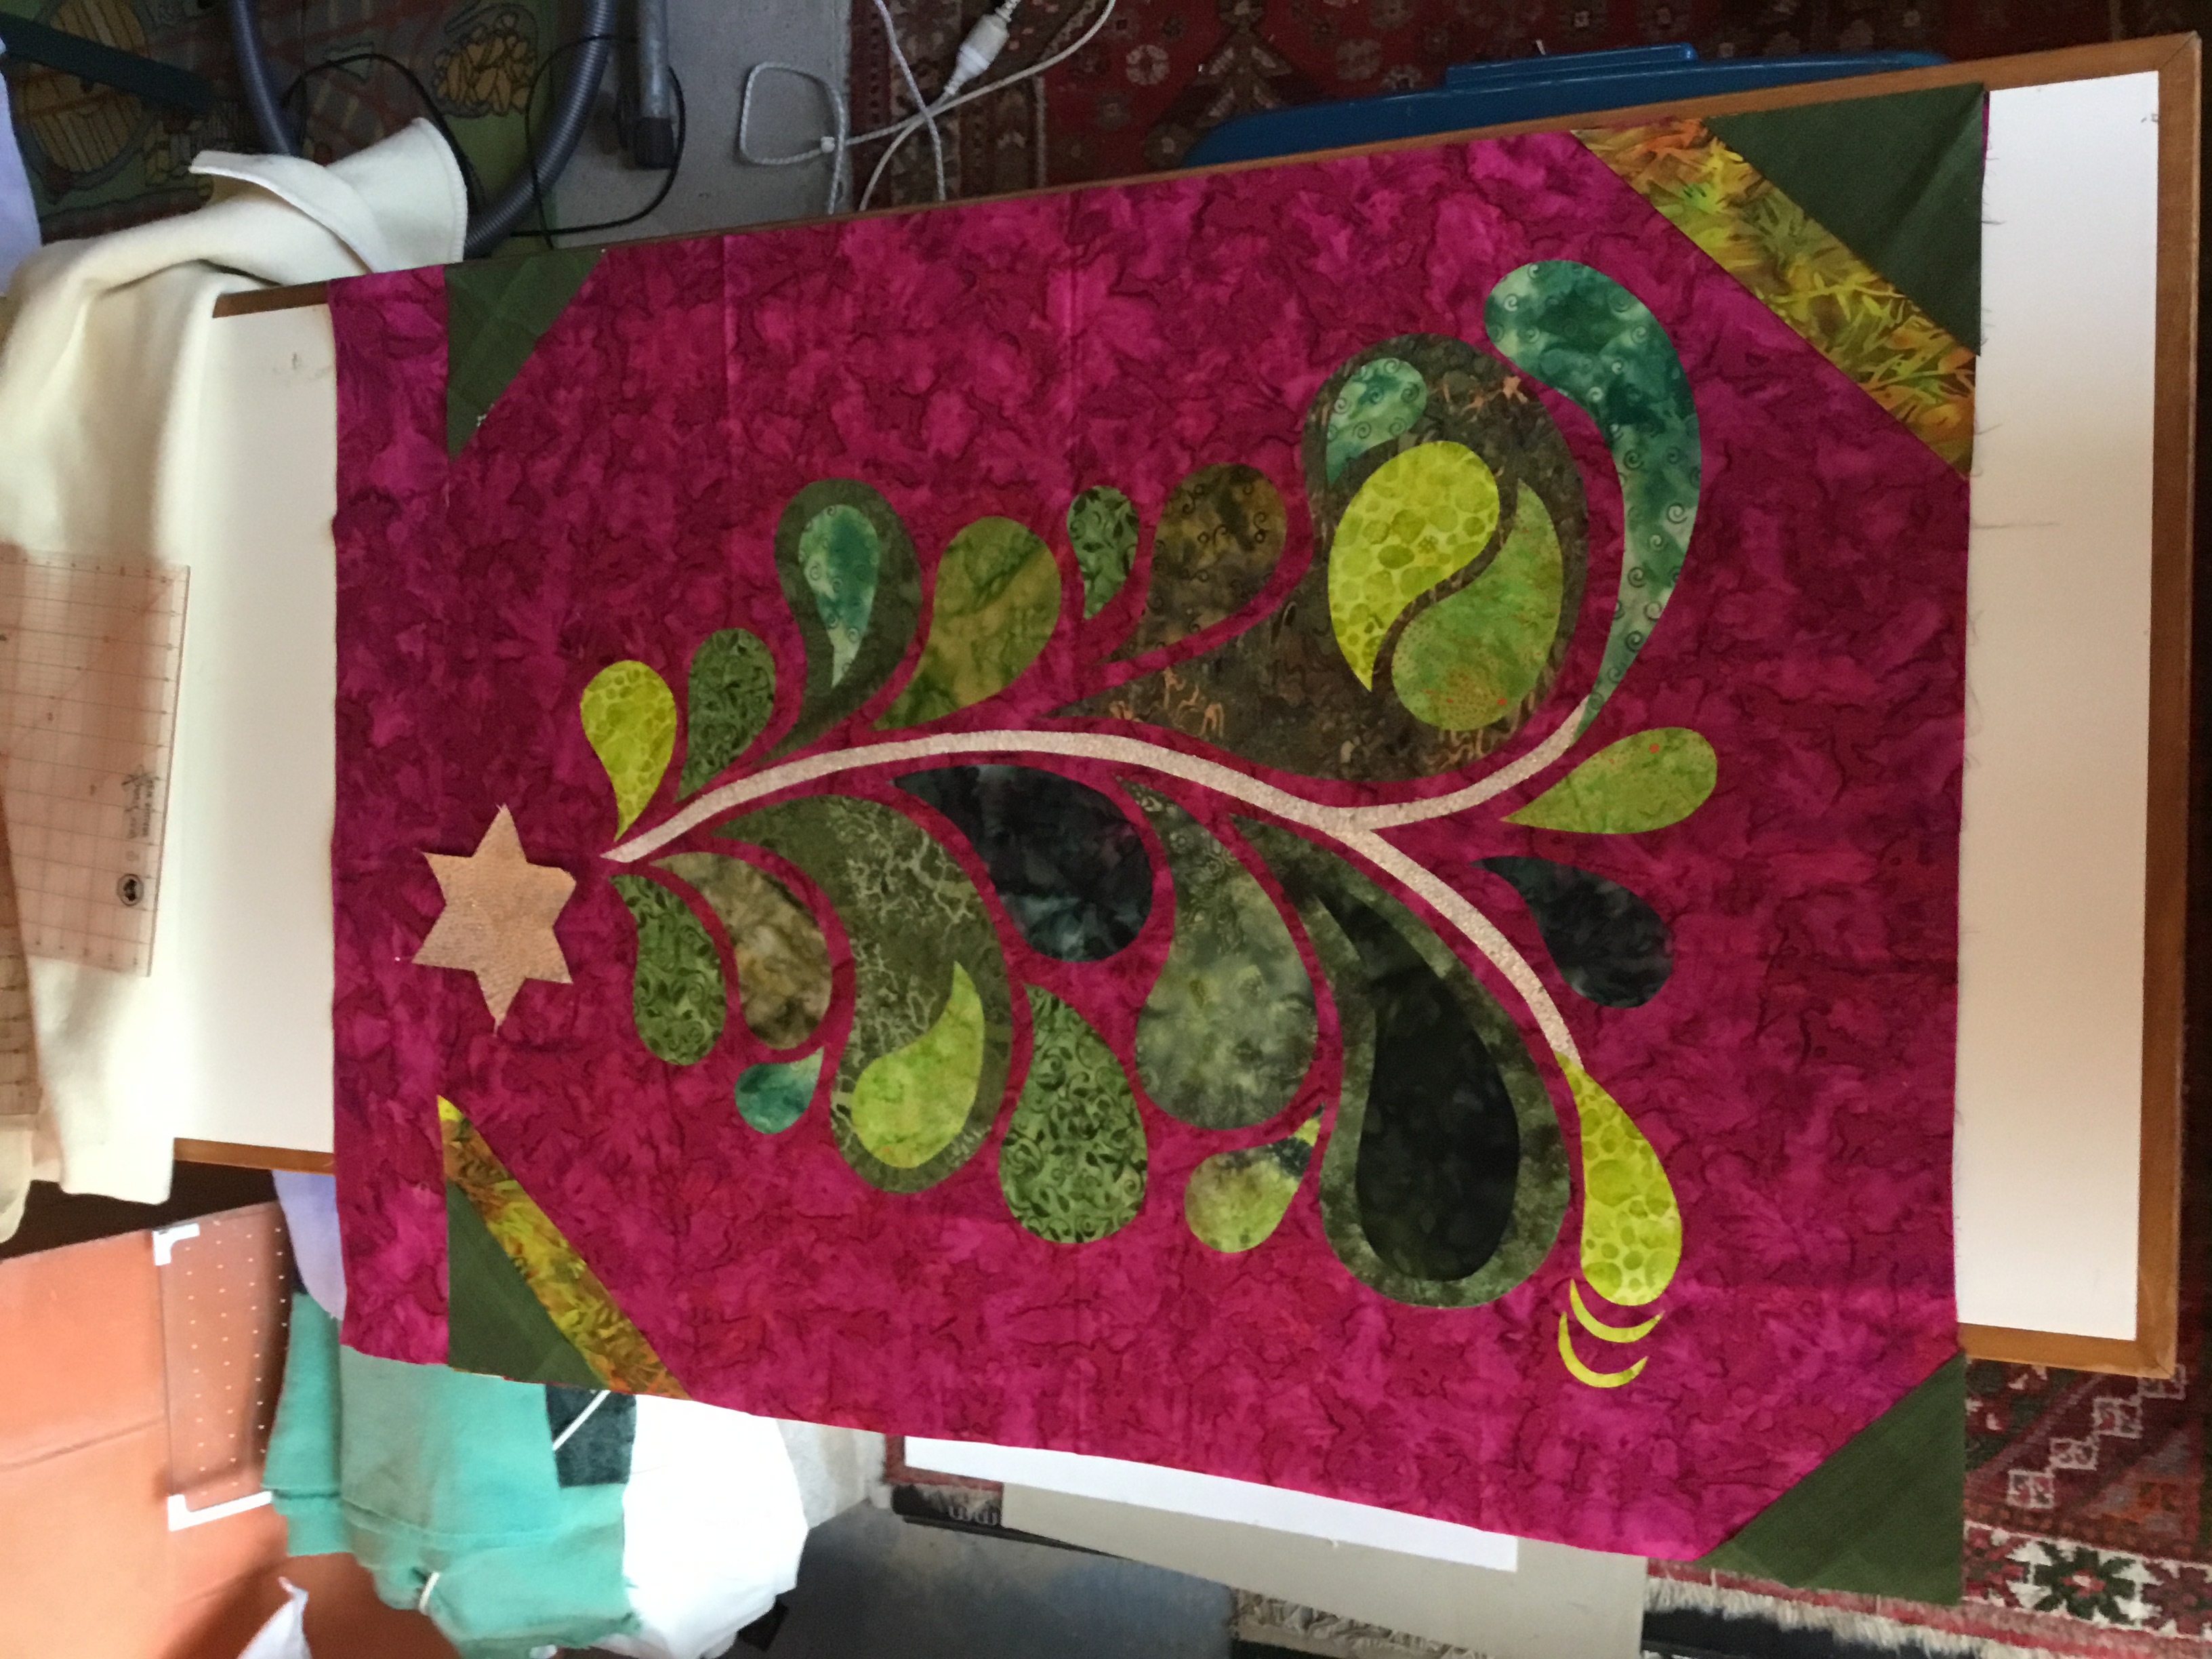
Added 4inchs extra fabric plus triangle.
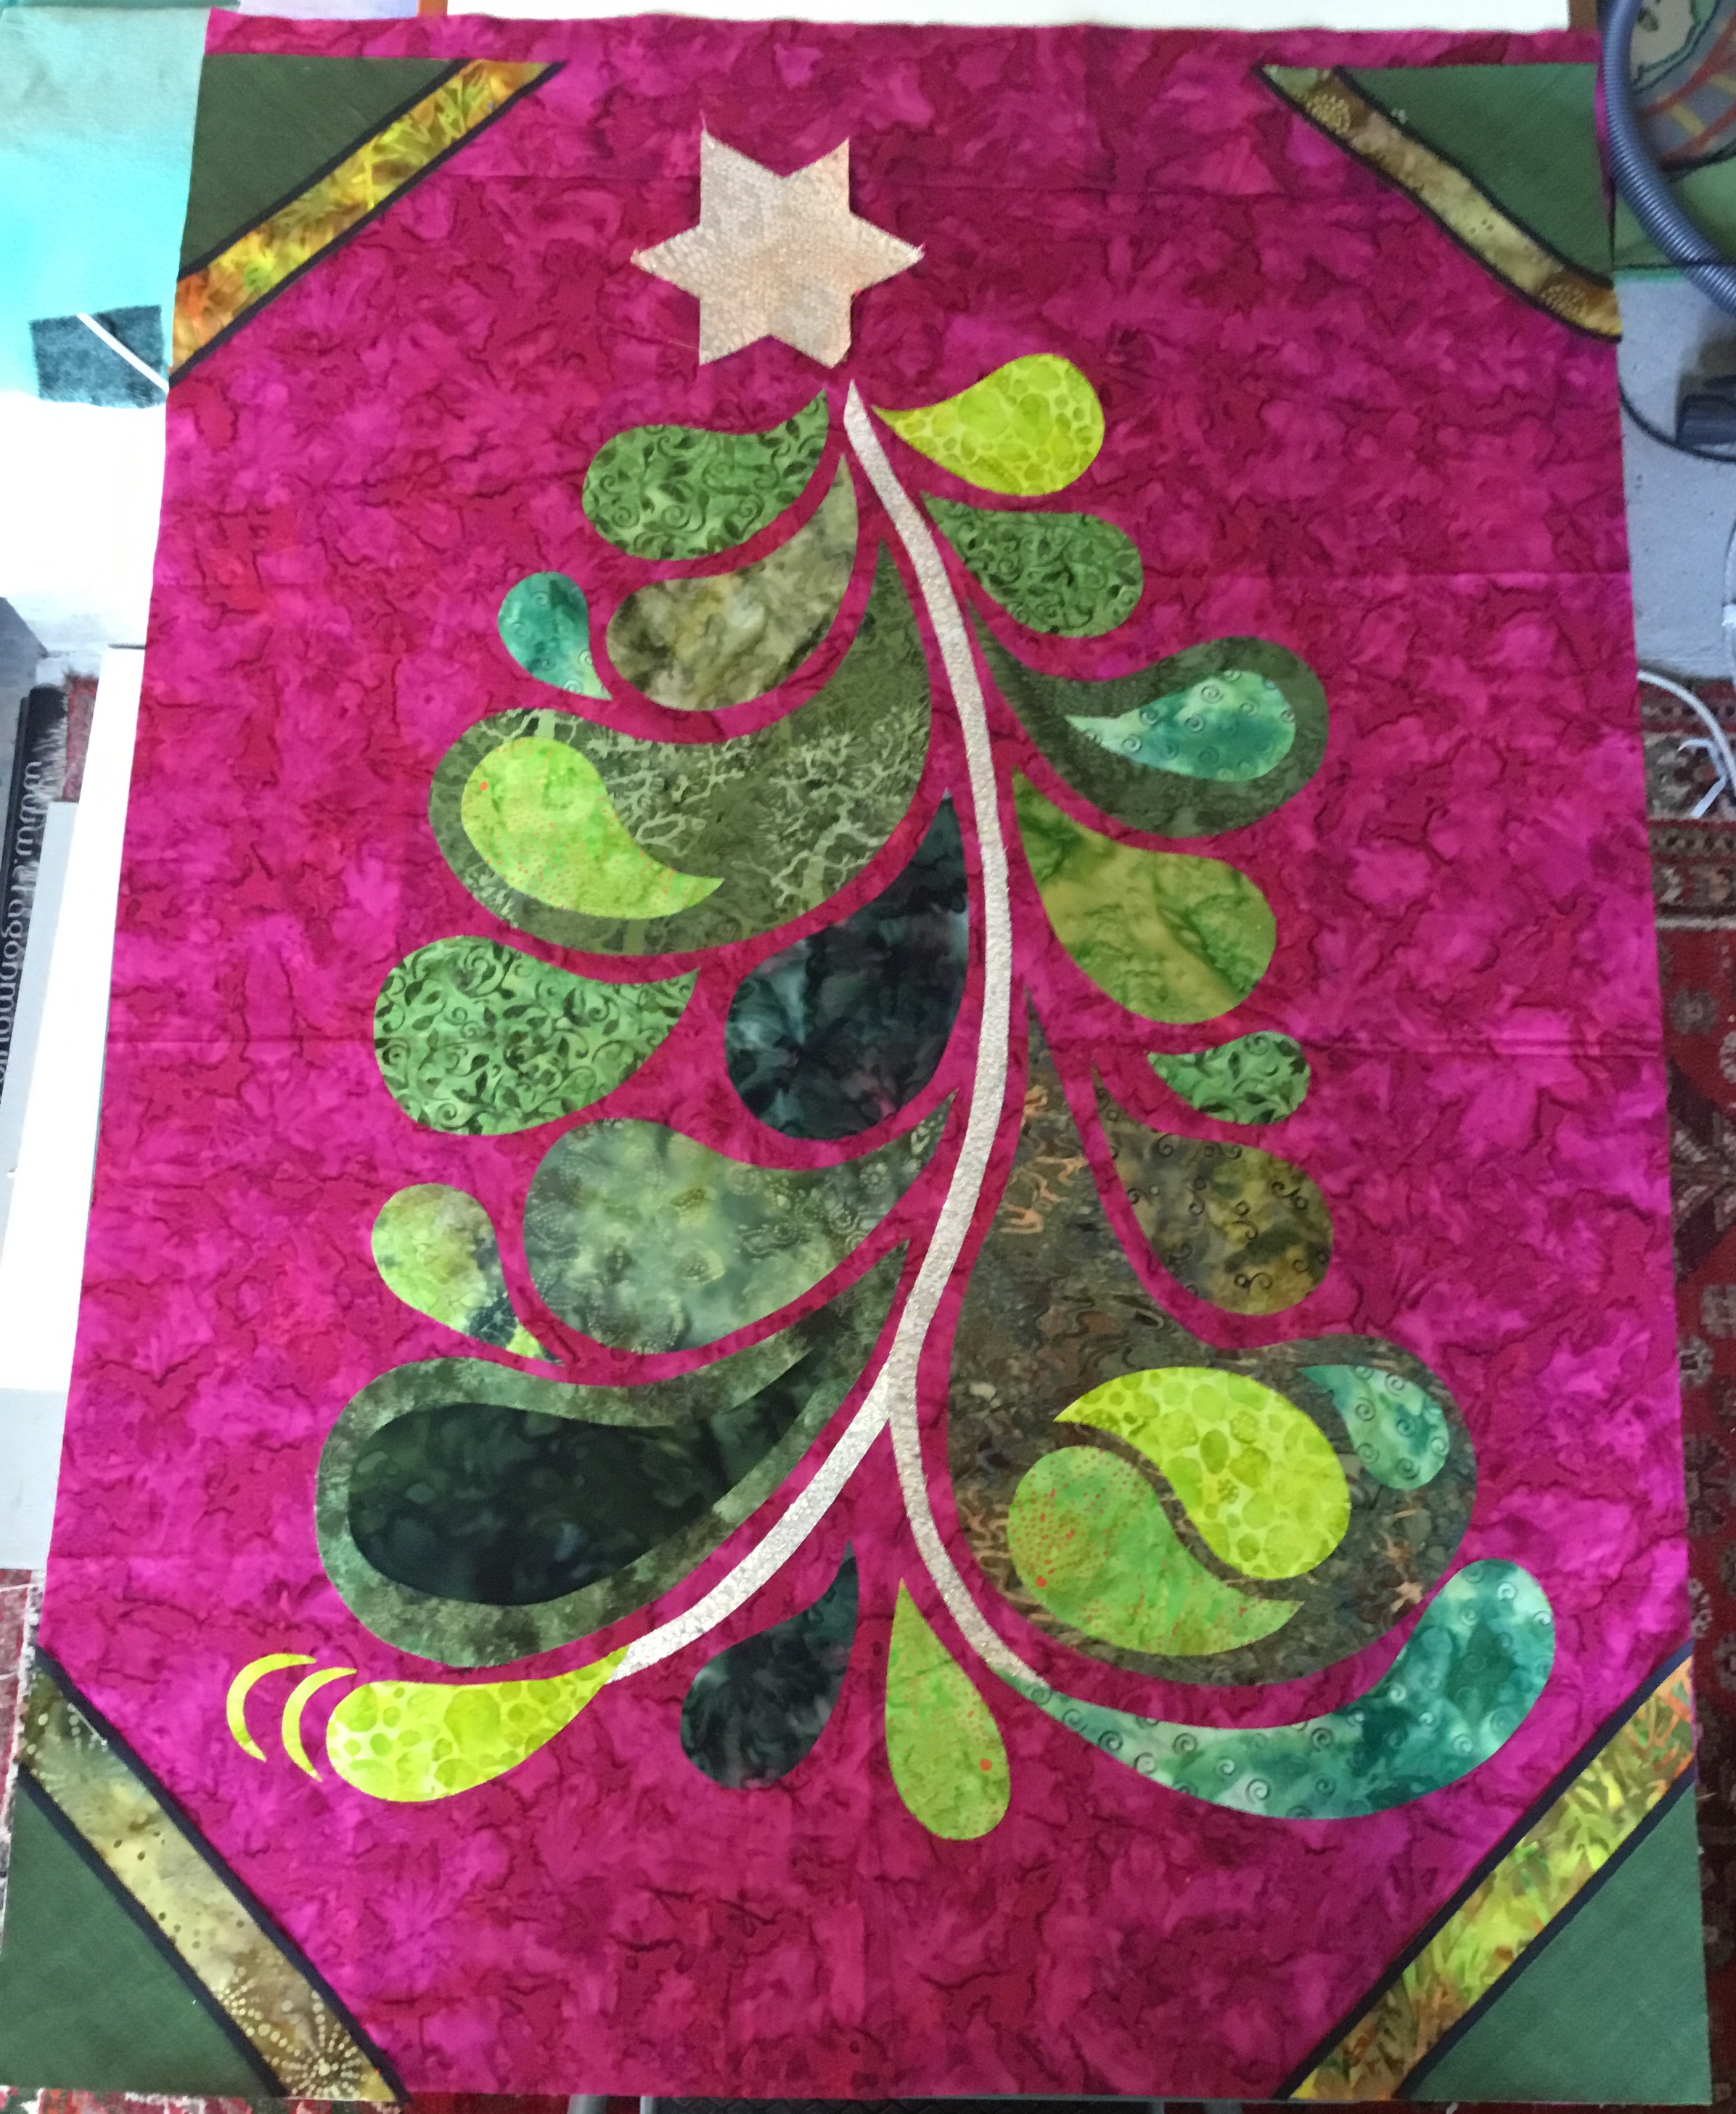
Now we have a a Christmas Tree wall quilt coming alive.

Looks a bit like a dancing Lady Tree now LOL She is called Nancy!
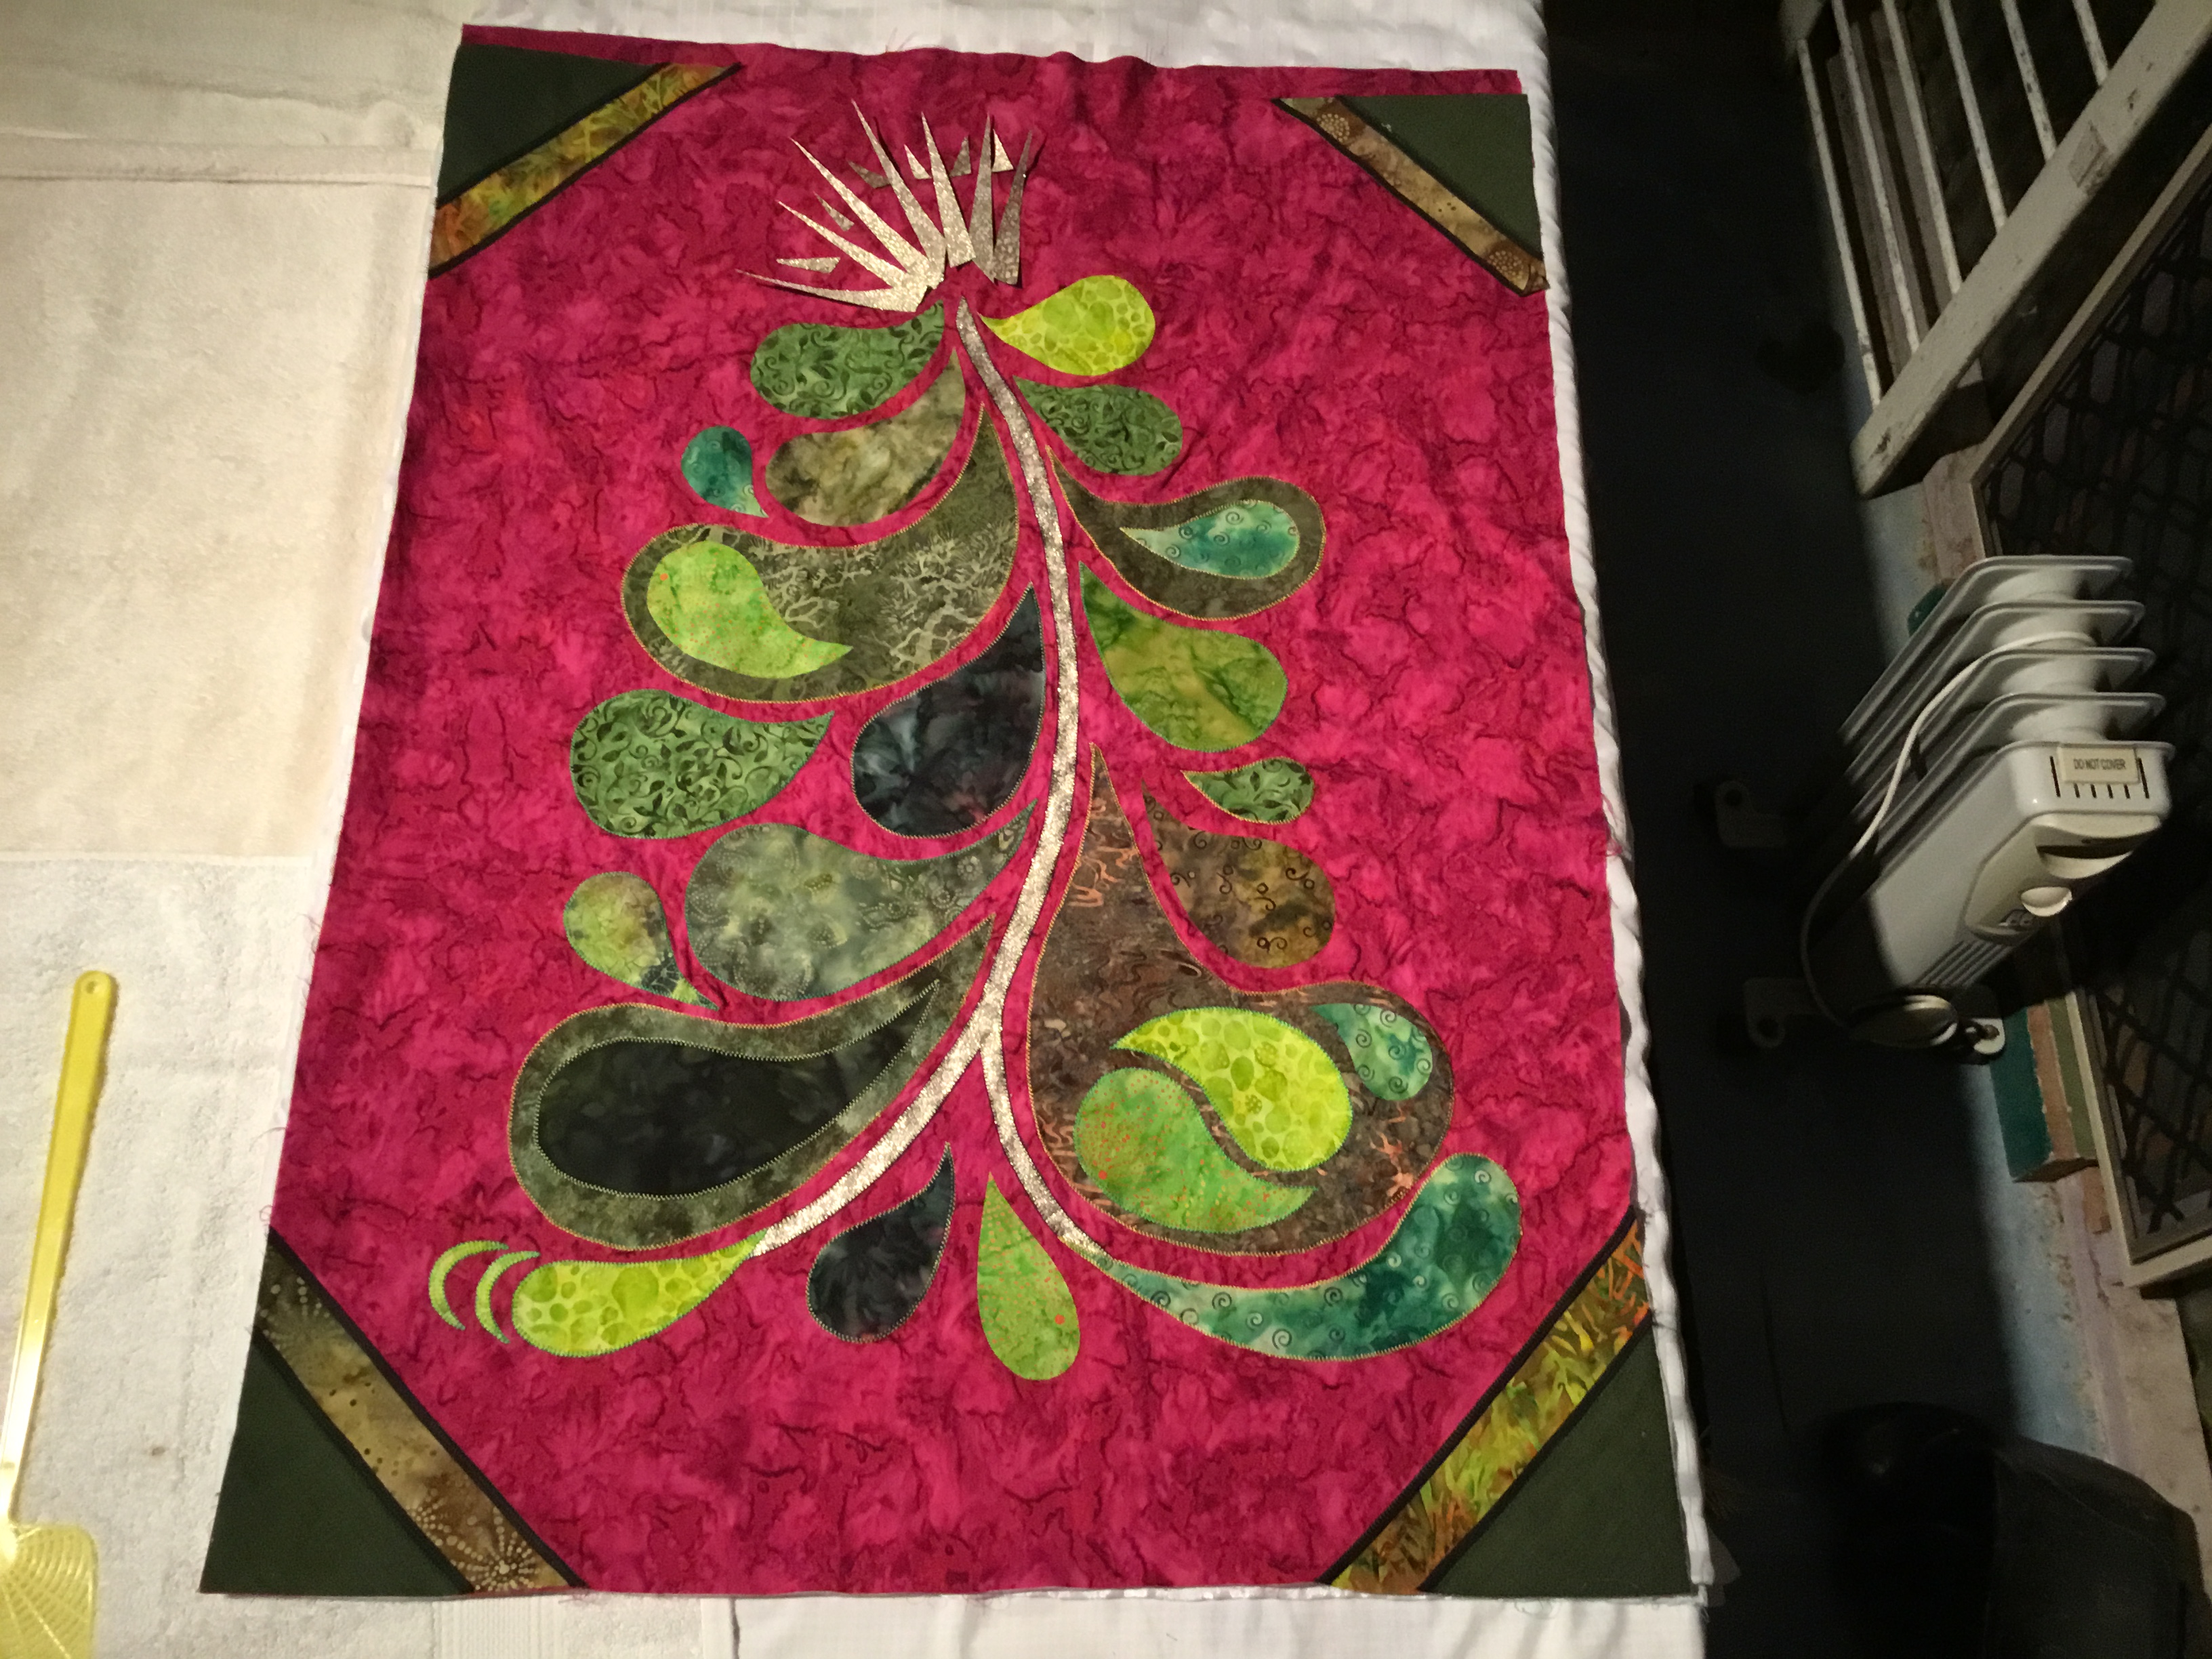
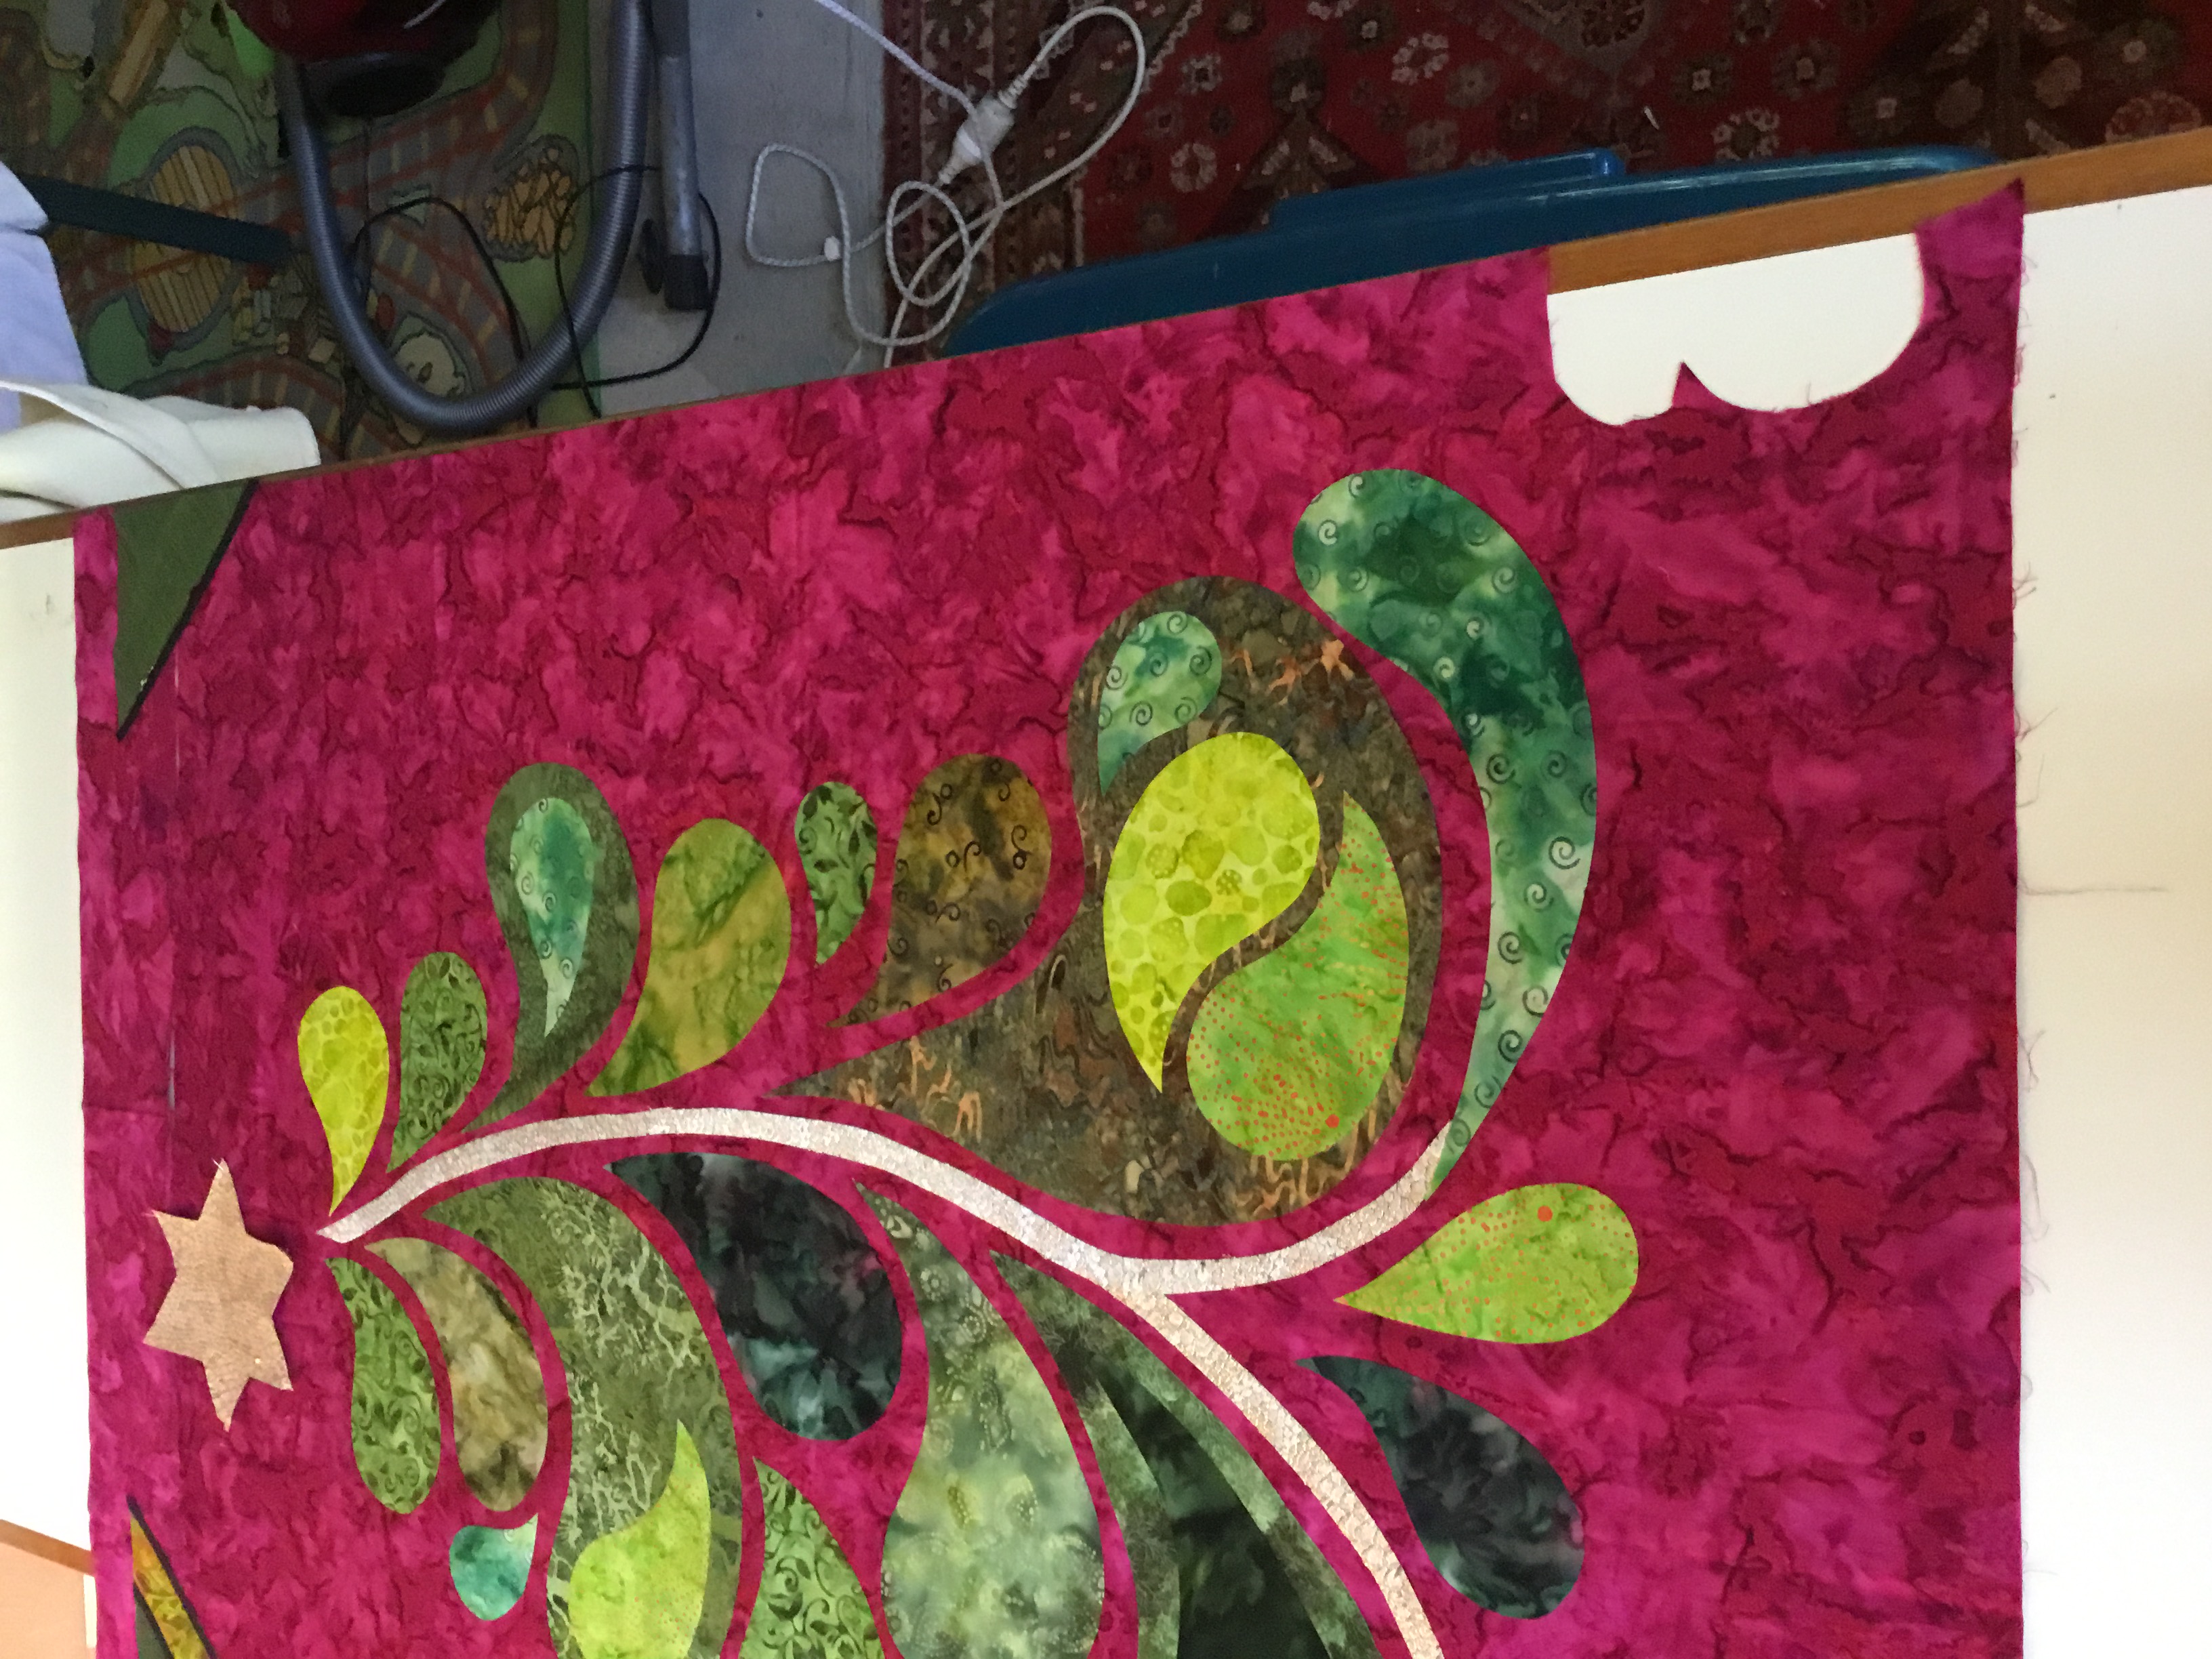
Monday evening I have been appliqueing more drops down only 9 to go, and I sliced up my star fabric to iron down Nancy’s crown for machine Applique Im having so much fun.
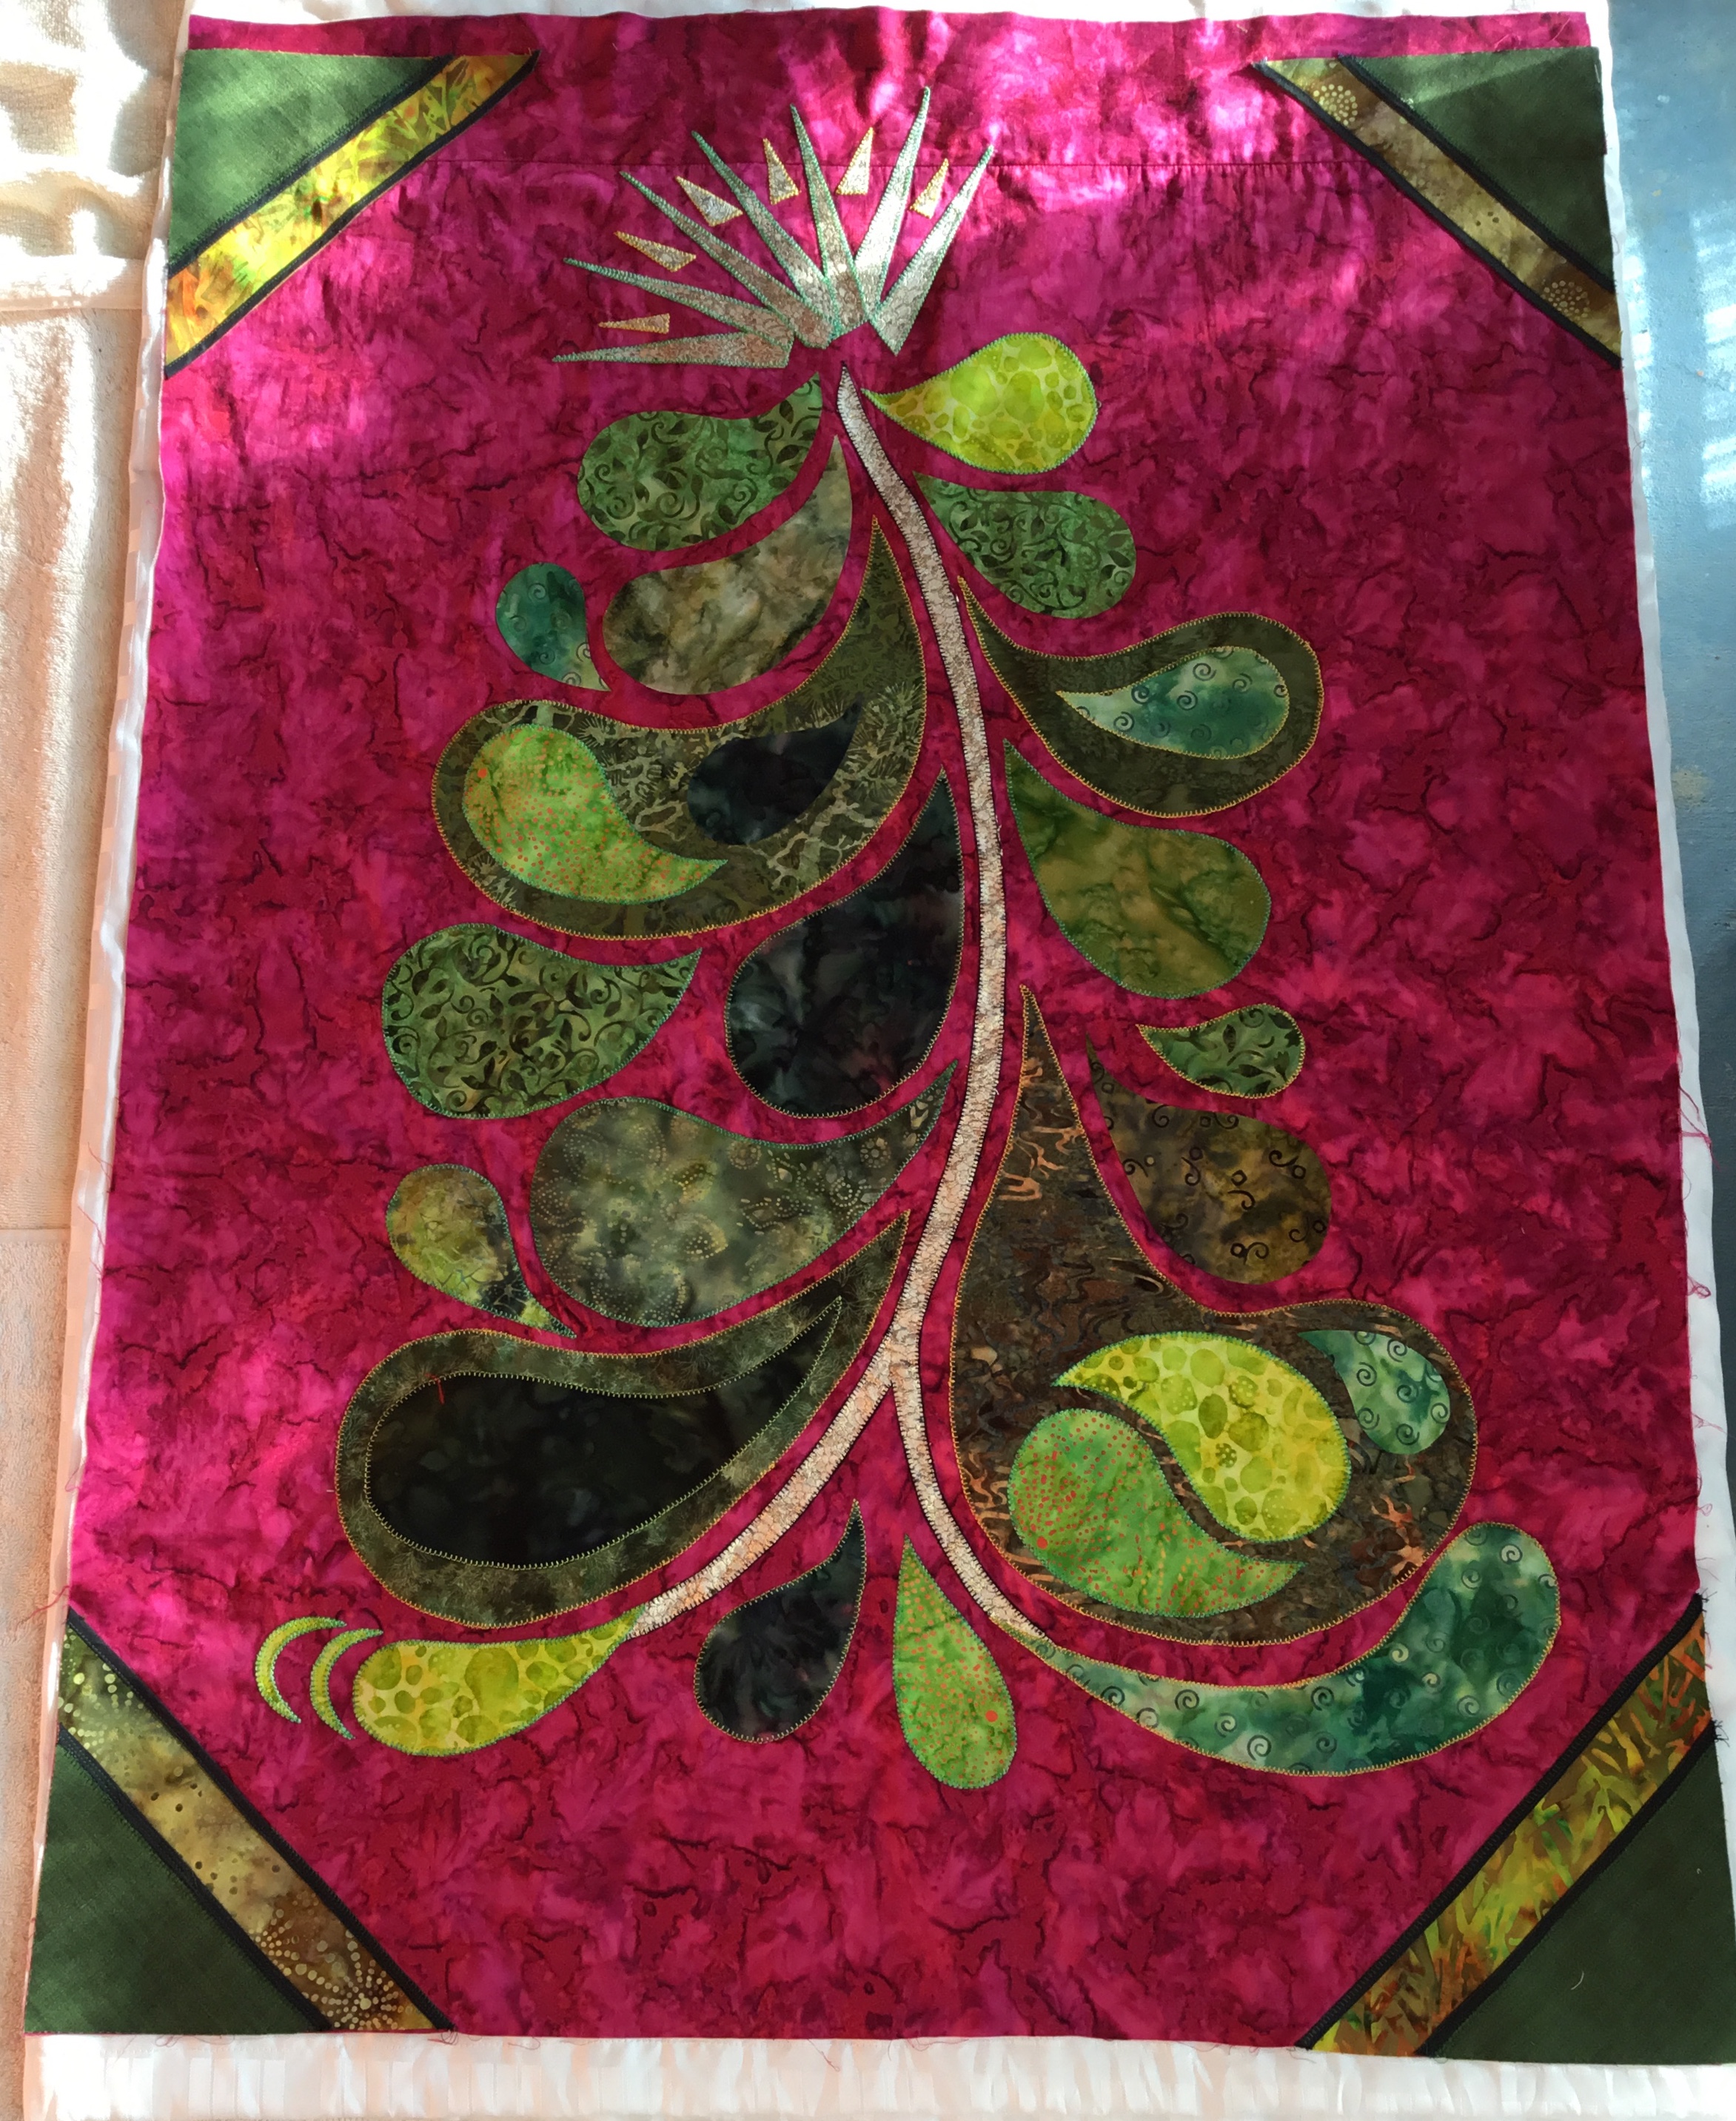
Tuesday. Daylight photo taken as the sun creeps in to the room, it does show the true colours of the fabric up much nicer than night lights. Only 5 petals to appliqué down now
I have started to machine applqiue the shapes down it is very slow so will not be done in a day LOL Will let you know how it goes. Cheers Glenda
13 Responses to Nancy’s Tree Part 2 Dec 2017