Finally found some time to add photo’s and drop a line. It feels like I’m going backwards with my LE as last time I blogged I showed my centre completed with the petal stars around it, but nothing was sewn down, this is really where I’m up to now with just 4 wee flowers sewn on, I’m trying very hard to have my cones and wee flowers all attached by the 15th of August before Part 3 is released.
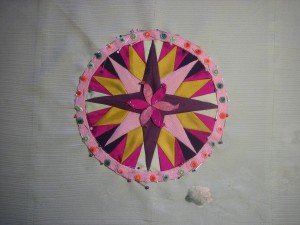
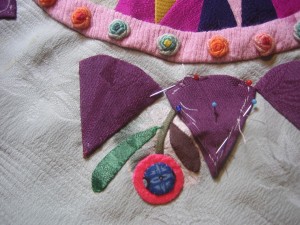
Finally I have my compass pinned and sewn in place. But I could not make up my mind about the centre circle?????I tried many different ideas??????
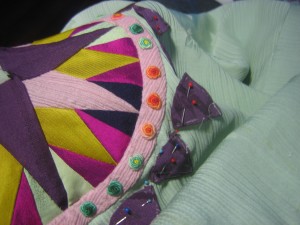
I've added this photo as it shows the silks in there true colours and the background is this soft green.
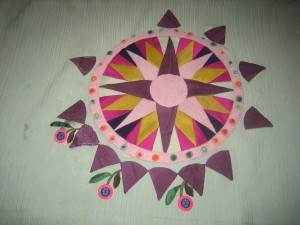
First I stitched every second cone and then started to add my wee flowers and the second cone. I thought if I did it this way I would not get tiered of doing the same thing over and over if I just added all the stems then the flower heads and so on????? So far I still want to make another complete flower and then another. I finally settled for a pink centre in my compass as you don't notice the wonky last star so much LOL?????
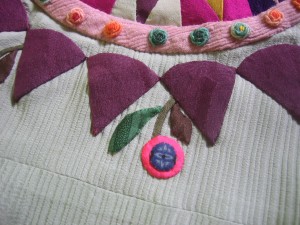
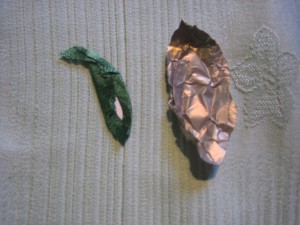
I ended up making my little leaves by pressing them inside tinfoil. This works perfectly for the tiny pieces of silk as they don't slither like they do when trying to needle turn them.
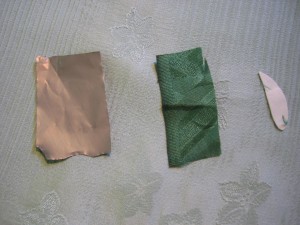
you need tinfoil, a template made of 4 layers of freezer paper ironed on top of each other of your tiny leaf and I have used very very fine silk
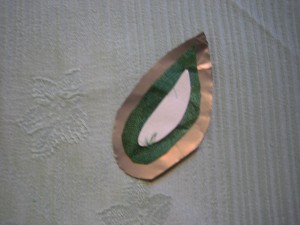
Cut Tinfoil a good 1/8th wider than silk, silk 1/8th of an inch wider than template. Now fold tinfoil over on to the template with silk between the two; fold firmly pushing firmly around the edges so that you will have a nice smooth edge.
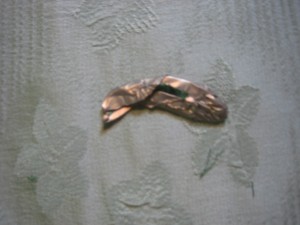
Hmmm it looks a bit strange but thats what you end up with, notice that the point end is not folded under you need to do this when you appliqué it on to your background fabric. Now iron with a hot iron both sides.
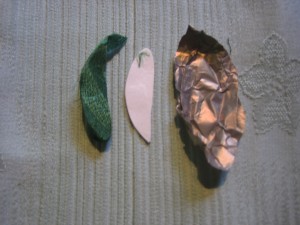
Now gently remove template from inside of the silk and you have a nicely shape wee leaf with a tail 1/2 long 1/4inch wide ready to be appliquéd on.
SO Kay thats how I use the tinfoil. this is not my idea I saw it on the web or may be UTube, I just wish I could give the person the credit for this great idea for quilters who read or use this idea????
Cheers ALL Glenda

LOL tinfoil! who would have thought – I have never seen this done before. We learn so many things from reading others blogs. I need to continue working on my zigzags this weekend. I would like to get at least one section glue basted in place before starting another.
They look lovely! And you have done it!!
I think the whole thing will look stunning on that silk background….
Sure looks like you were cookin here Glenda LOL. What a great idea. I love that you are making this with lovely silk.. I don’t think I could do that. I love what you are doing so far. Its beautiful. Bunny
I saw Sarah Fielke demonstrate a circle using a very similar technique. I don’t know if this was originally her idea or not. Your use of tinfoil reminded me of hers.
Hi Becky I did a search on this again on the web before I posted, a couple of demo’s have come up but not the original one I saw. But the idea sure stuck in my mind for working with very very fine silk. I have checked out Sarah blog but I have never seen her site before so it was not Sarah. I guess this may have been around for some time and is just been rediscovered by appliqués!!!!!! Cheers.
Thanks for the demo Glenda – That should work well for the petals as well. Kay
Hi Kay who ever did the demo I saw used it on petals and both ends had little tails like Sue (Daley) teaches Cheers Glenda