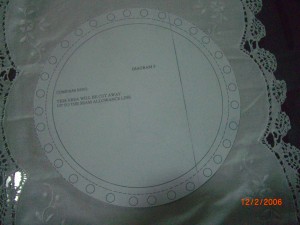
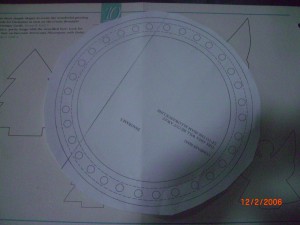
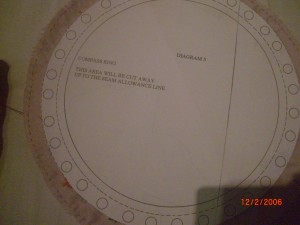
2nd step cut out a perfectly smooth circle what you cut here is what you end up with so make sure you cut smoothly around the lines no dips or bumps!!!!
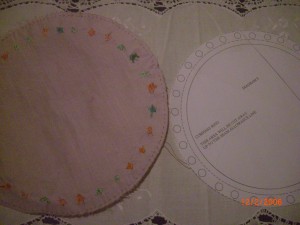
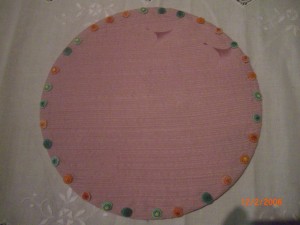
3rd step back of circle with your tiny circles attached, now sew tiny running stitches around the outer edge of circle, this thread needs to be very long as you have to sew around with one thread the whole way; make sure the beginning and end threads are on the right side of the circle not the back and are at least 4inches long so it is easy to pull them
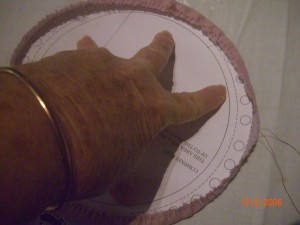
5th step hold cardboard firmly in the centre and pull those 2 threads tightly away from the centre the fabric will roll over the cardboard like magic, pull till tight and tie off.
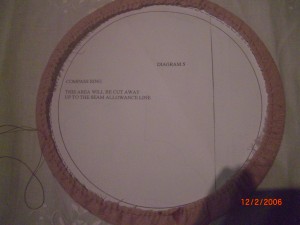
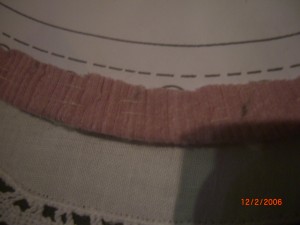
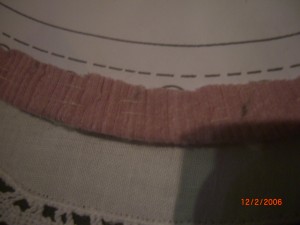
6th step Iron and the tack down the rolled over fabric making your tacking steps no more than a inch long.
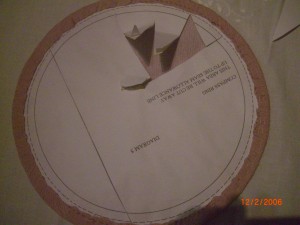
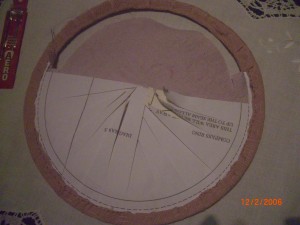
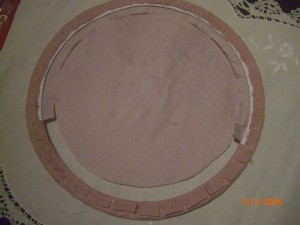
10th Step Now you need to insert a pair of scissors through the cardboard about the centre of the circle and cut to the inner circle, make lots of cuts from the centre to the seam line but don't cut through the seam line.
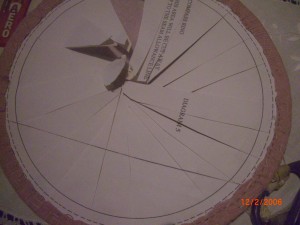
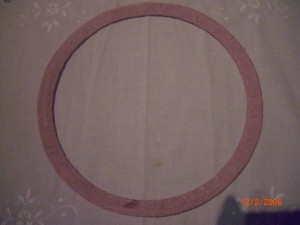
11th Step note all the cuts this makes it a lot easier to control when you are cutting away the cardboard. you will end up with cardboard just the width of the completed circle in the end
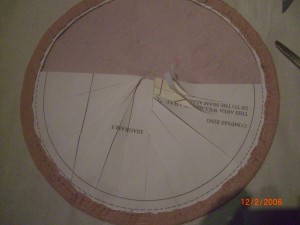
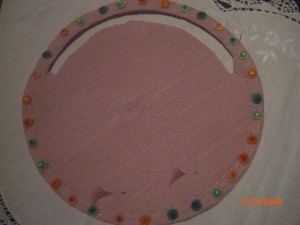
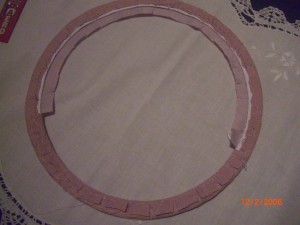
12th Step cut away only 1/2 the cardboard to start with, the other 1/2 will keep the fabric firm while you do the next couple of stages.
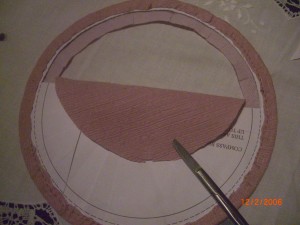
13th Step gently cut away the fabric leaving a seam allowed clip this seam allowance to almost the cardboard every 1 inch
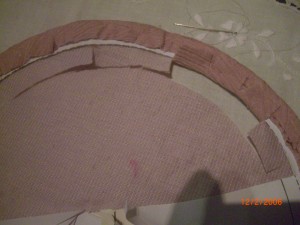
14th Step now tack the seam allowance starting one clip from the cardboard this will make your first tacking easier than starting from the first one.

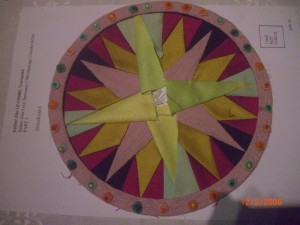
This is unbelievable. It works and it looks wonderful. Congrats on yet another way of doing something.
Wow, This makes such a lovely, perfectly round circle Thanks Glenda !
You are so clever!!!!!
Love the idea.
A couple questions to wrap my head around this idea.
When you are tacking down the fabric in steps 6 & 14, where are you tacking them to?
Are they being tacked to the cardboard?
In step 17, is it the cardboard in the middle that is being cut out or the cardboard that is the ring?
When does the cardboard ring come out?
Thanks
Yes Christine you are sewing through the fabrics and the cardboard all in one step and this stops the fabric from moving and gives that nice sharp edge to the rings.
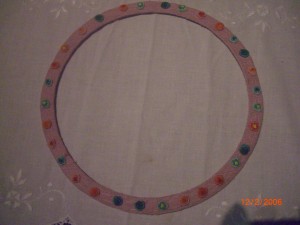
First pin your completed circle to the fabric you are working on now stitch both sides of the complete ring to your quilt or sample block remove all tacking and you now have a beautiful perfect ring, you turn the fabric over and cut down the centre of the circle your stitches will be on either side of the cut, fabric will spring open a little lift cardboard out, now you can add a ring of wadding and slip stitch around the ring to close it again. If you don’t want to pad the circle you can leave it open. Cheers glenda