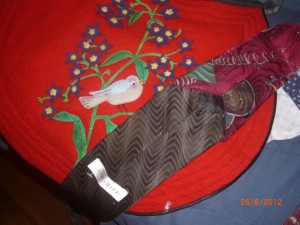
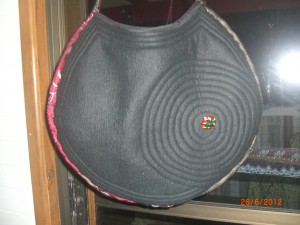
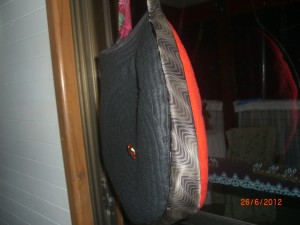
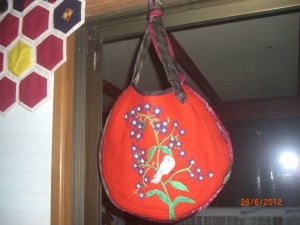
This afternoon I cut out some 1 1/2inch black silk bias for around the top of the bag and stitched it on. Then I joined two ties together to make my gusset
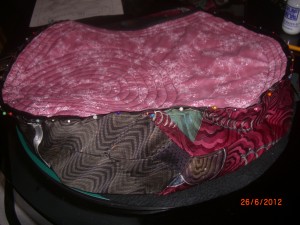
for the shoulder bag, (See older posts for the beginning of bag) slide one inside the other then sew them together by machine, the trick is to choose two ties the same width at the bottom of ties so they sit neatly, wider the tail the wide your gusset is going to be. Pin gusset to the inside of back of bag
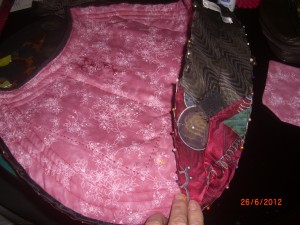
now whip stitch pieces together like you do when joining paper pieced hexagons, small tight stitches very close together for strength..
Pin front to the tie gusset and whip stitch together.
Now turn bag inside out and Hey Presto!!!!! you have a lovely finished should bag, tie the tie ends to the length you like.
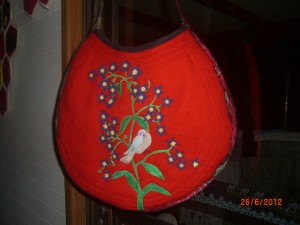
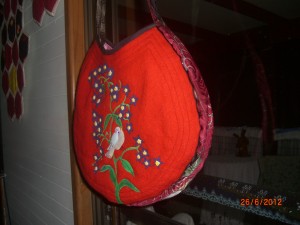
Completed bag almost????????? Front on view. It is only pinned but I just wanted to show you what it will look like.
Tomorrow for WOW or WIP at Esther’s blog
http://www.estheraliu.blogspot.com I will turn it inside out again and whip stitch it all together then it really will be finished. So thank you Esther for a lovely design and for inspiring this shoulder-bag.
Cheers Glenda
glenda_jean @bigpond.com
www.patchworkdreams.com.au

