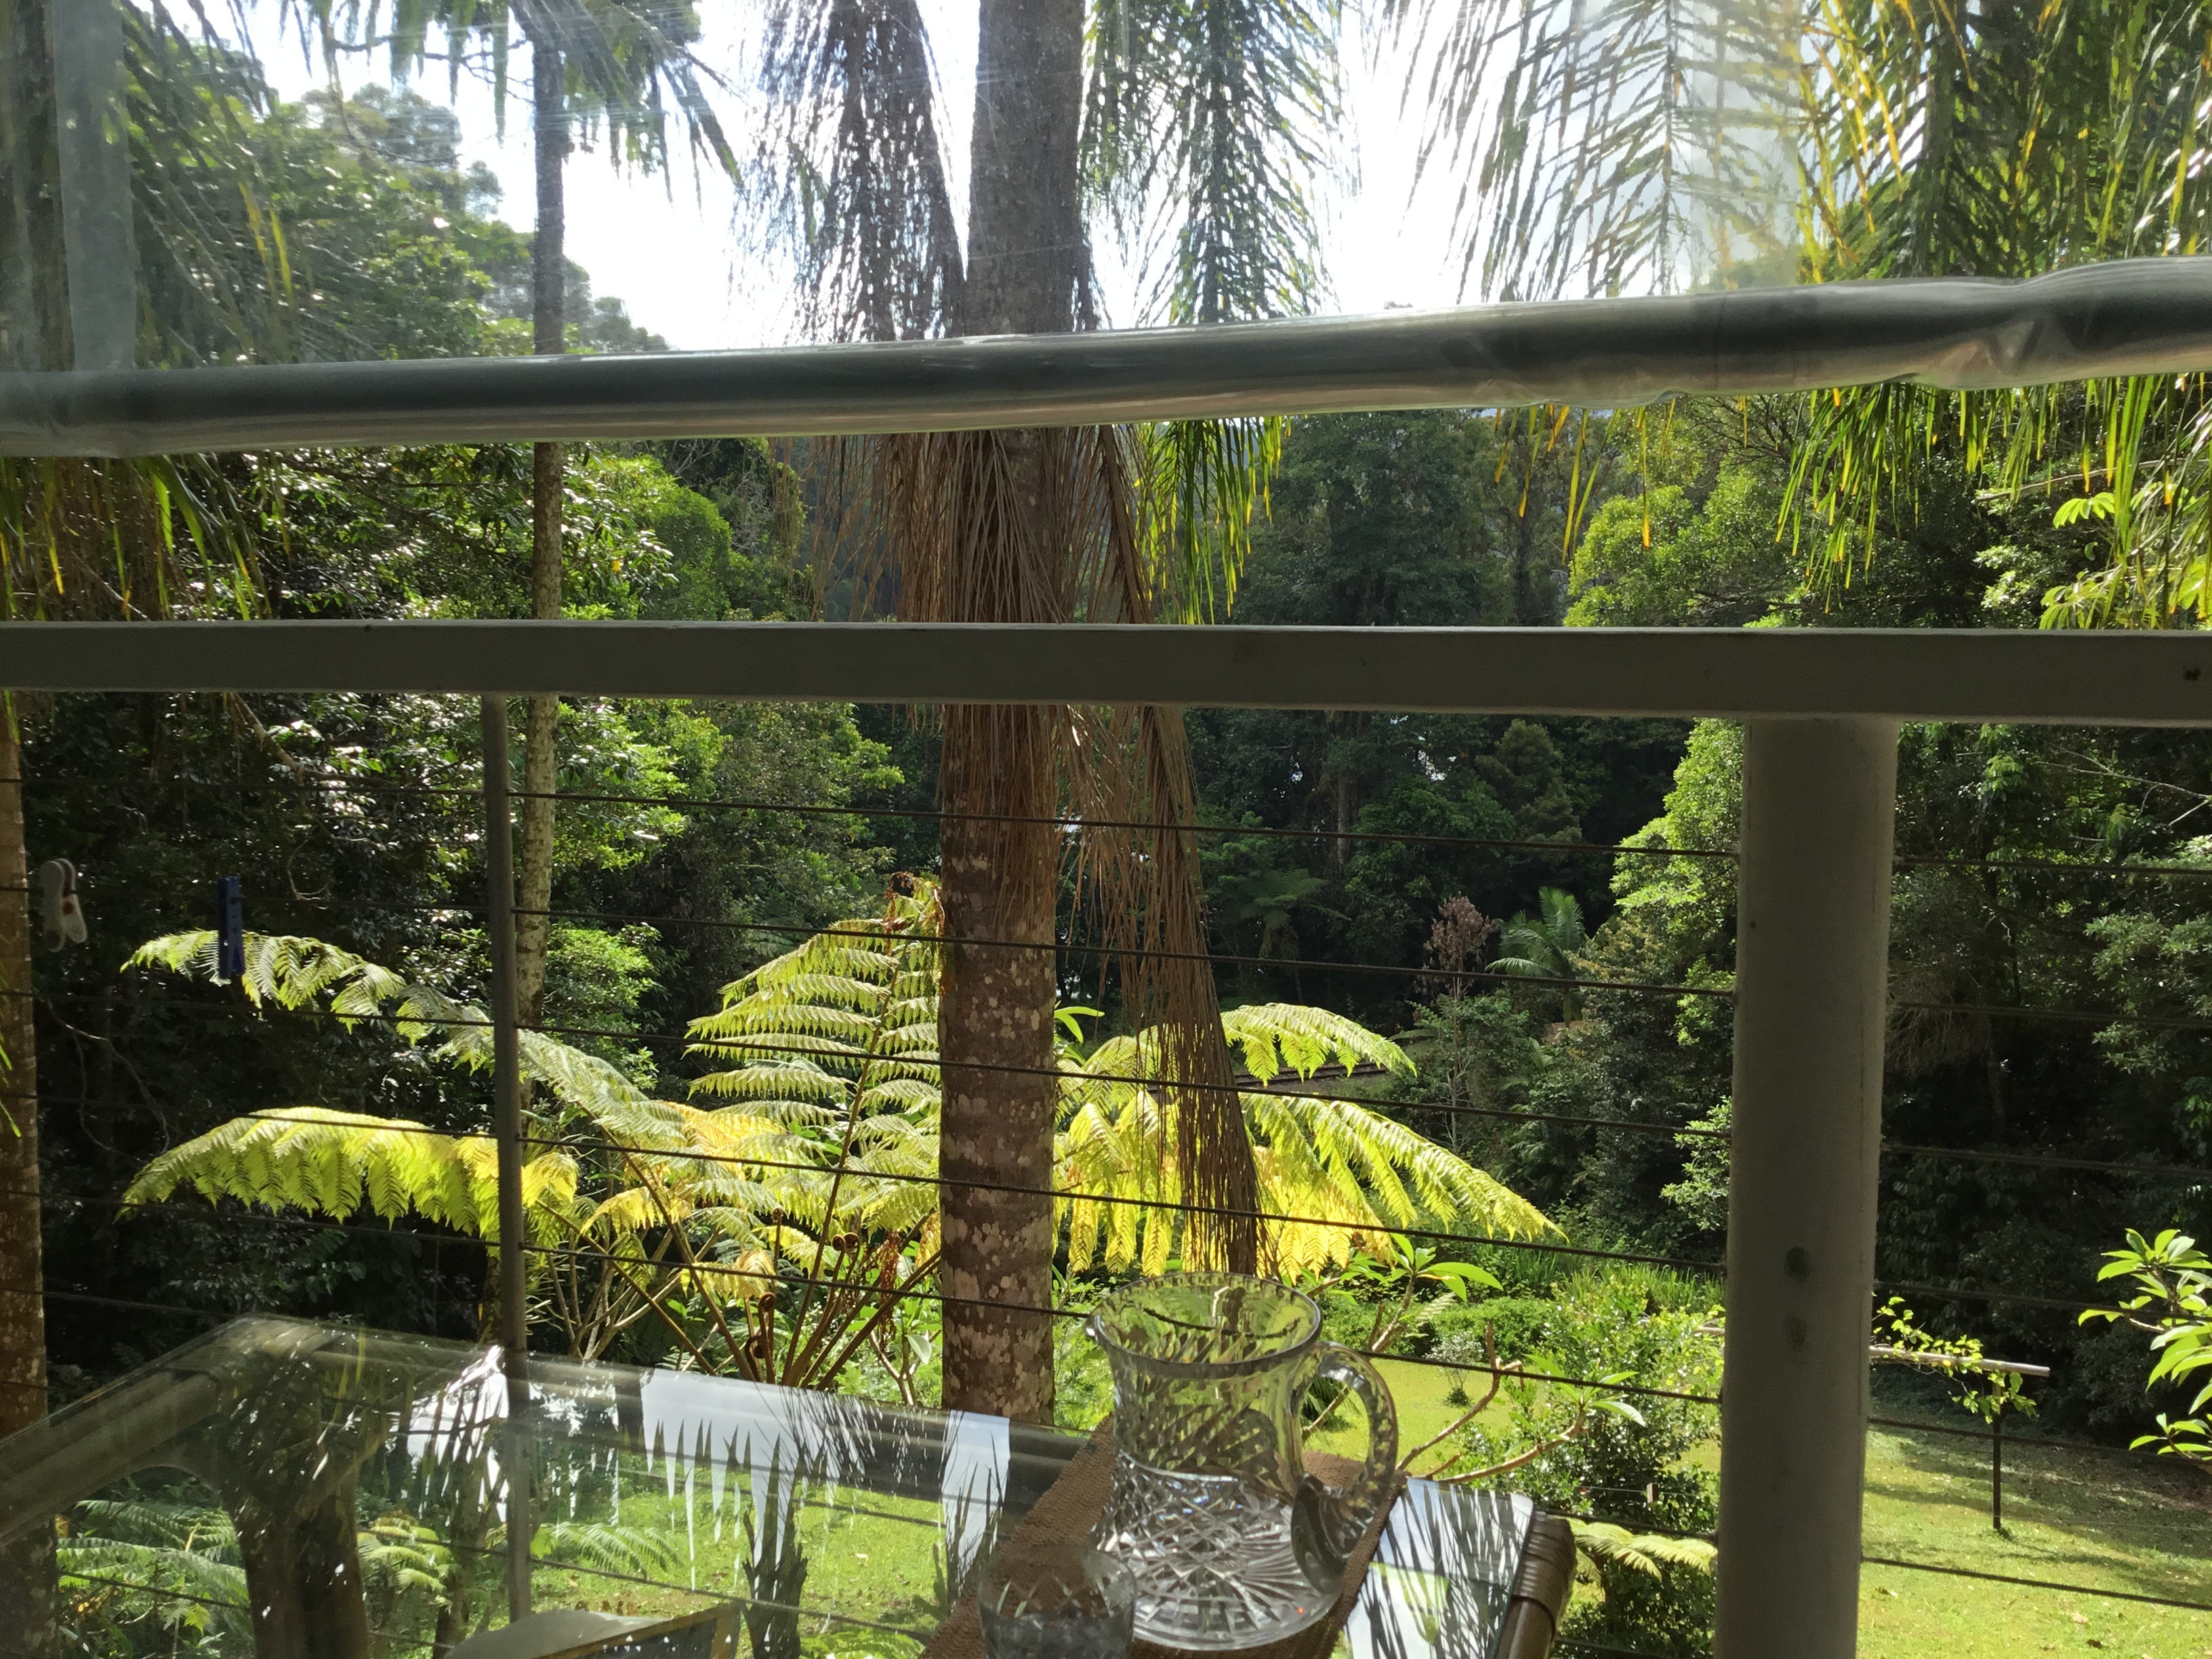
What’s right in front of me as I write my blog!
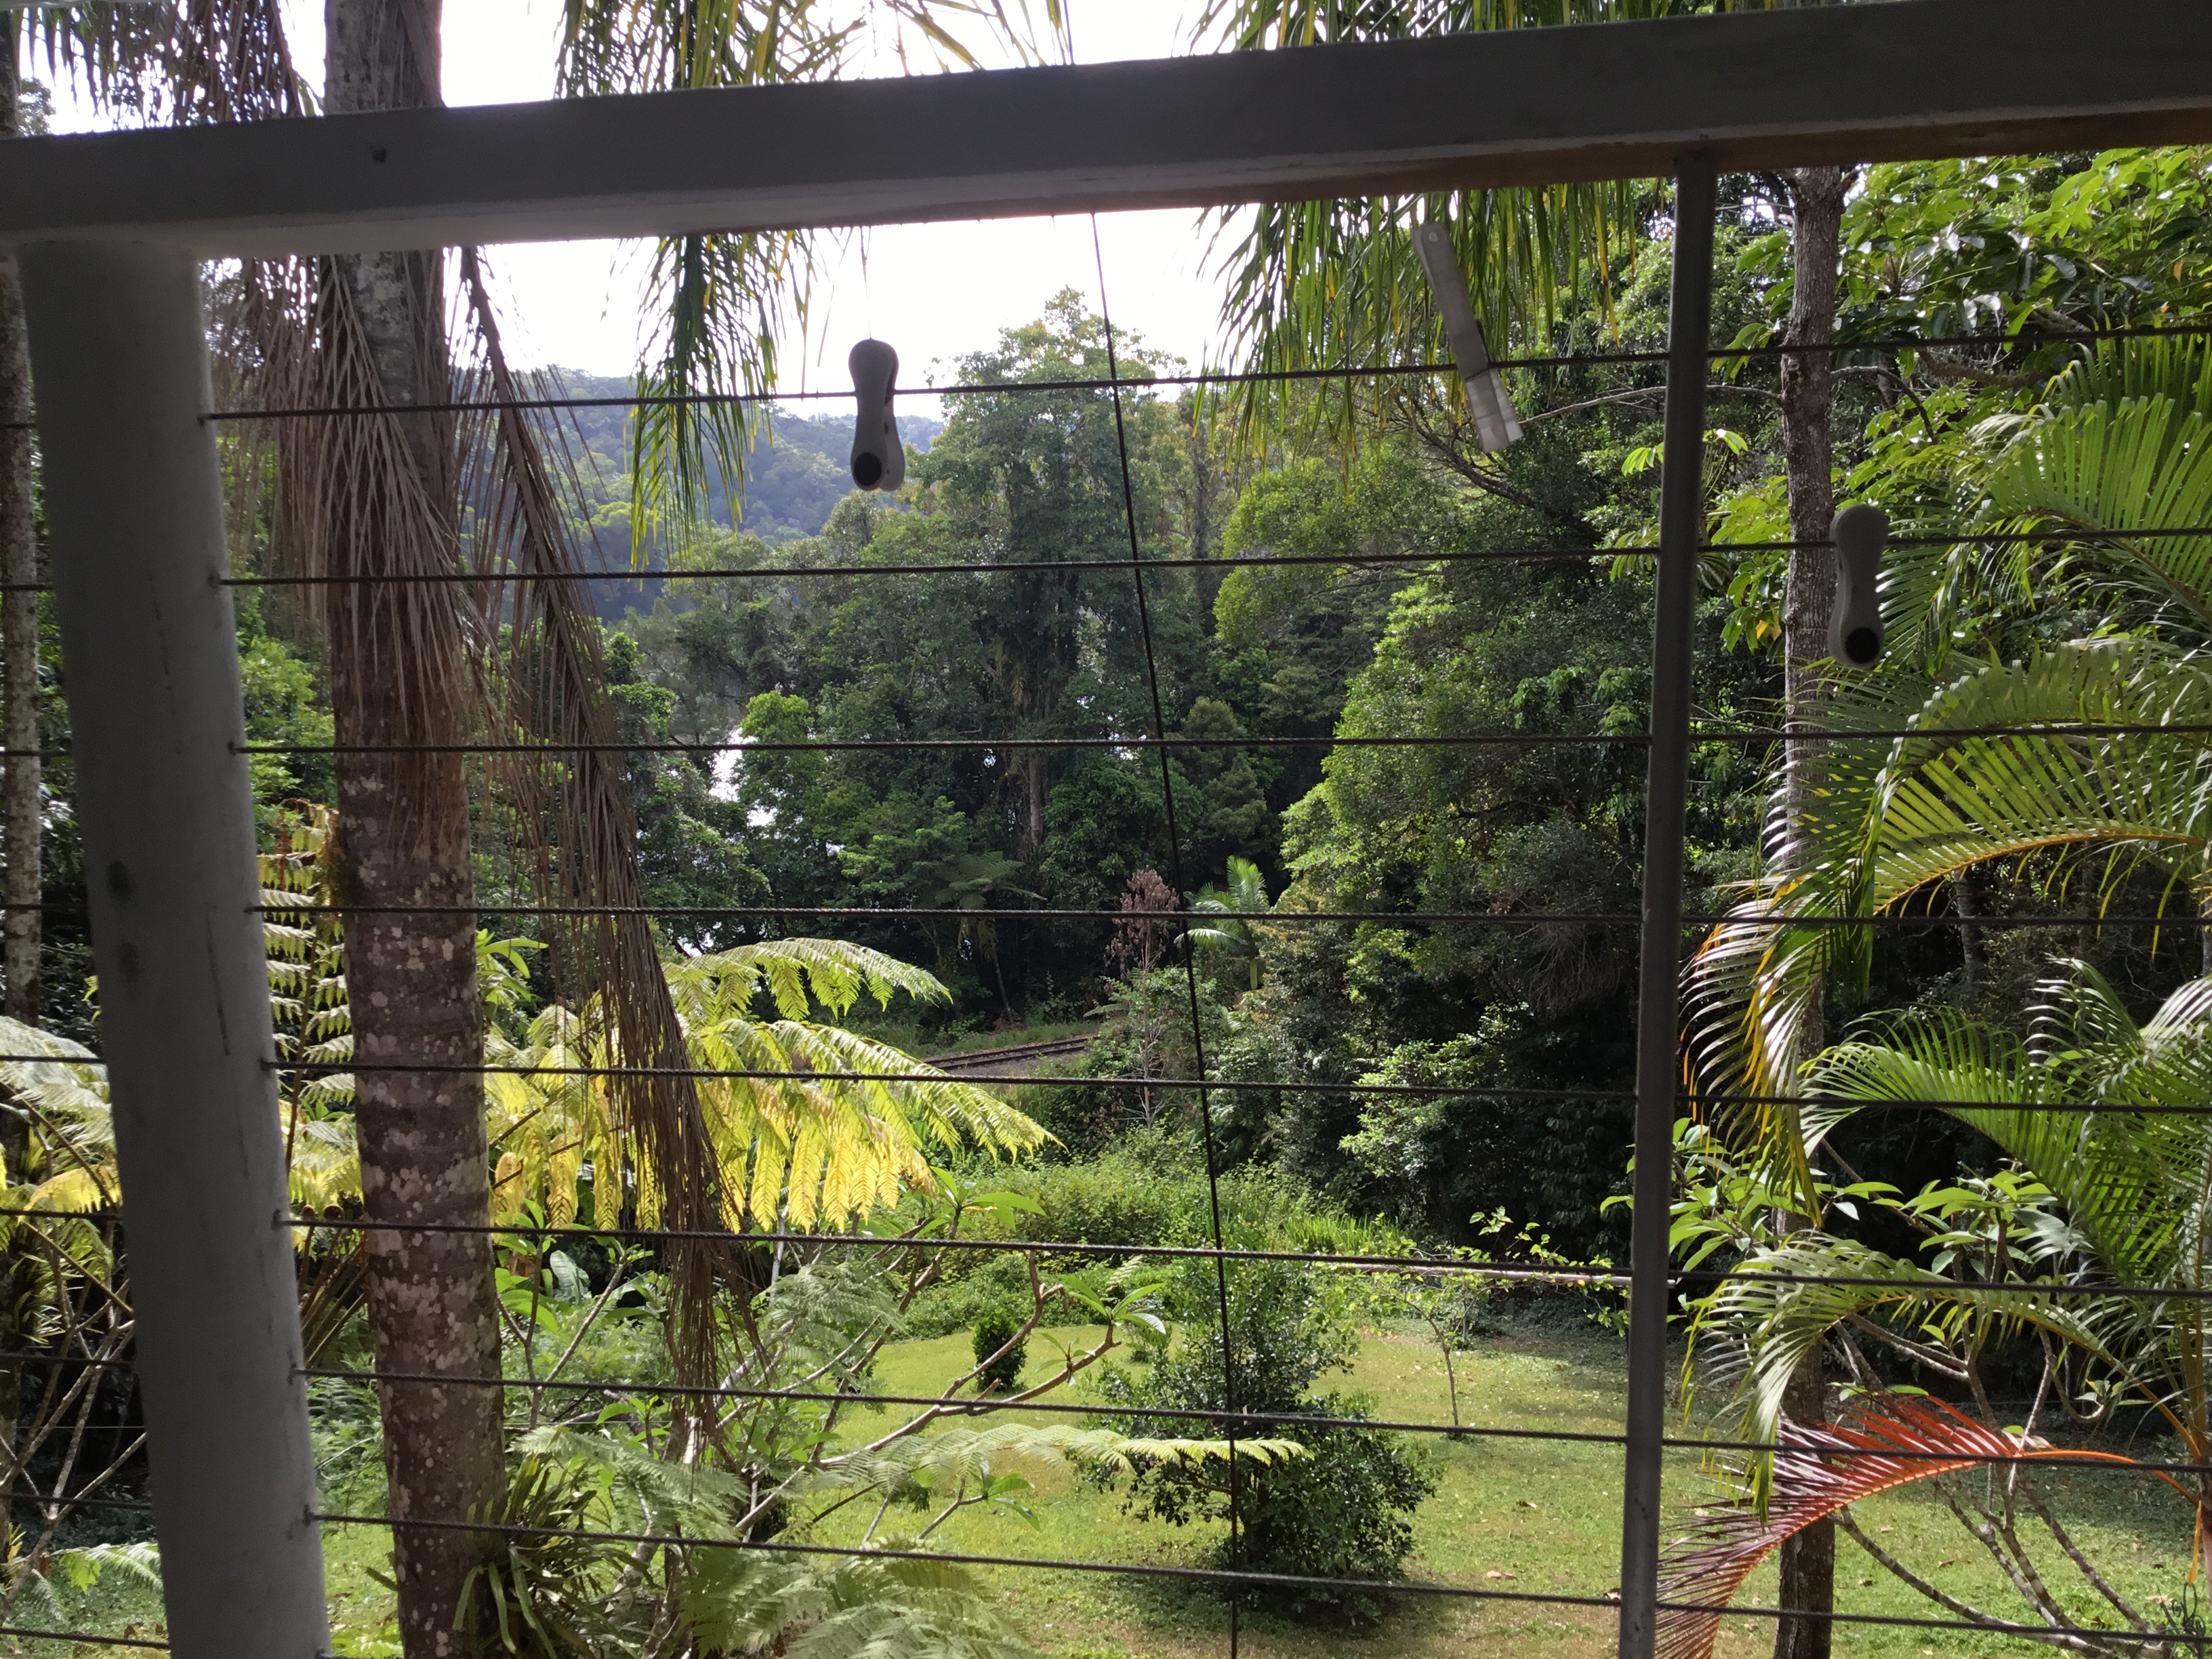
I think every morning how lucky I am to live in such a spot? Looking down to the river and across to the Kuranda Ranges.
I write the 20 th of Nov and realise there’s only 5 weeks till Christmas morning? I realise that all been well I will be at my Son and DDIL’s home and with luck will walk along the beach if I want to at Noosa one of the most beautiful spots in OZ!
But now I’m sitting on my veranda looking at a beautiful view, and thinking about making leaves for my HOTYH Quilt , this is one of the most enjoyable quilts I have ever made, there’s so much in it, many challenges and oh the joy when you manage to do them LOL.
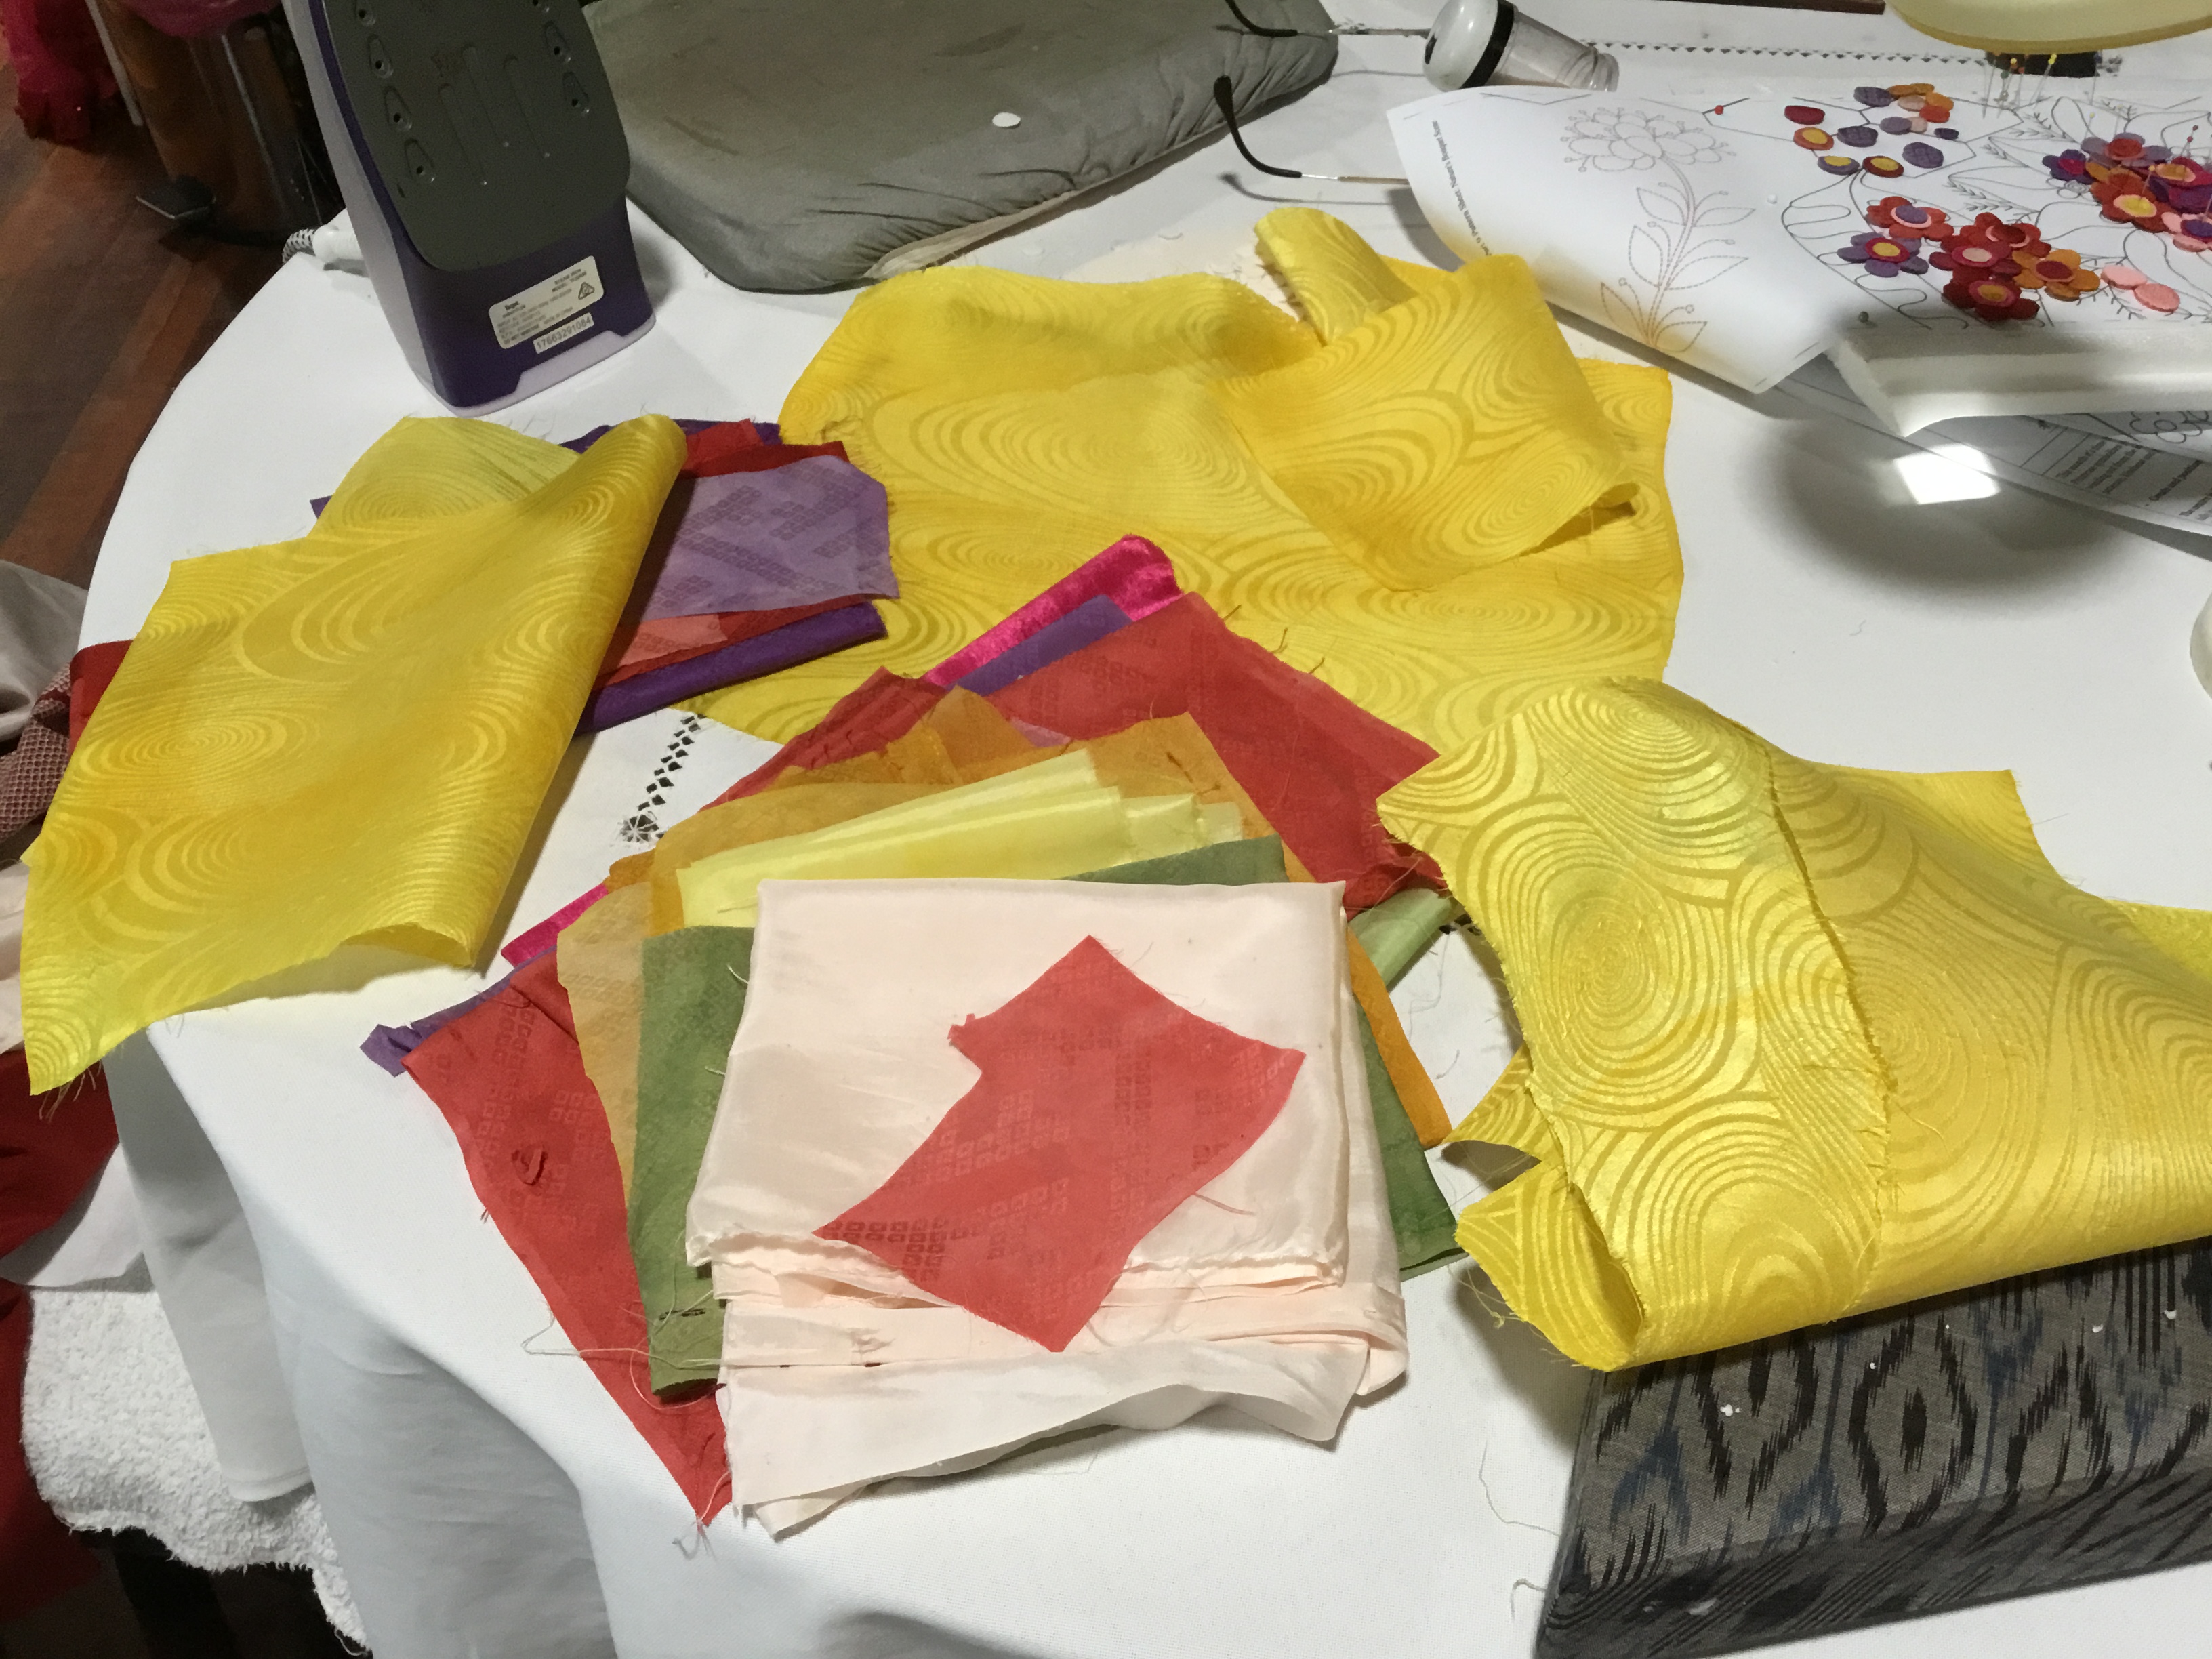
Today I will share in photos how I meet the challengers of making the tiny bouquets.
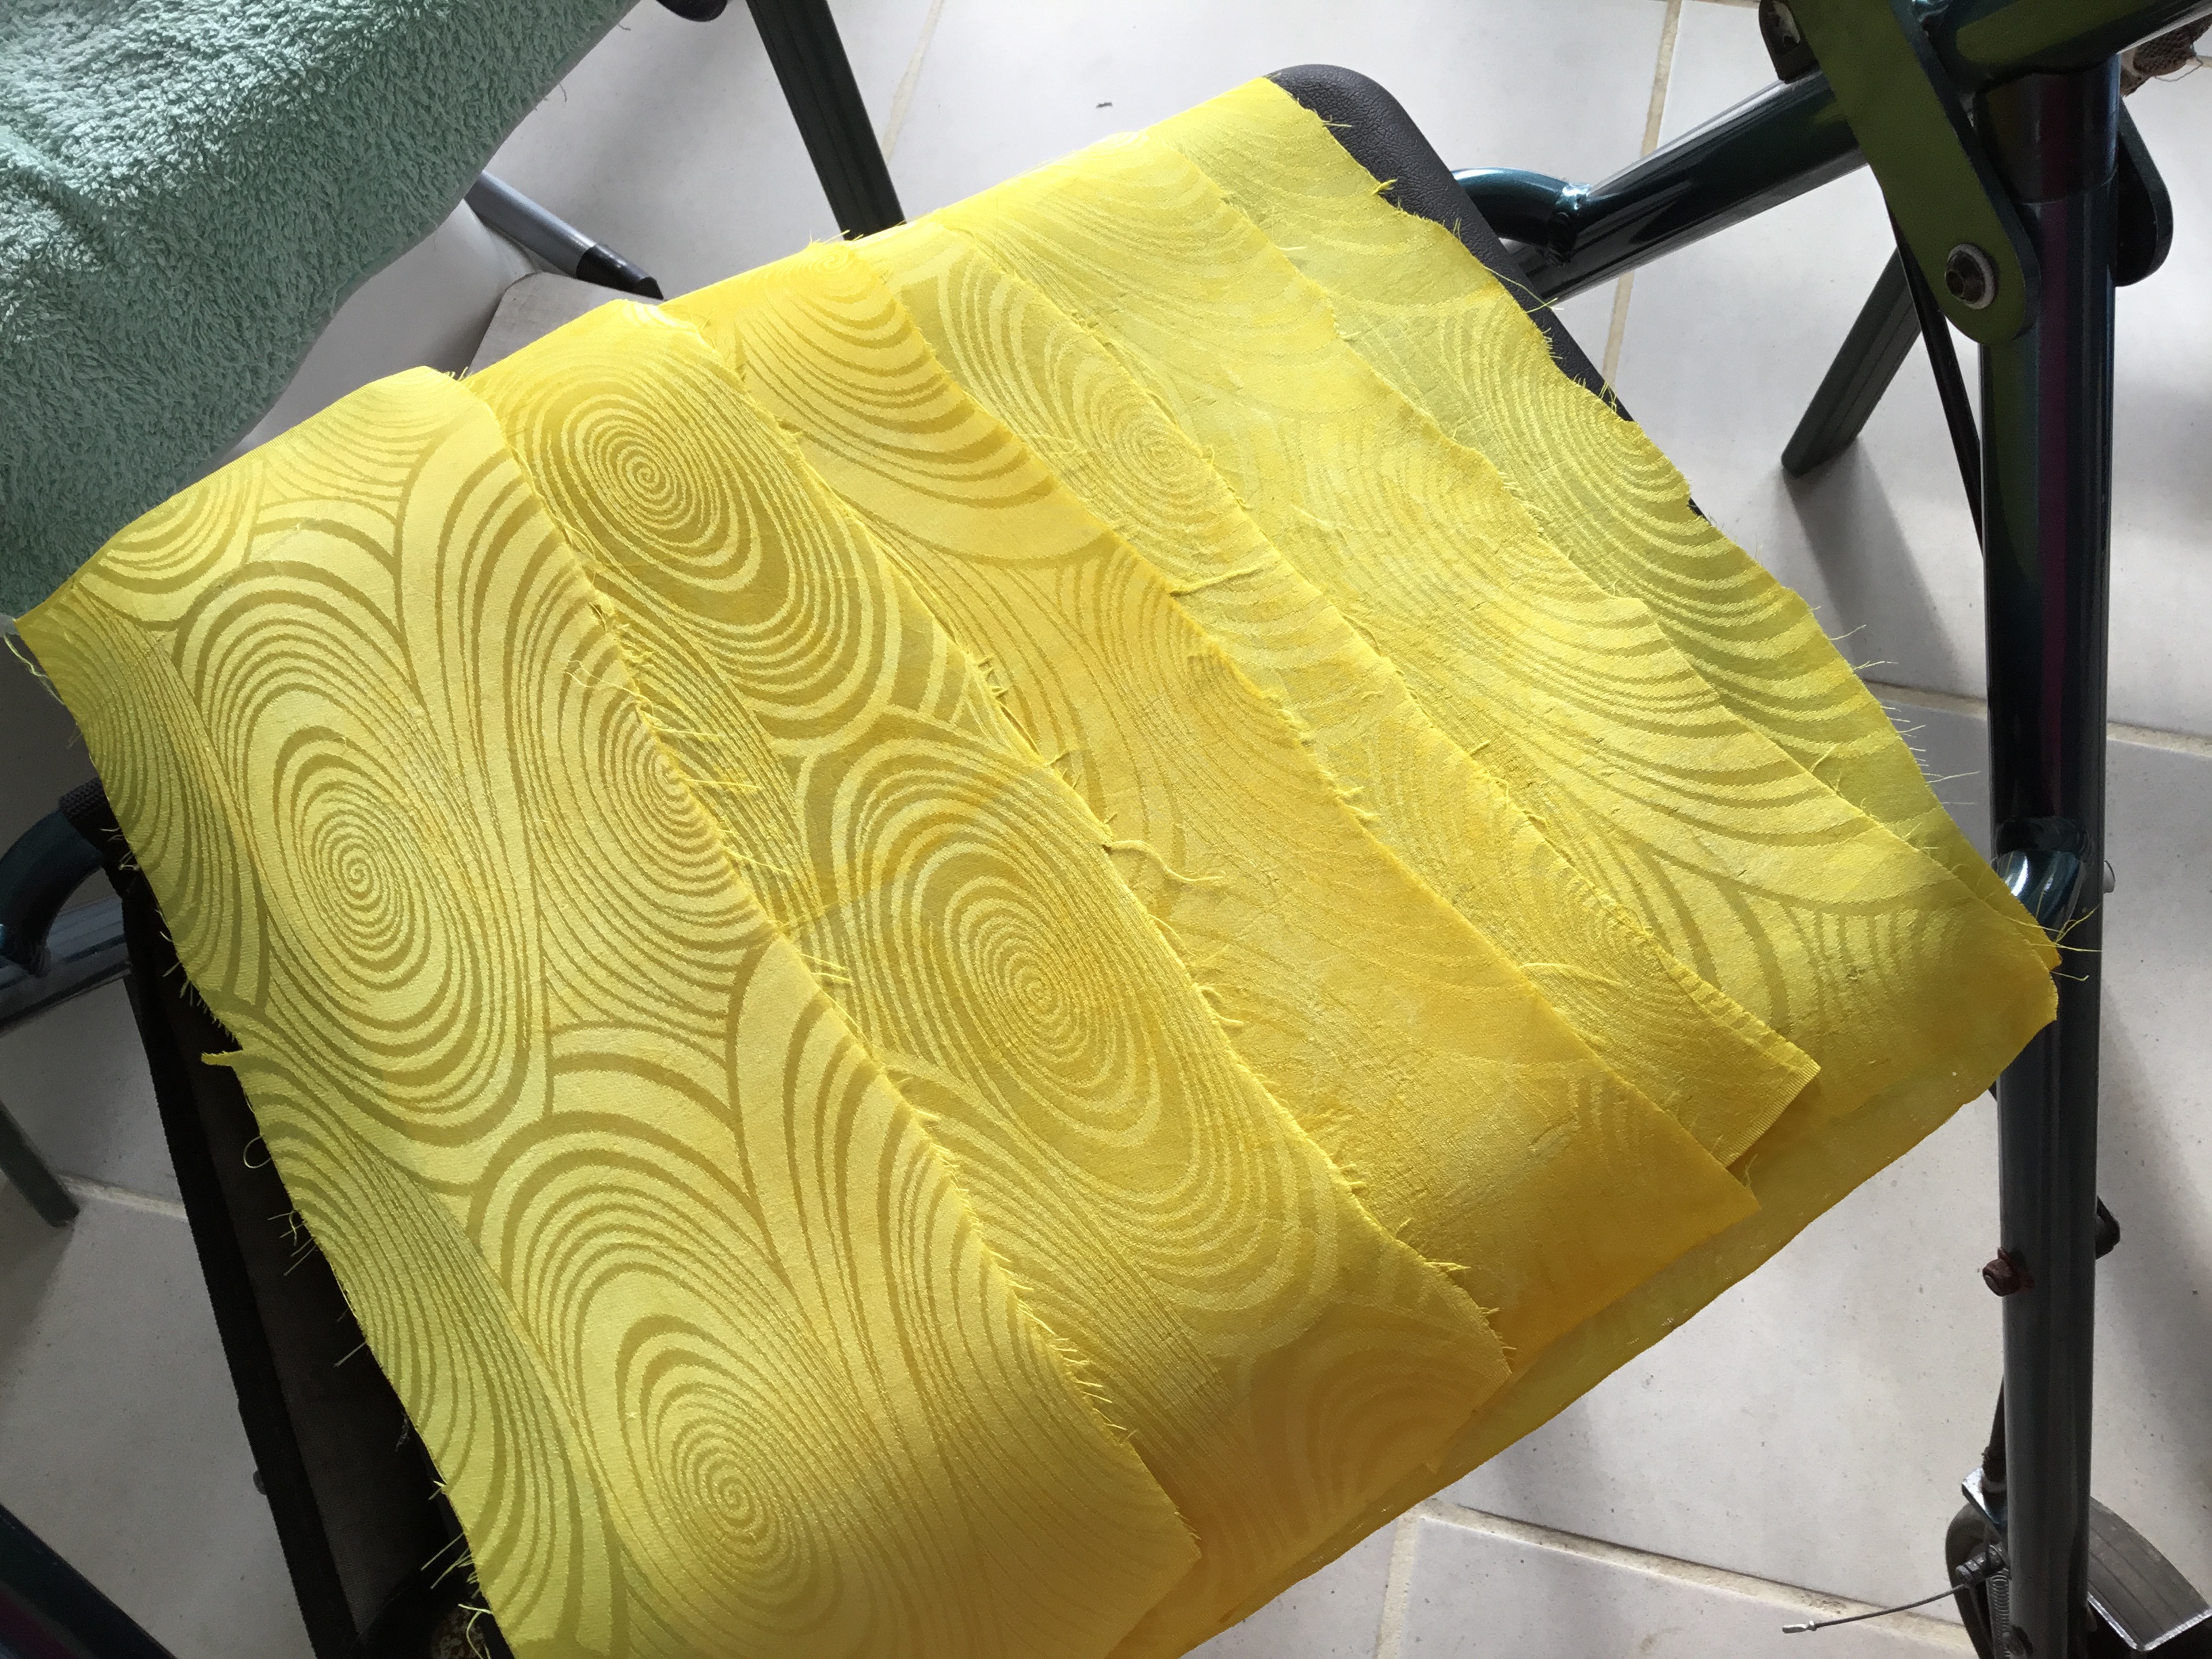
Glorious Yellows I dyed during the week. Its so much fun seeing the fabric change?
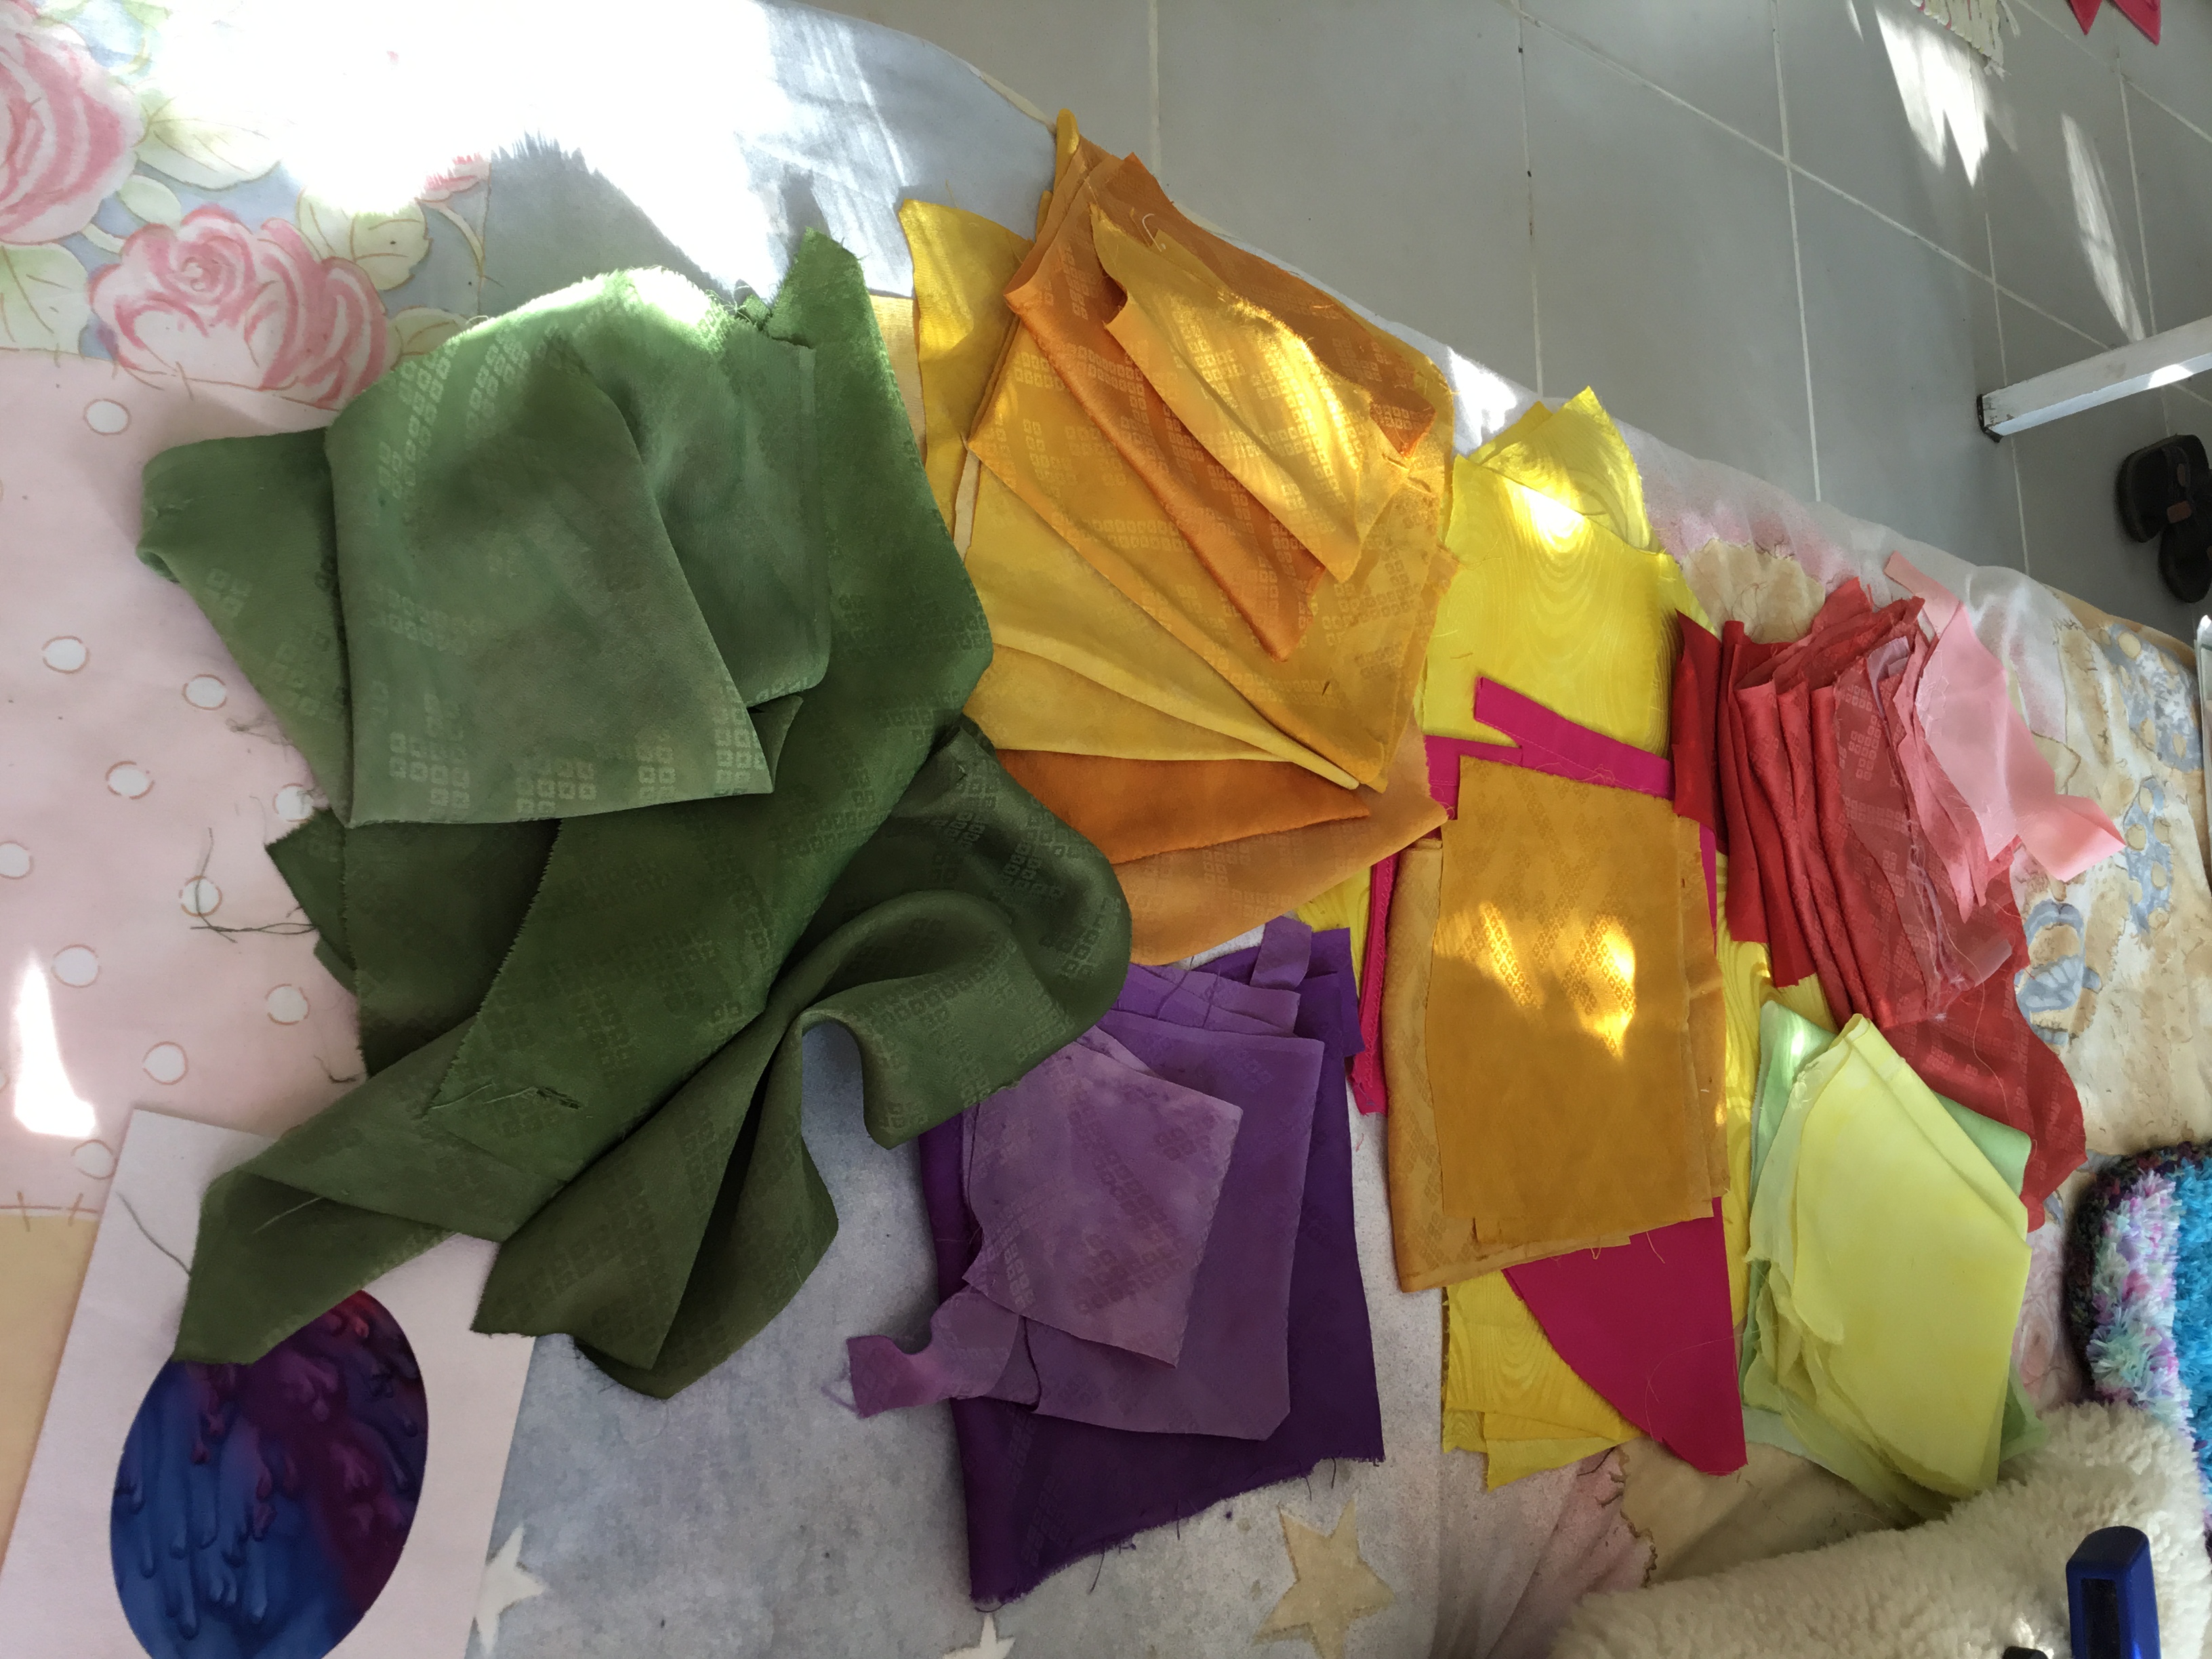
Spent a couple of days dying greens till I got the colour shades I liked
Glorious colours of soft silk all over dyed silk from the one kimono.
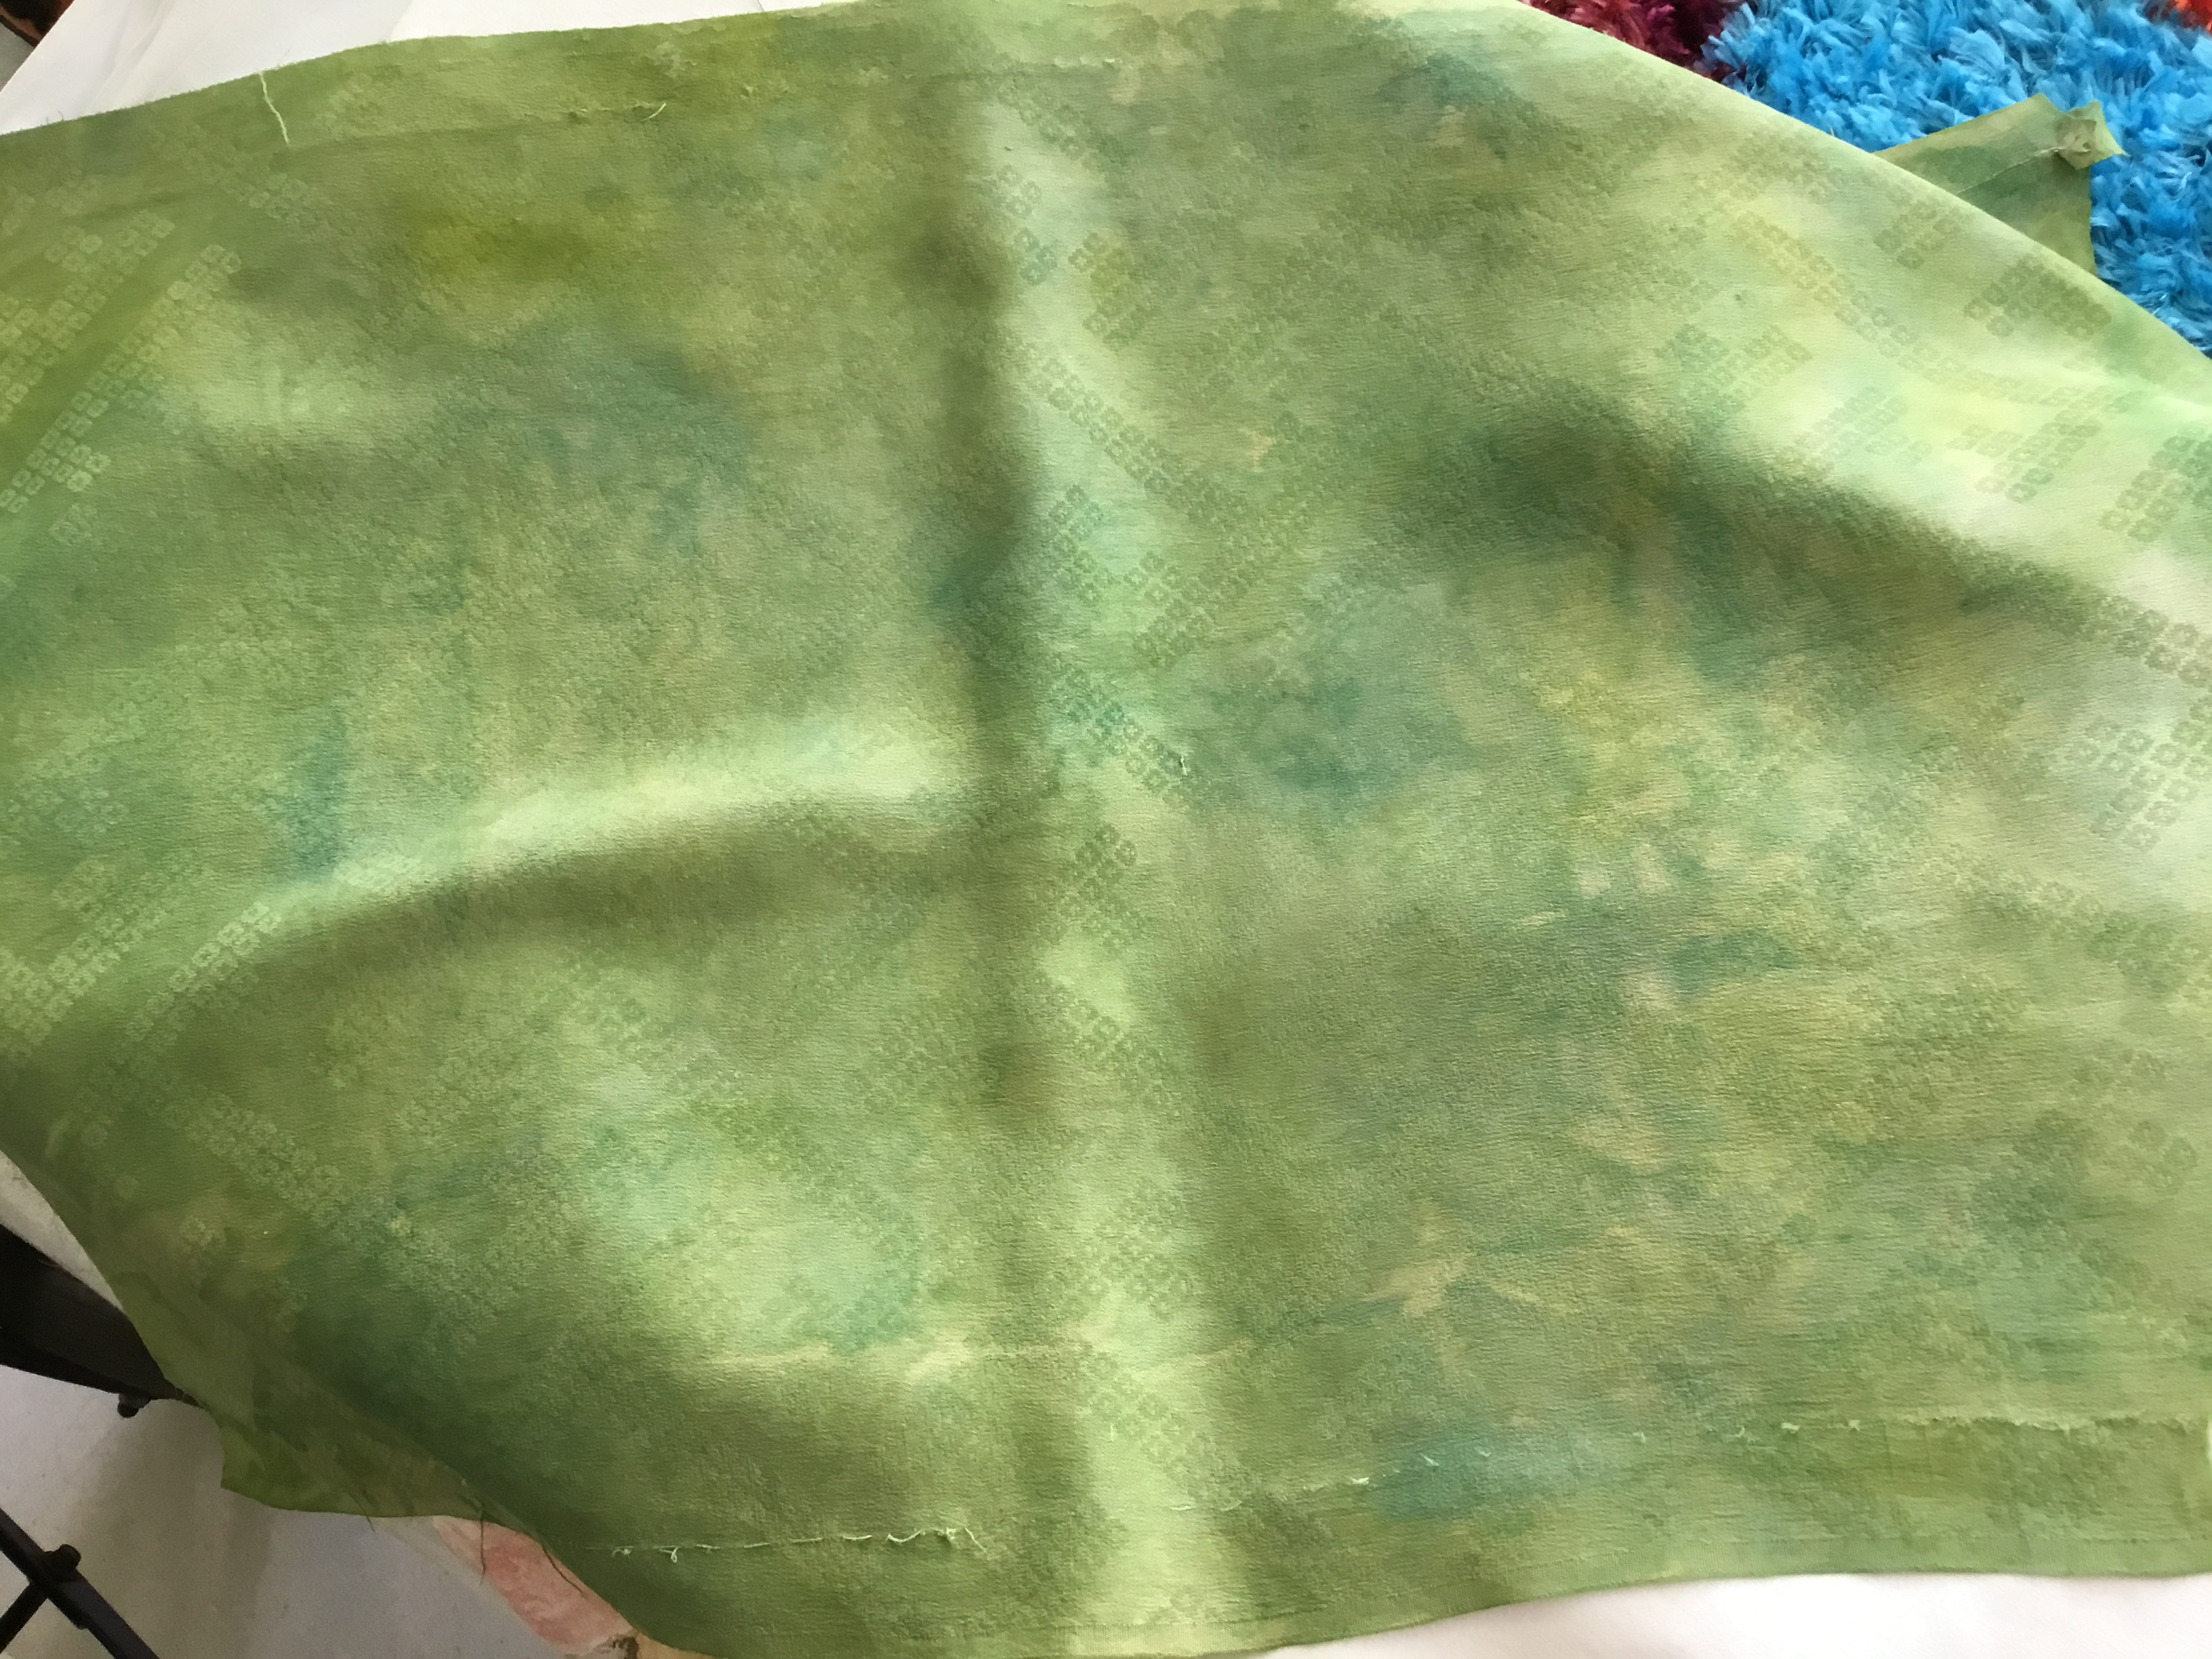
A great mottled green for the light 1/2 of the big leave may be?
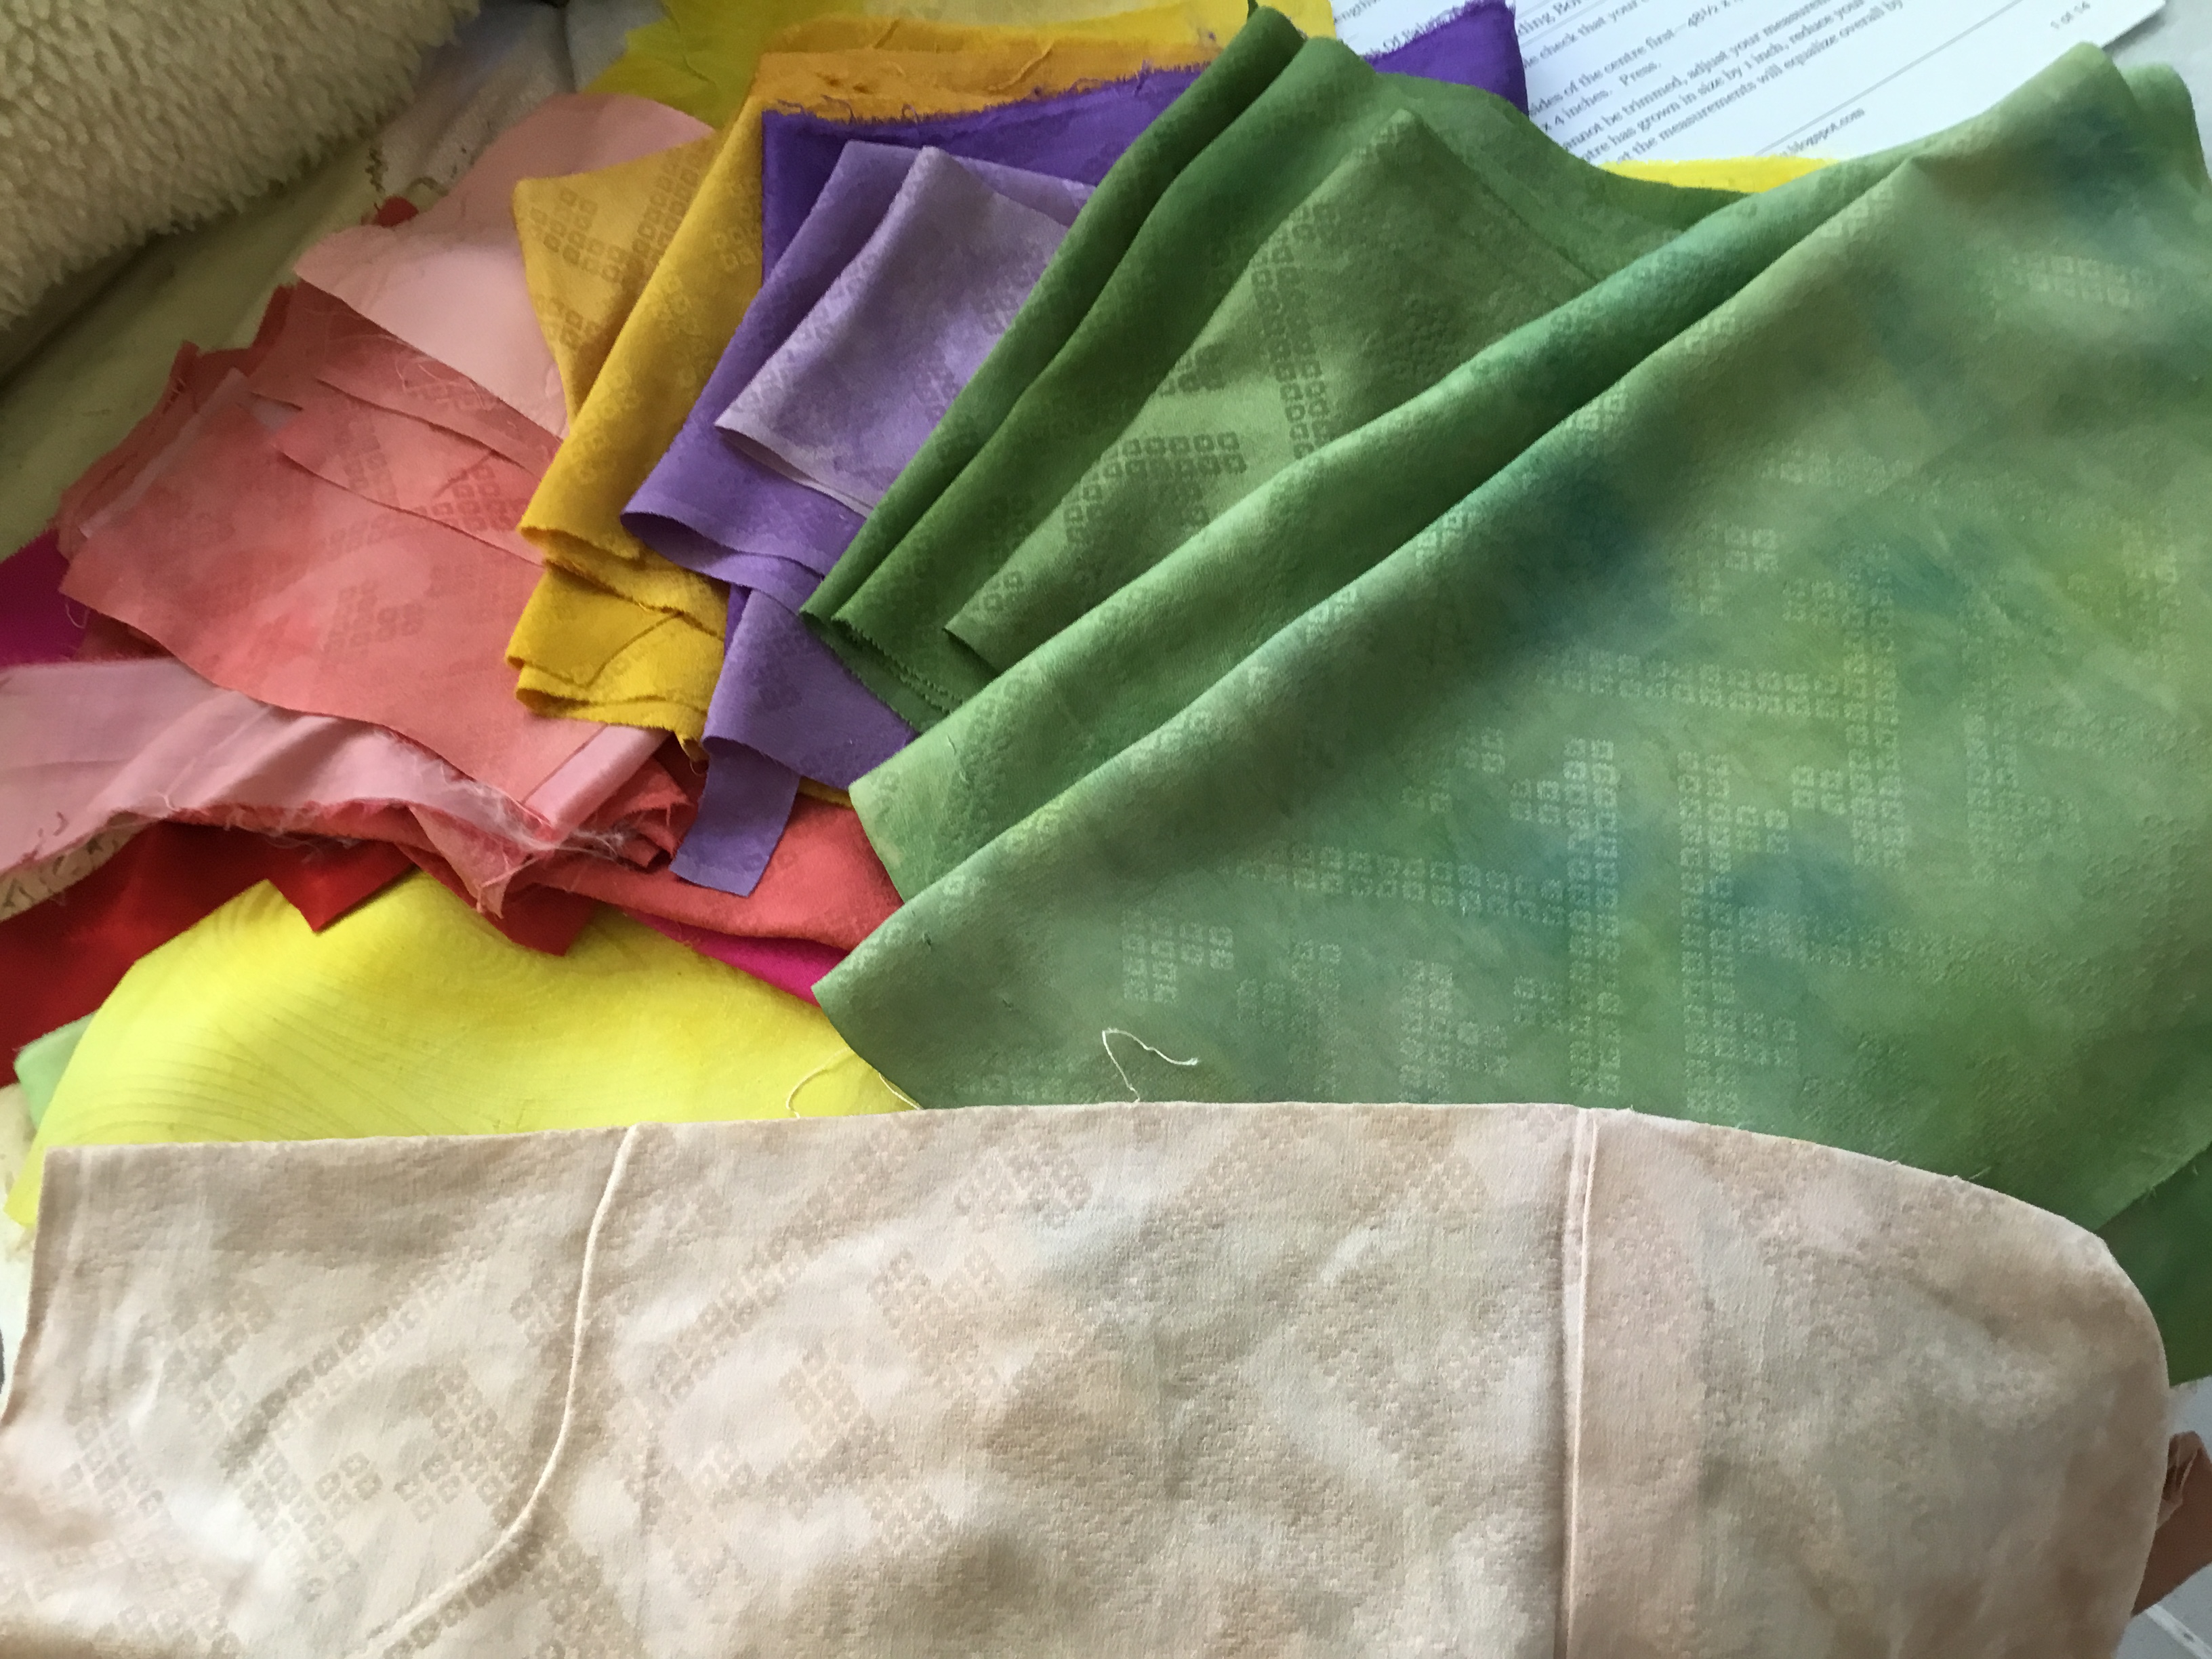
Greens and more greens in the foreground is the silk I used for all the colours I made, it’s a very pale pink mushroom colour, it’s from a silk kimono about 1930’s it has a lovely weave pattern so gives lots of texture to the new dyed fabrics.
Made up 3 leaves first to see if they were going to look like what my mind was seeing LOL.
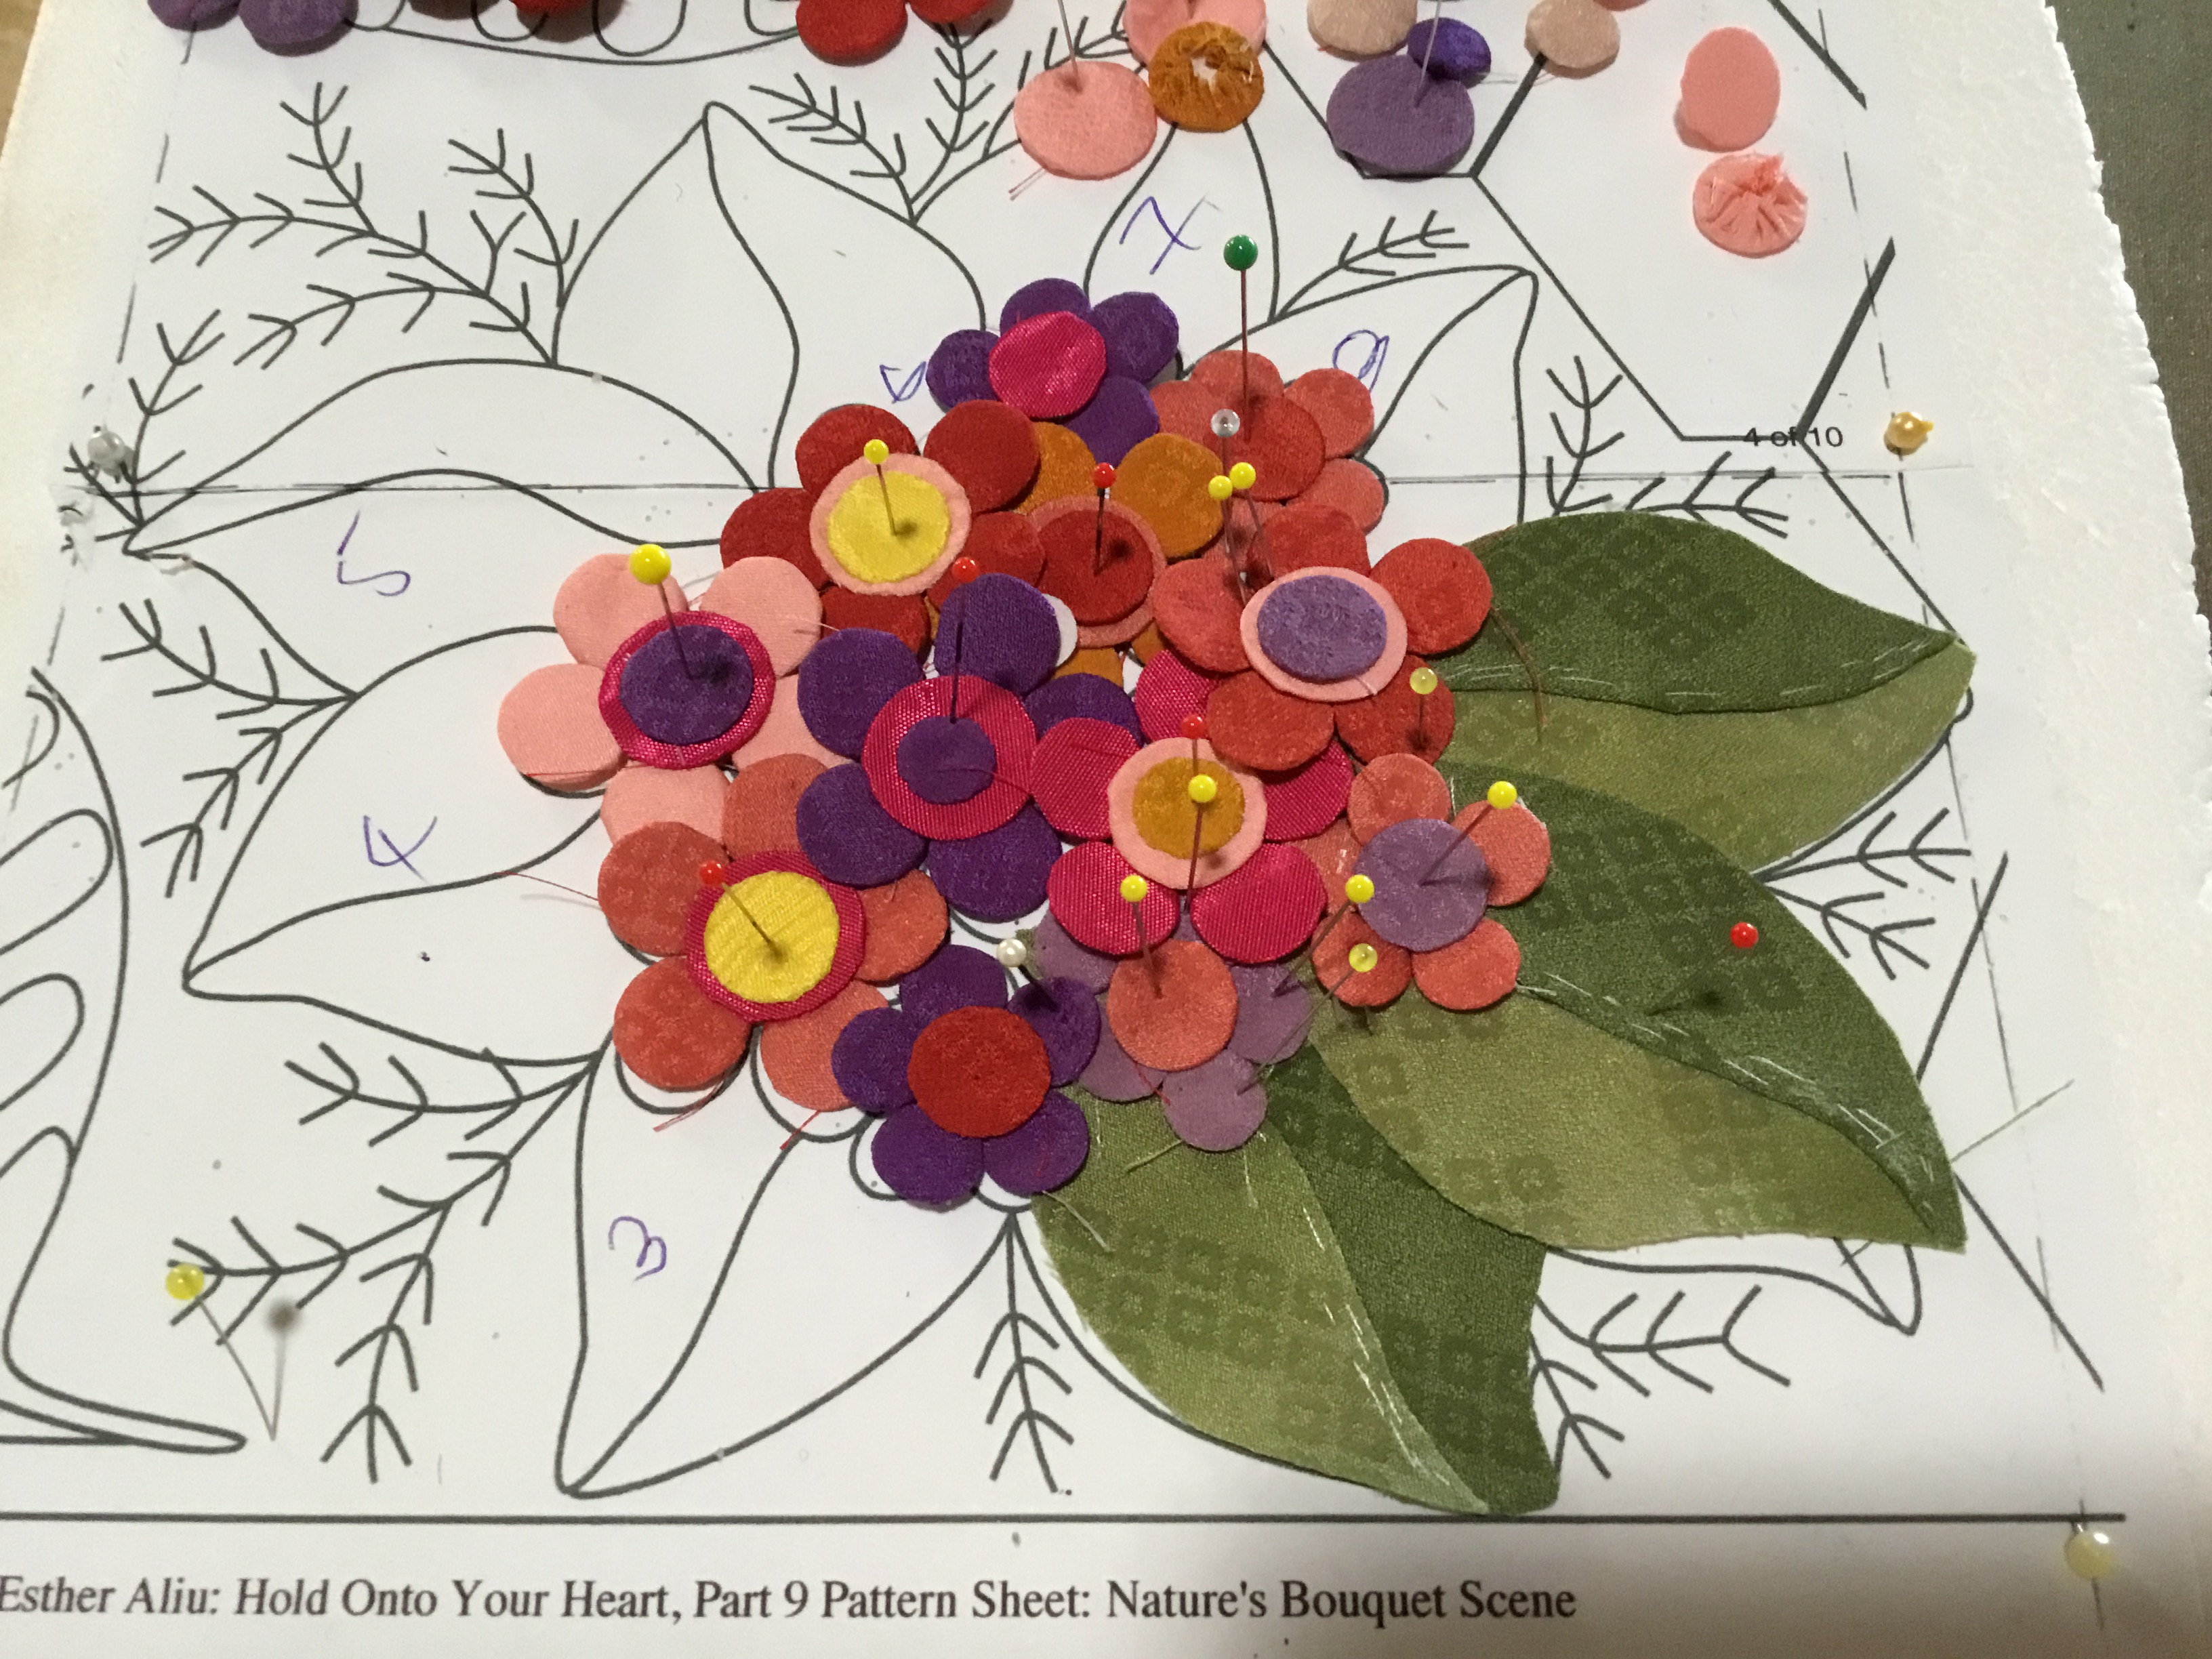
Going to be a perfect foil for this tiny wee flowers!
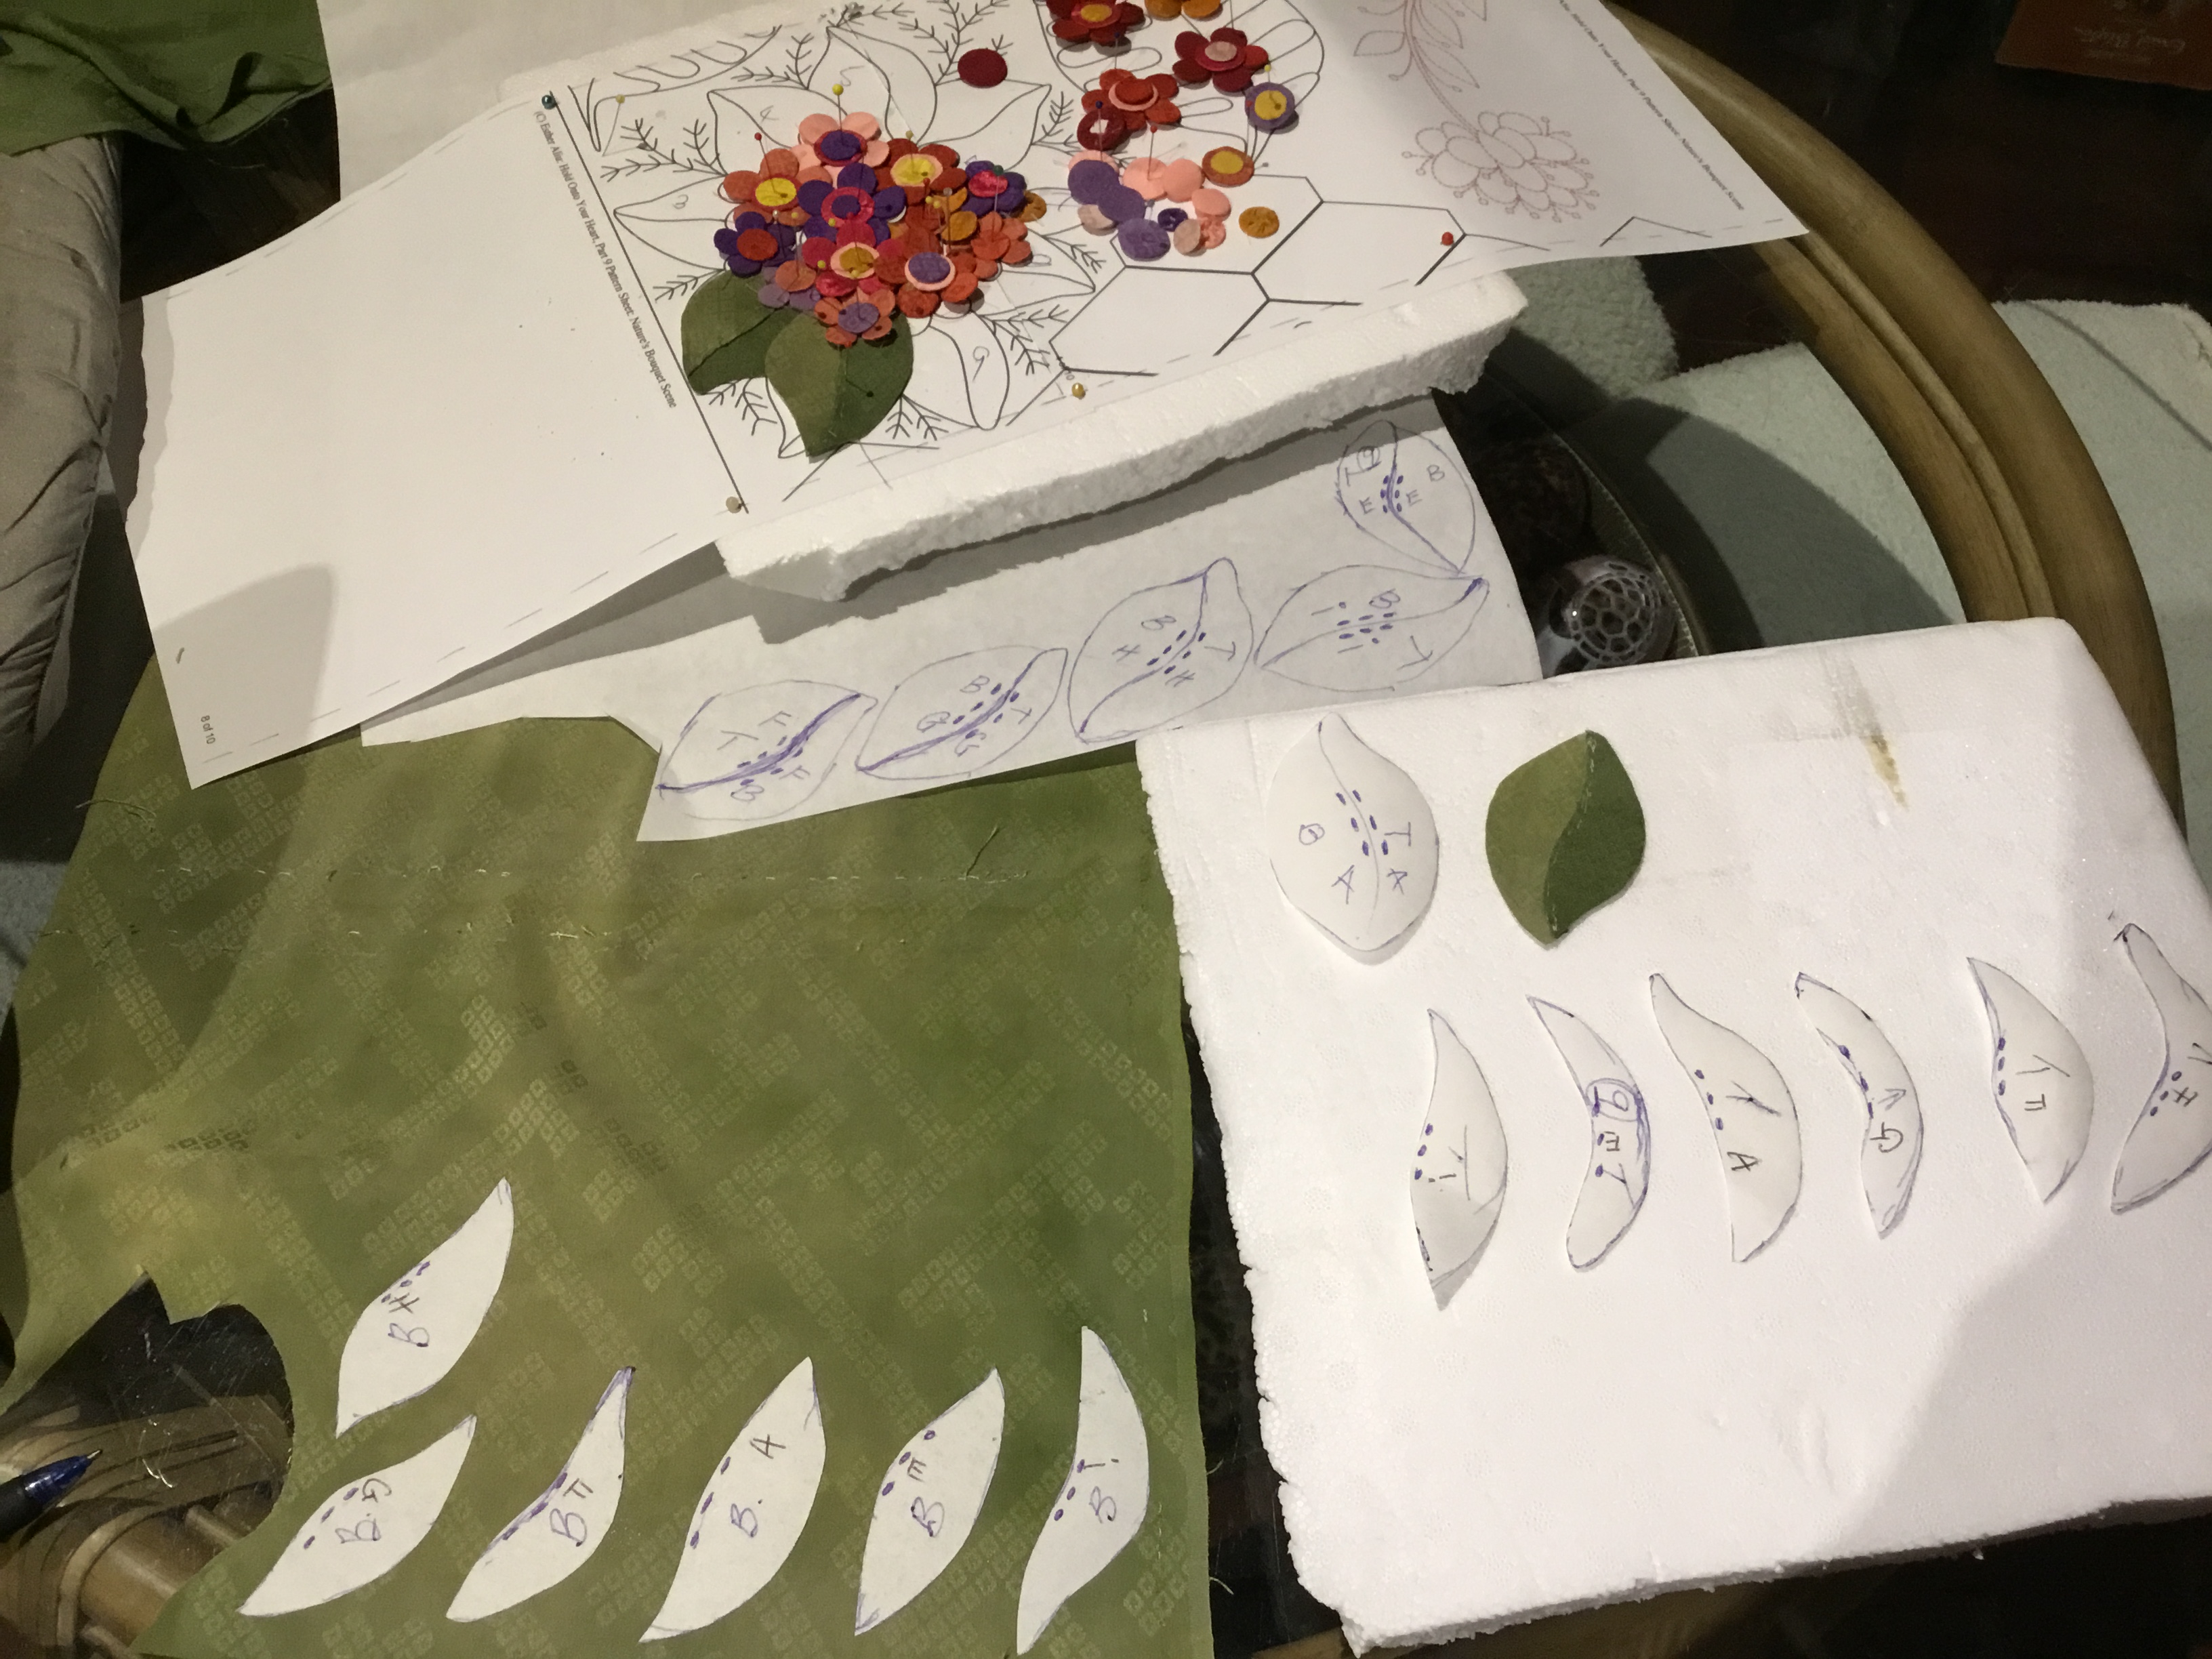
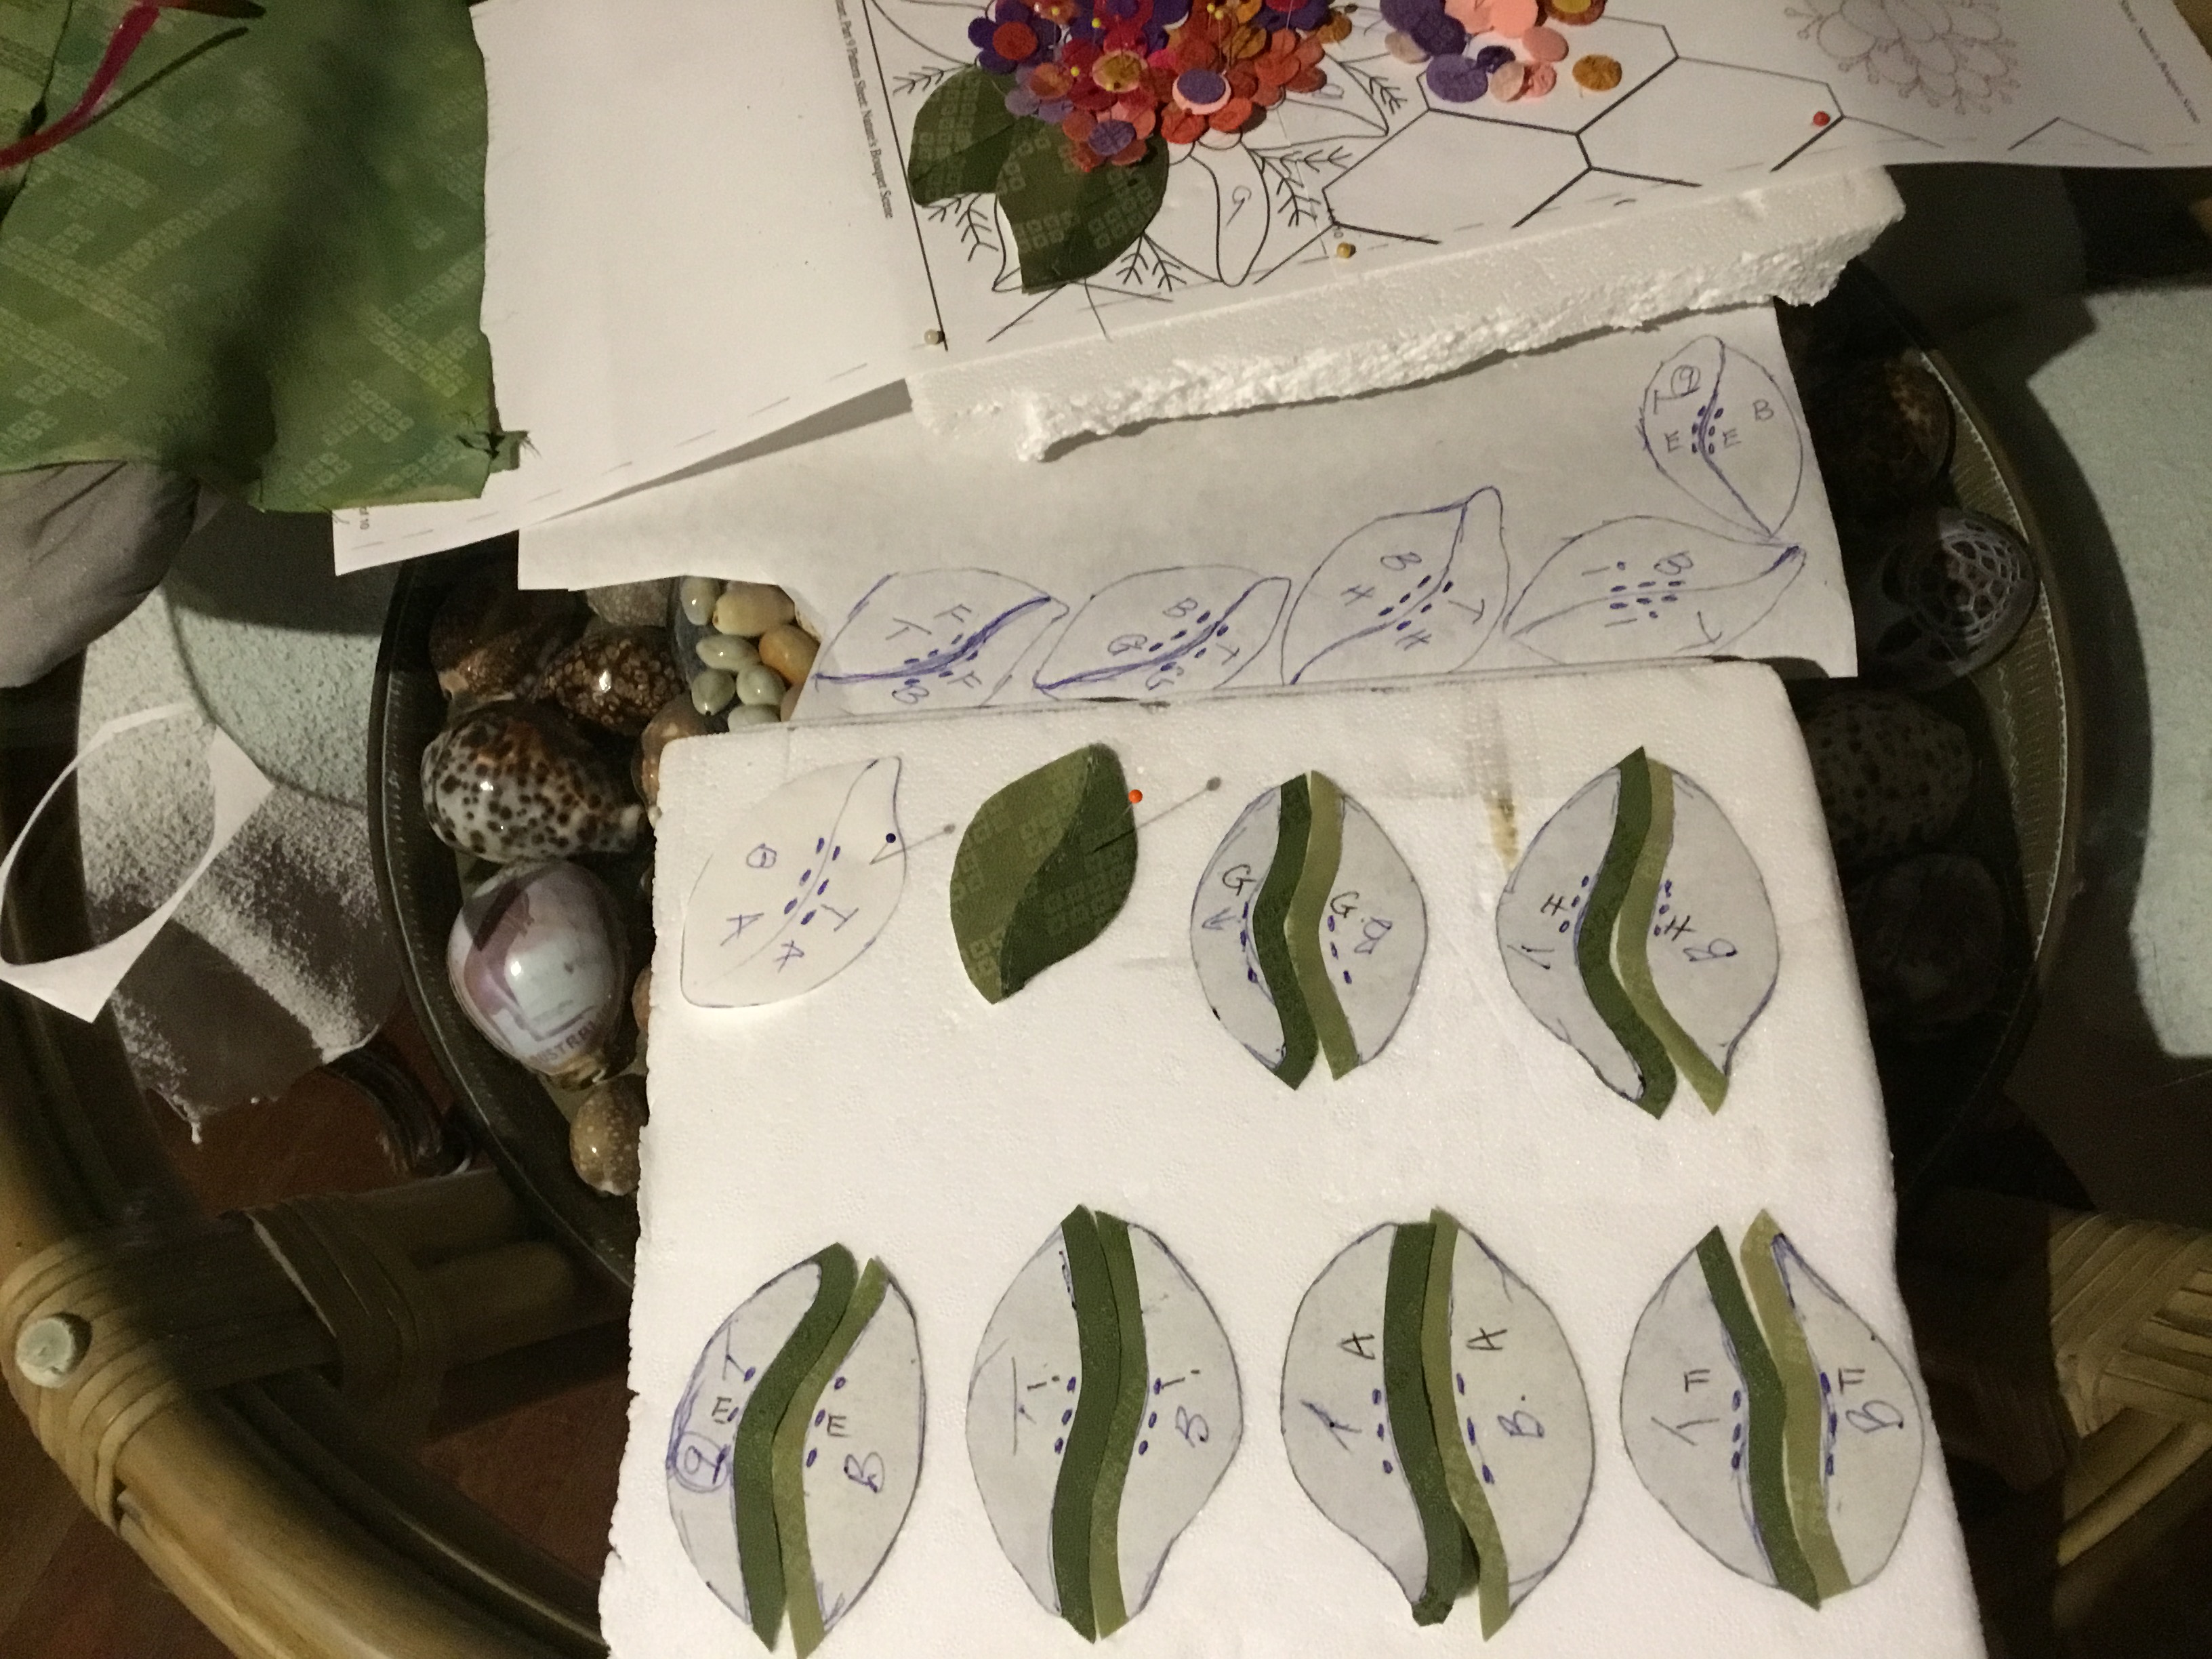
Now to share how I made those leaves using cut out shapes of washaway freezer paper.
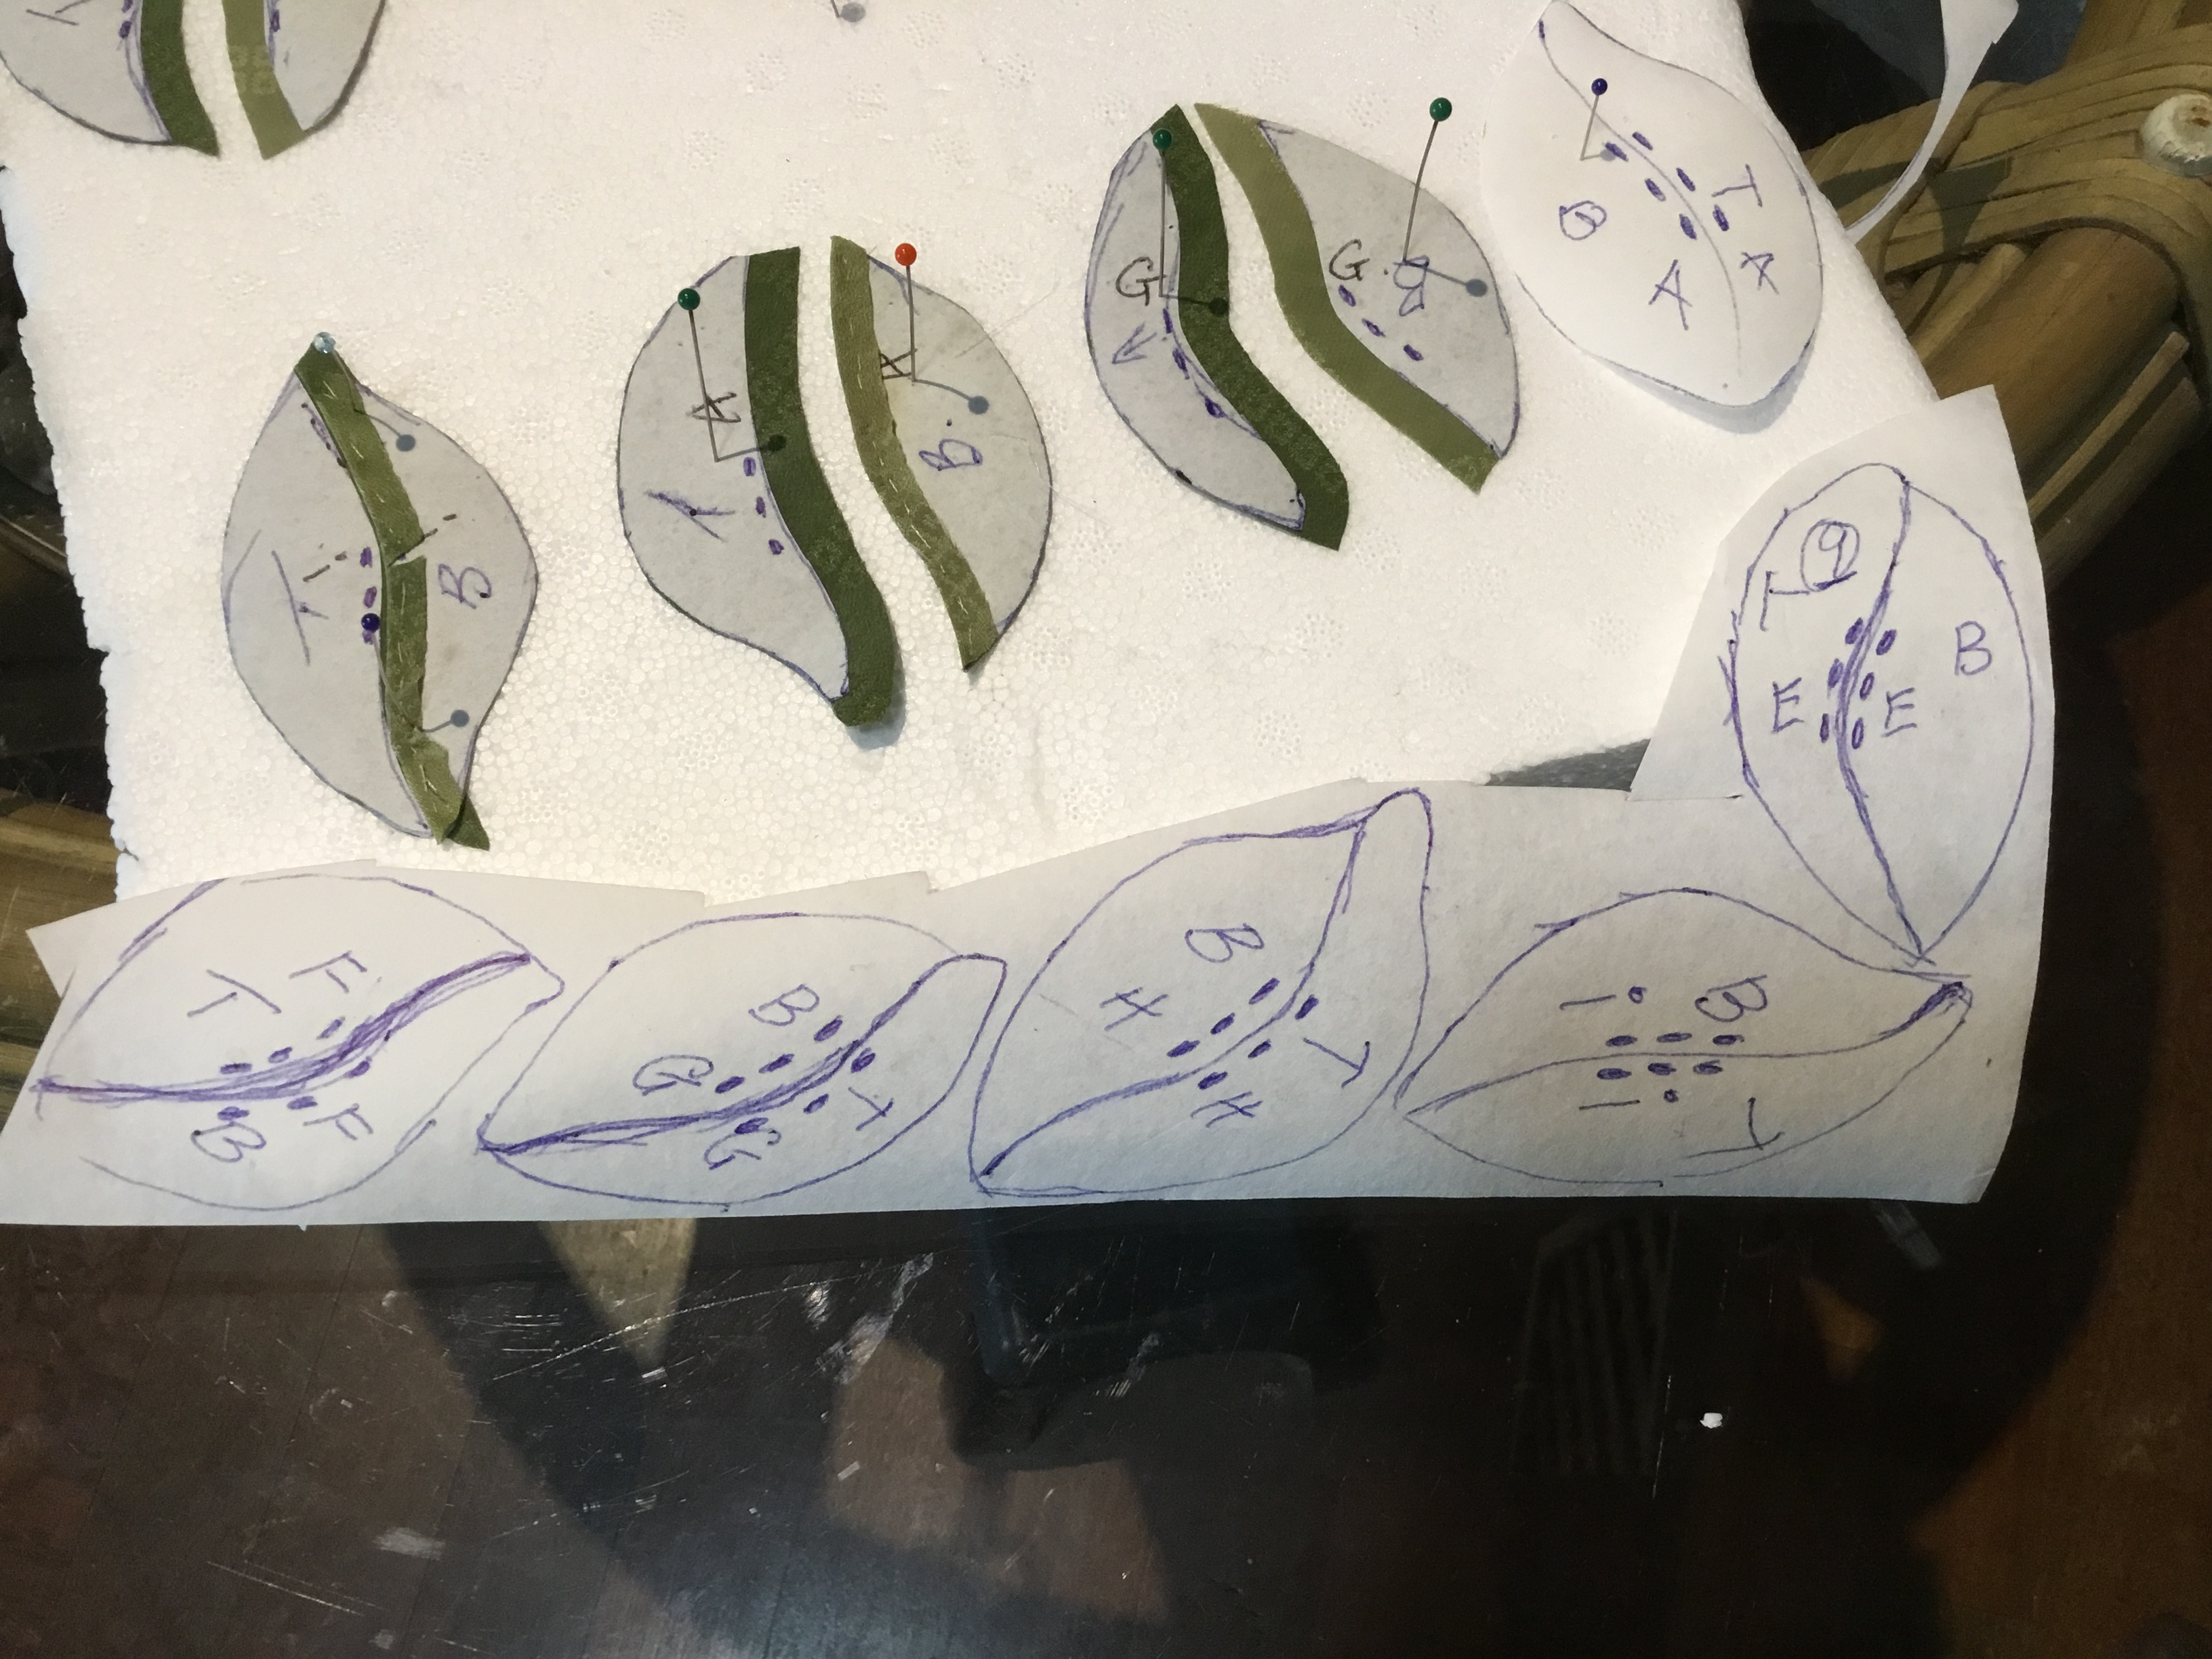
First I traced all the leaf shapes on to the washaway freezer paper, numbered them , T for top of the leaf B for bottom, then added letters telling which one went where on the bouquet on both 1/2s. Last was a mark of 3 dots on each 1/2 where I was going to cut the leaf in 1/2 so I knew at a glance they were the middle join, when you have lots of 1/2 leaves it saves a lot of time?

Starting to iron on those 1/2 leaves I use small pieces of polystyrene to pin my pieces to as I go.
Making up my leaf shapes bit by bit so I can show you how I make them.
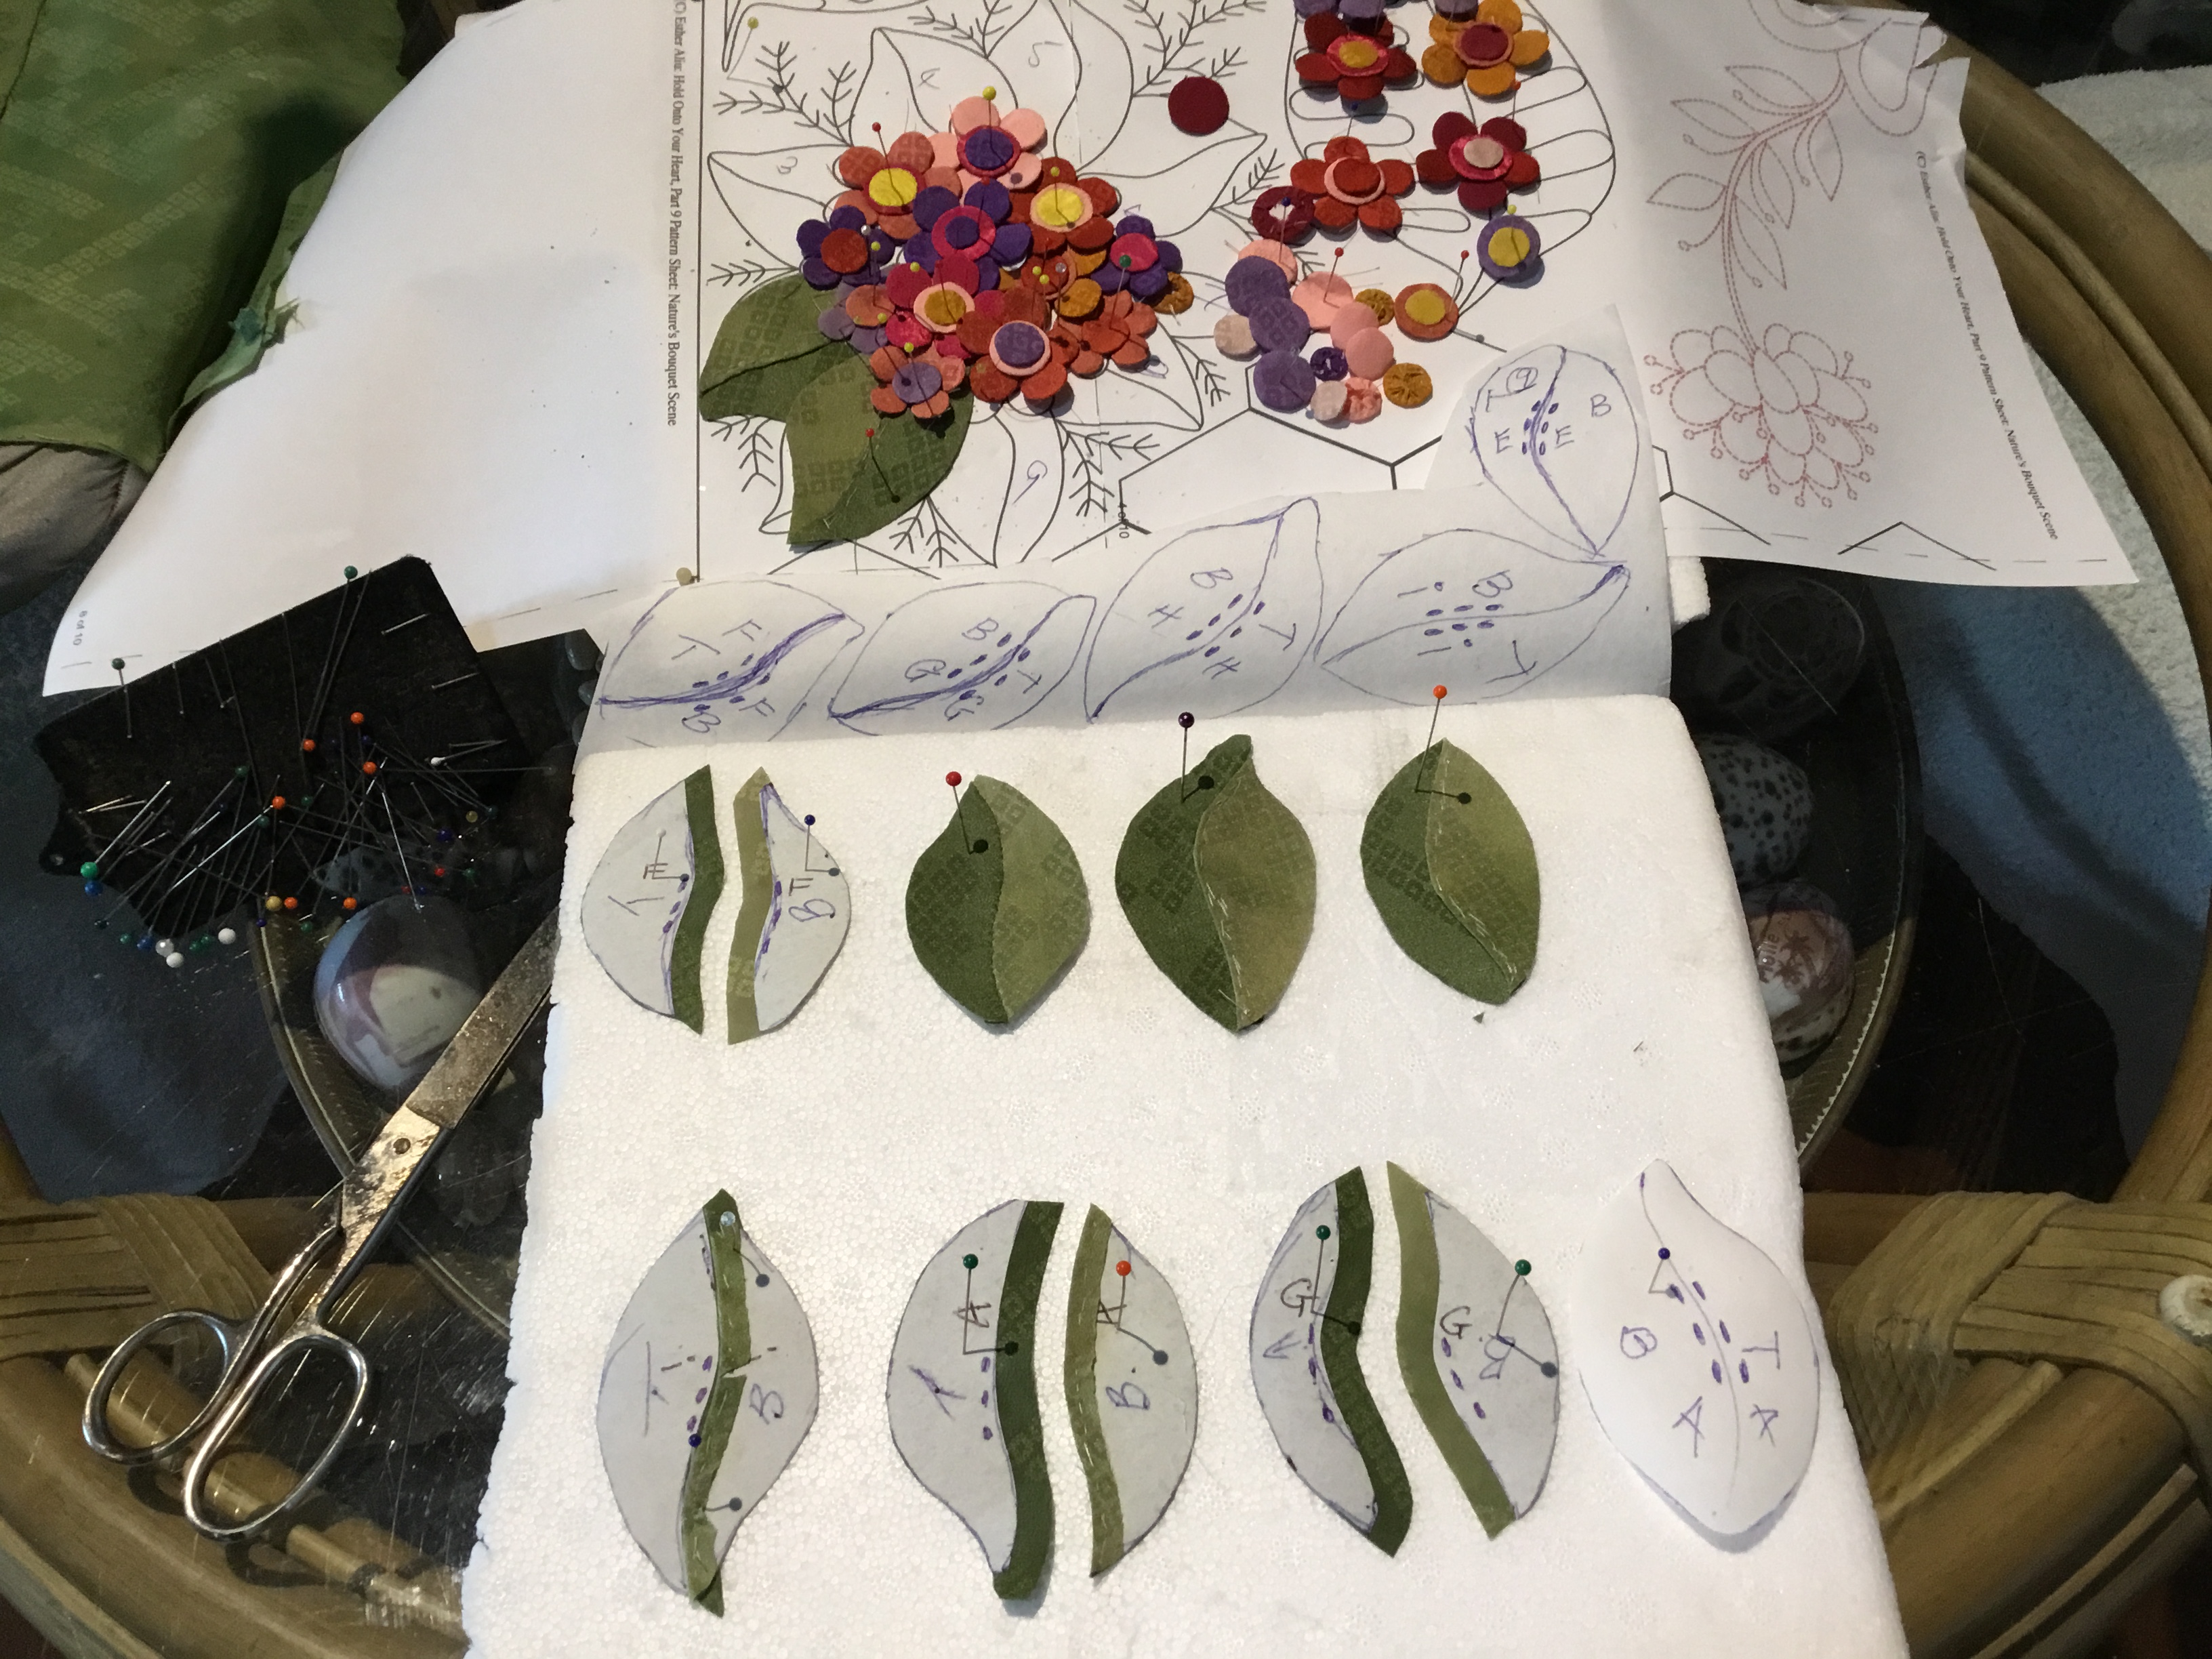
Starting bottom right hand side First step is drawing my leaf shape by placing my washaway freezer paper over the leaf shapes, it is clear enough to see the pattern under it. Then cut the leaf shape out and add all the reminder points on the two sides . Step 2 iron all the shapes to the fabric cut out shapes this is where I use those 3 dots along the seam to remind me to leave a good 1/4 inch seam allowance? Step 3 roll back centre line of one side of the leaf where you added the reminder dots. You can use glue I needle baste. Look closely at photo and you will see that the right 1/2 is rolled back. Step 4 place rolled back 1/2 on top of the other seam, it will sit snug make sure you even these parts up perfectly, glue into place or like I do baste it! Top row from right to left first two have been basted together. 3rd one I have stitched the two halve together and removed all basting threads it is now ready to applqiue to my block. Happy sewing!!!!
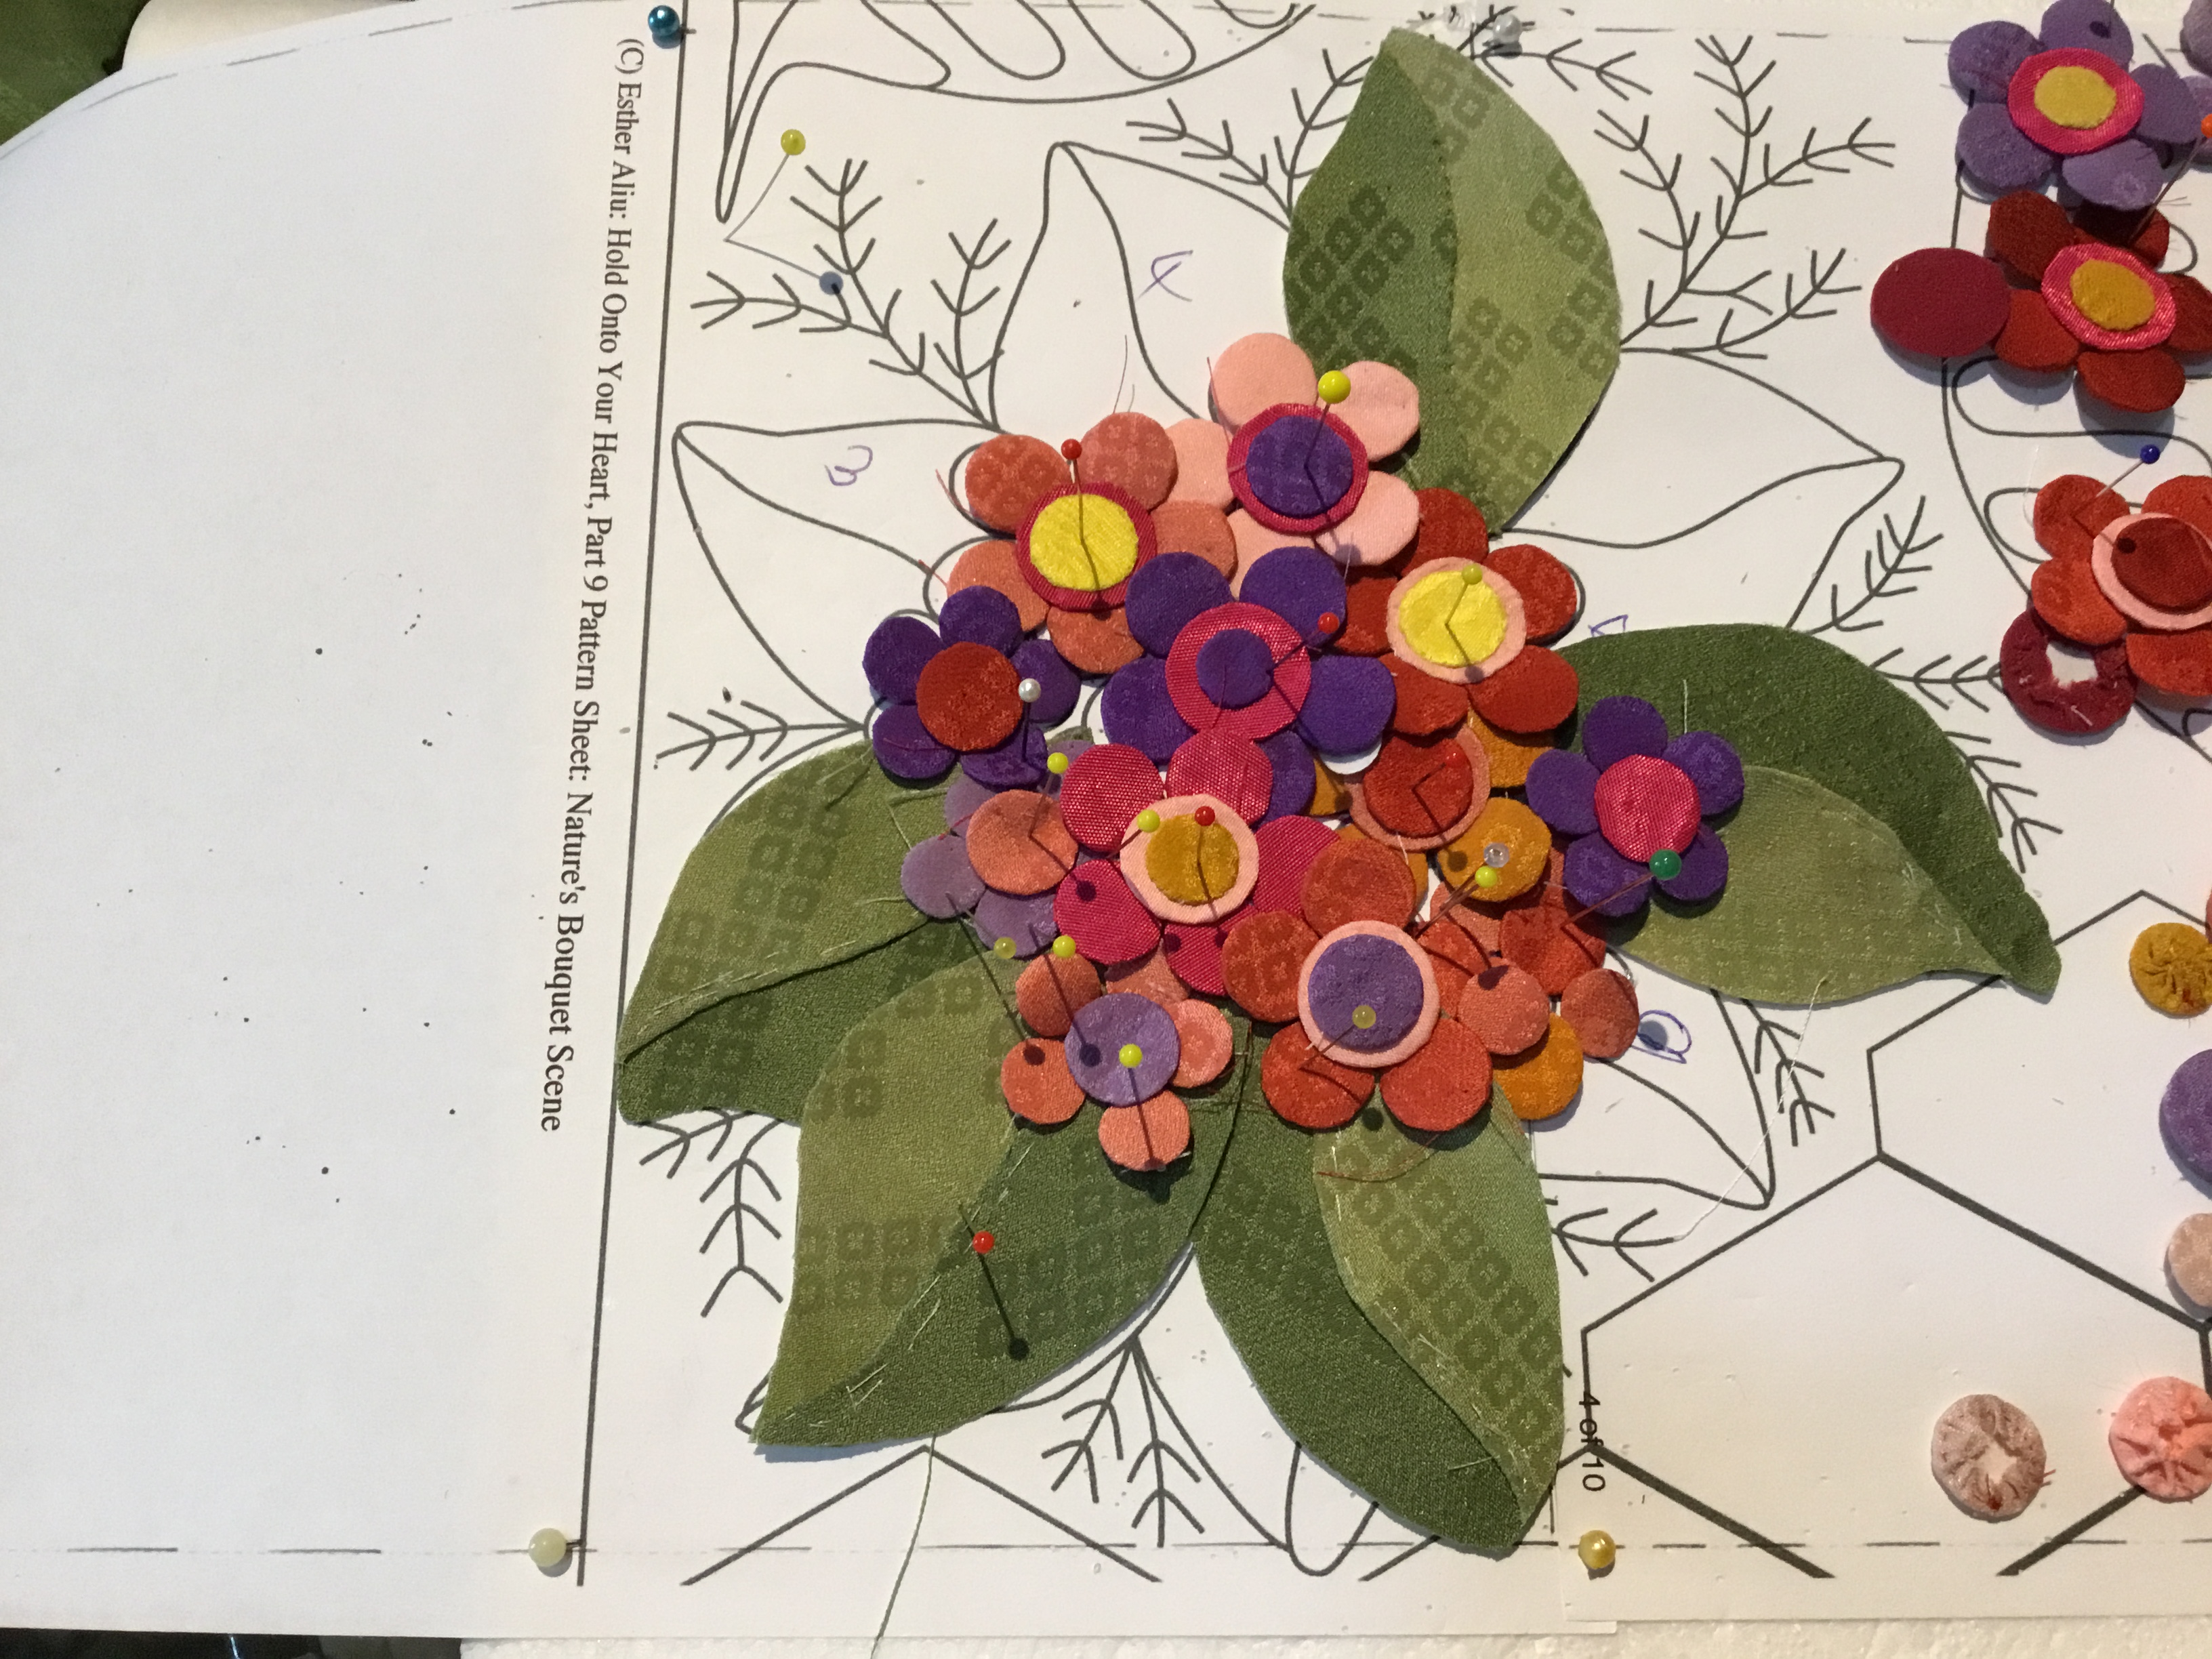
Leaves slowly been added, I was hoping to have all the leaves finished for my first bouquet but they take longer to make than I thoughtLOL.
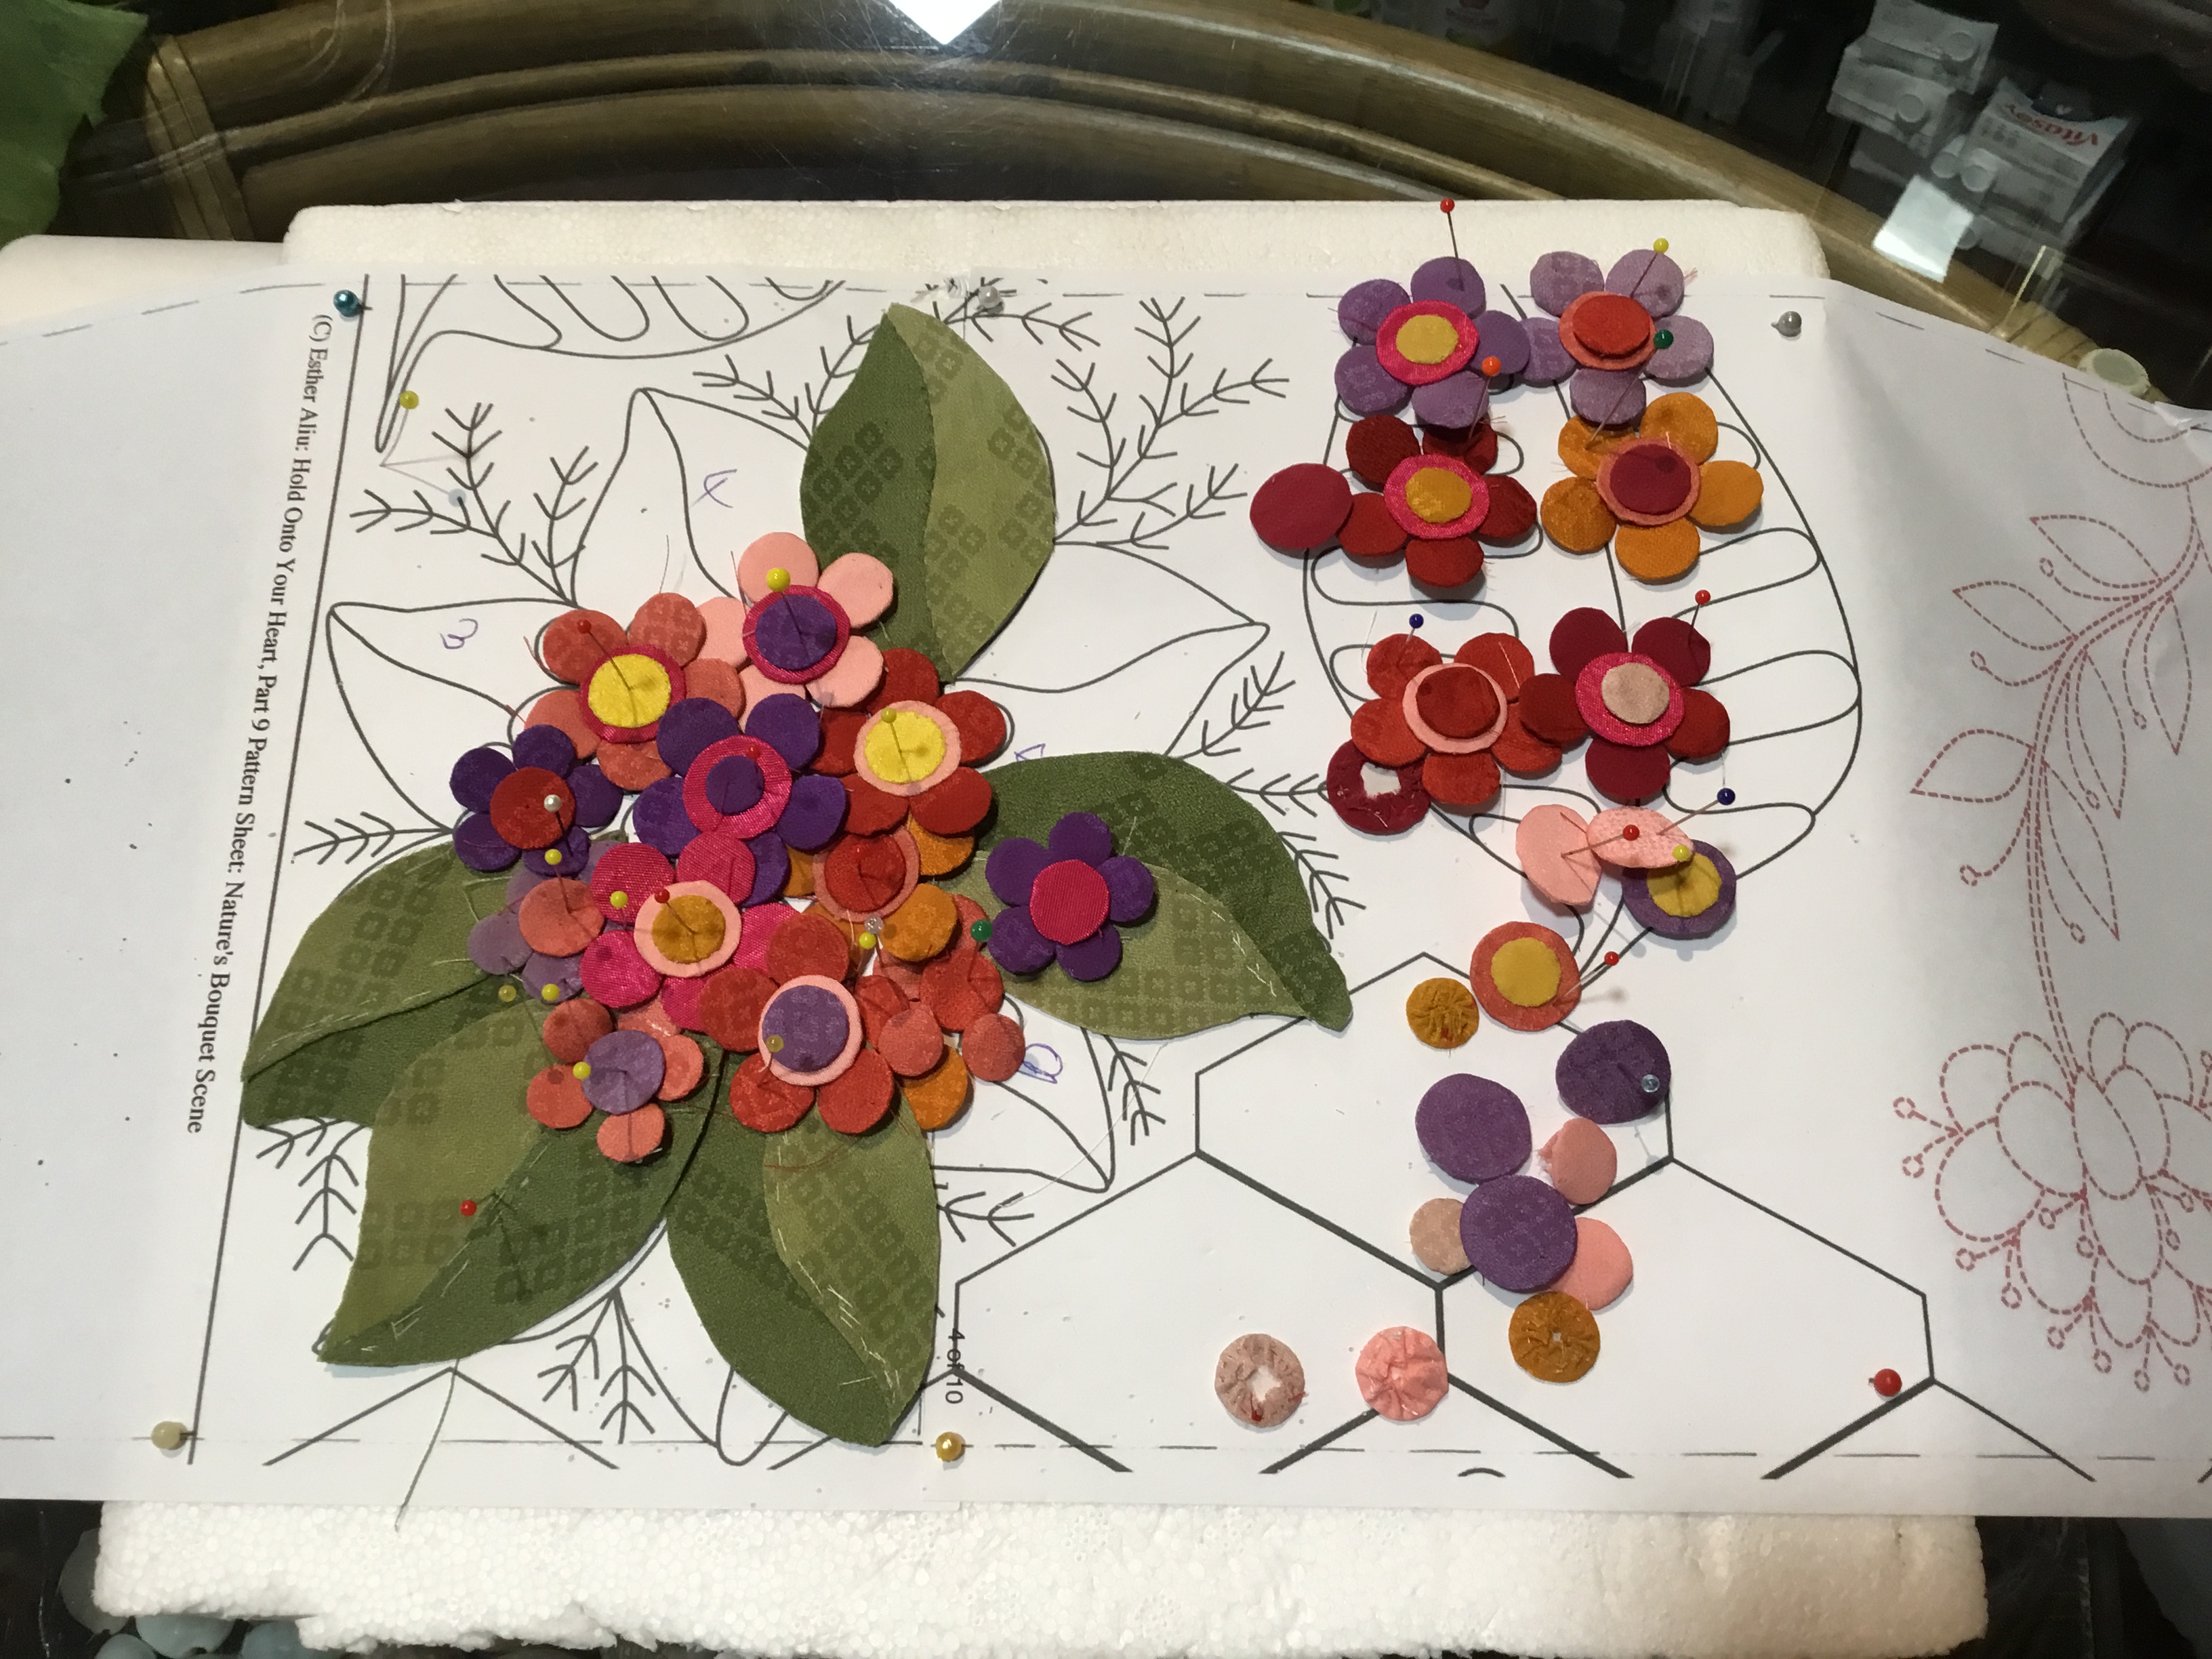
On the right are the start of flowers for bouquet 2!
Hope you were able to follow my wee tutorial, if not please drop a comment and ask me questions ?
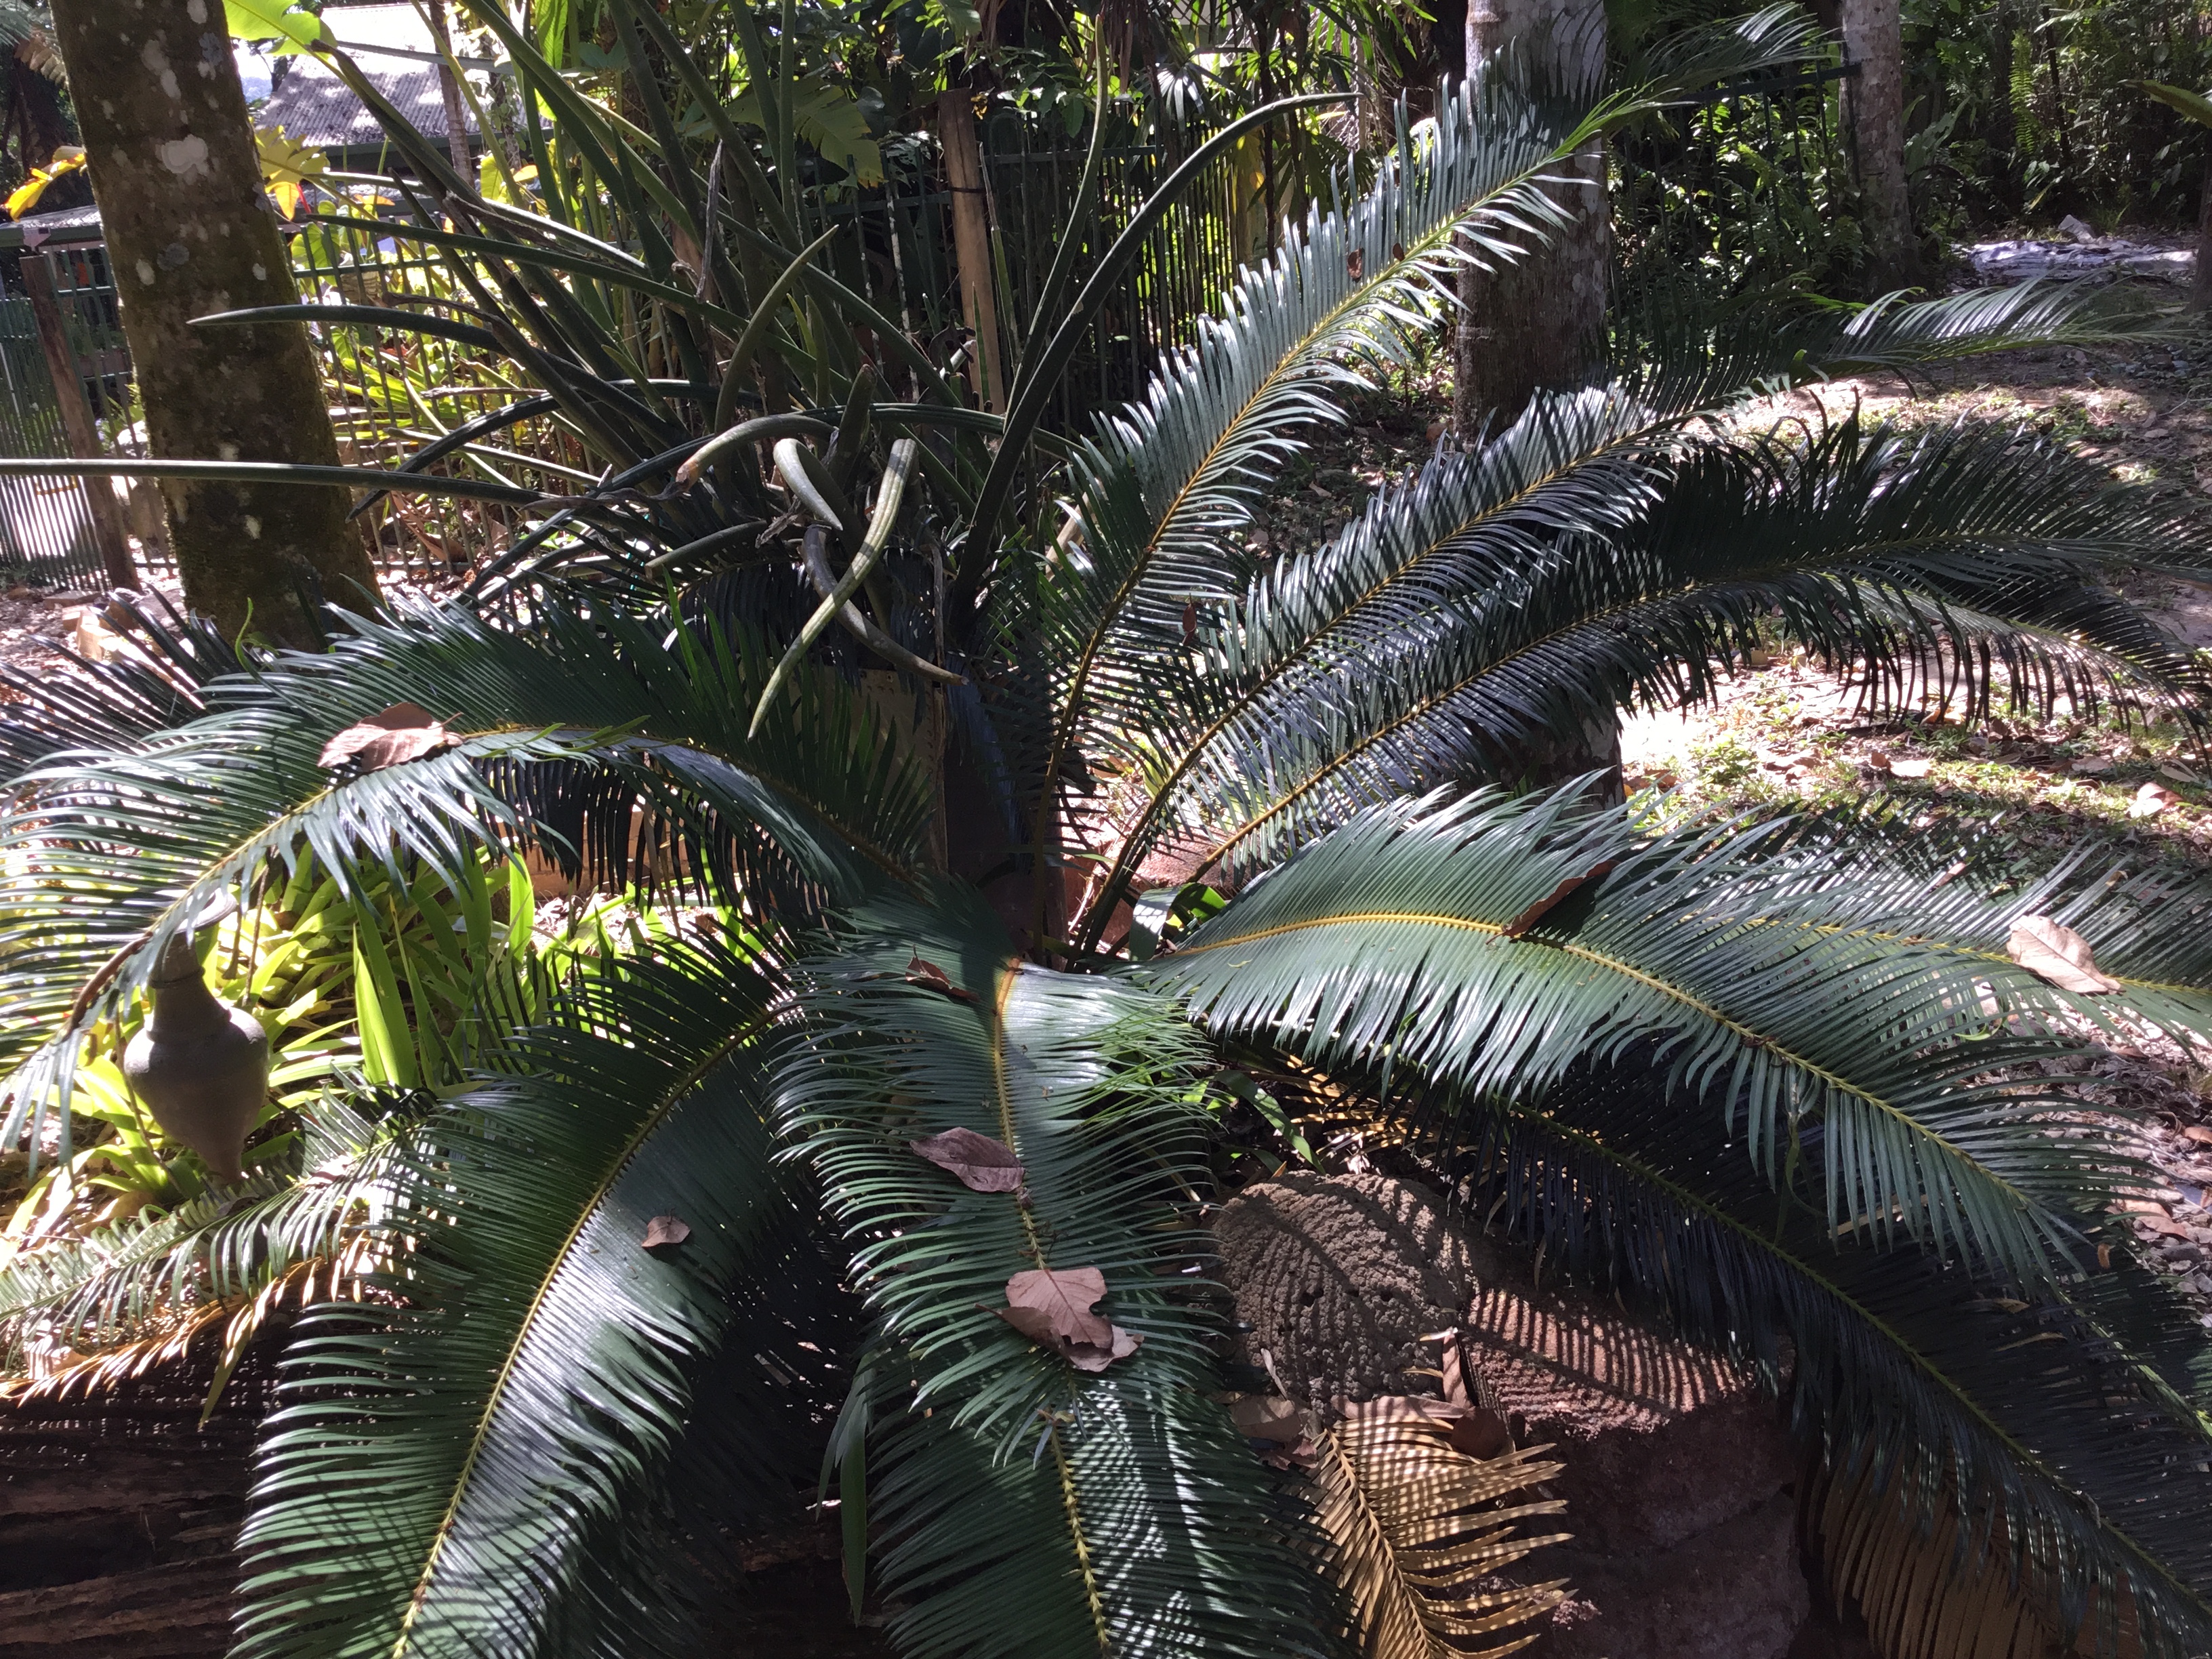
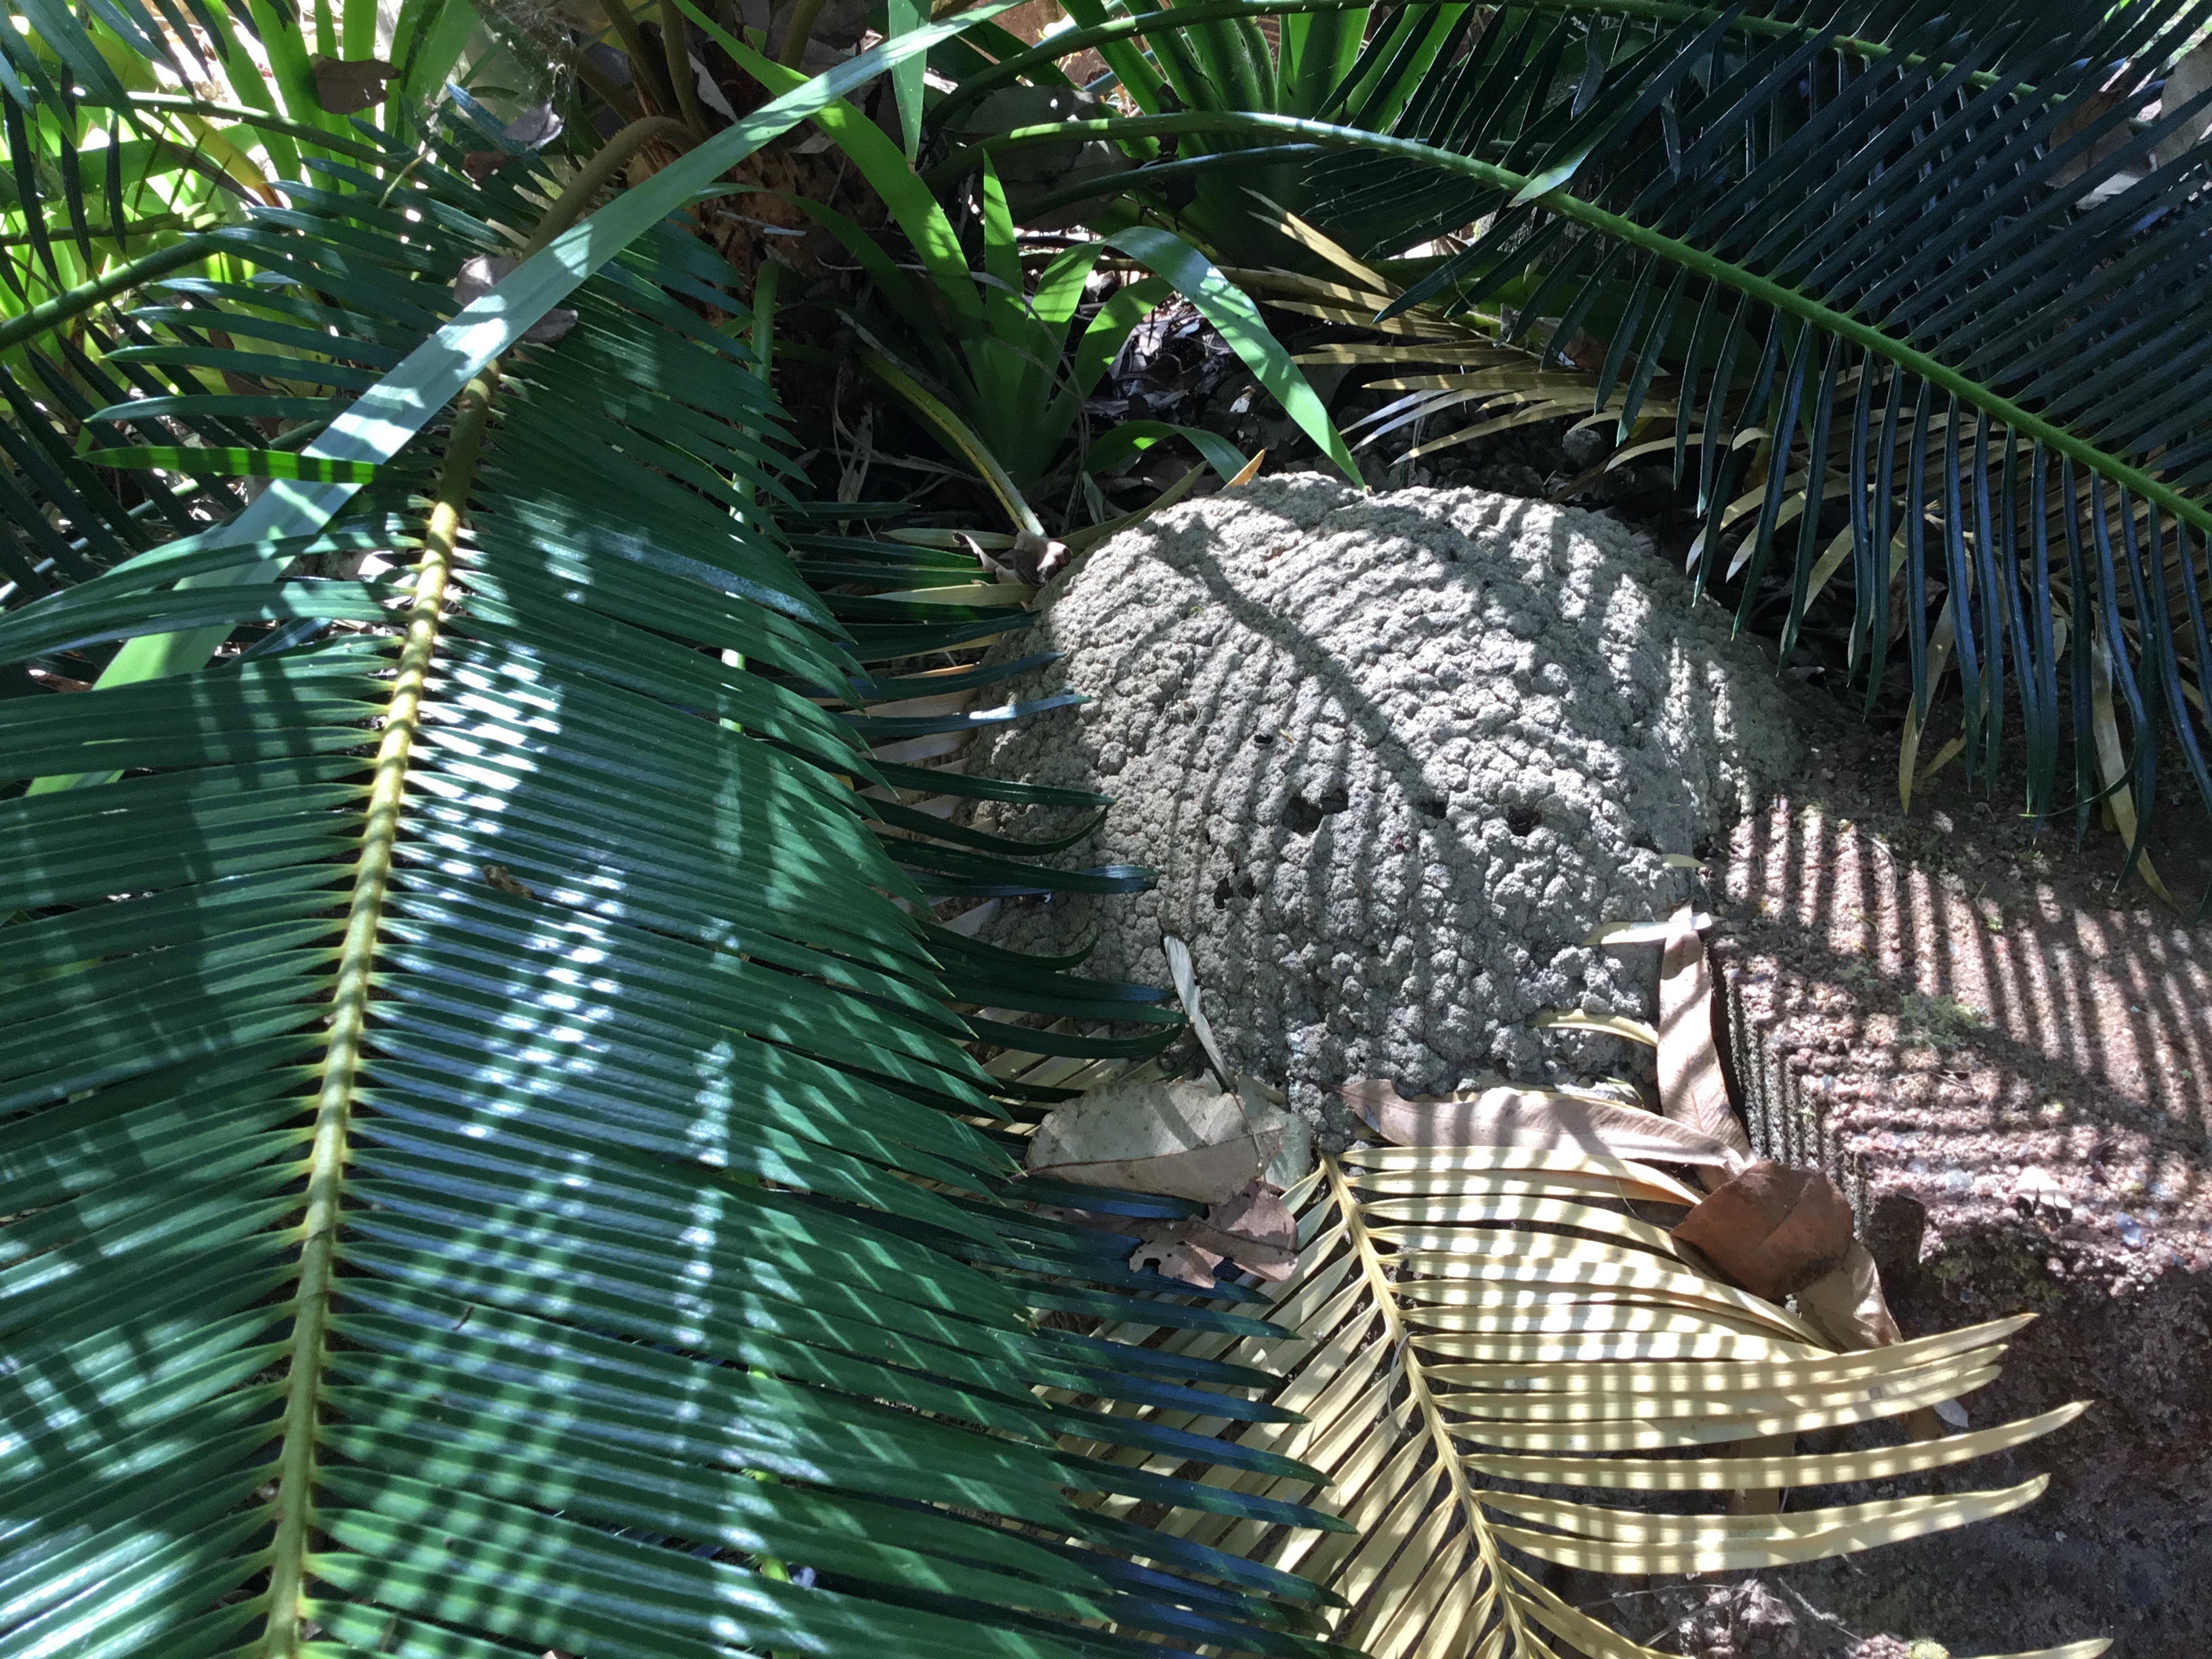
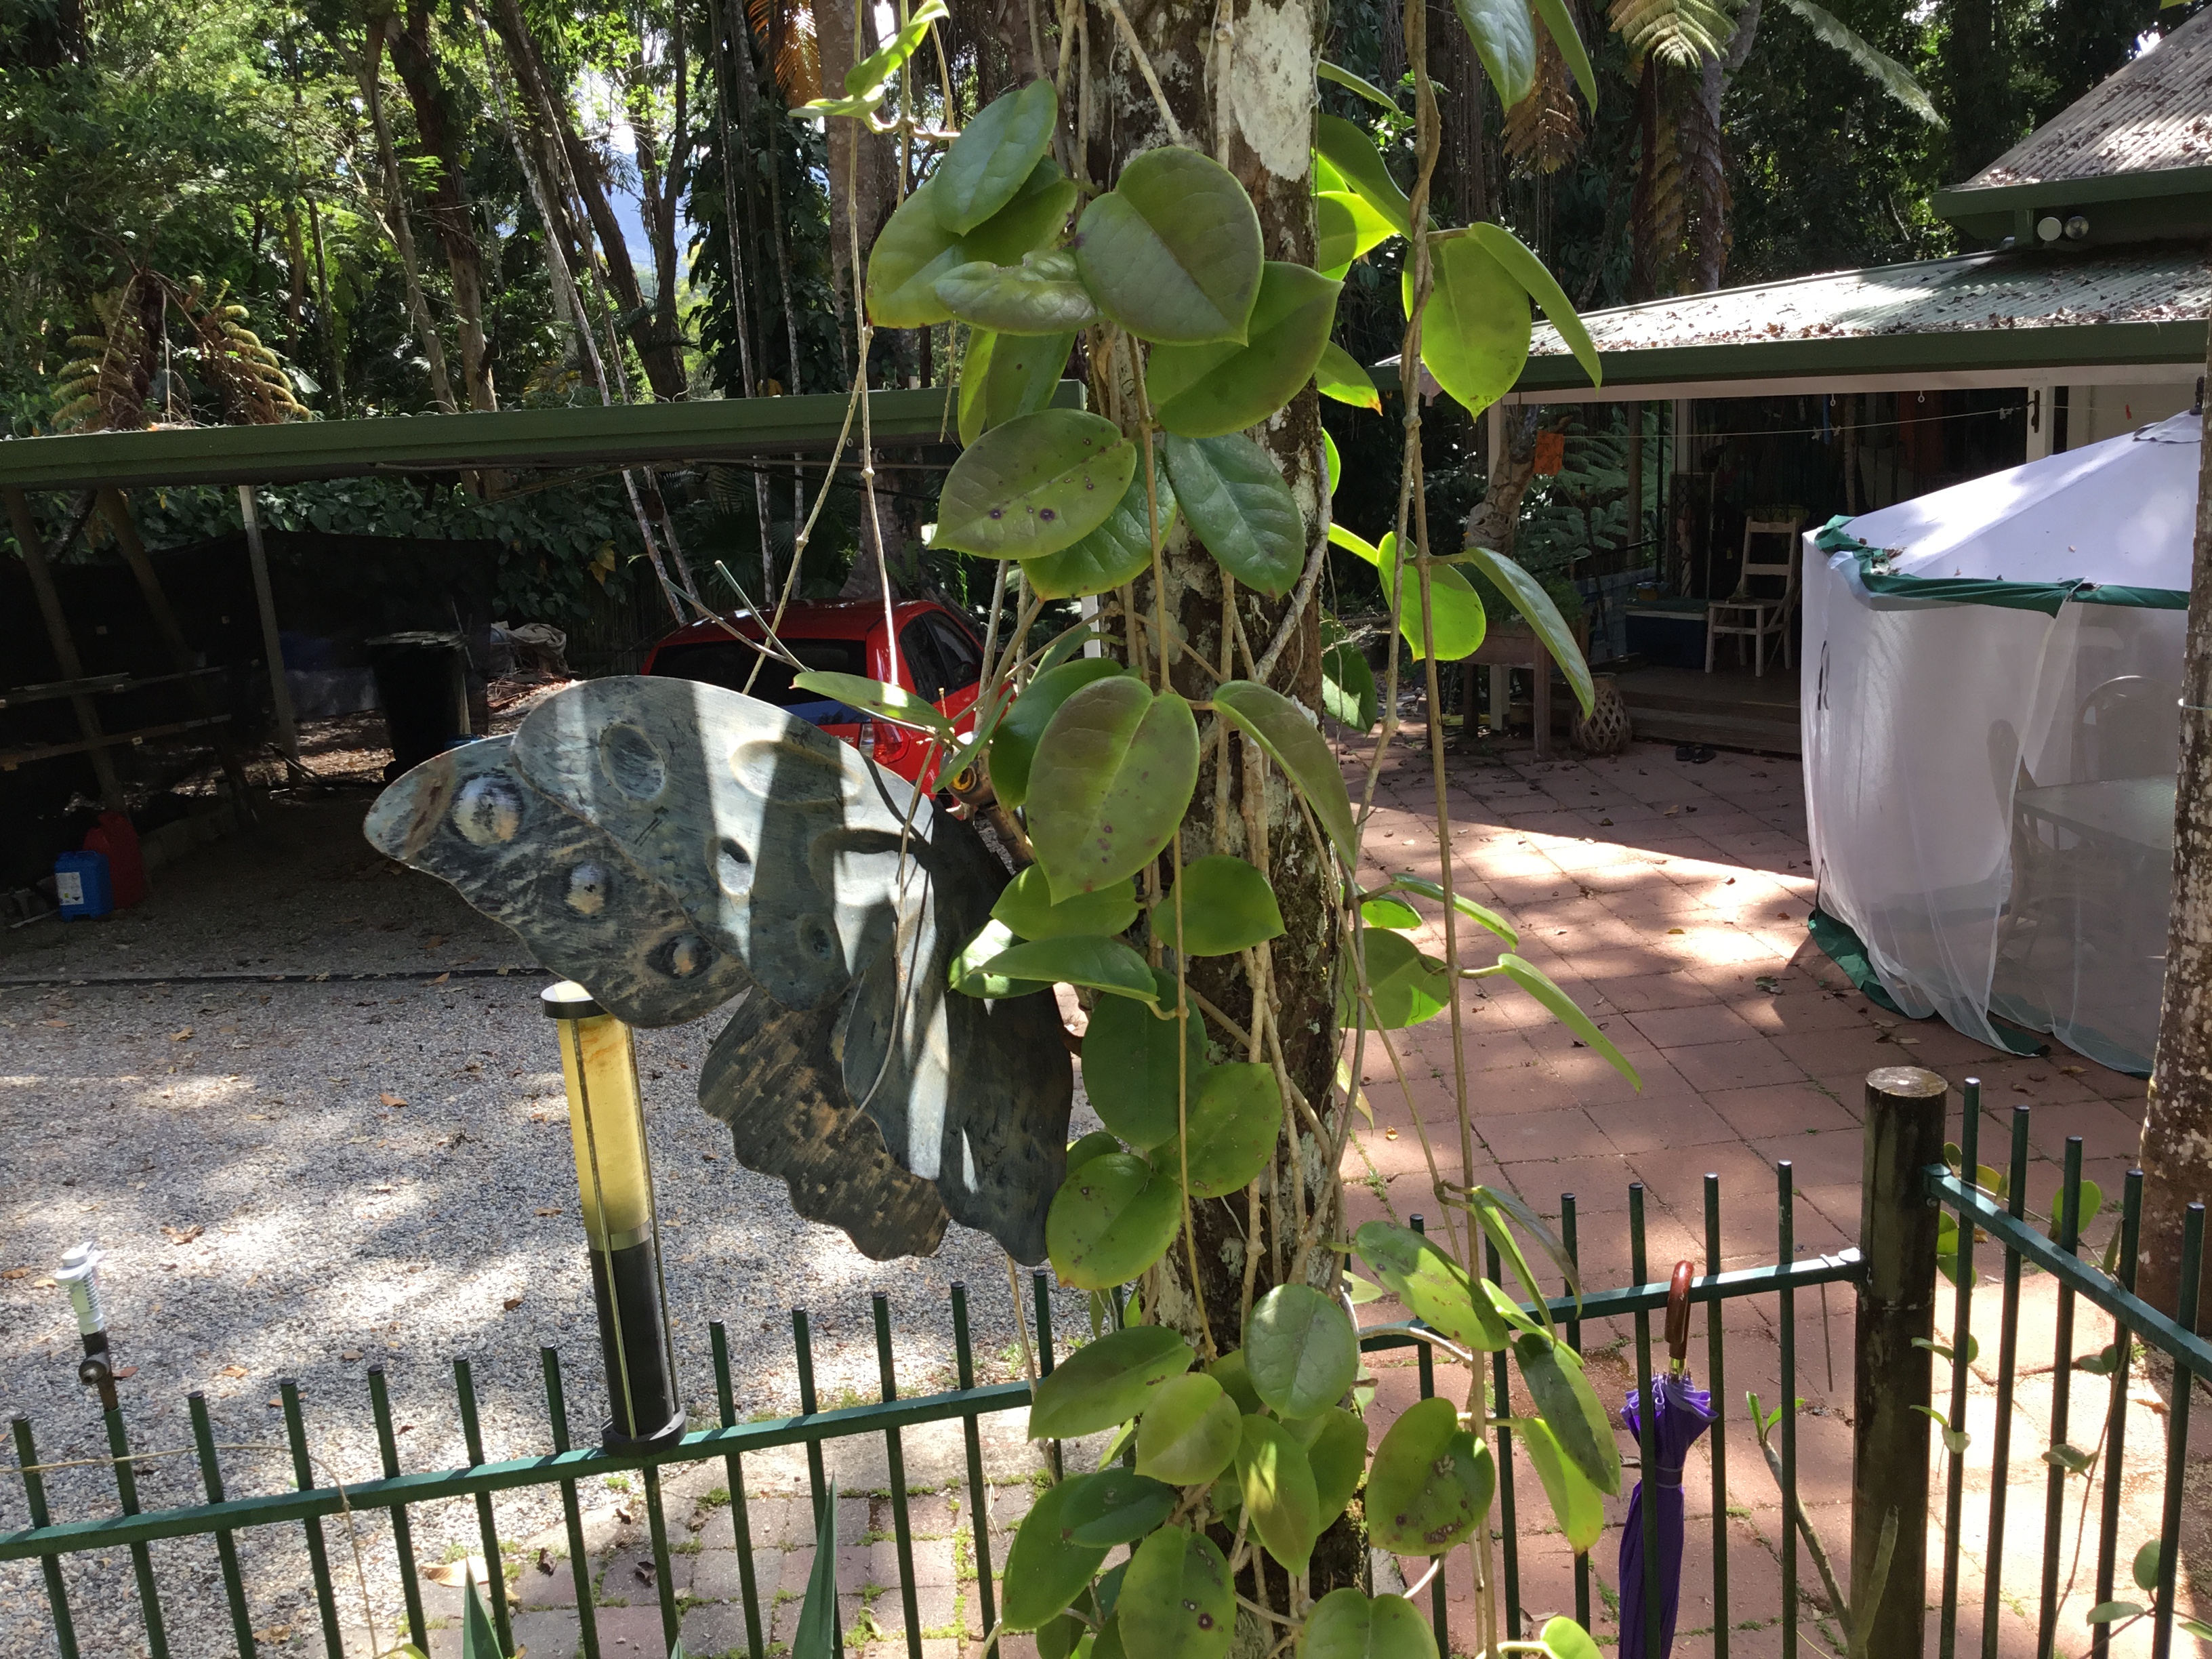
A walk around the garden now.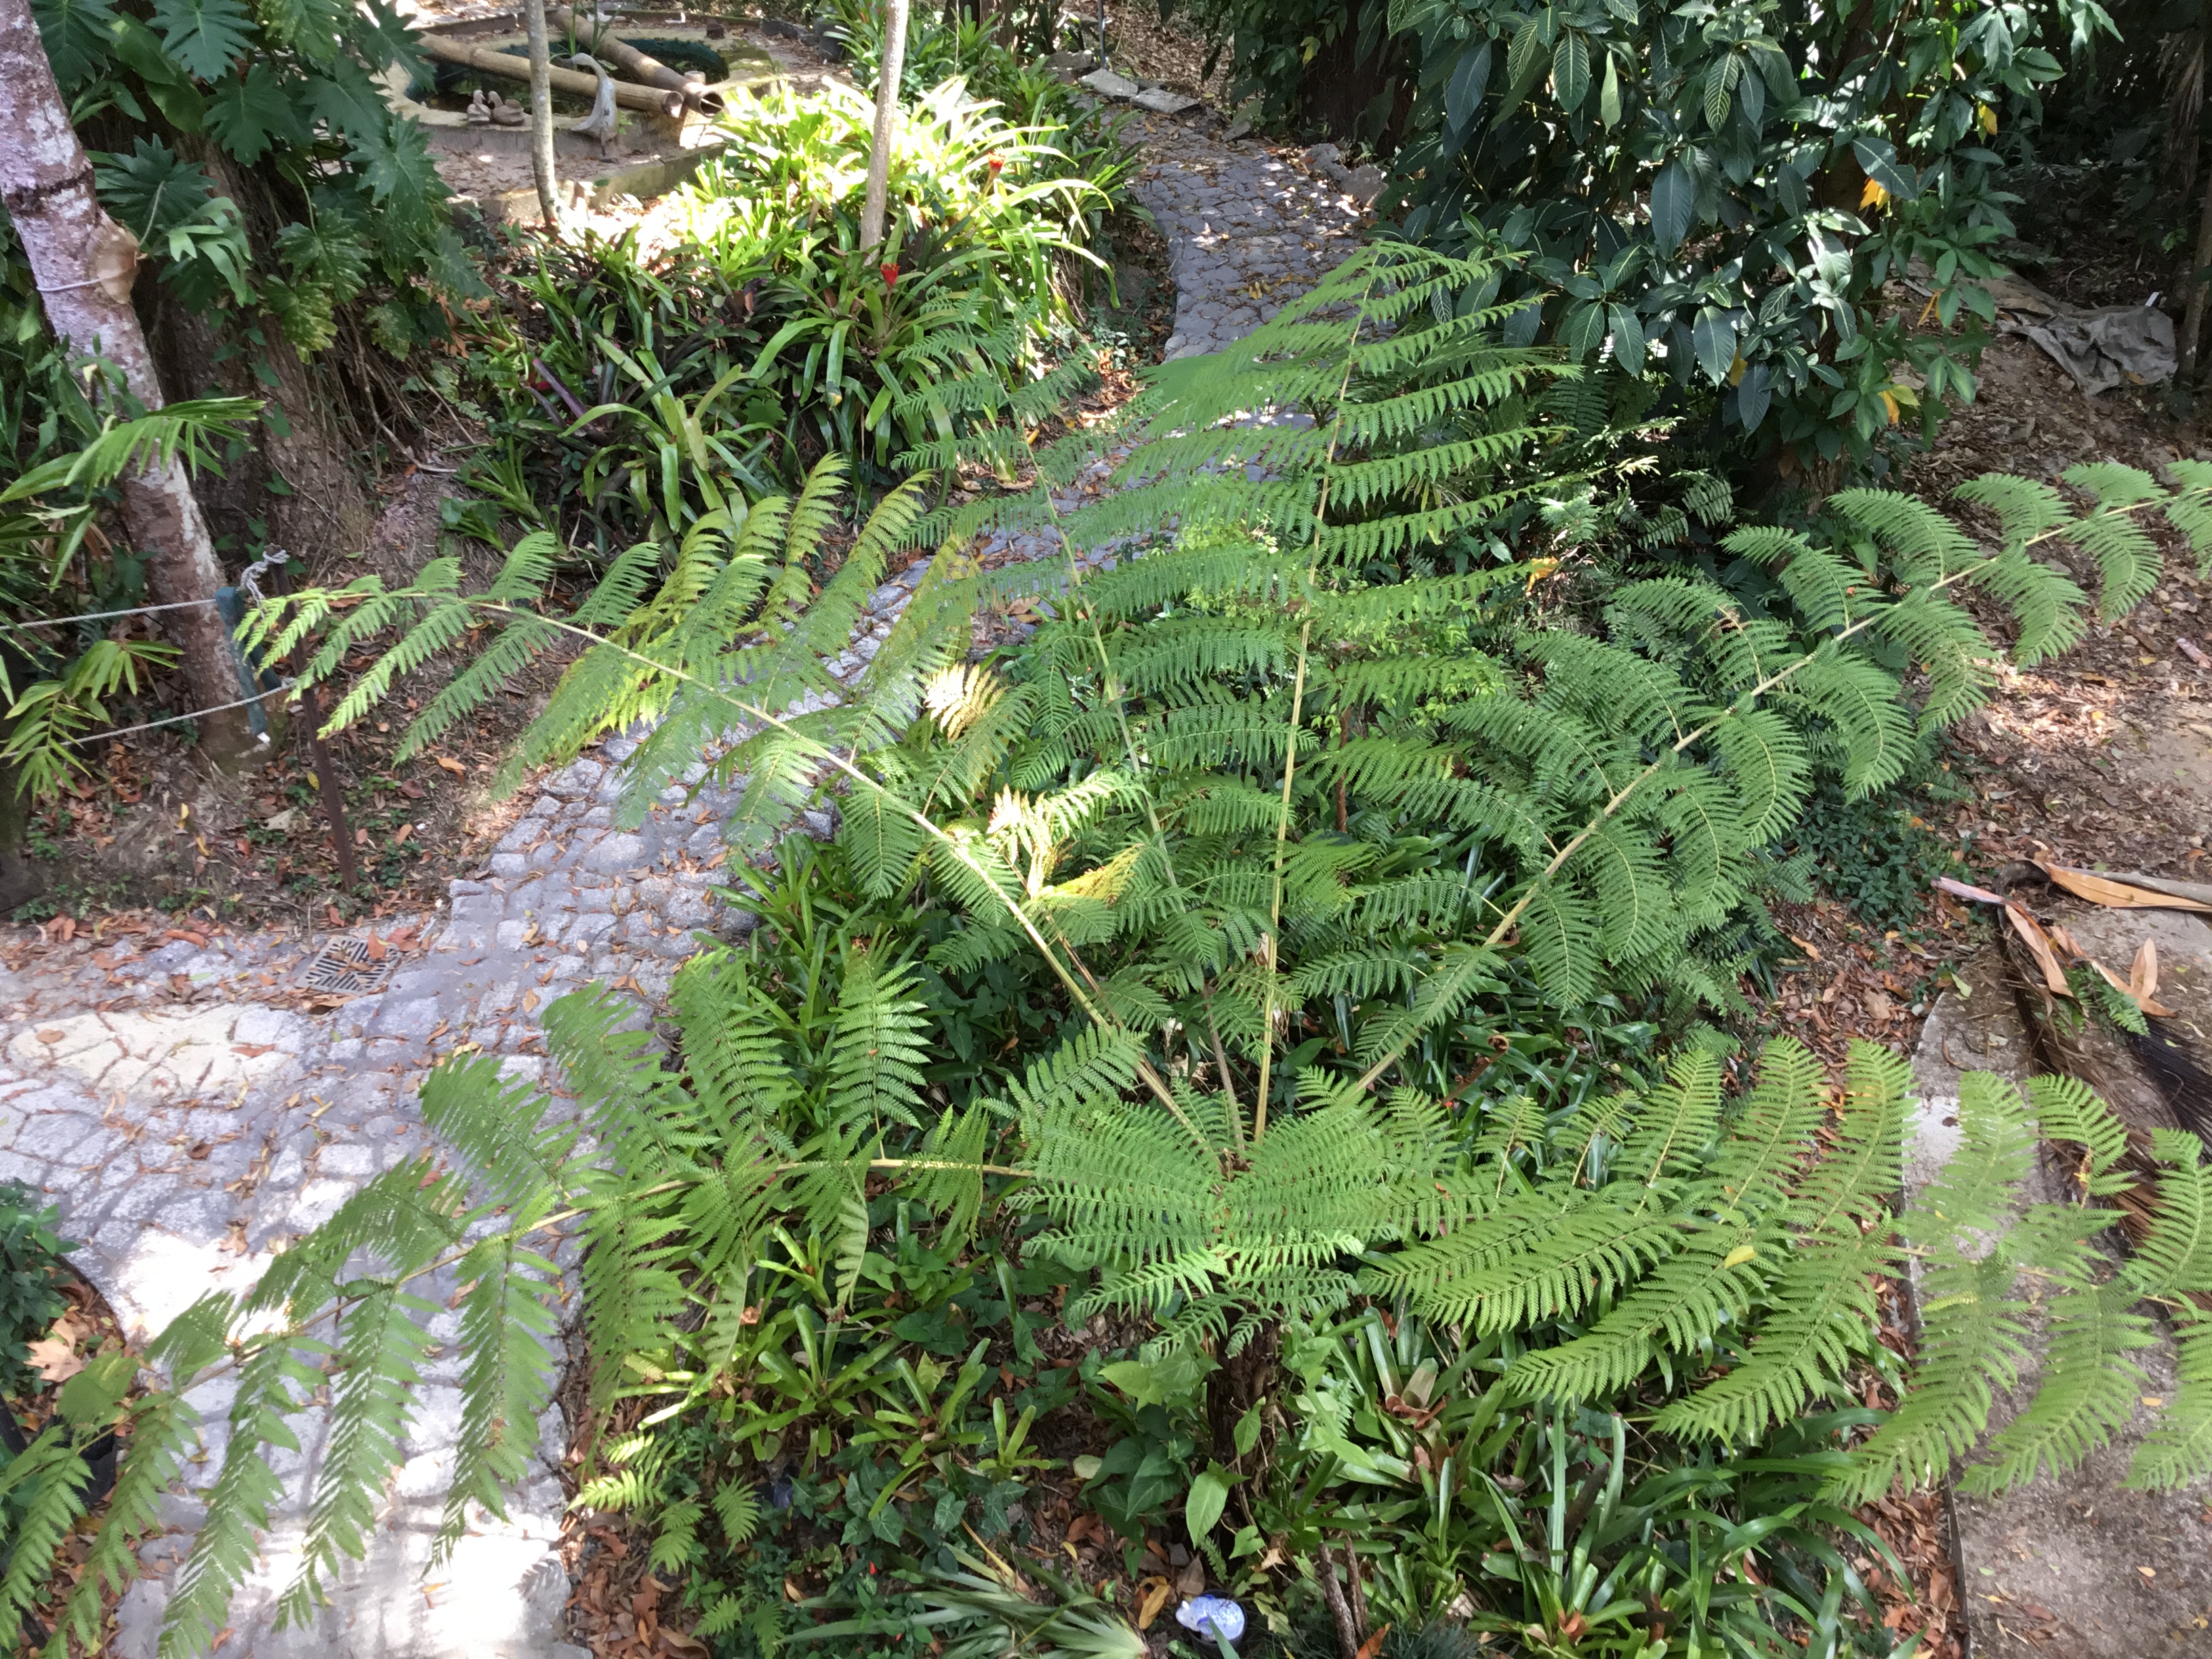
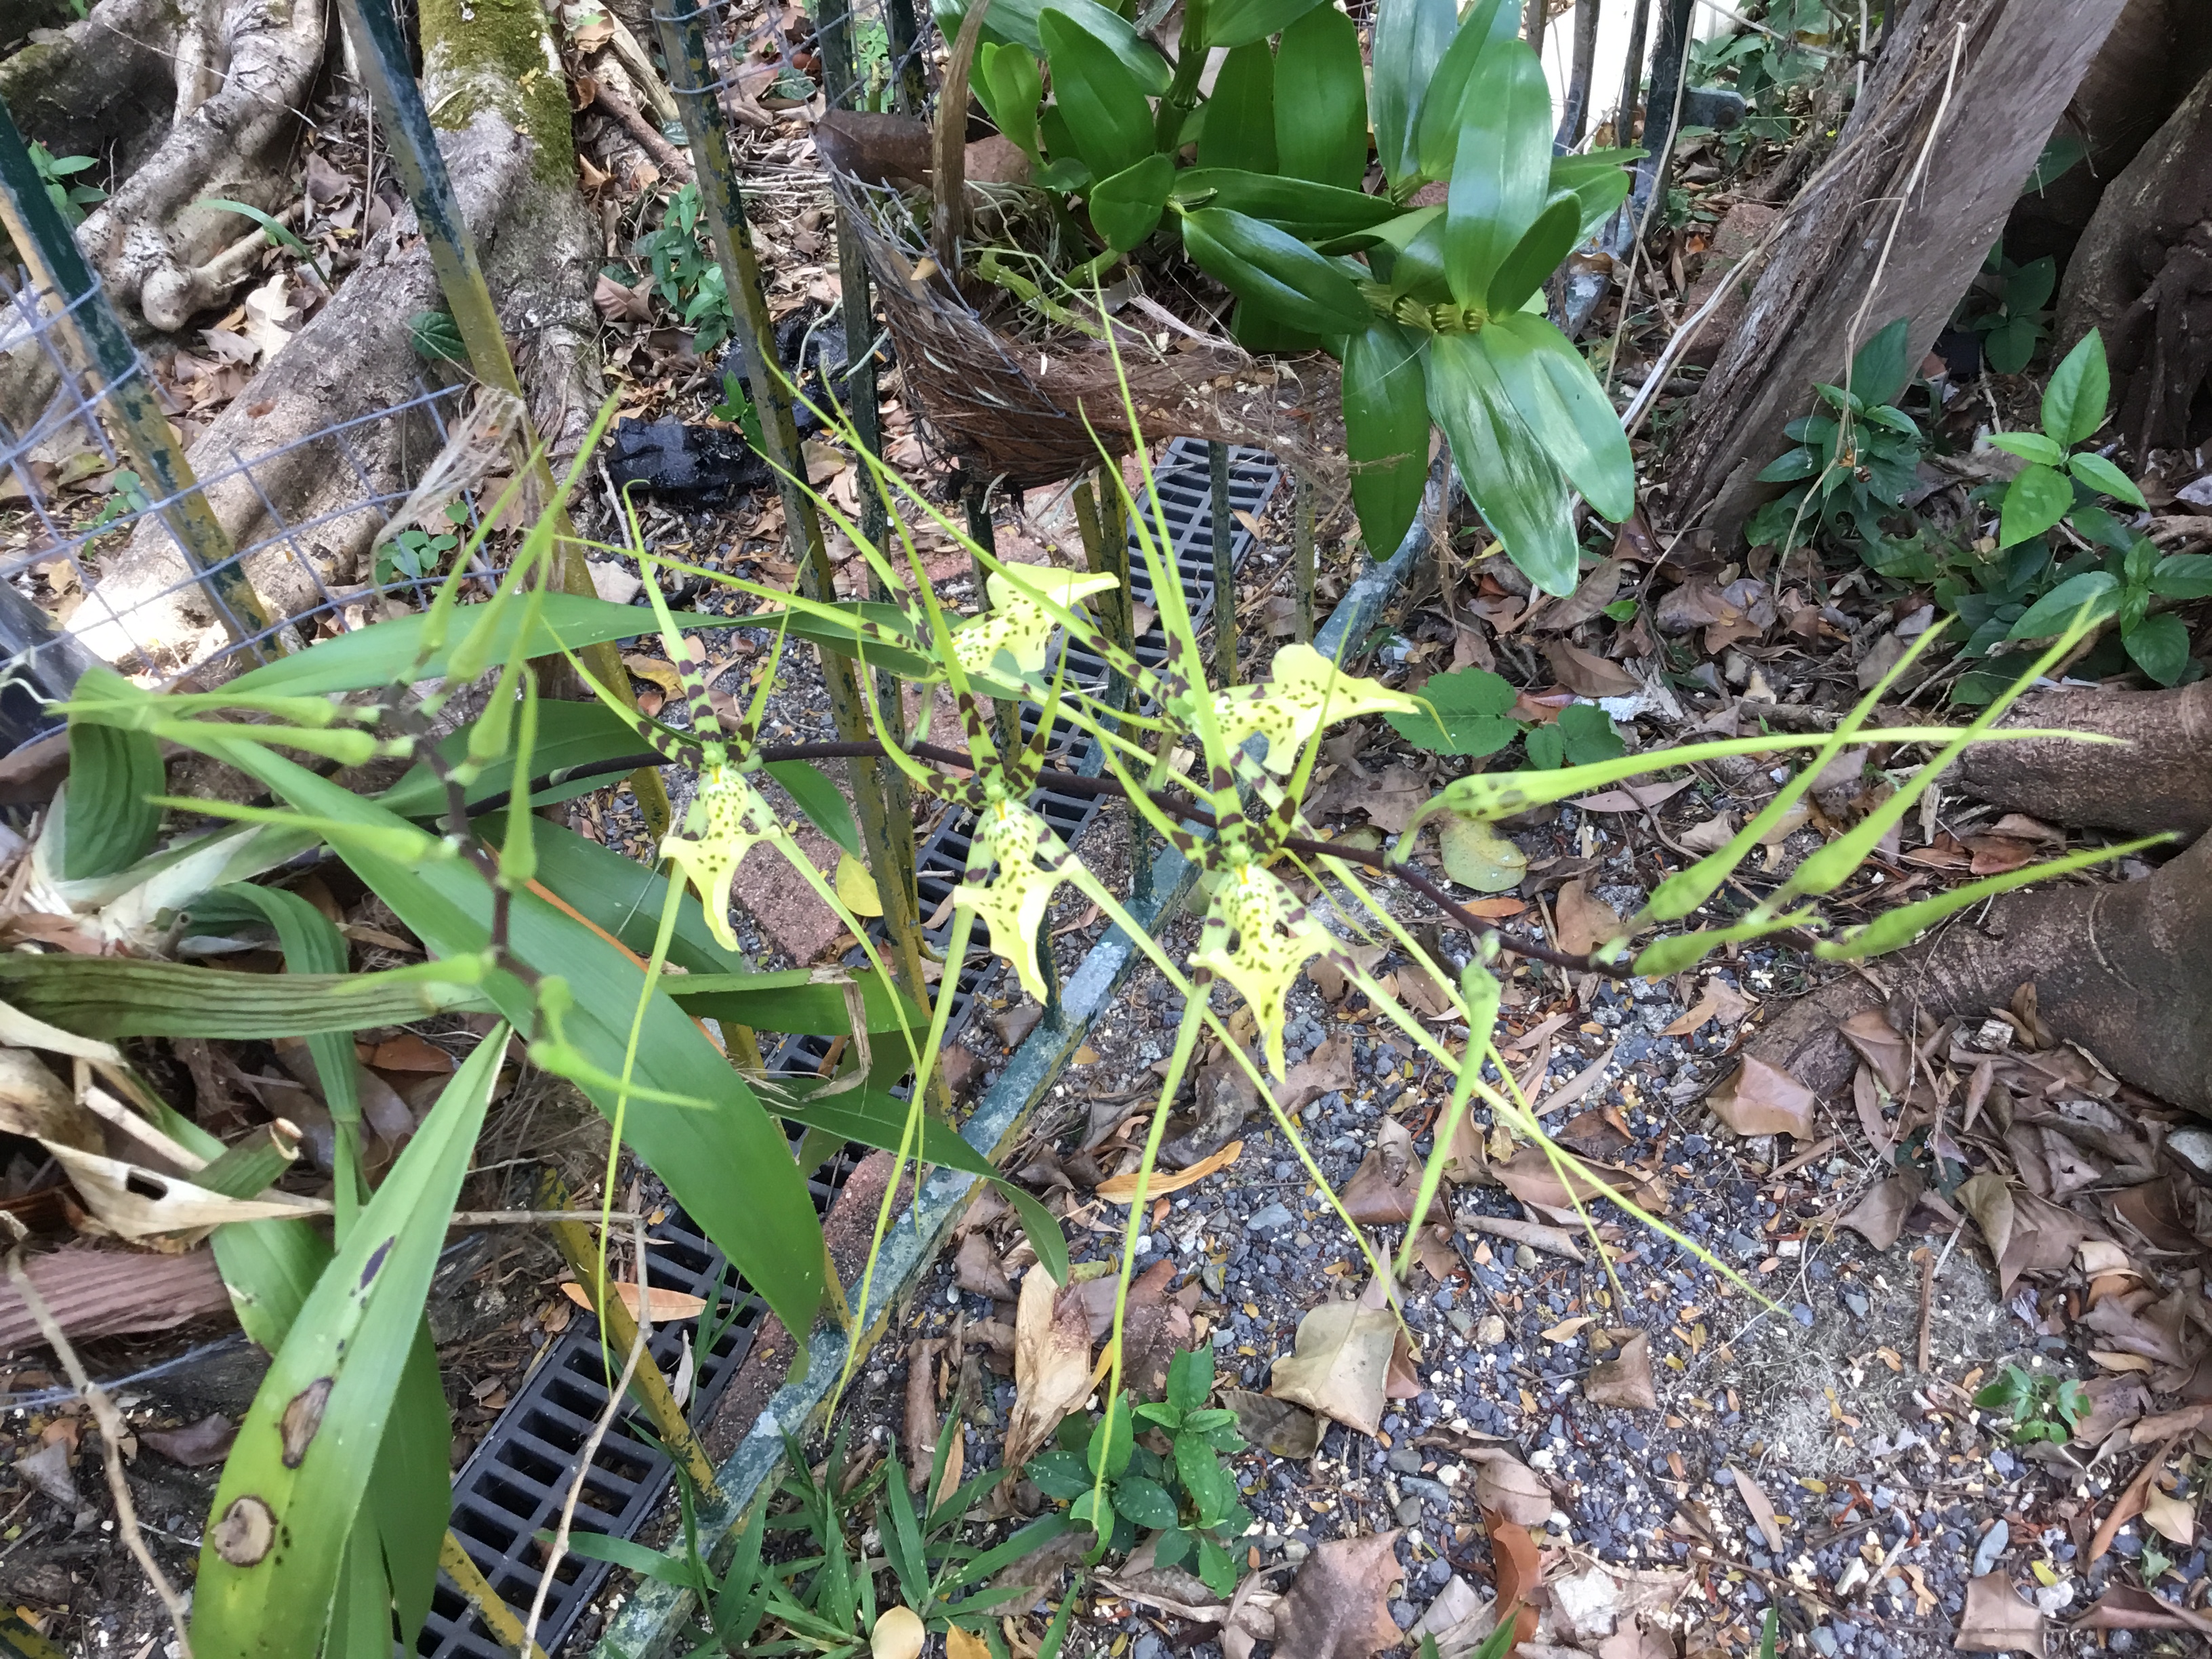
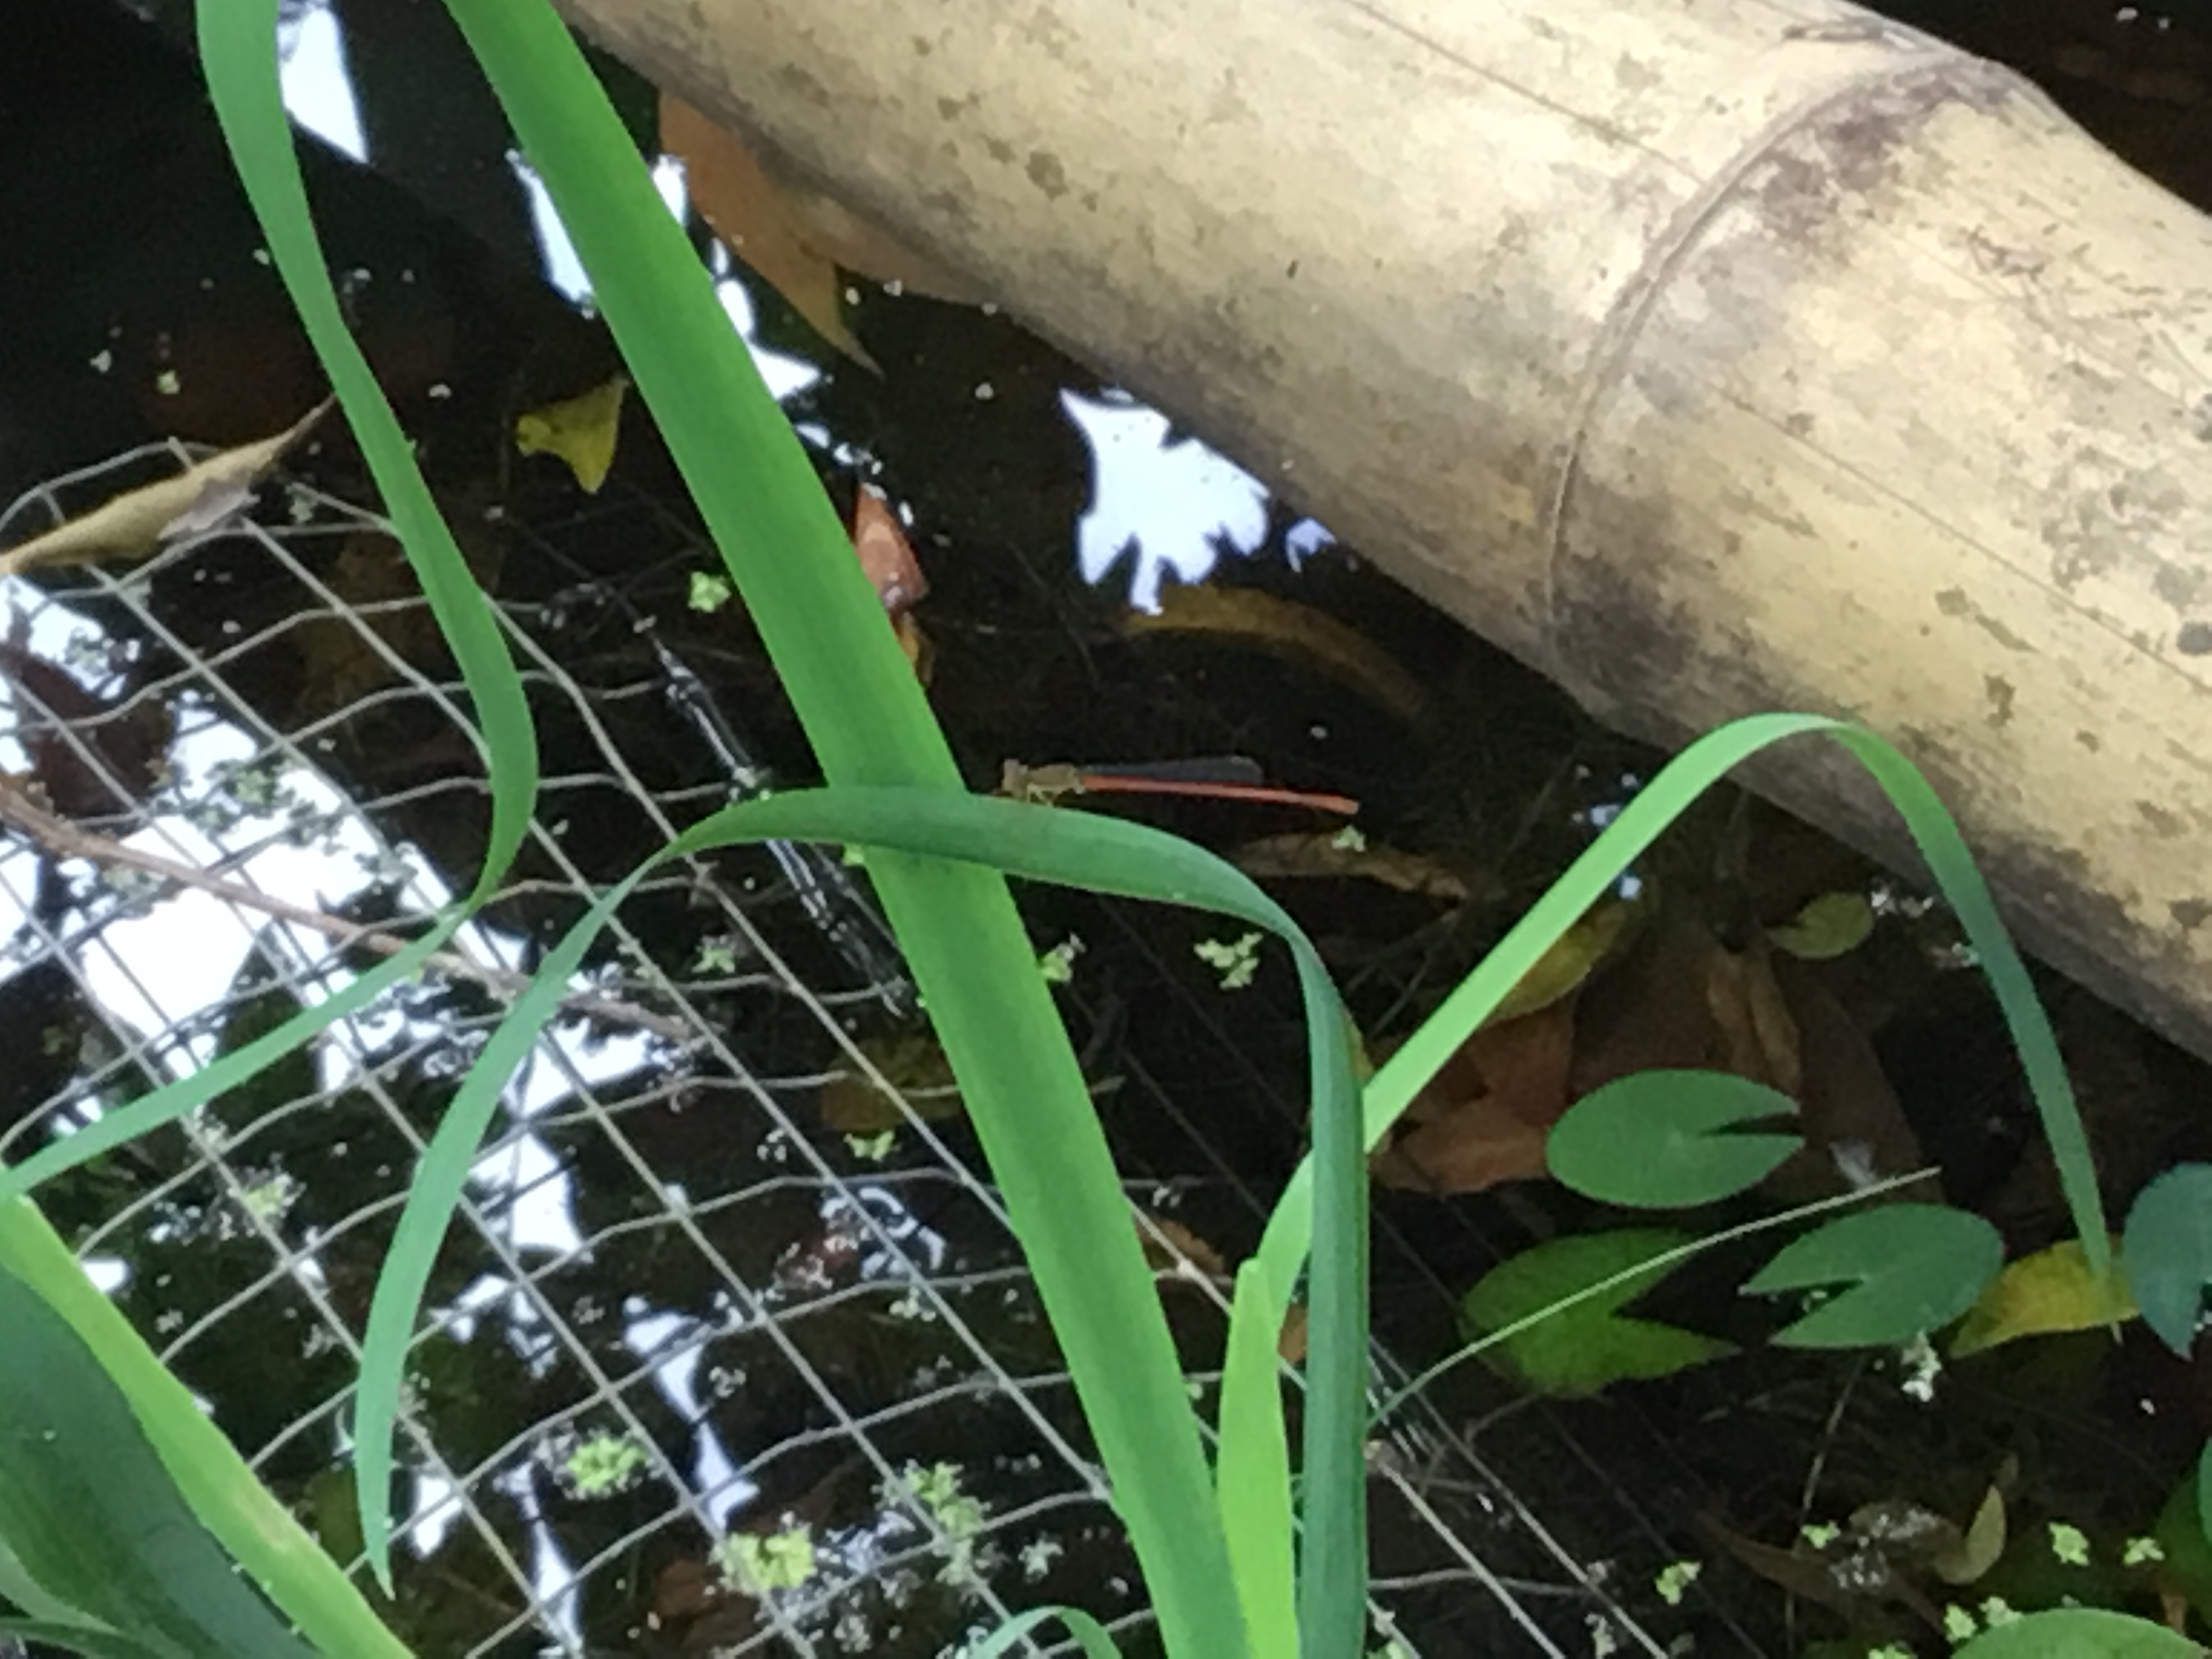
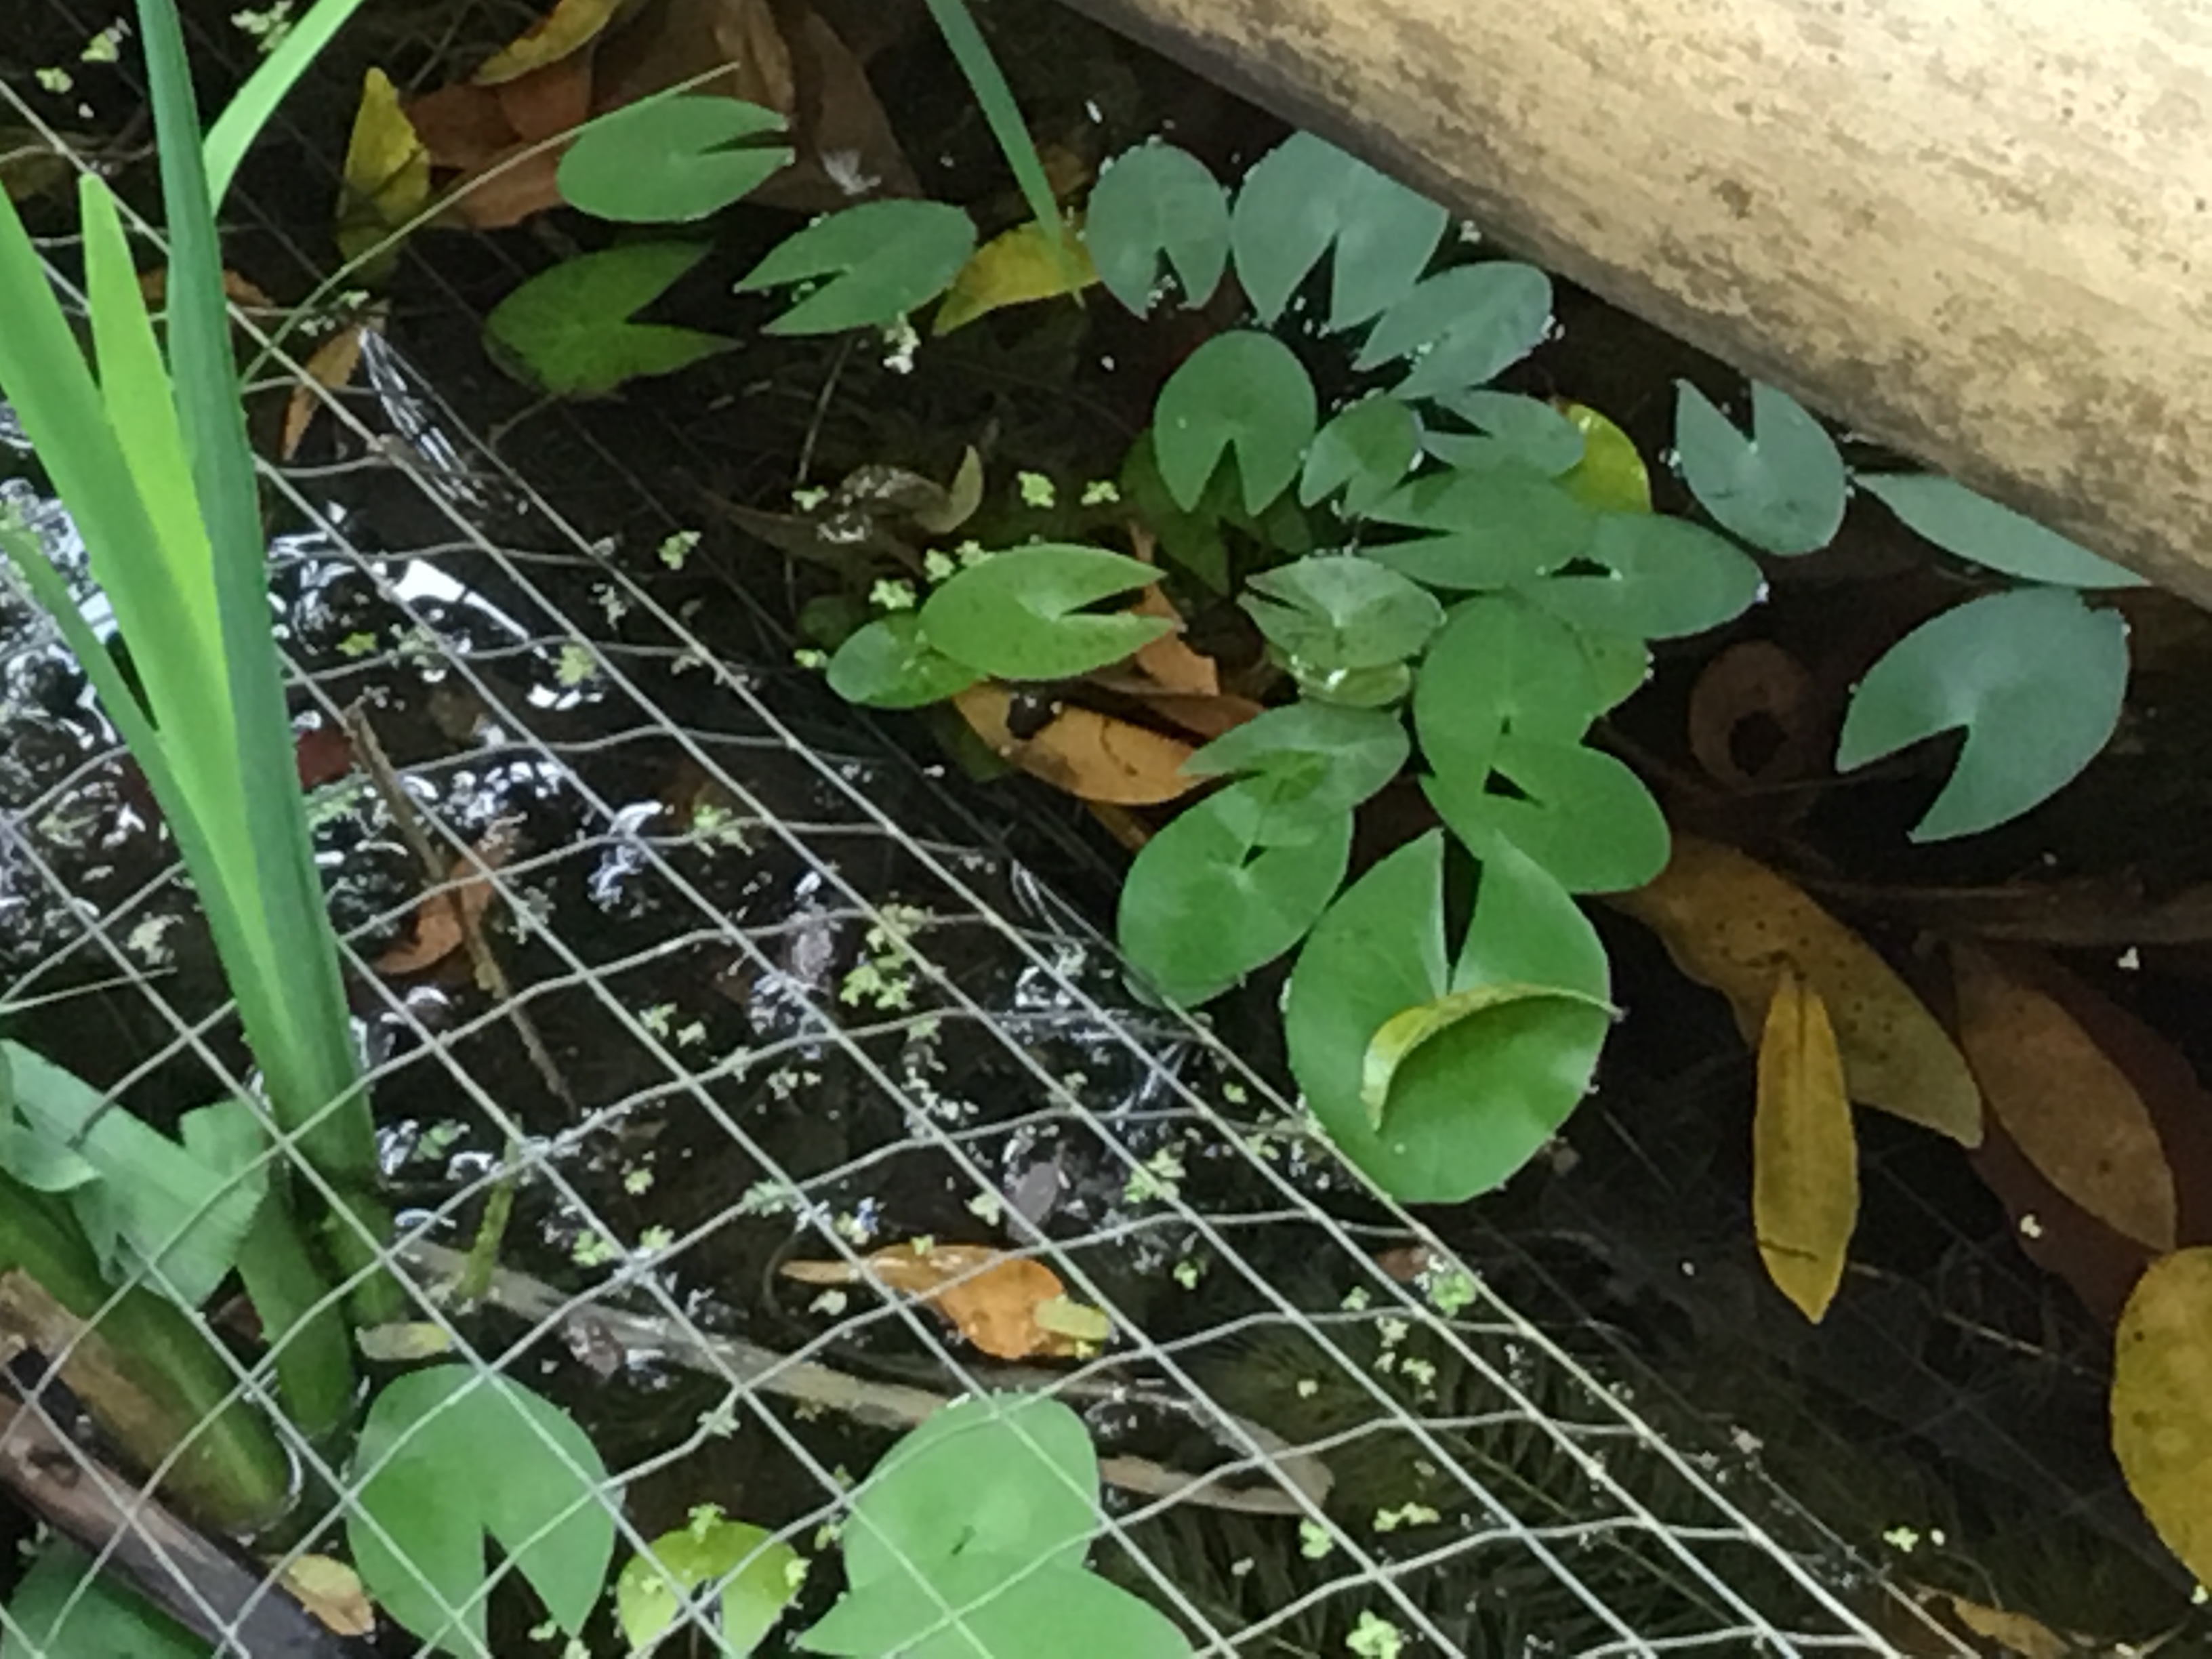
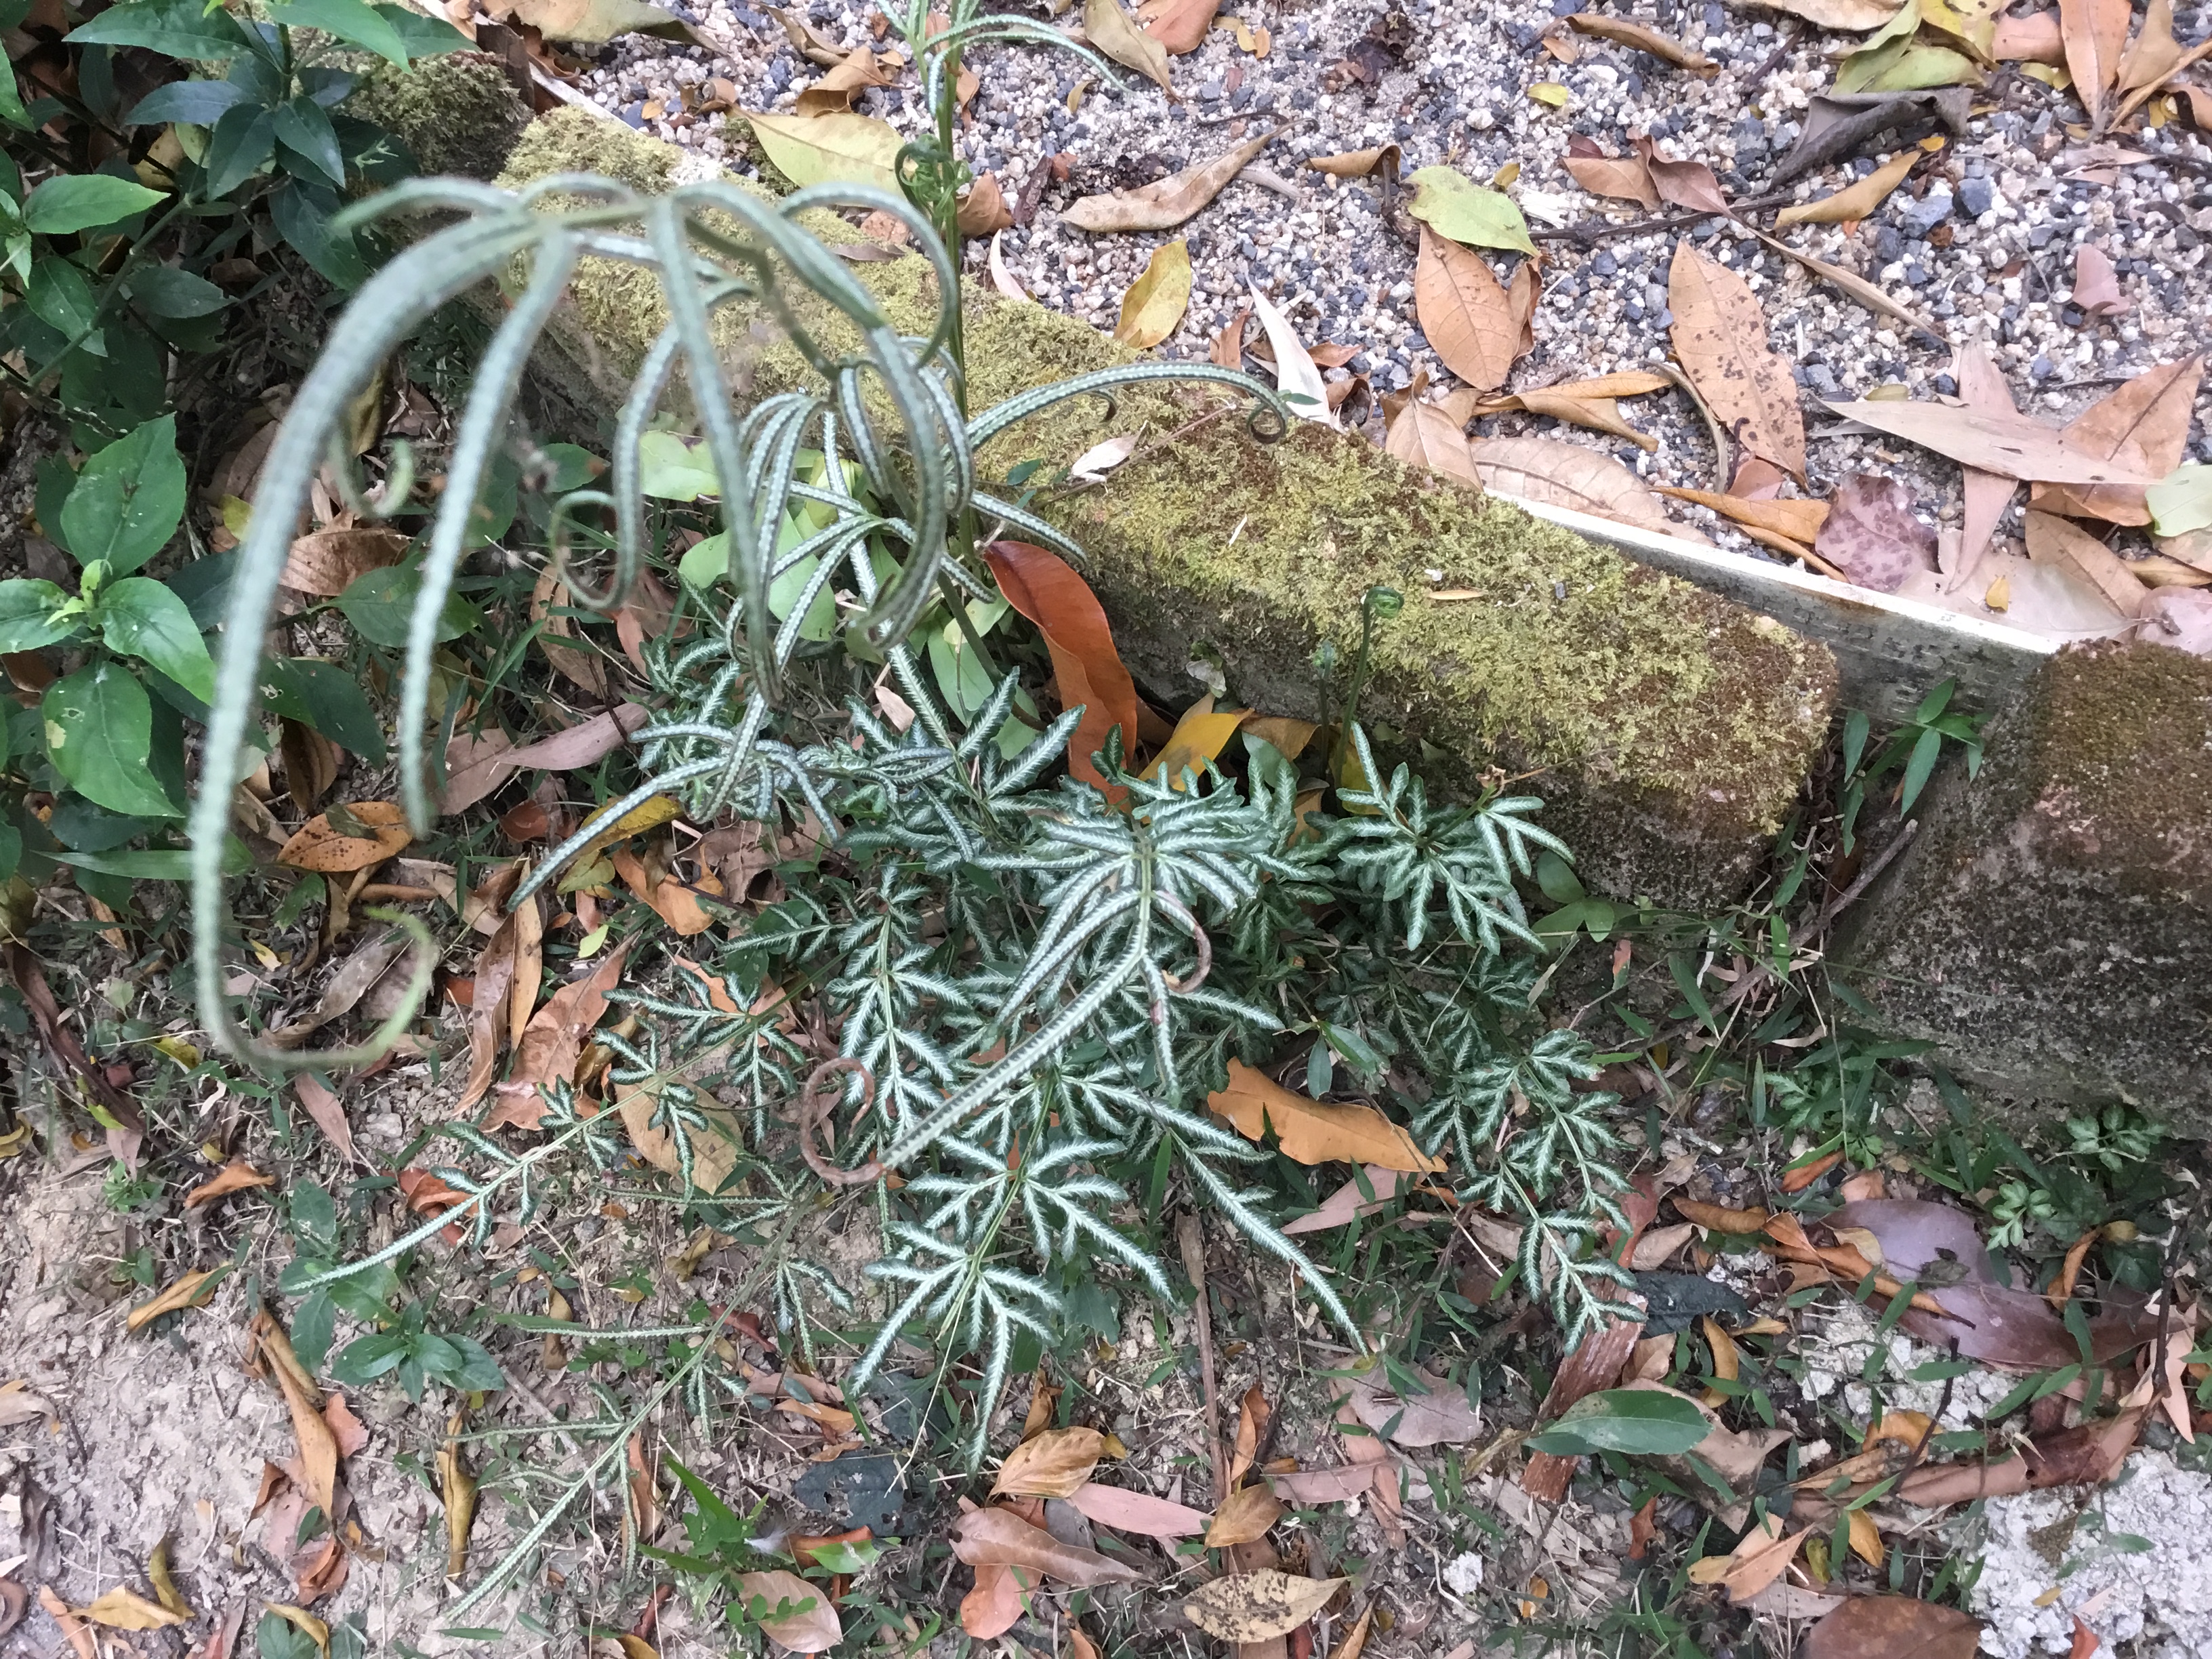
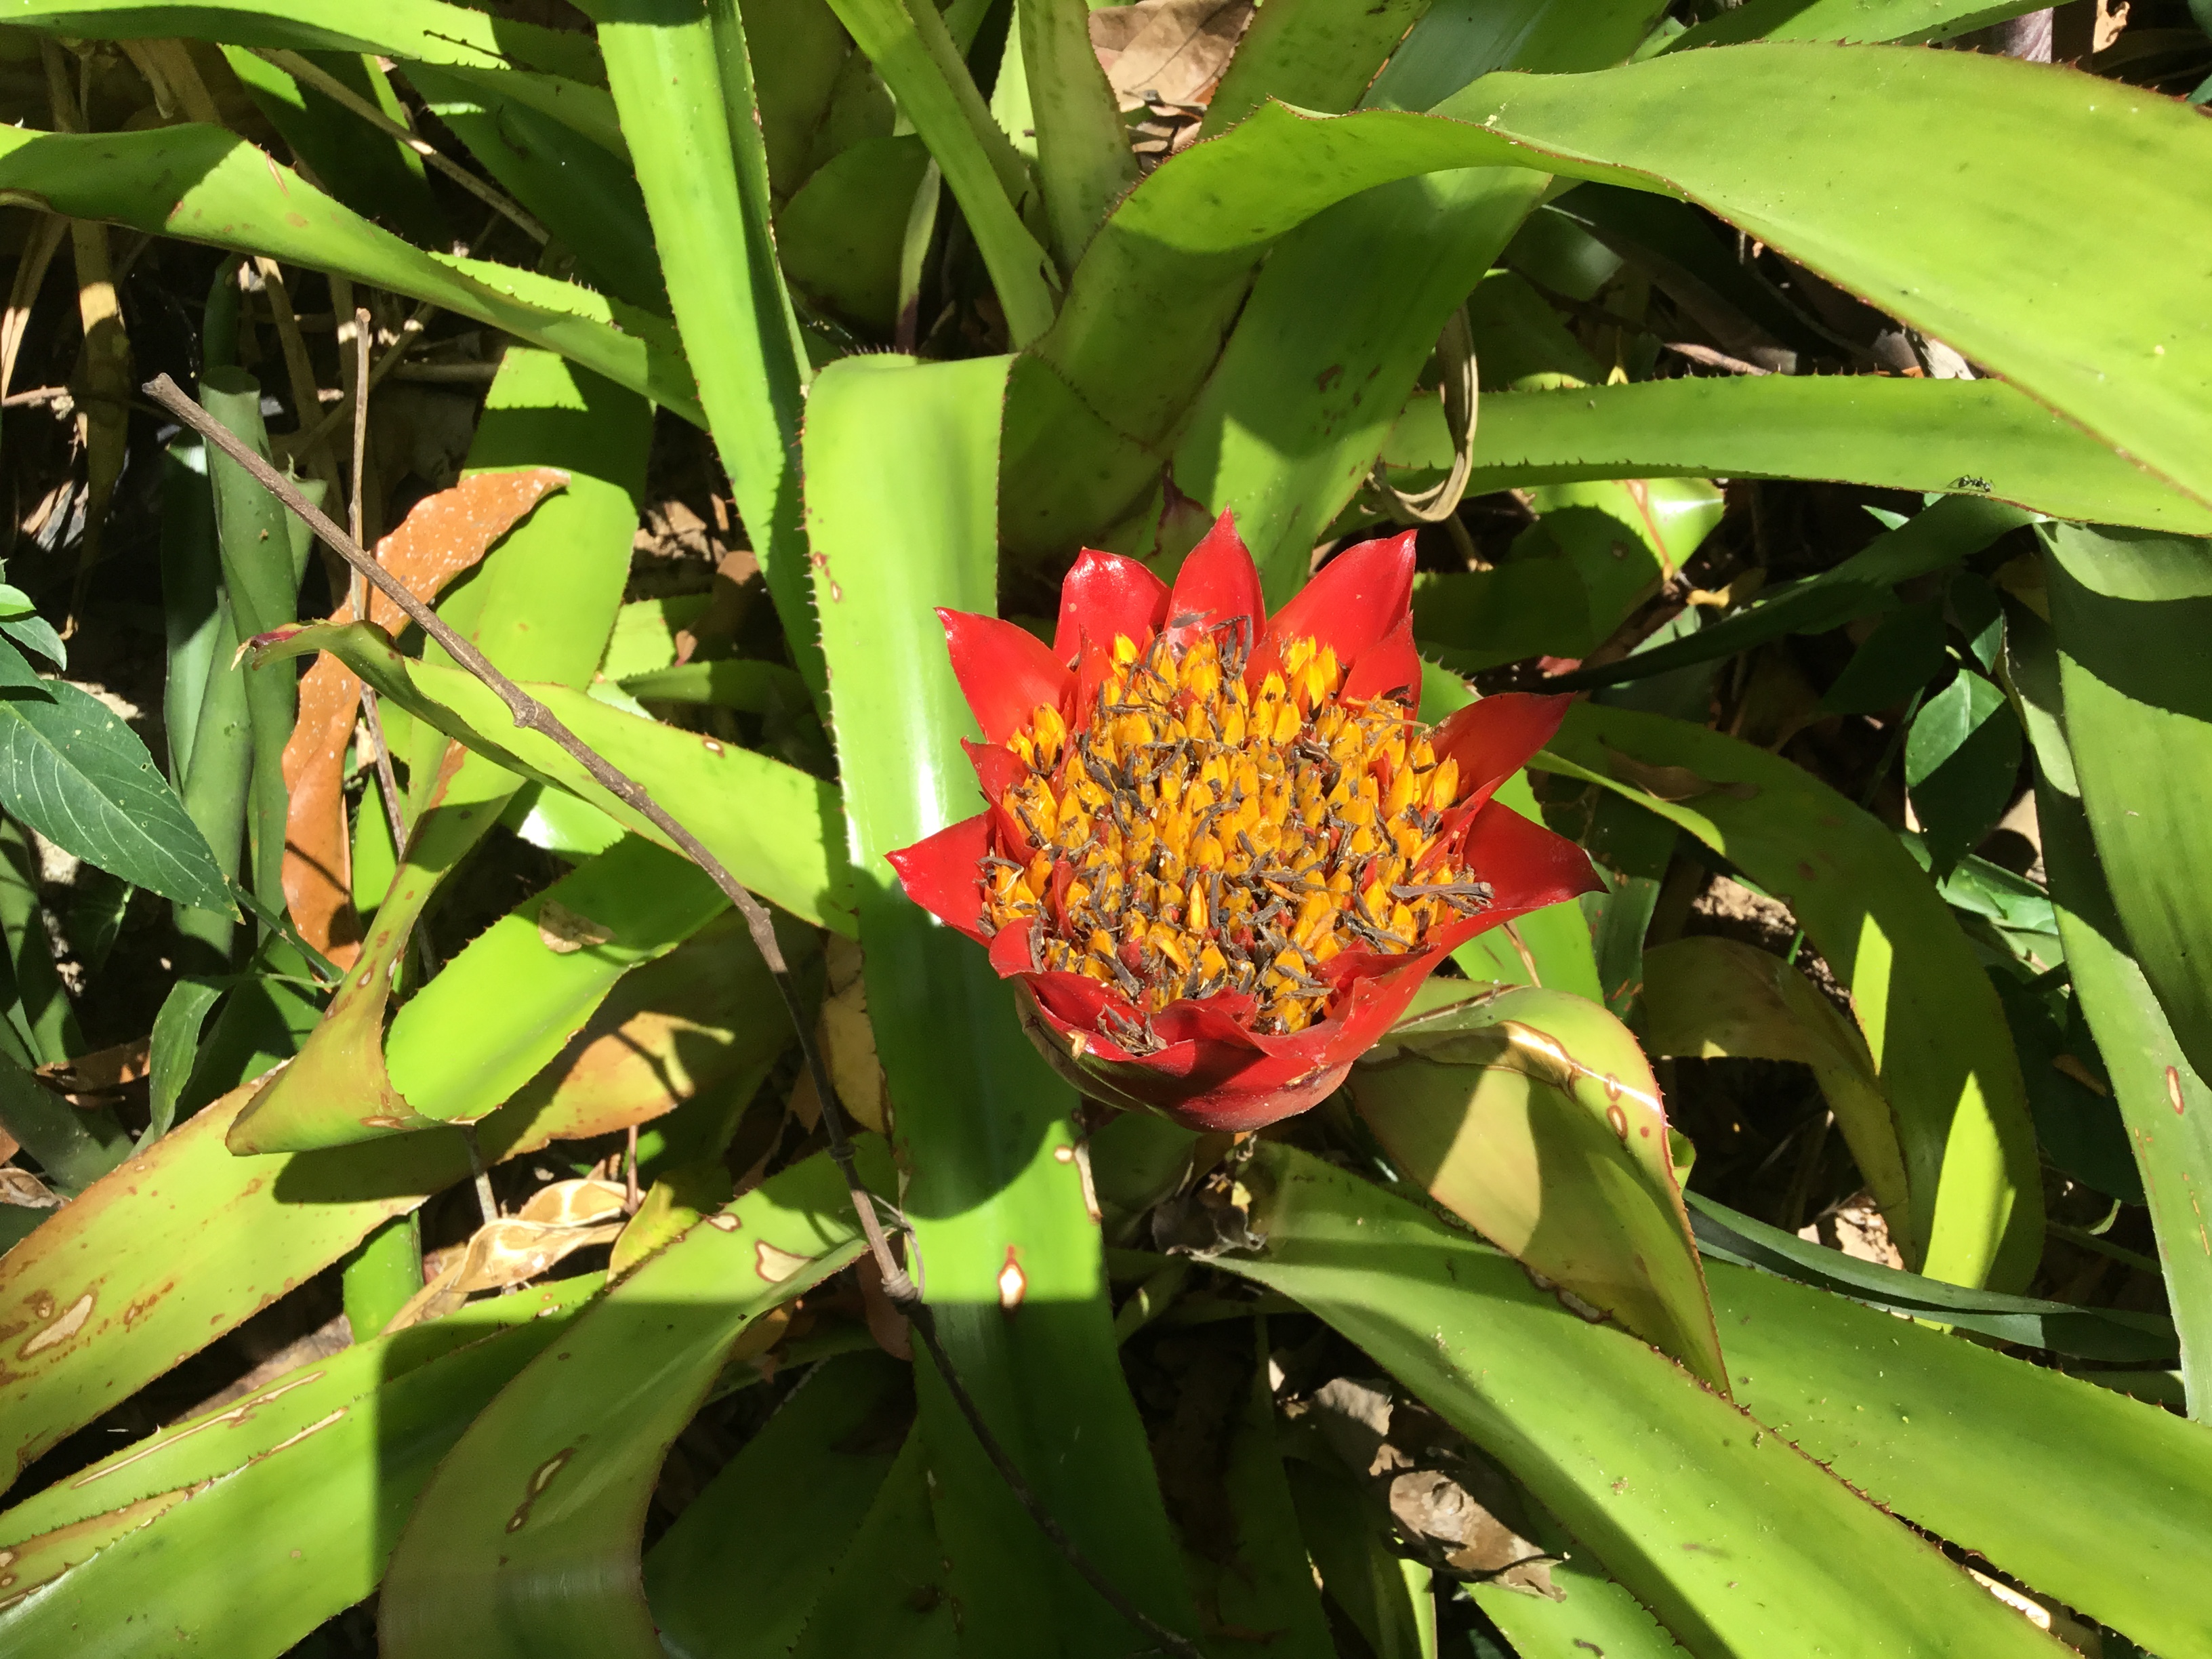
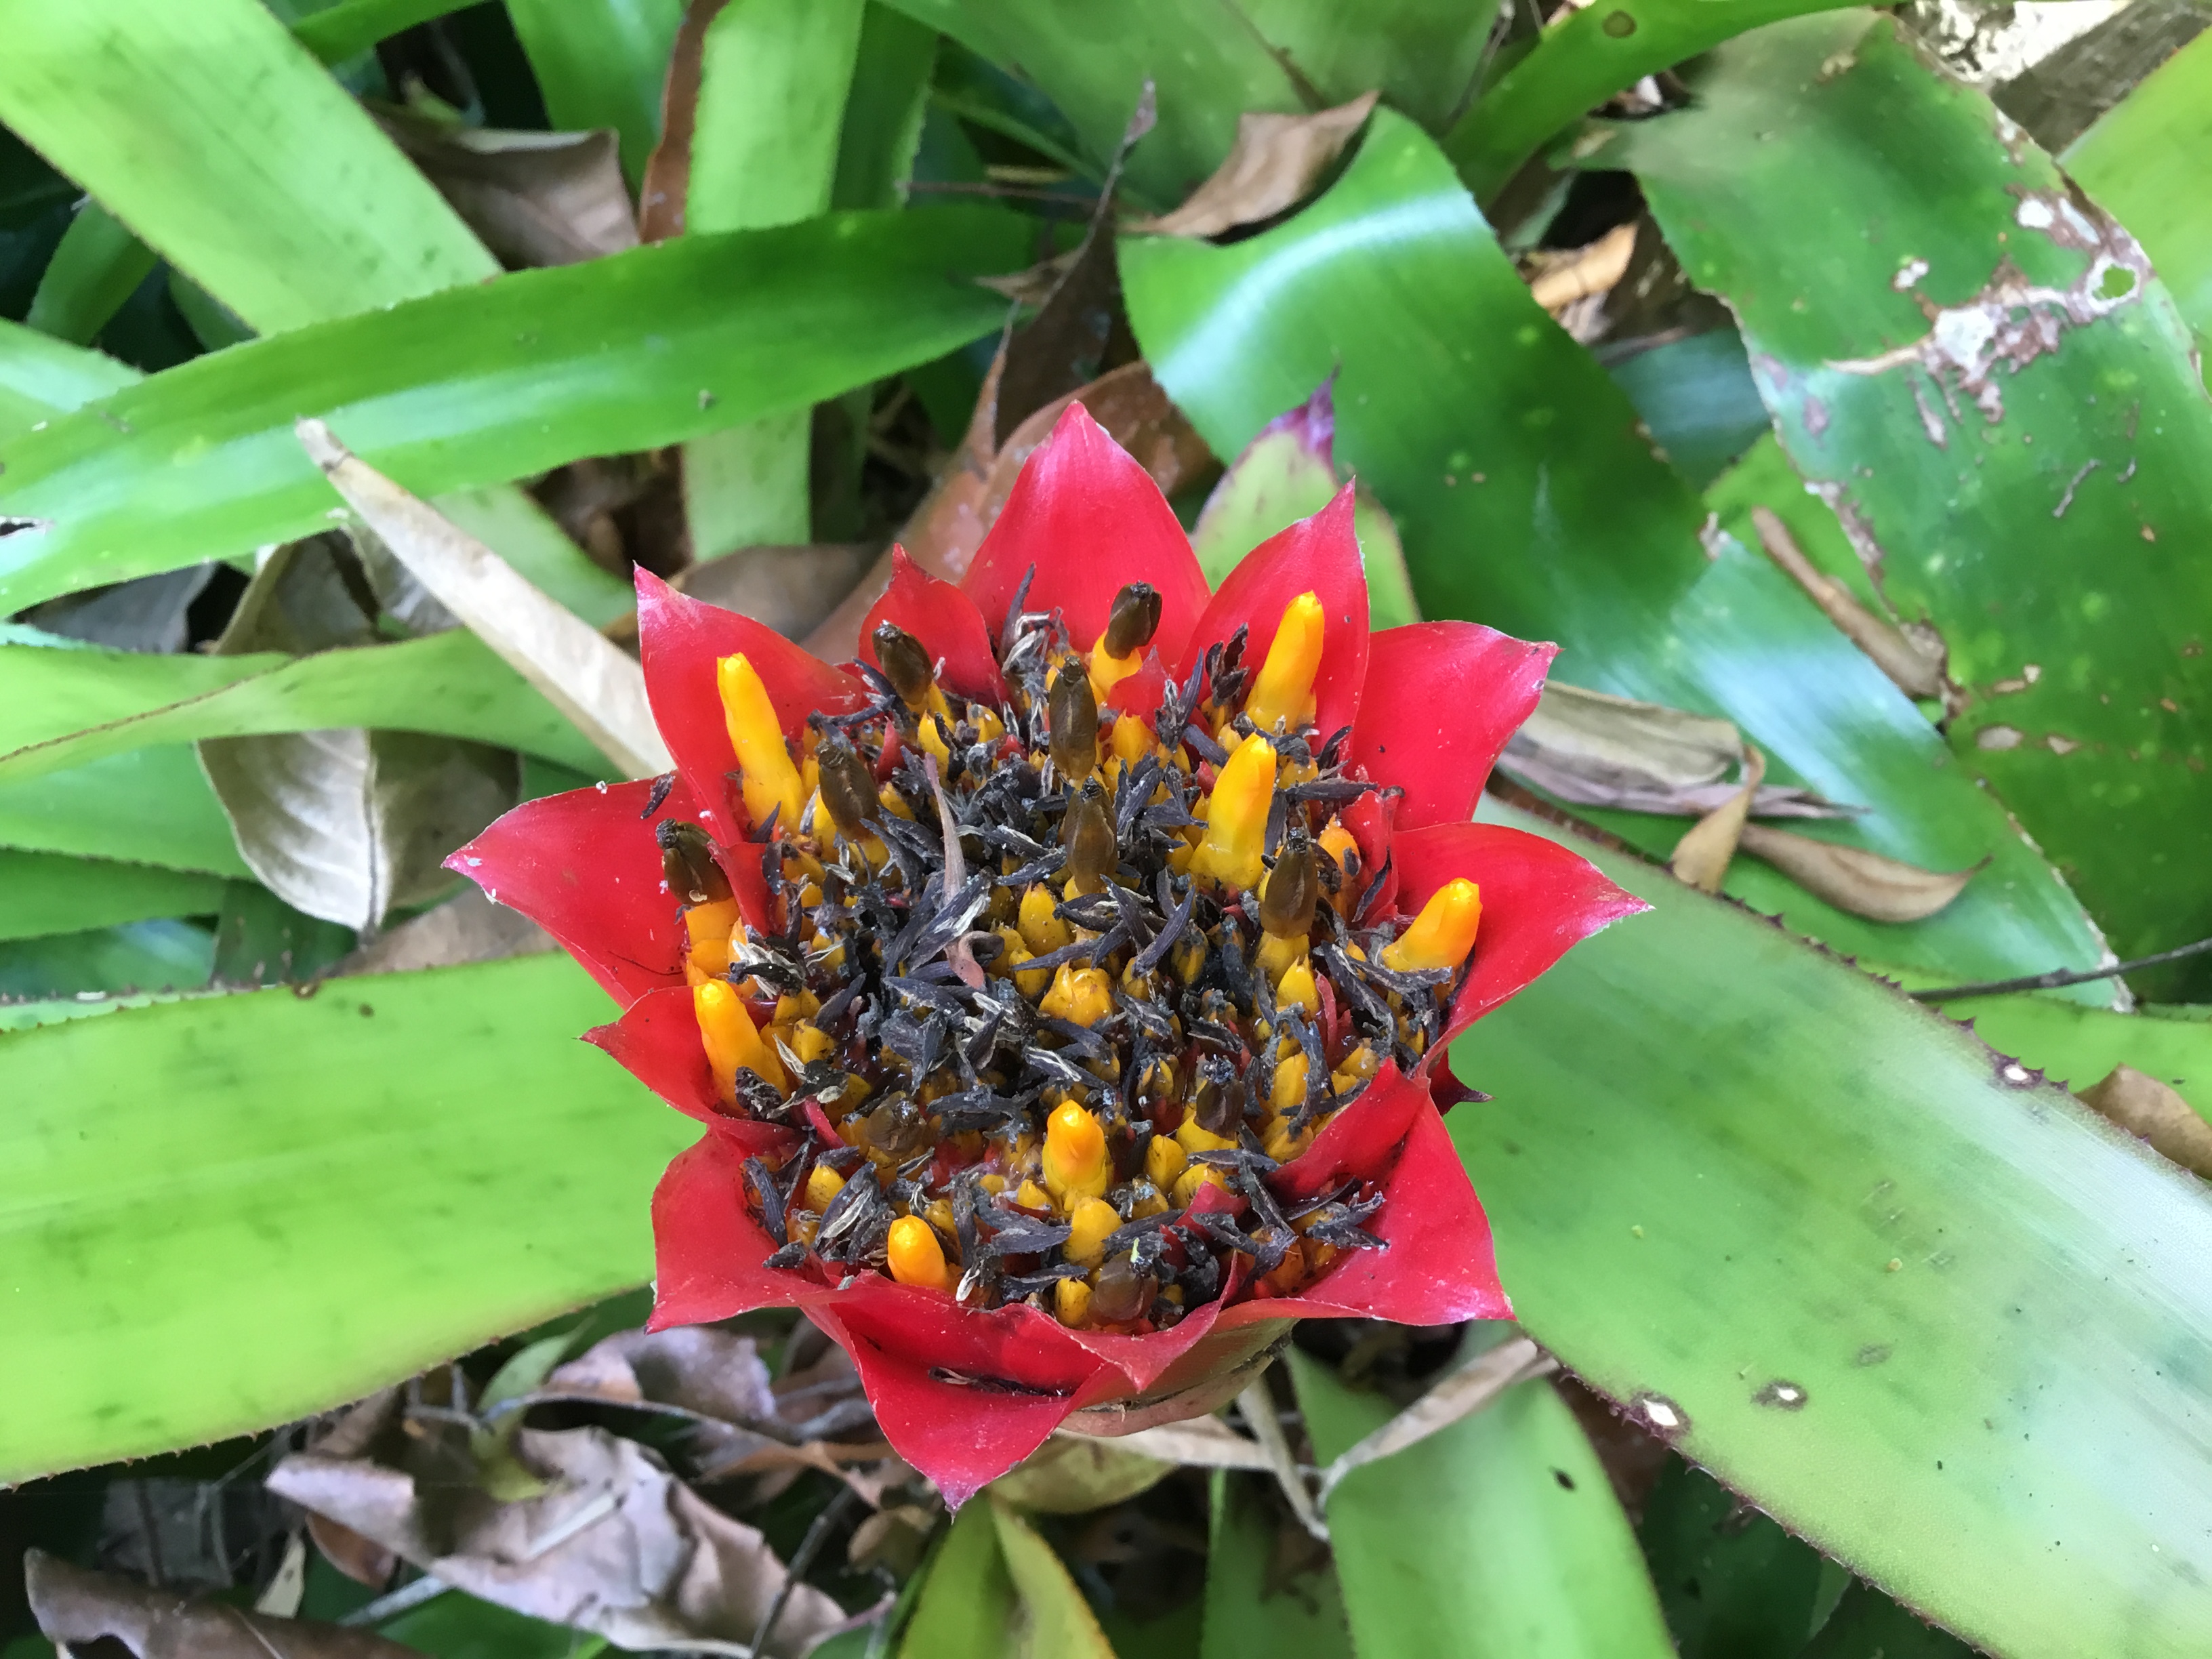
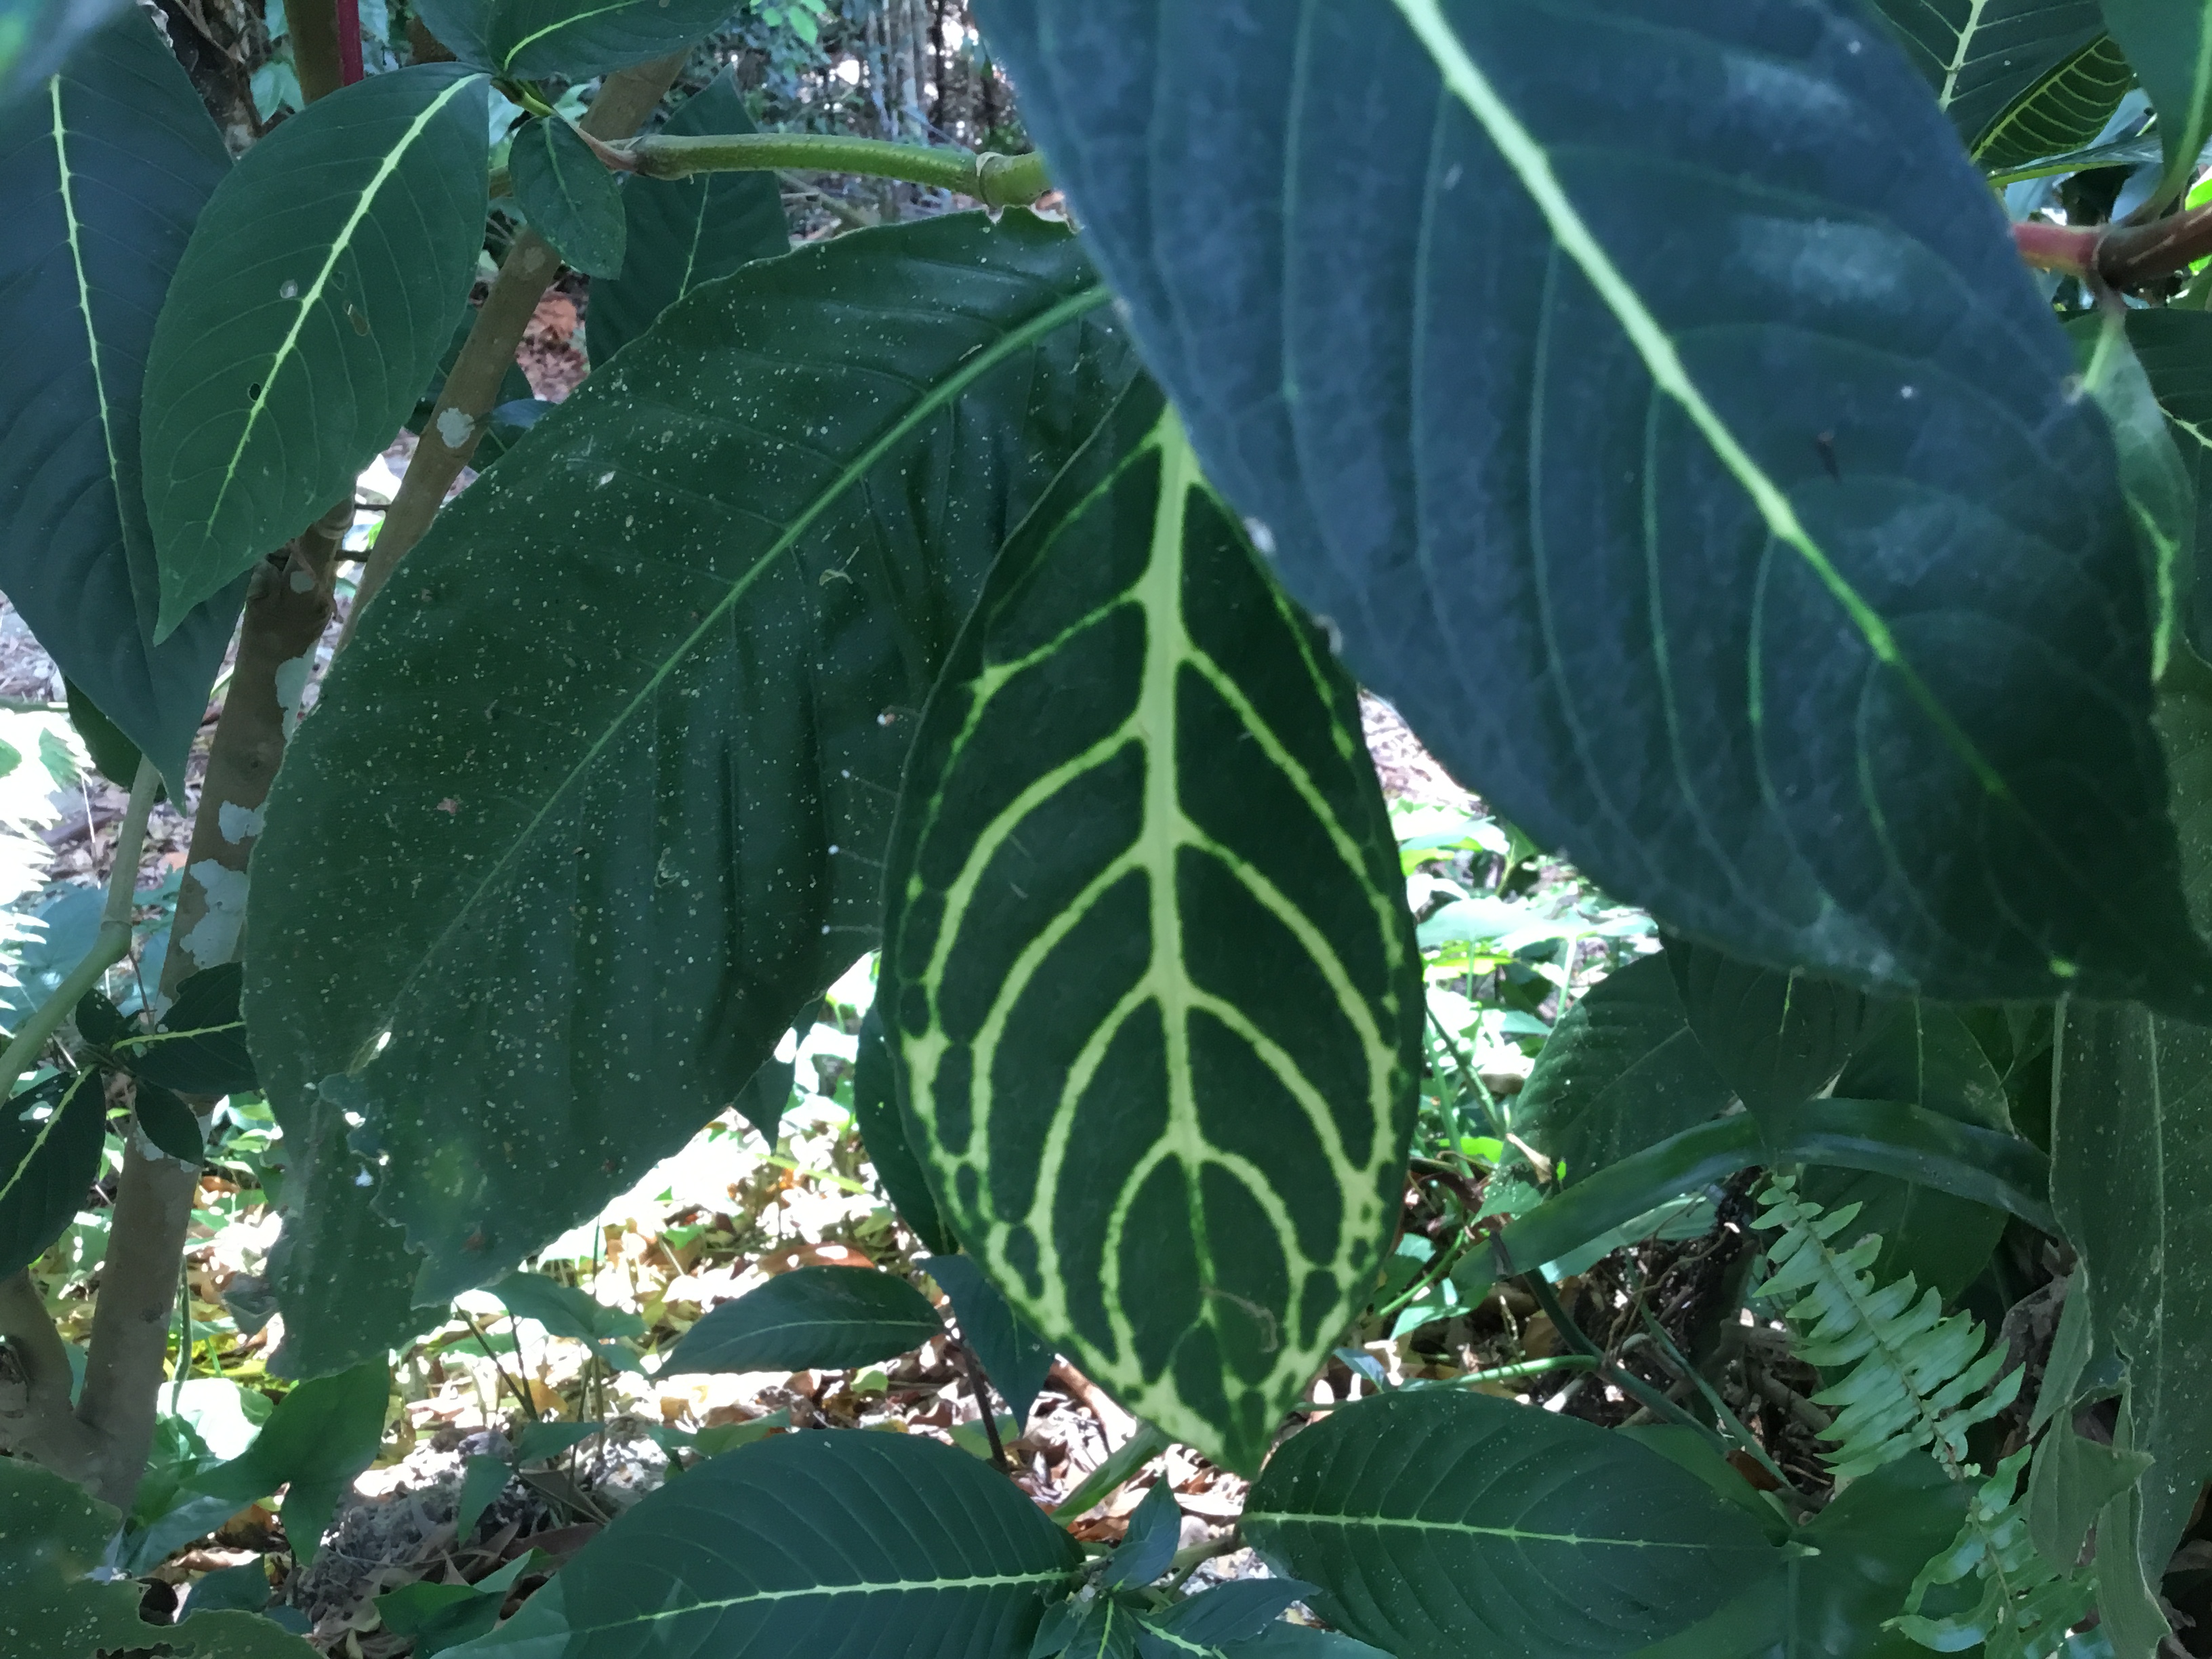
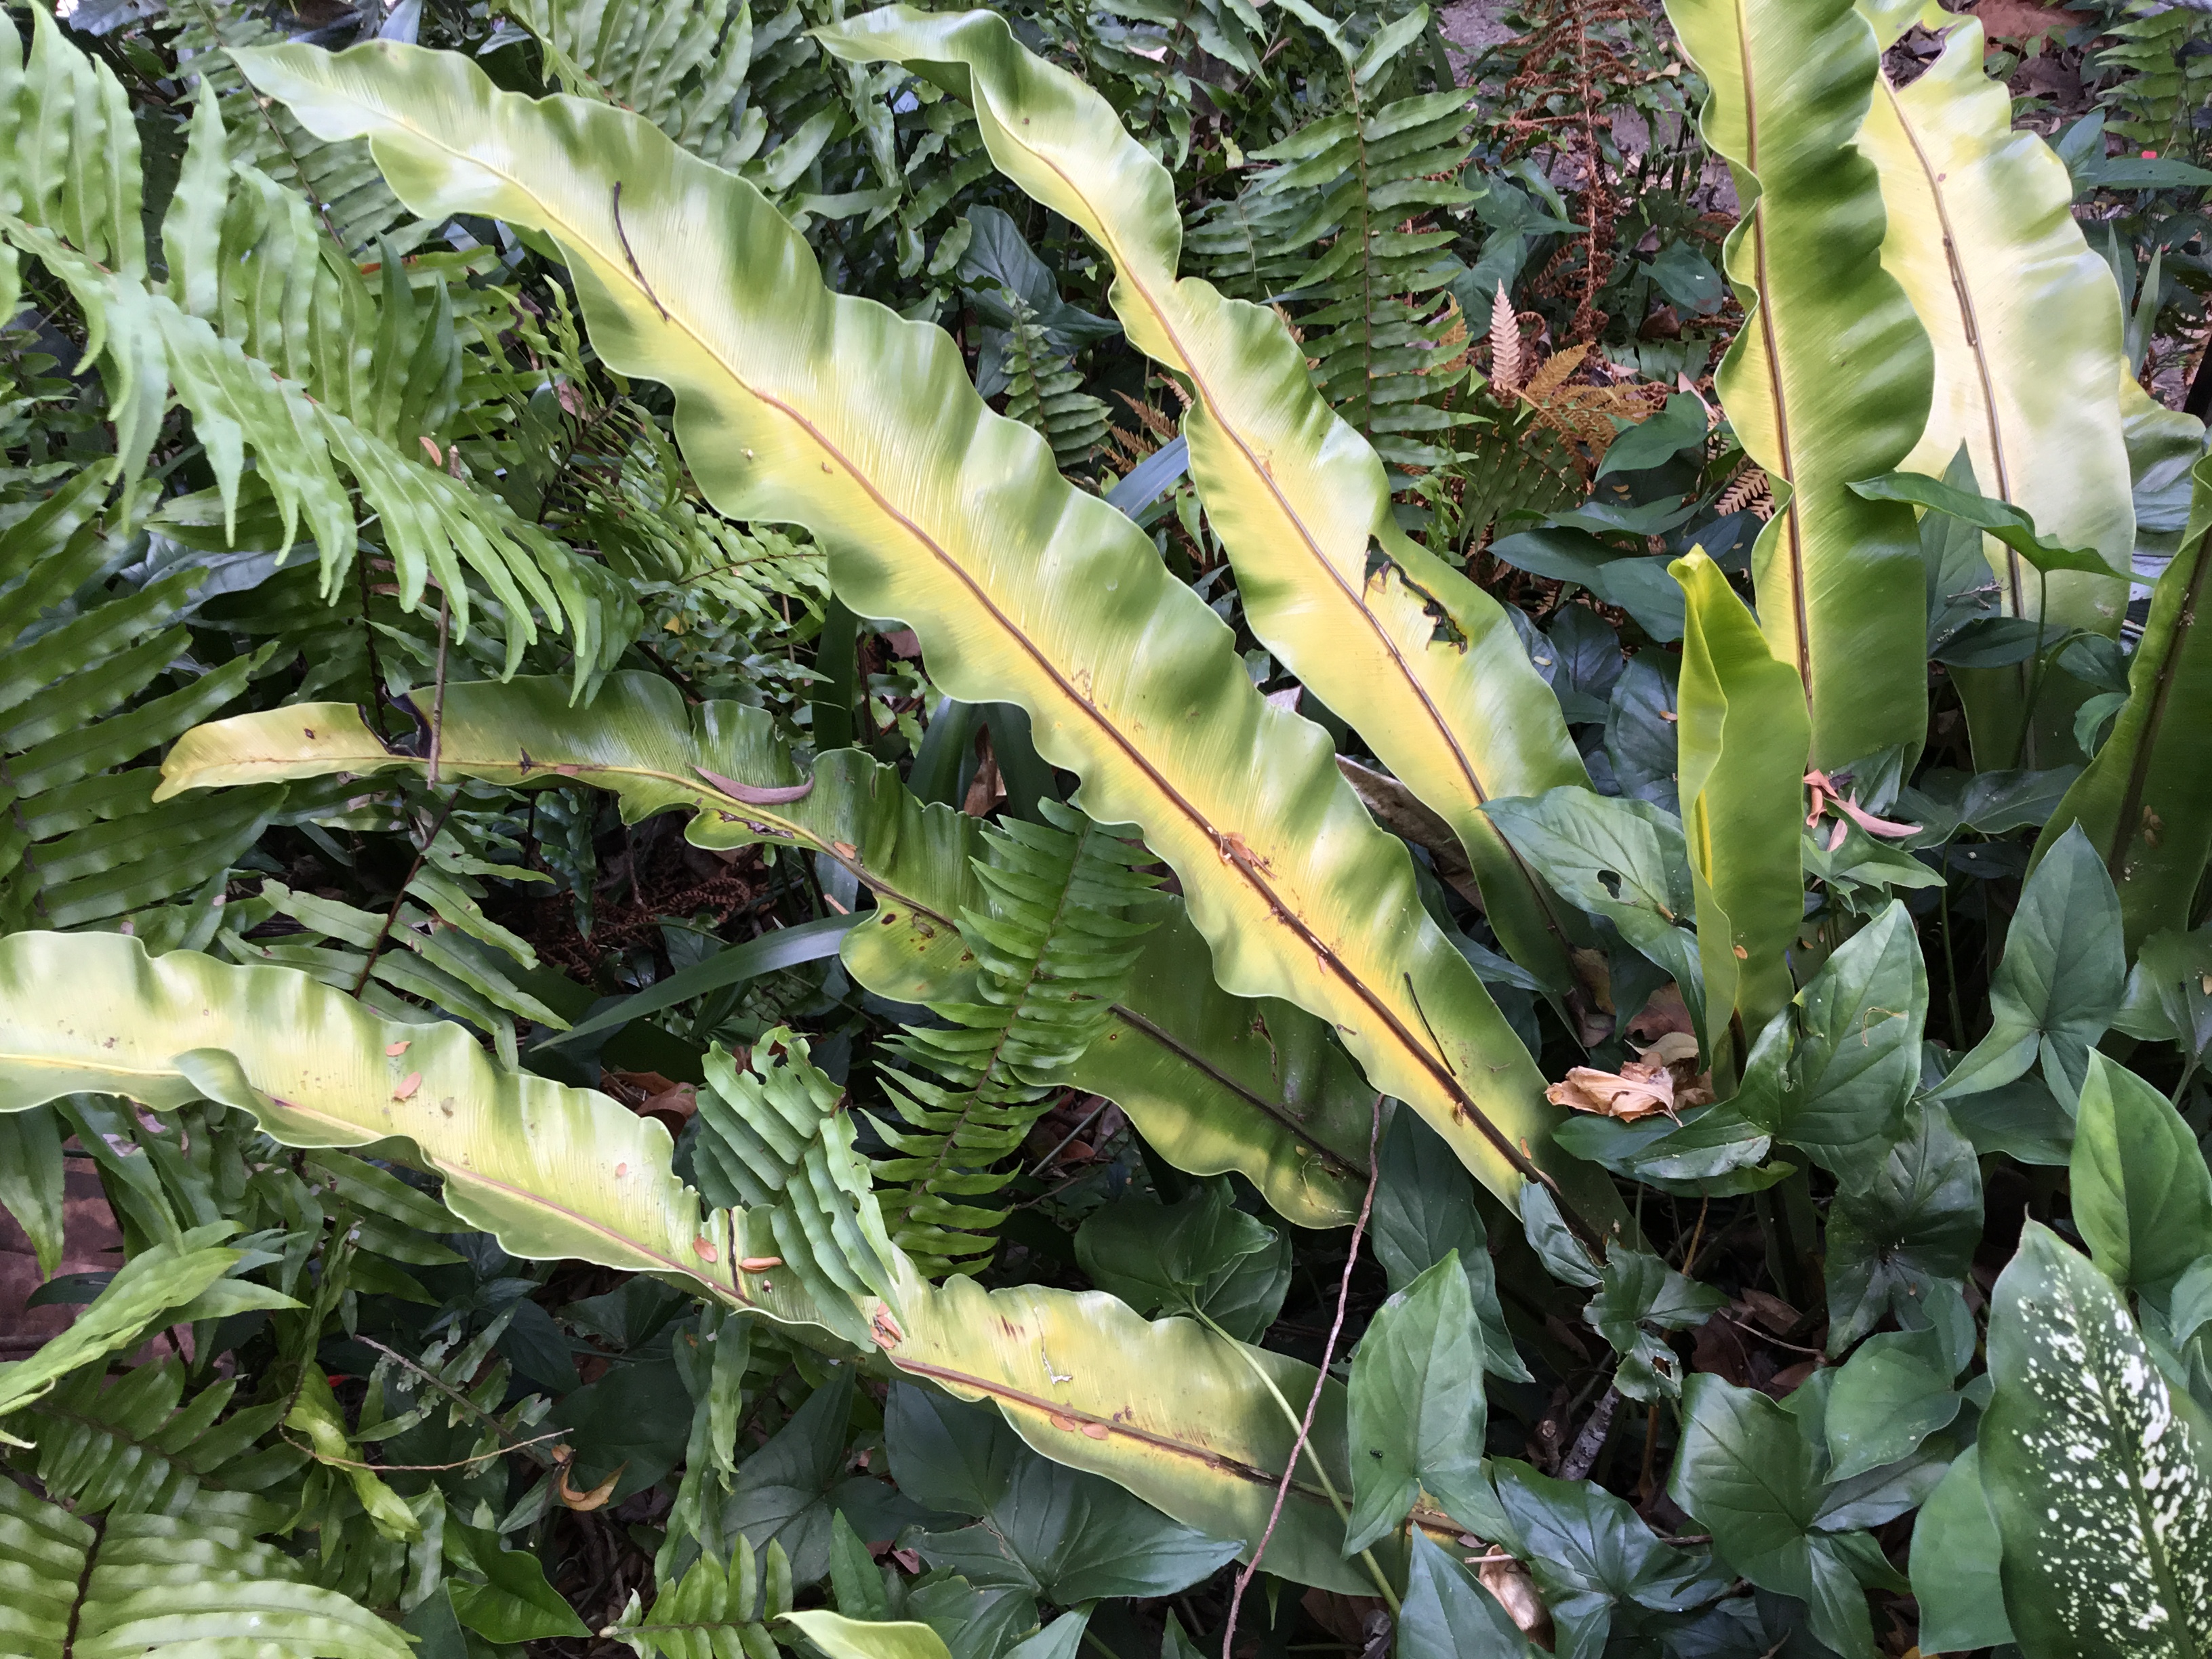
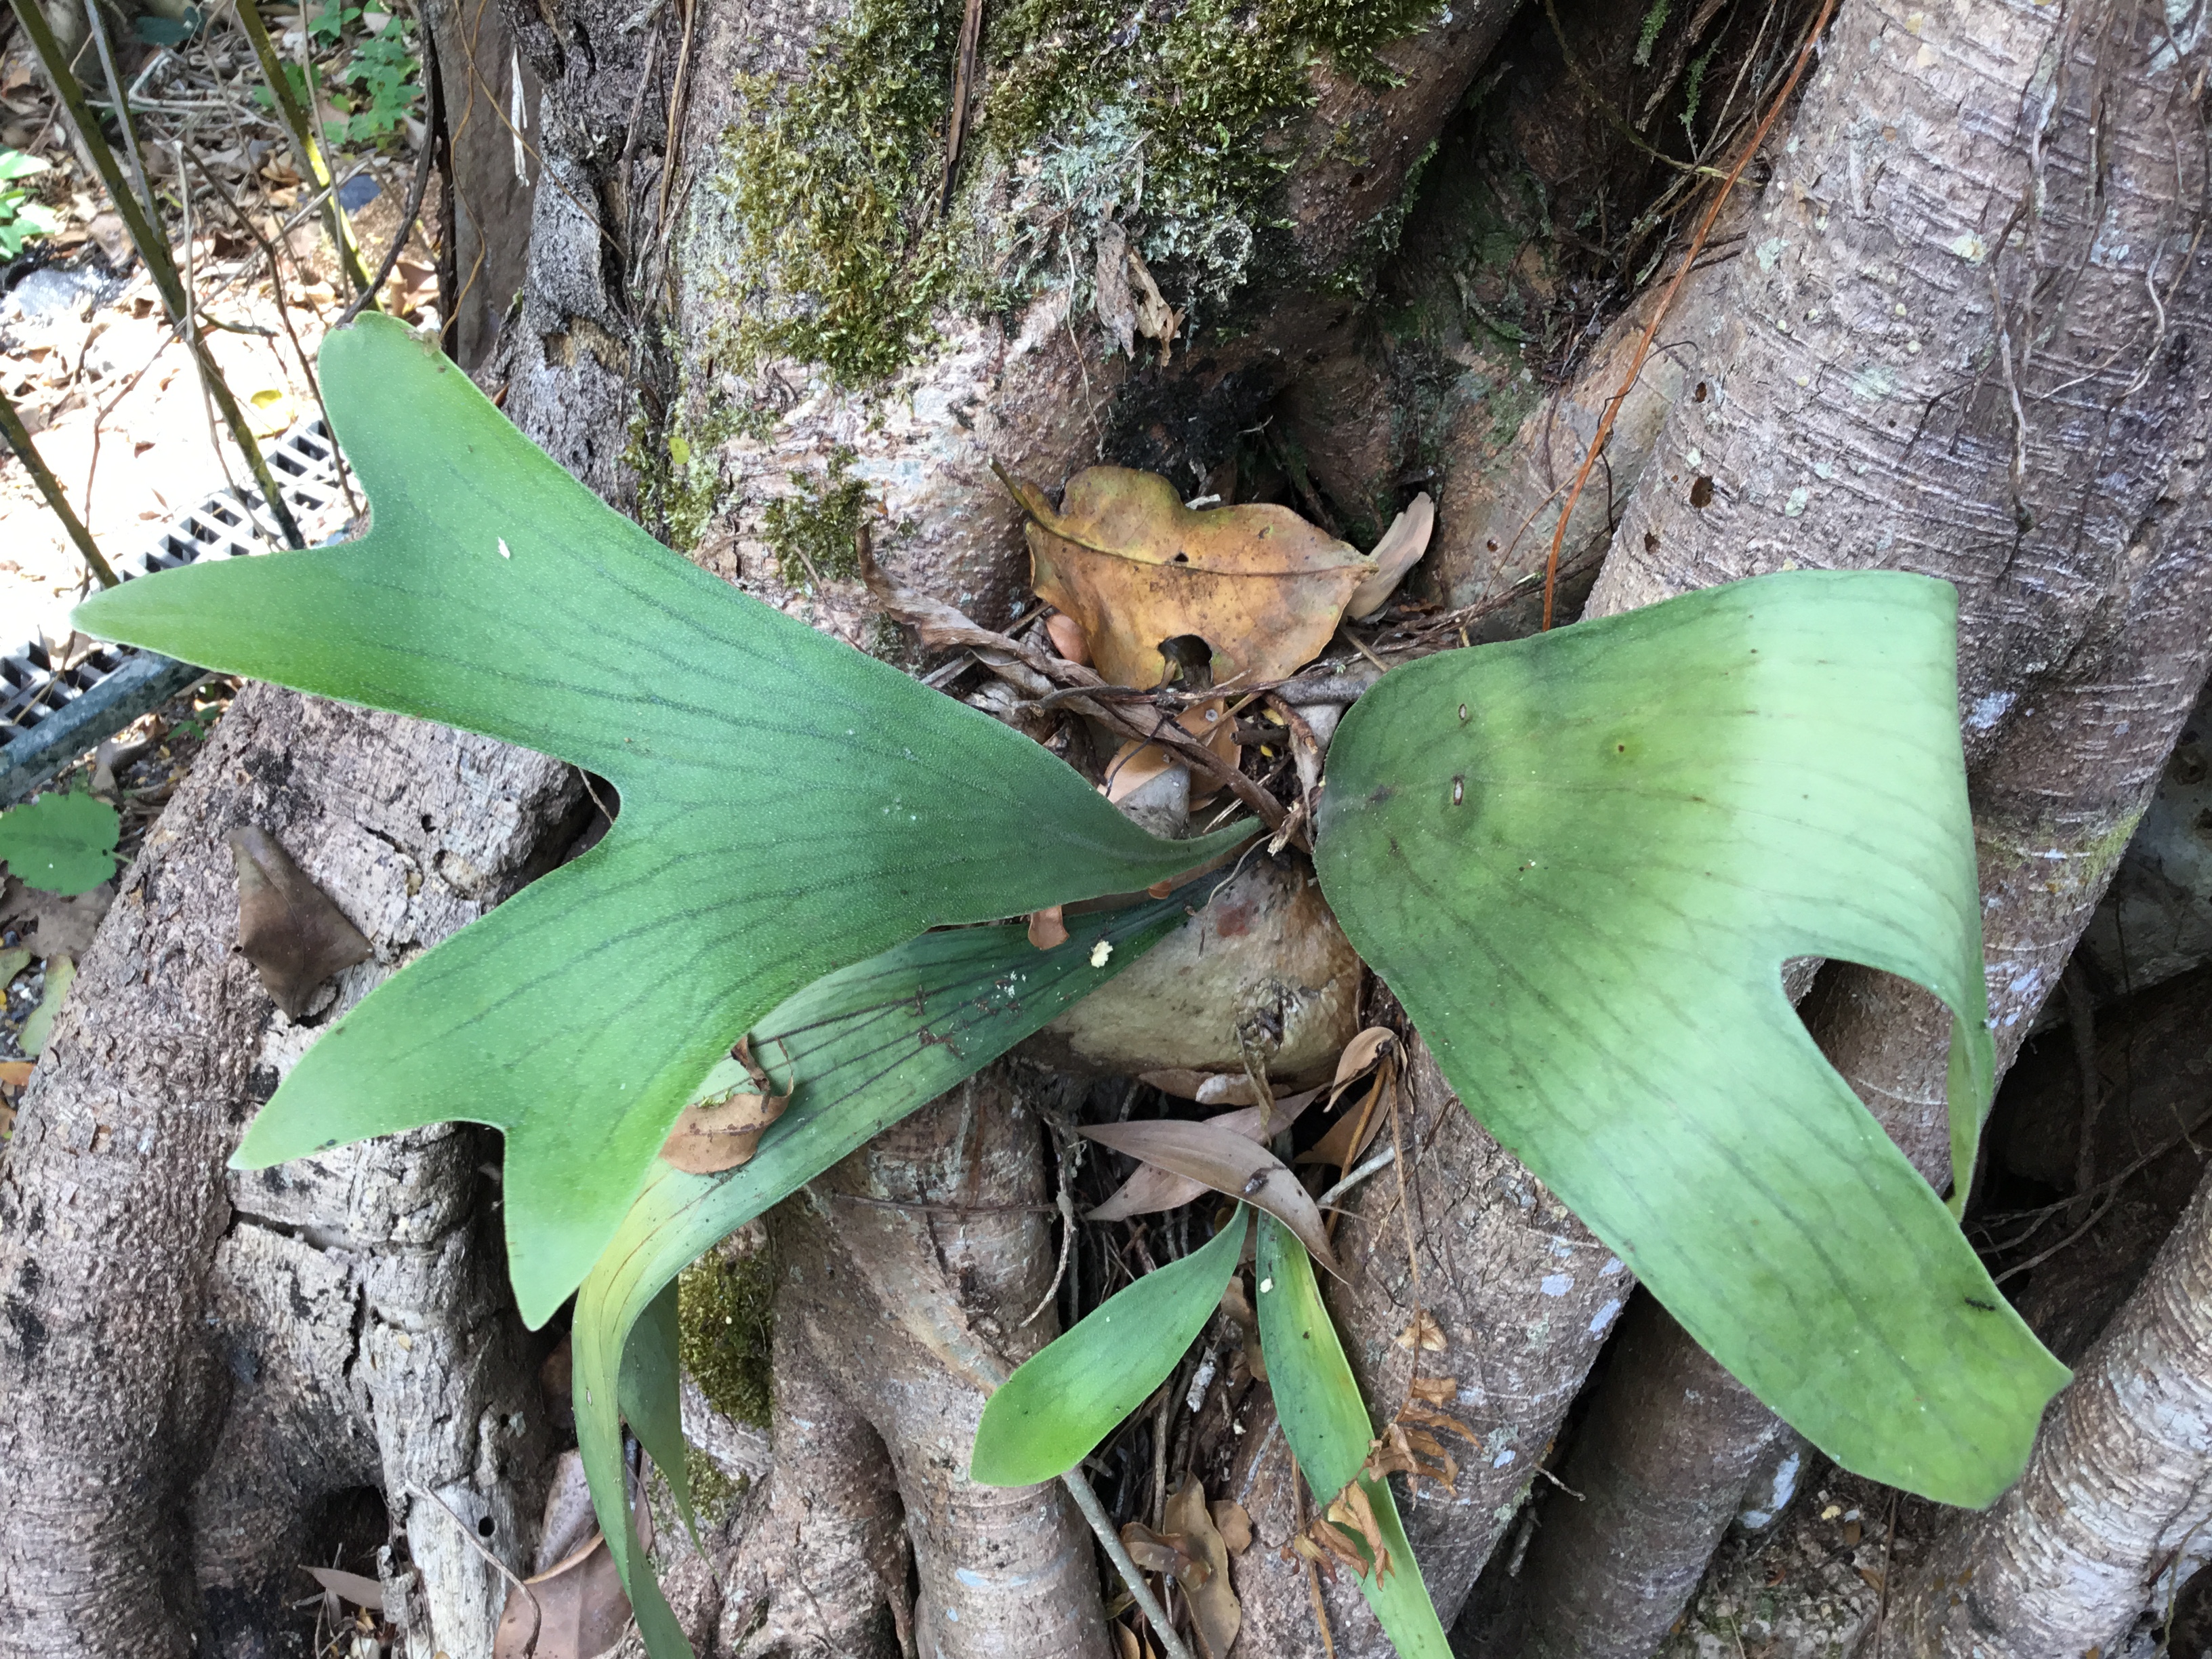
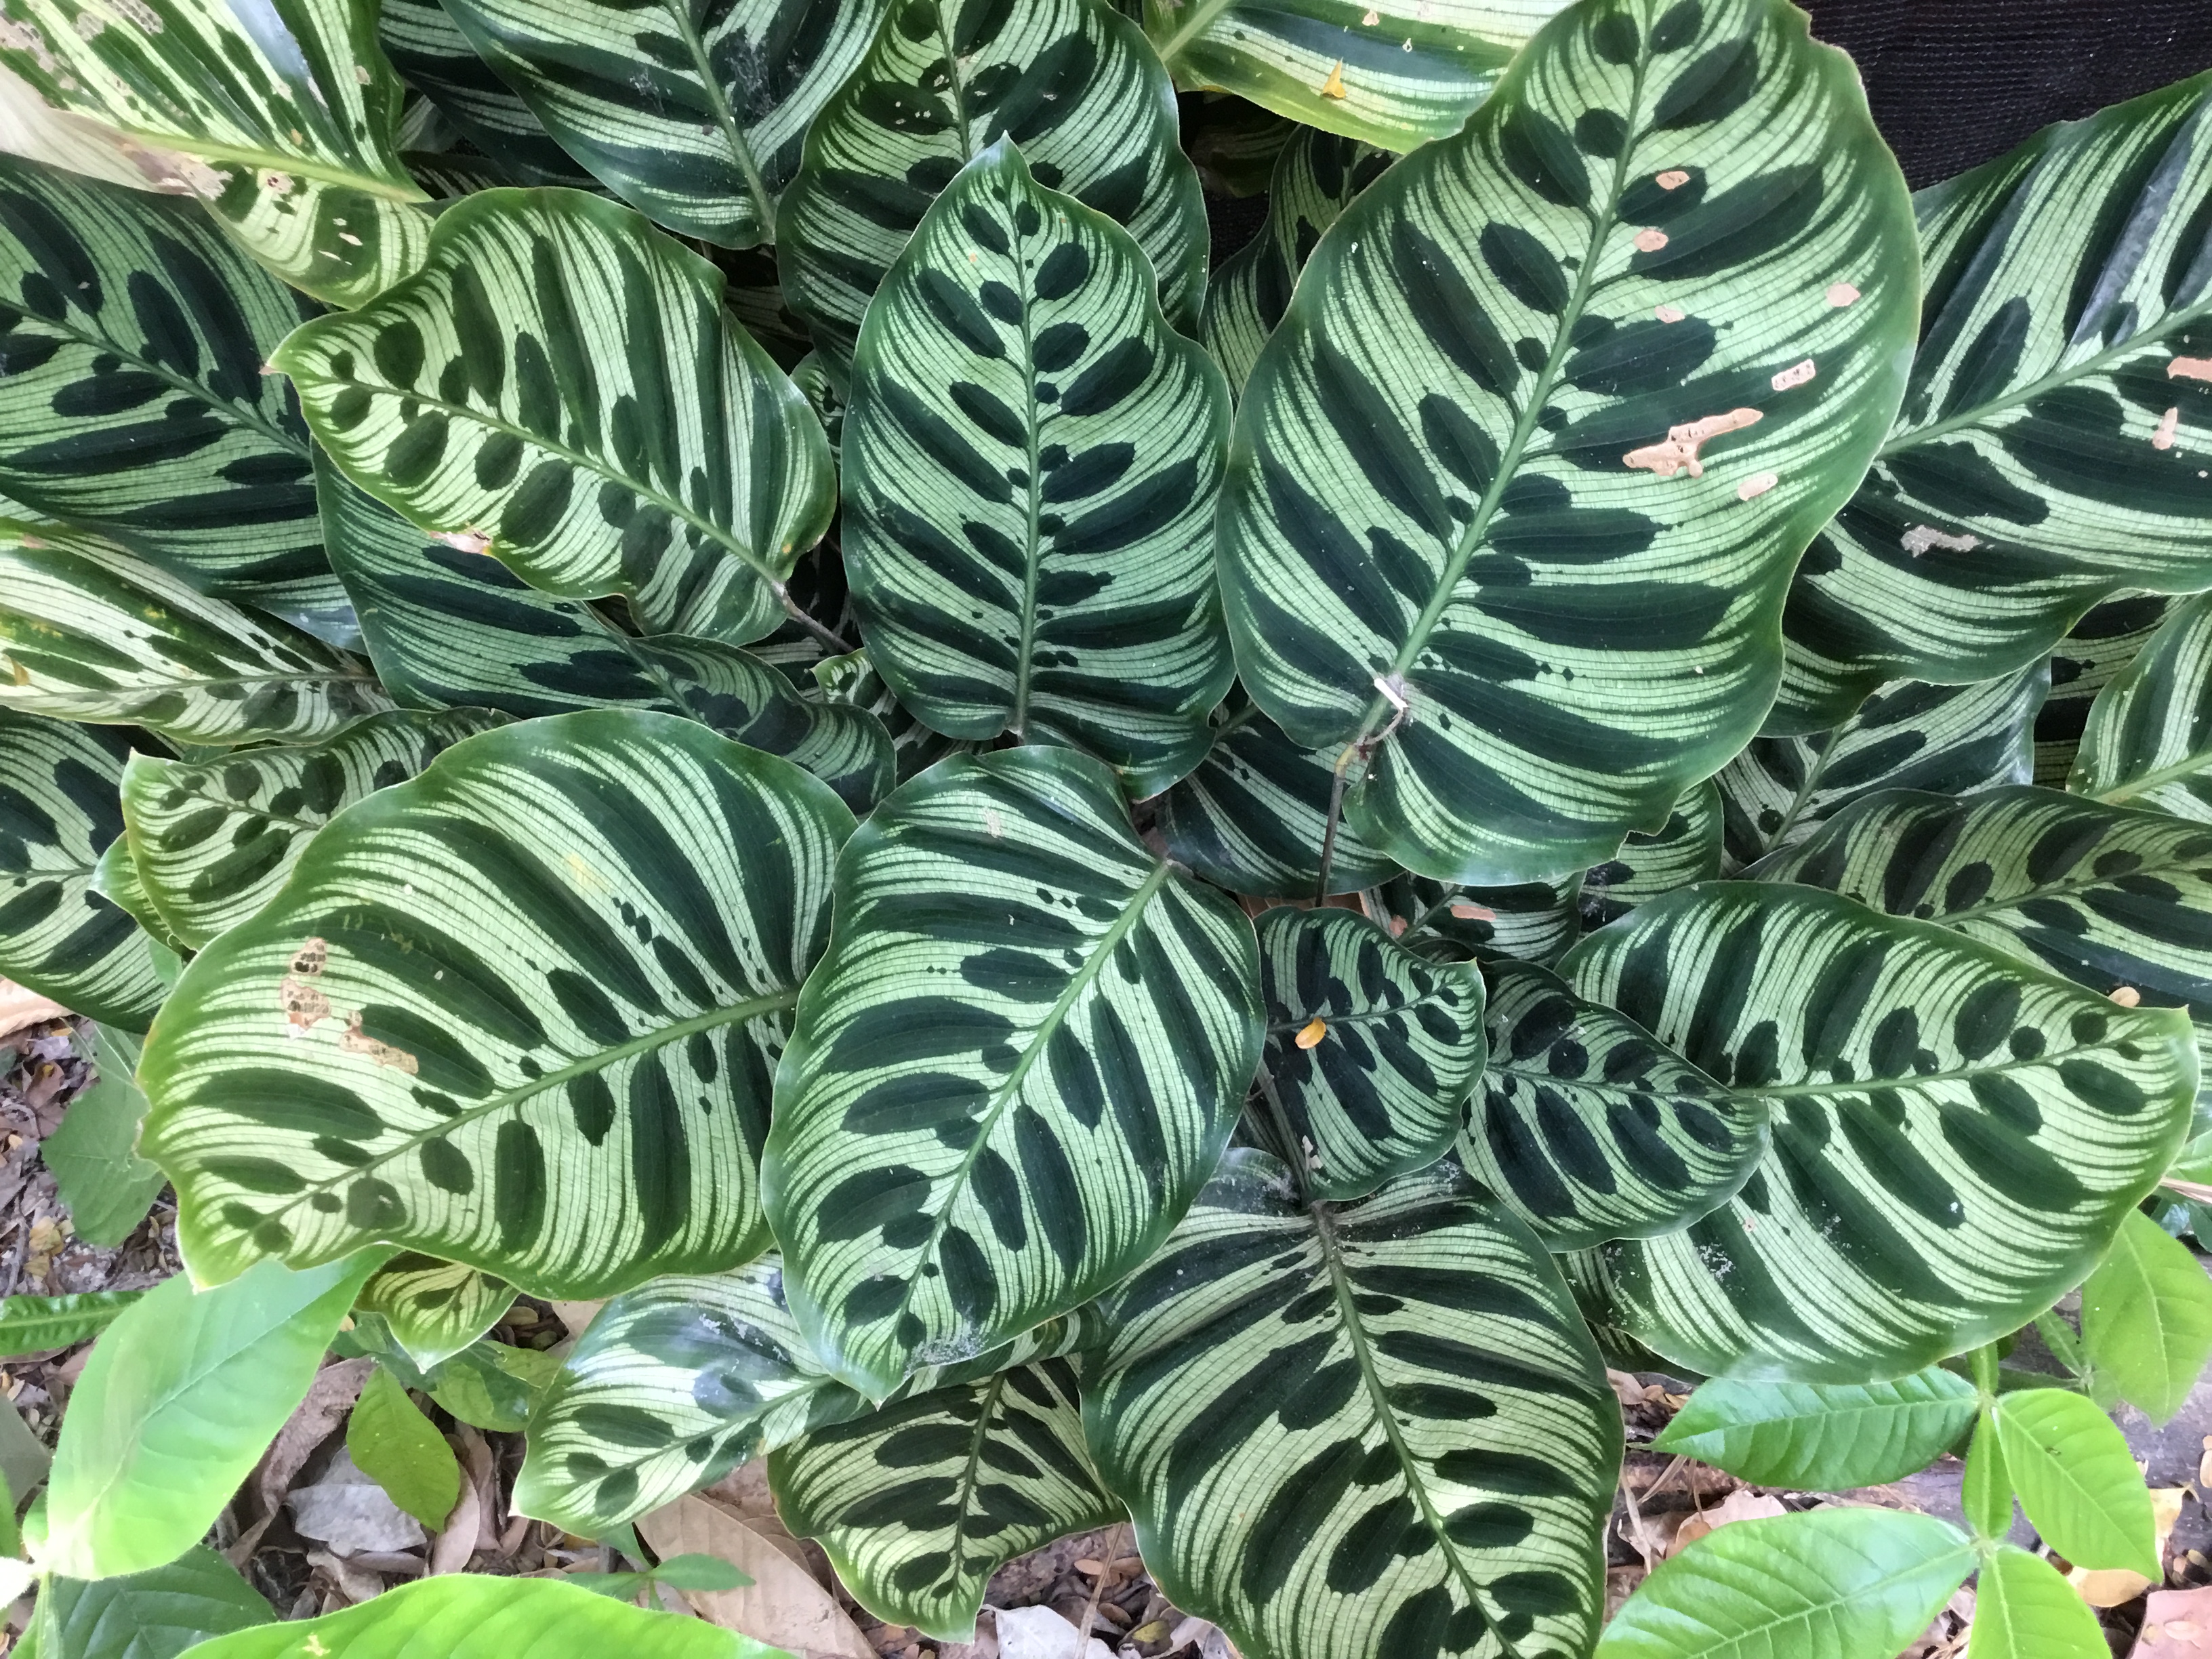
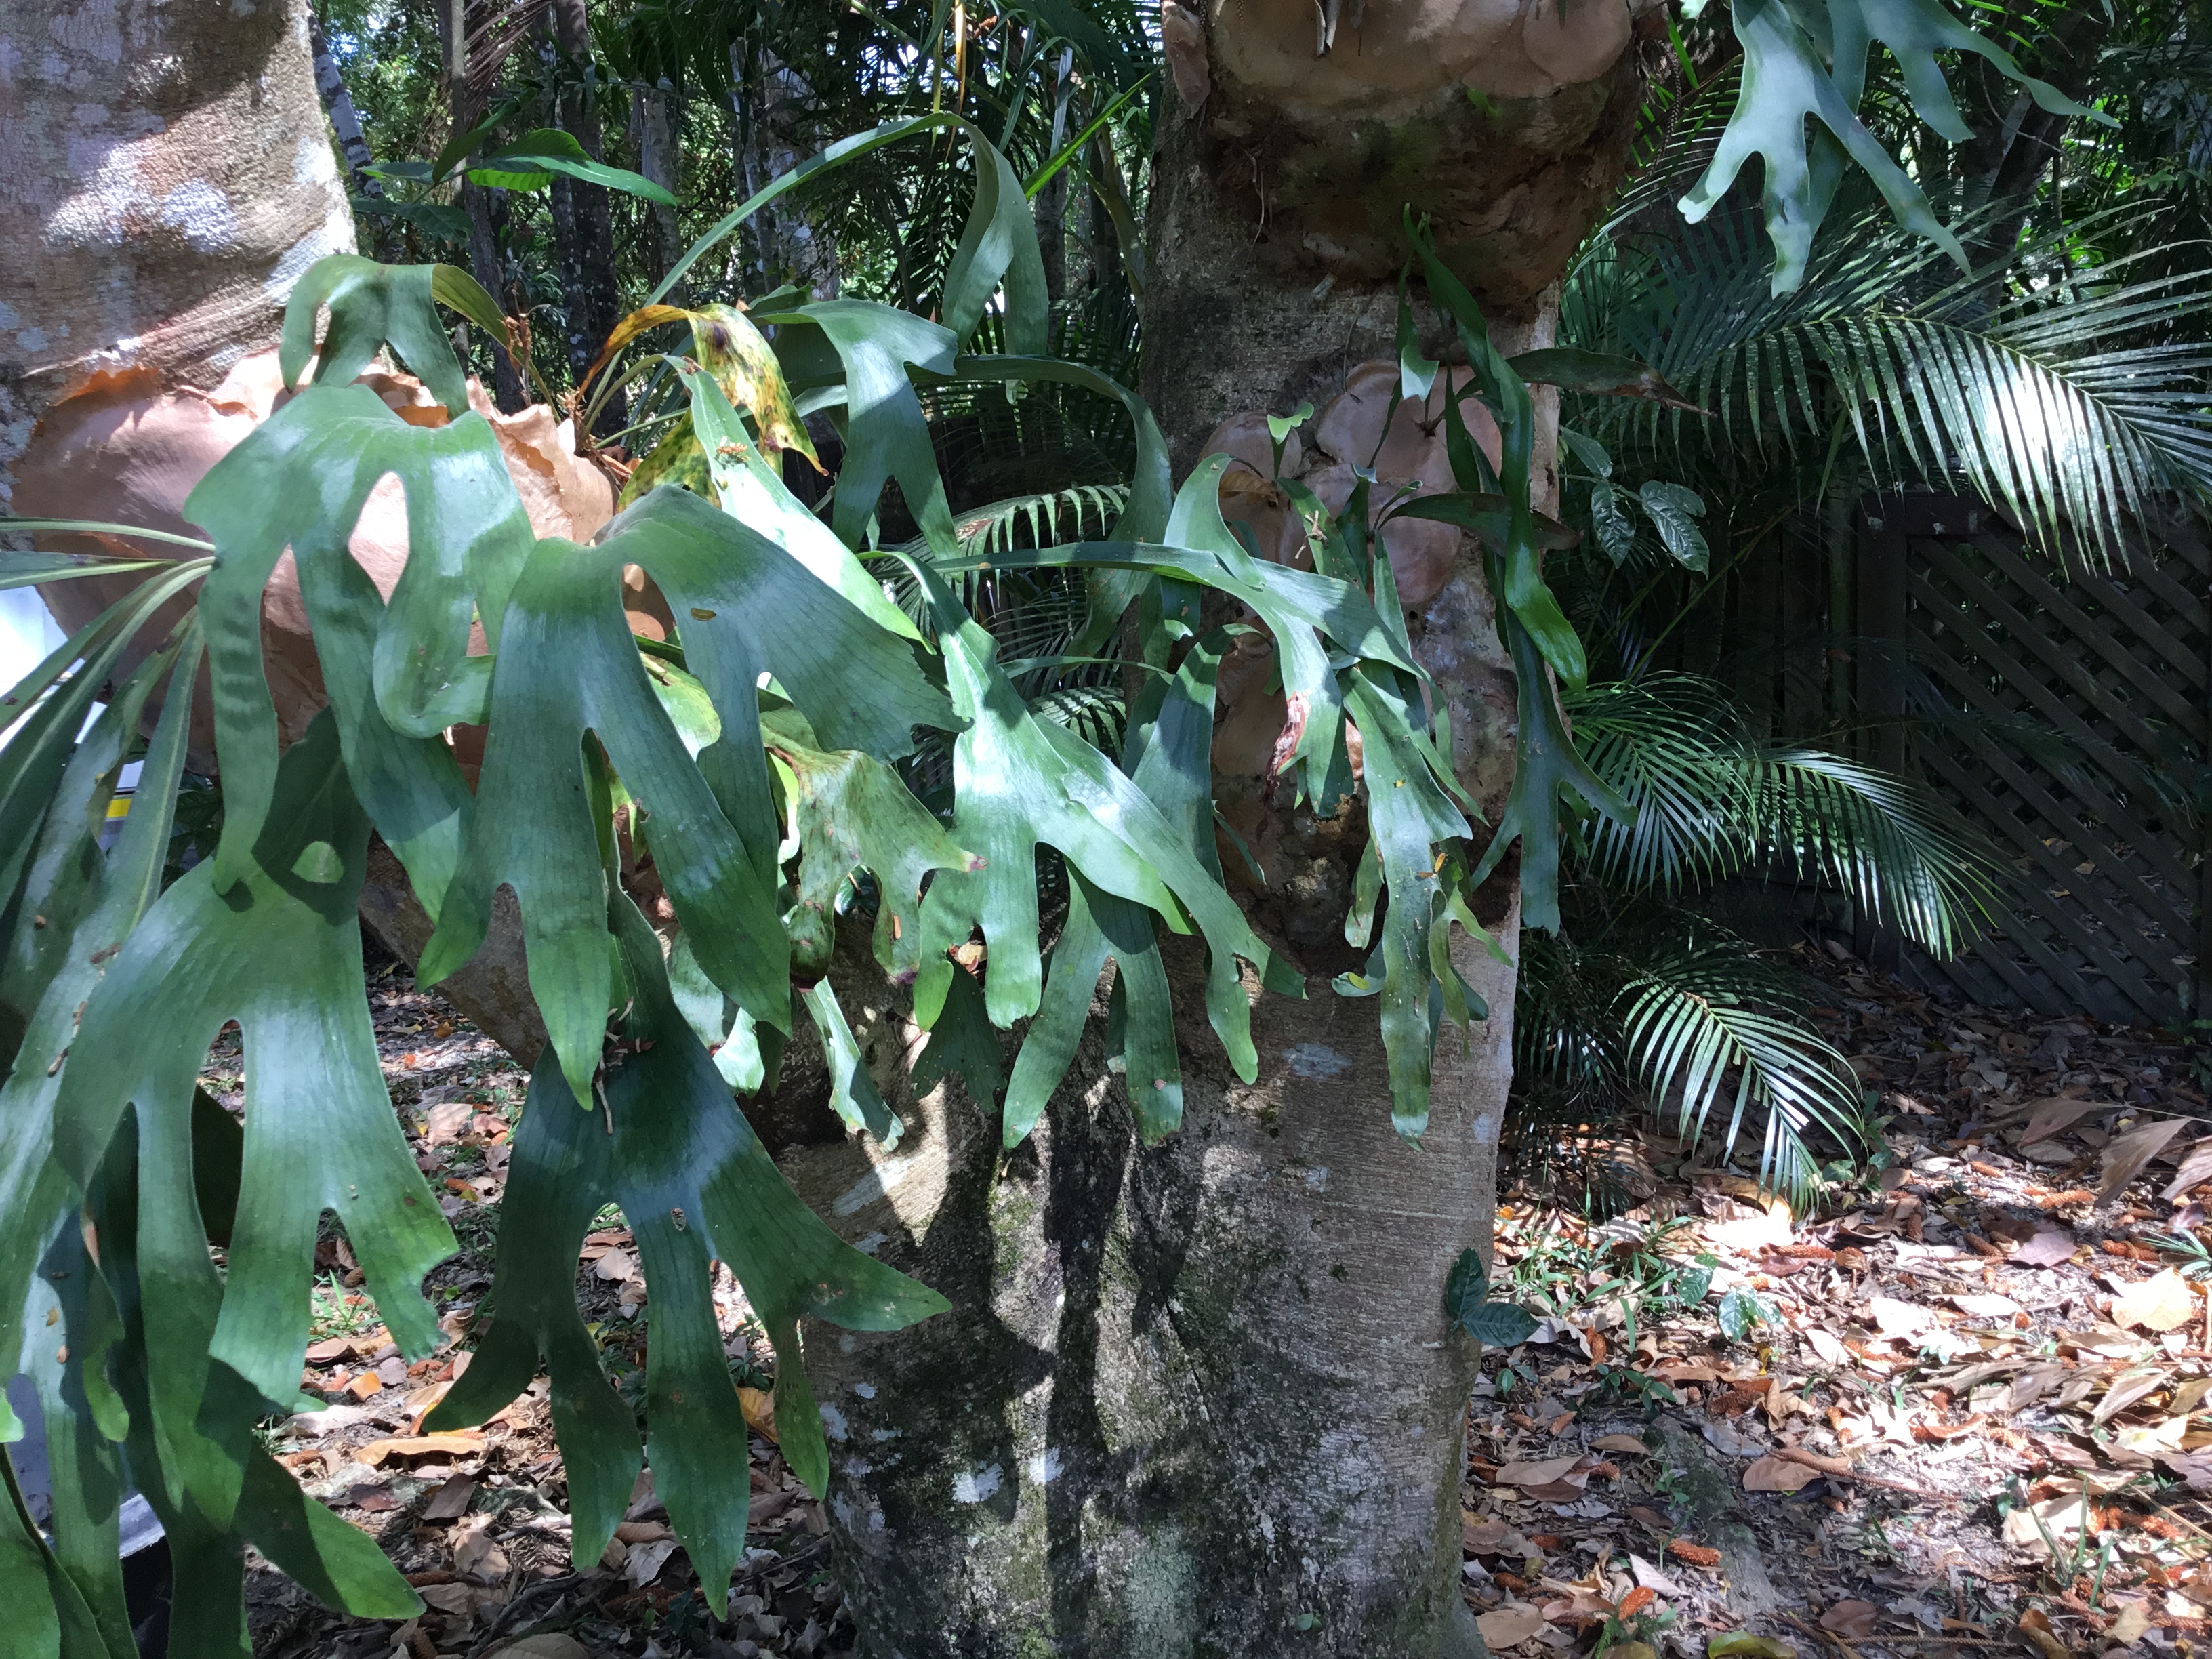
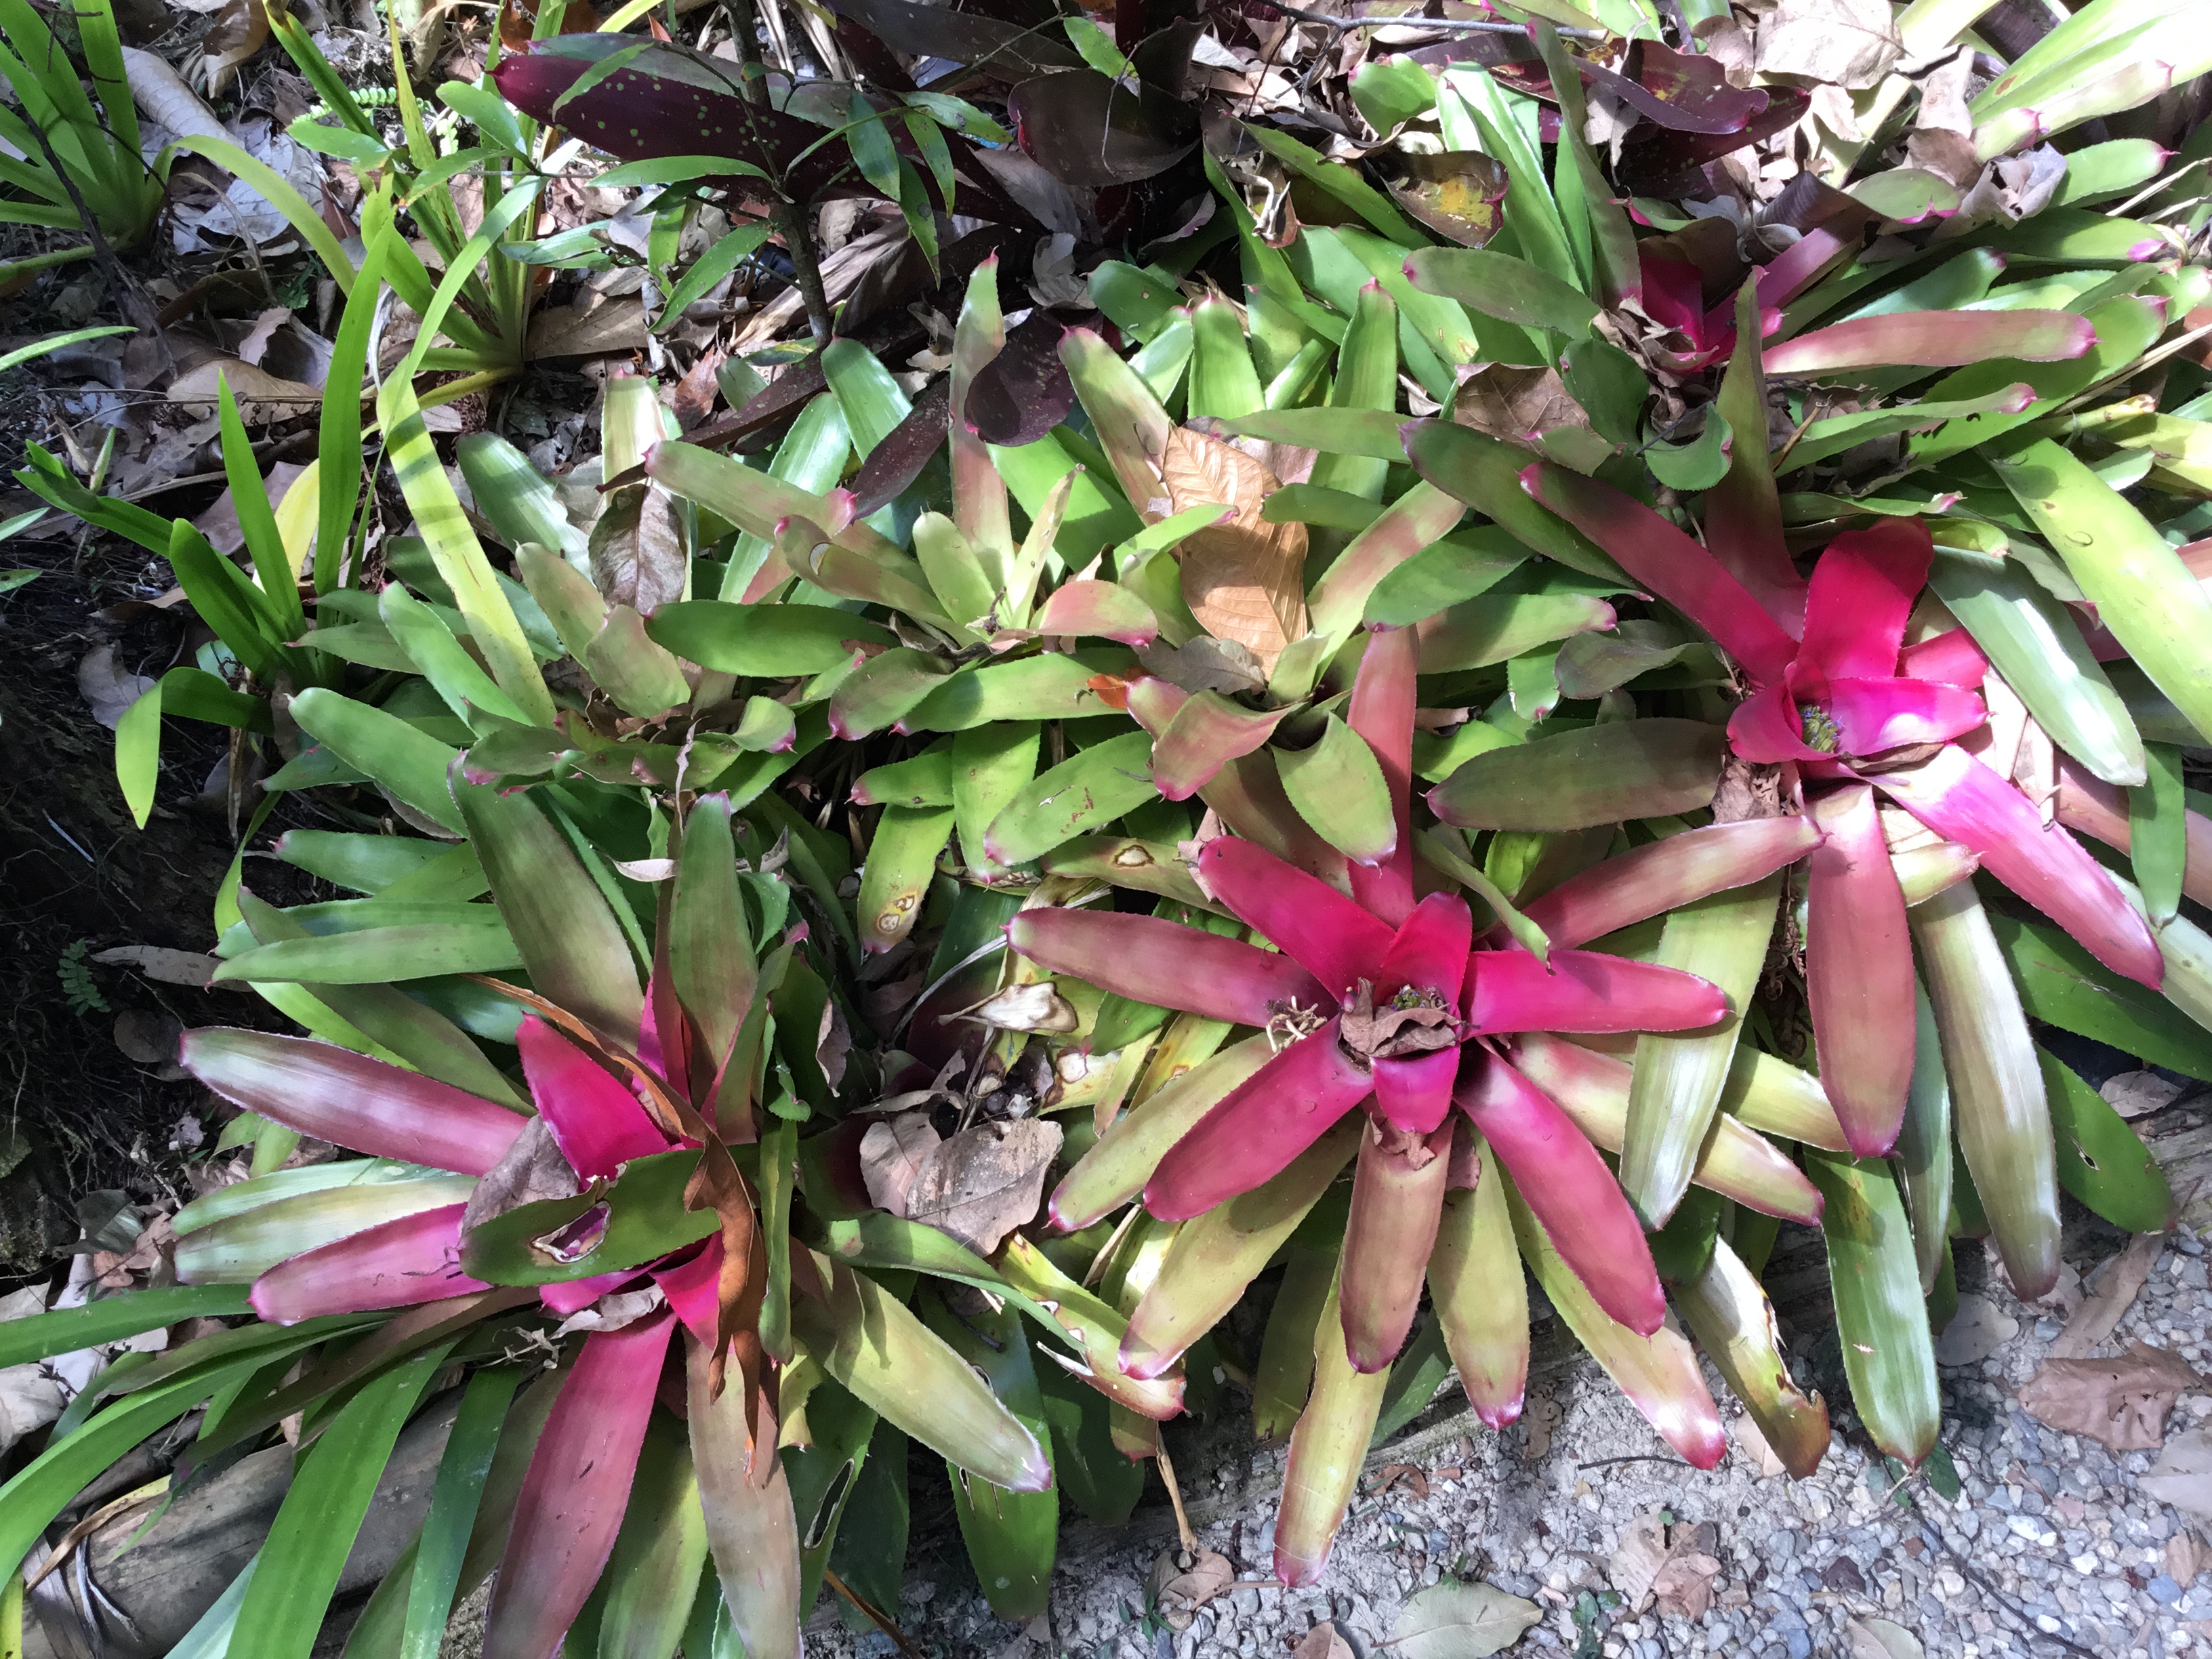
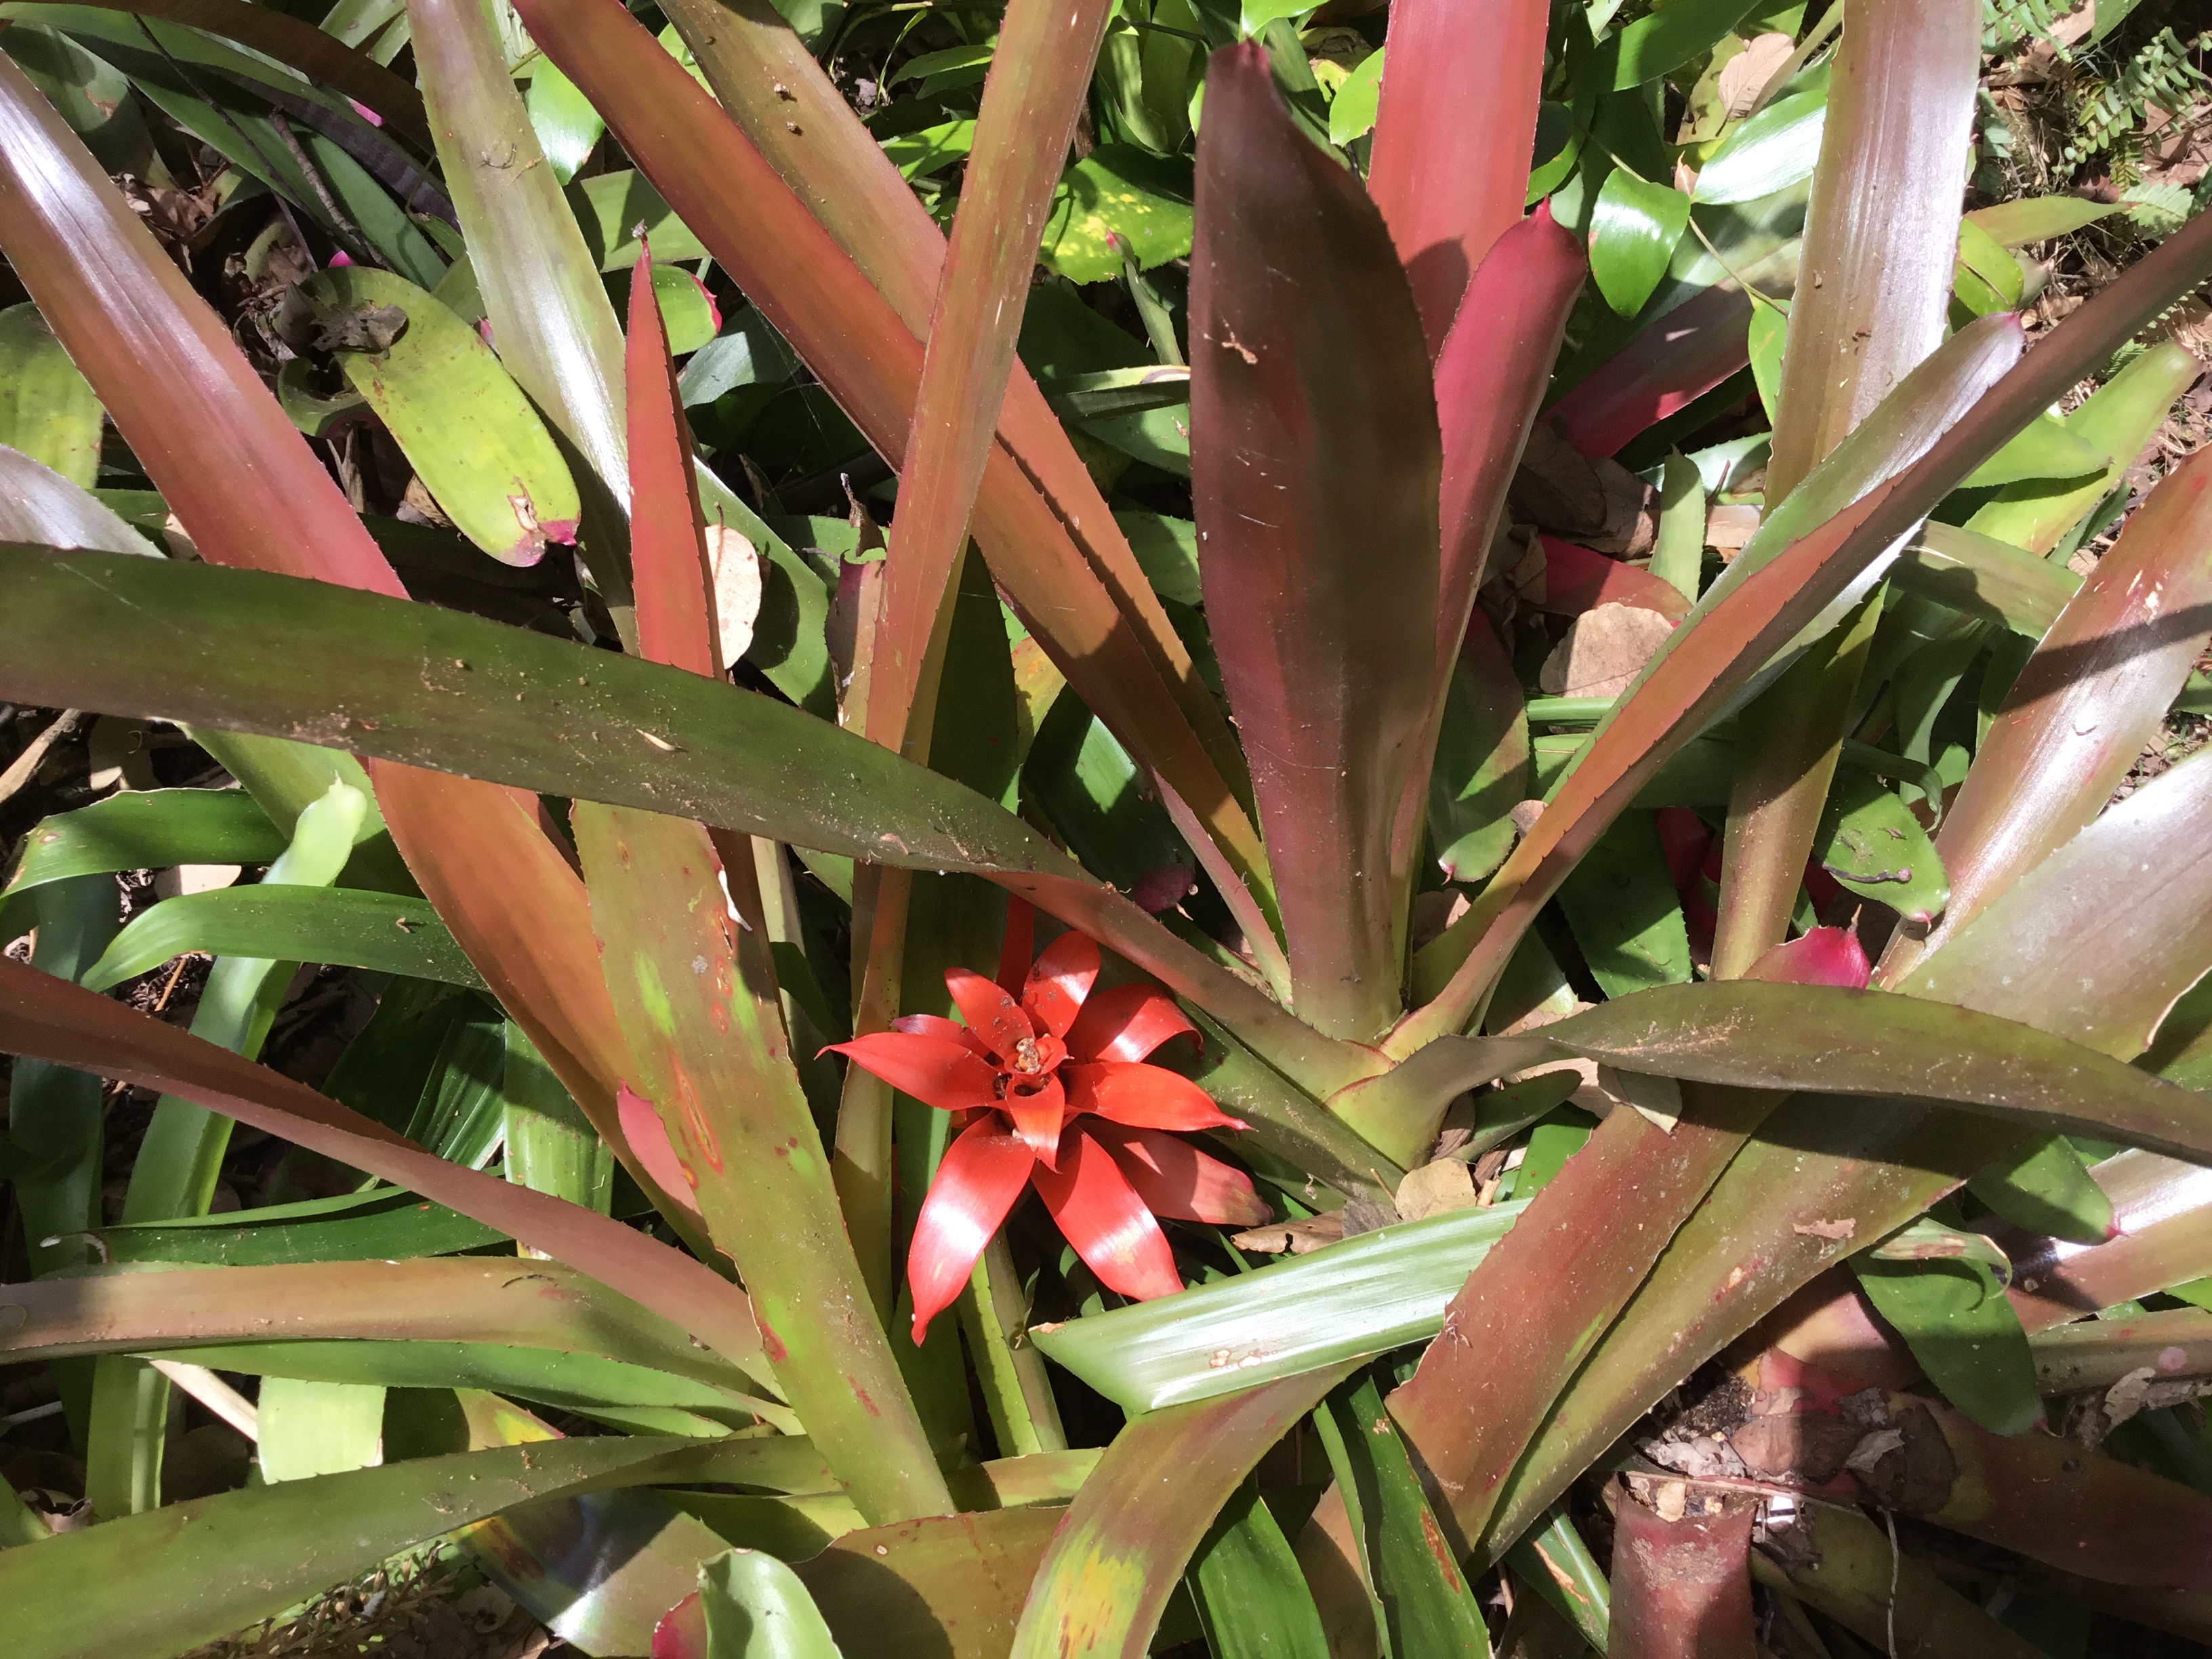
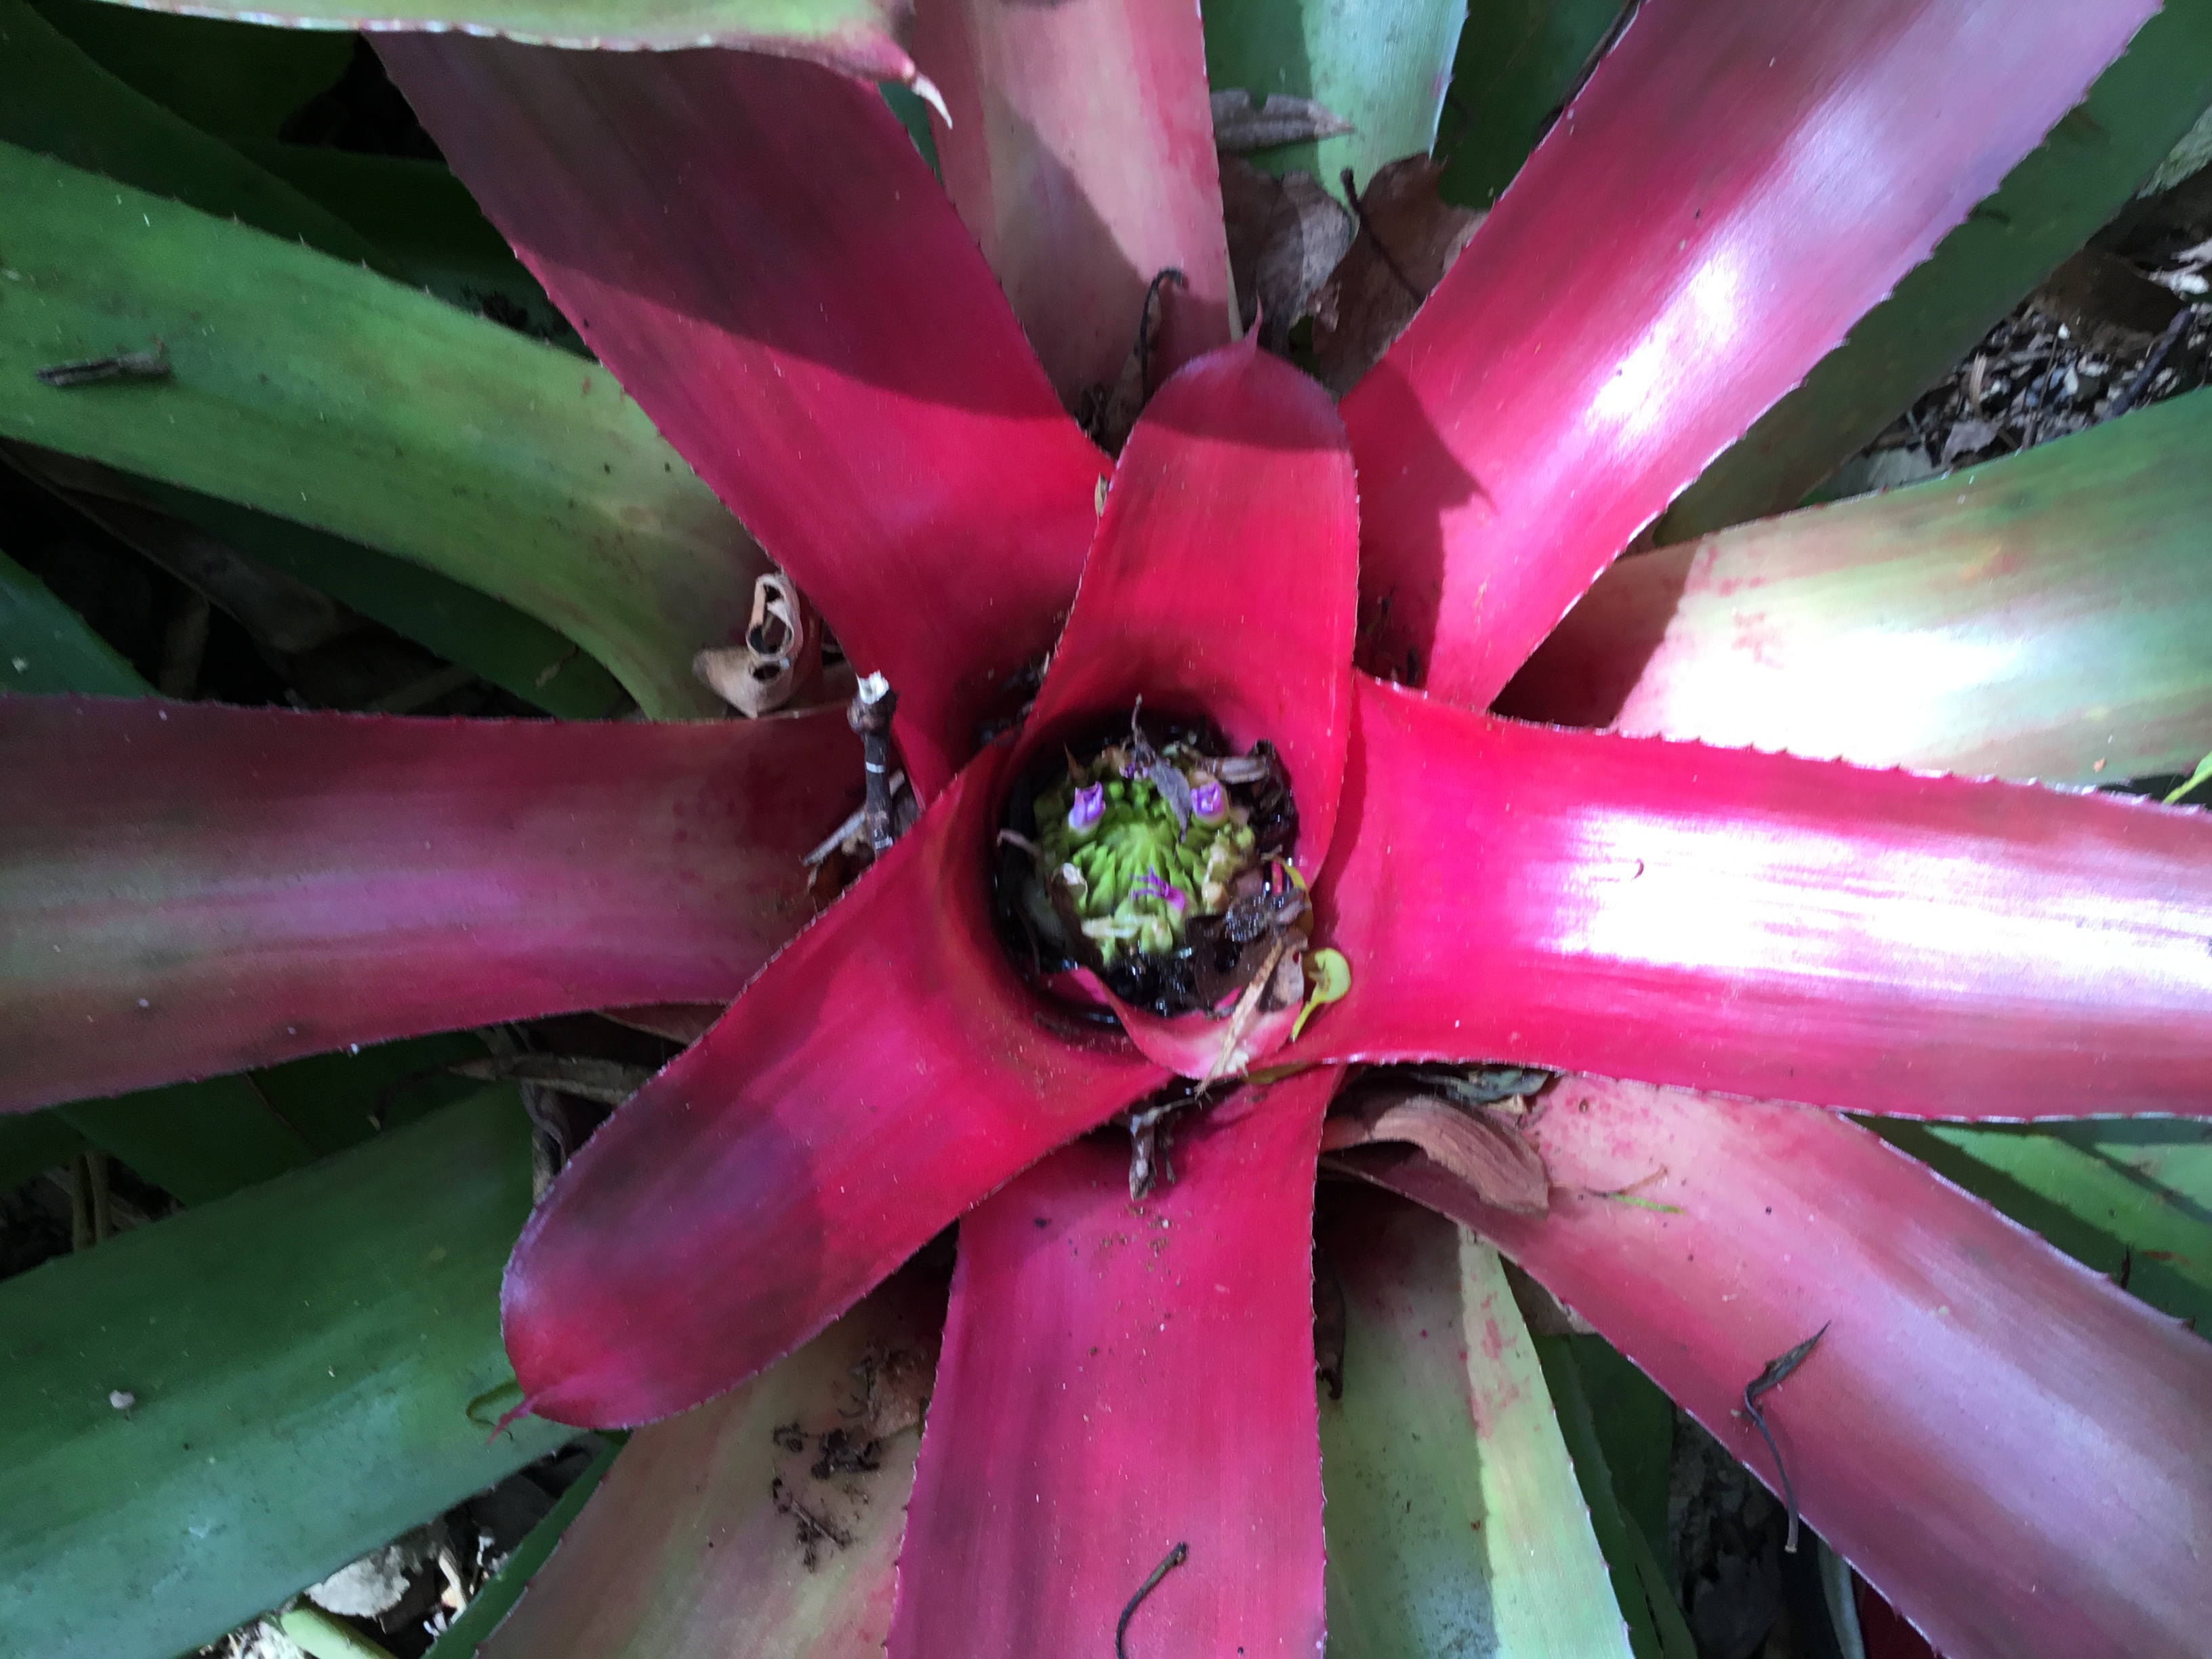
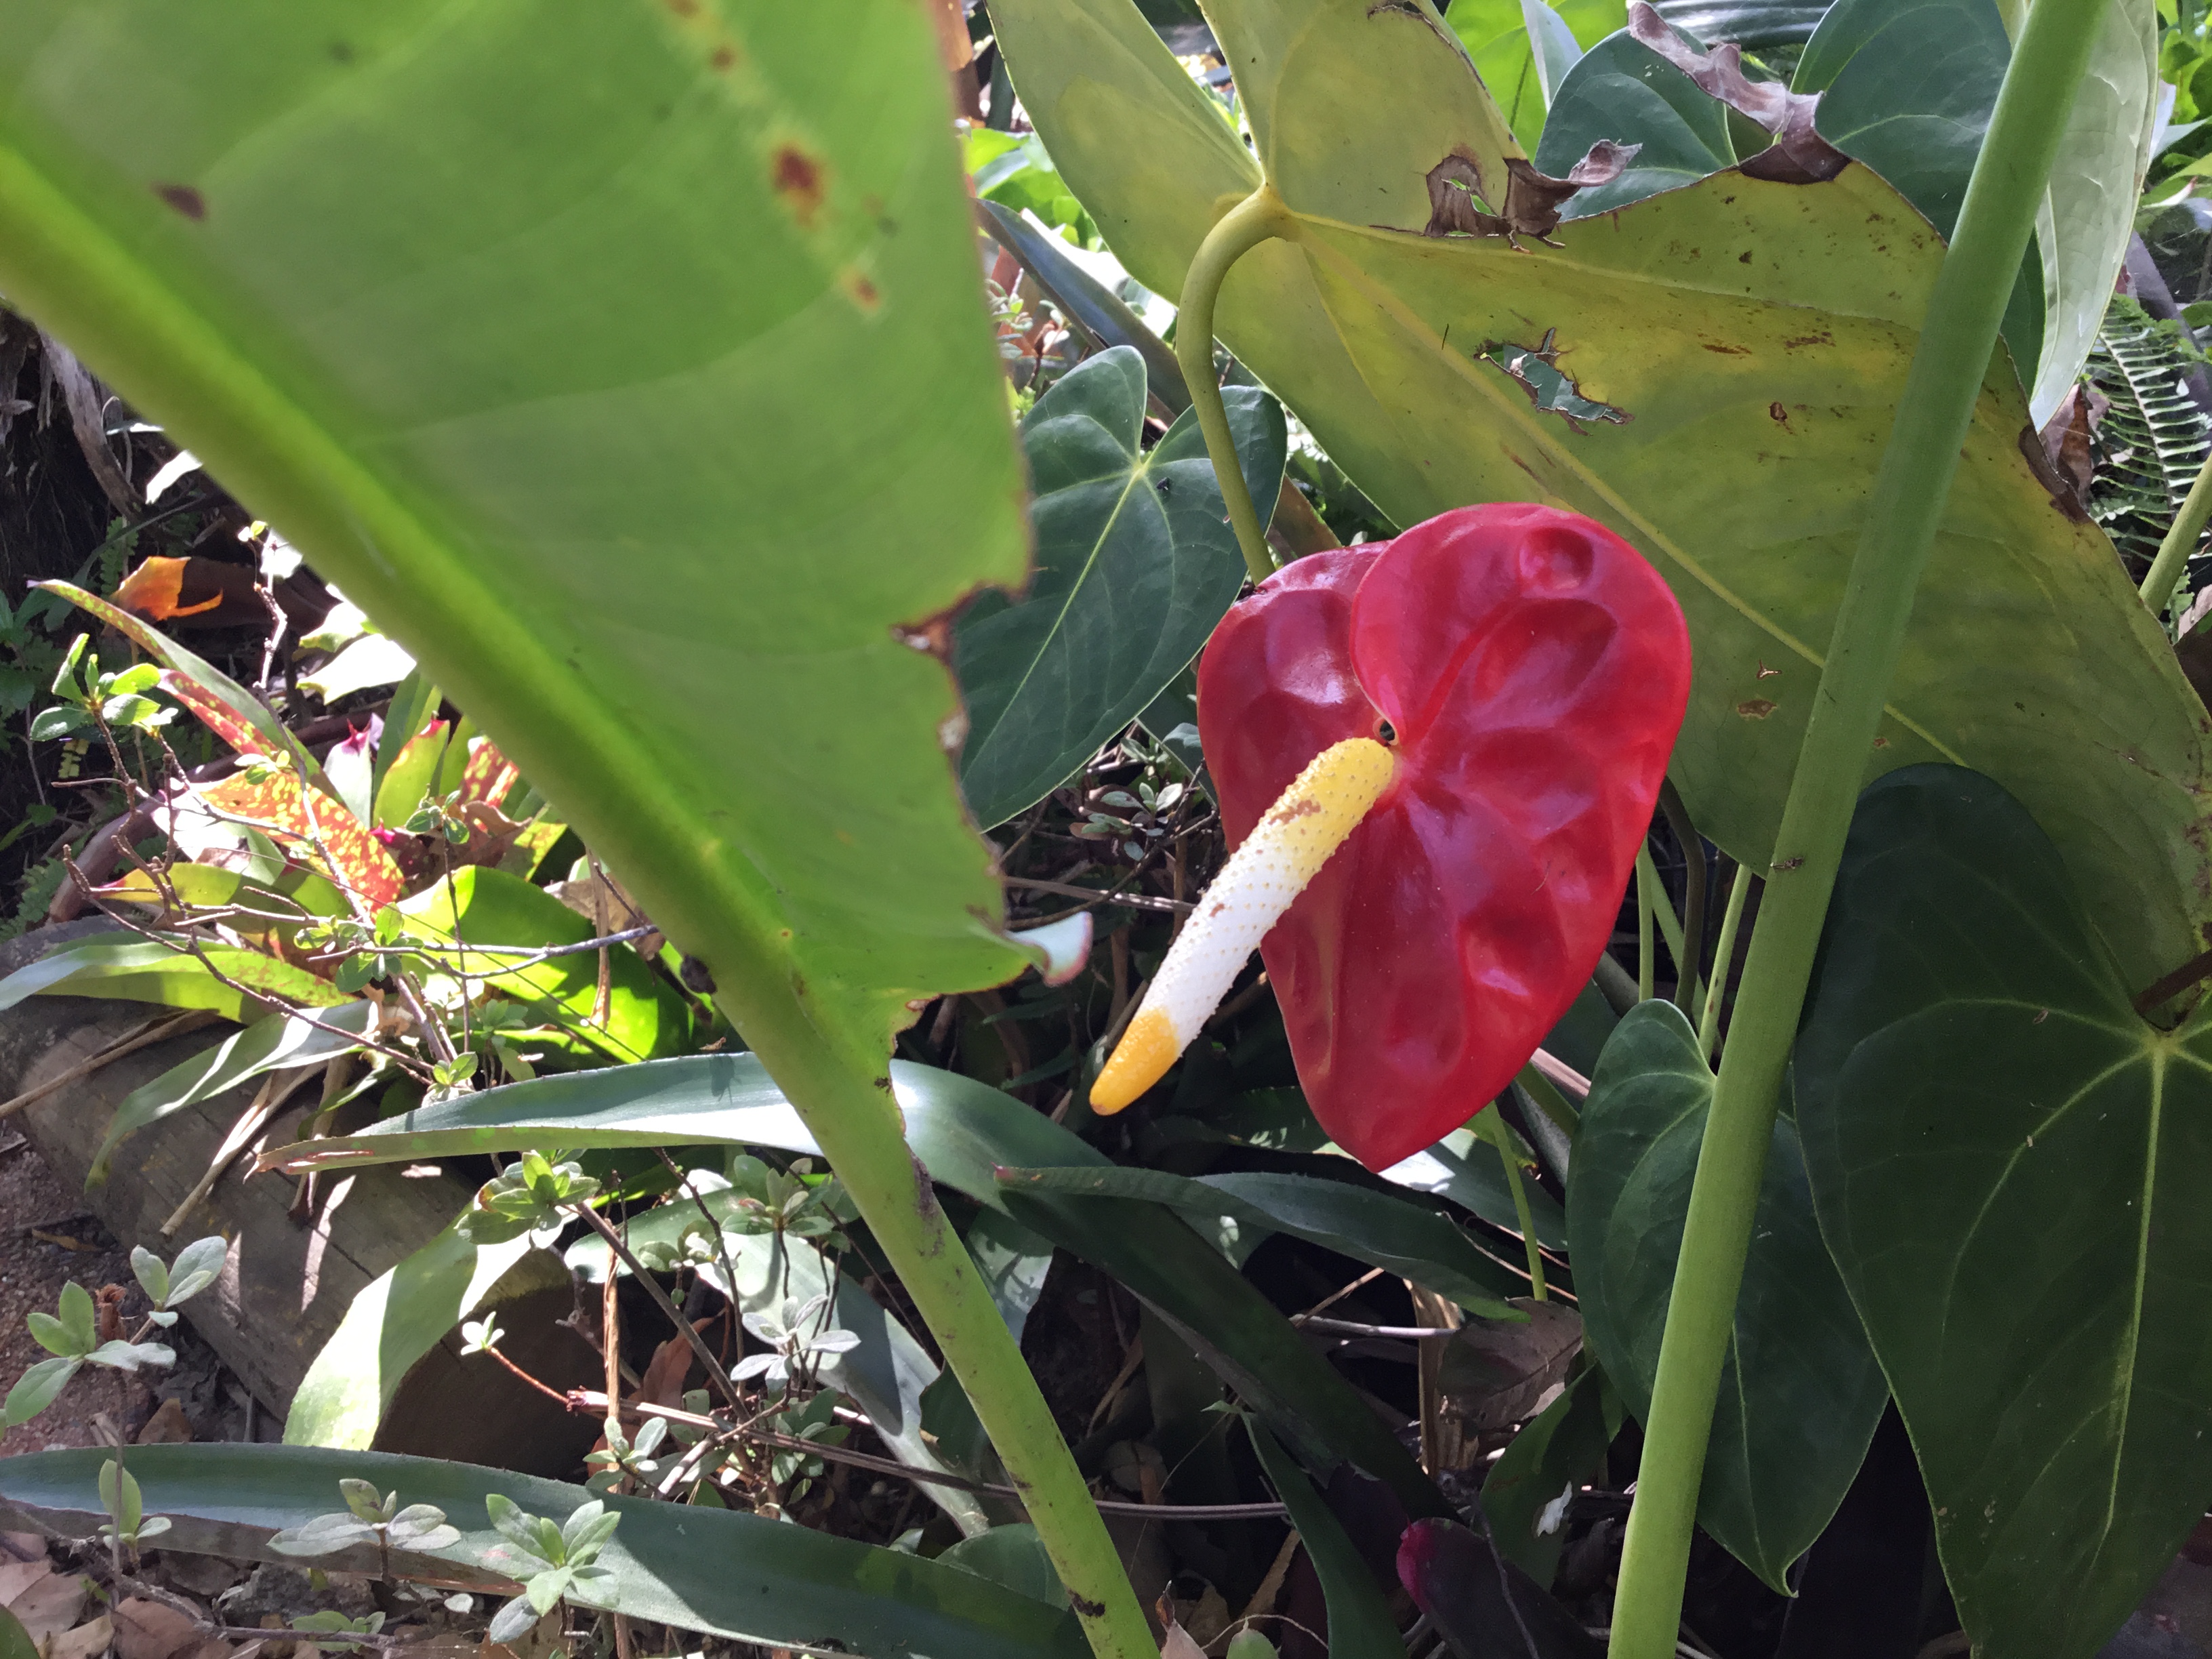
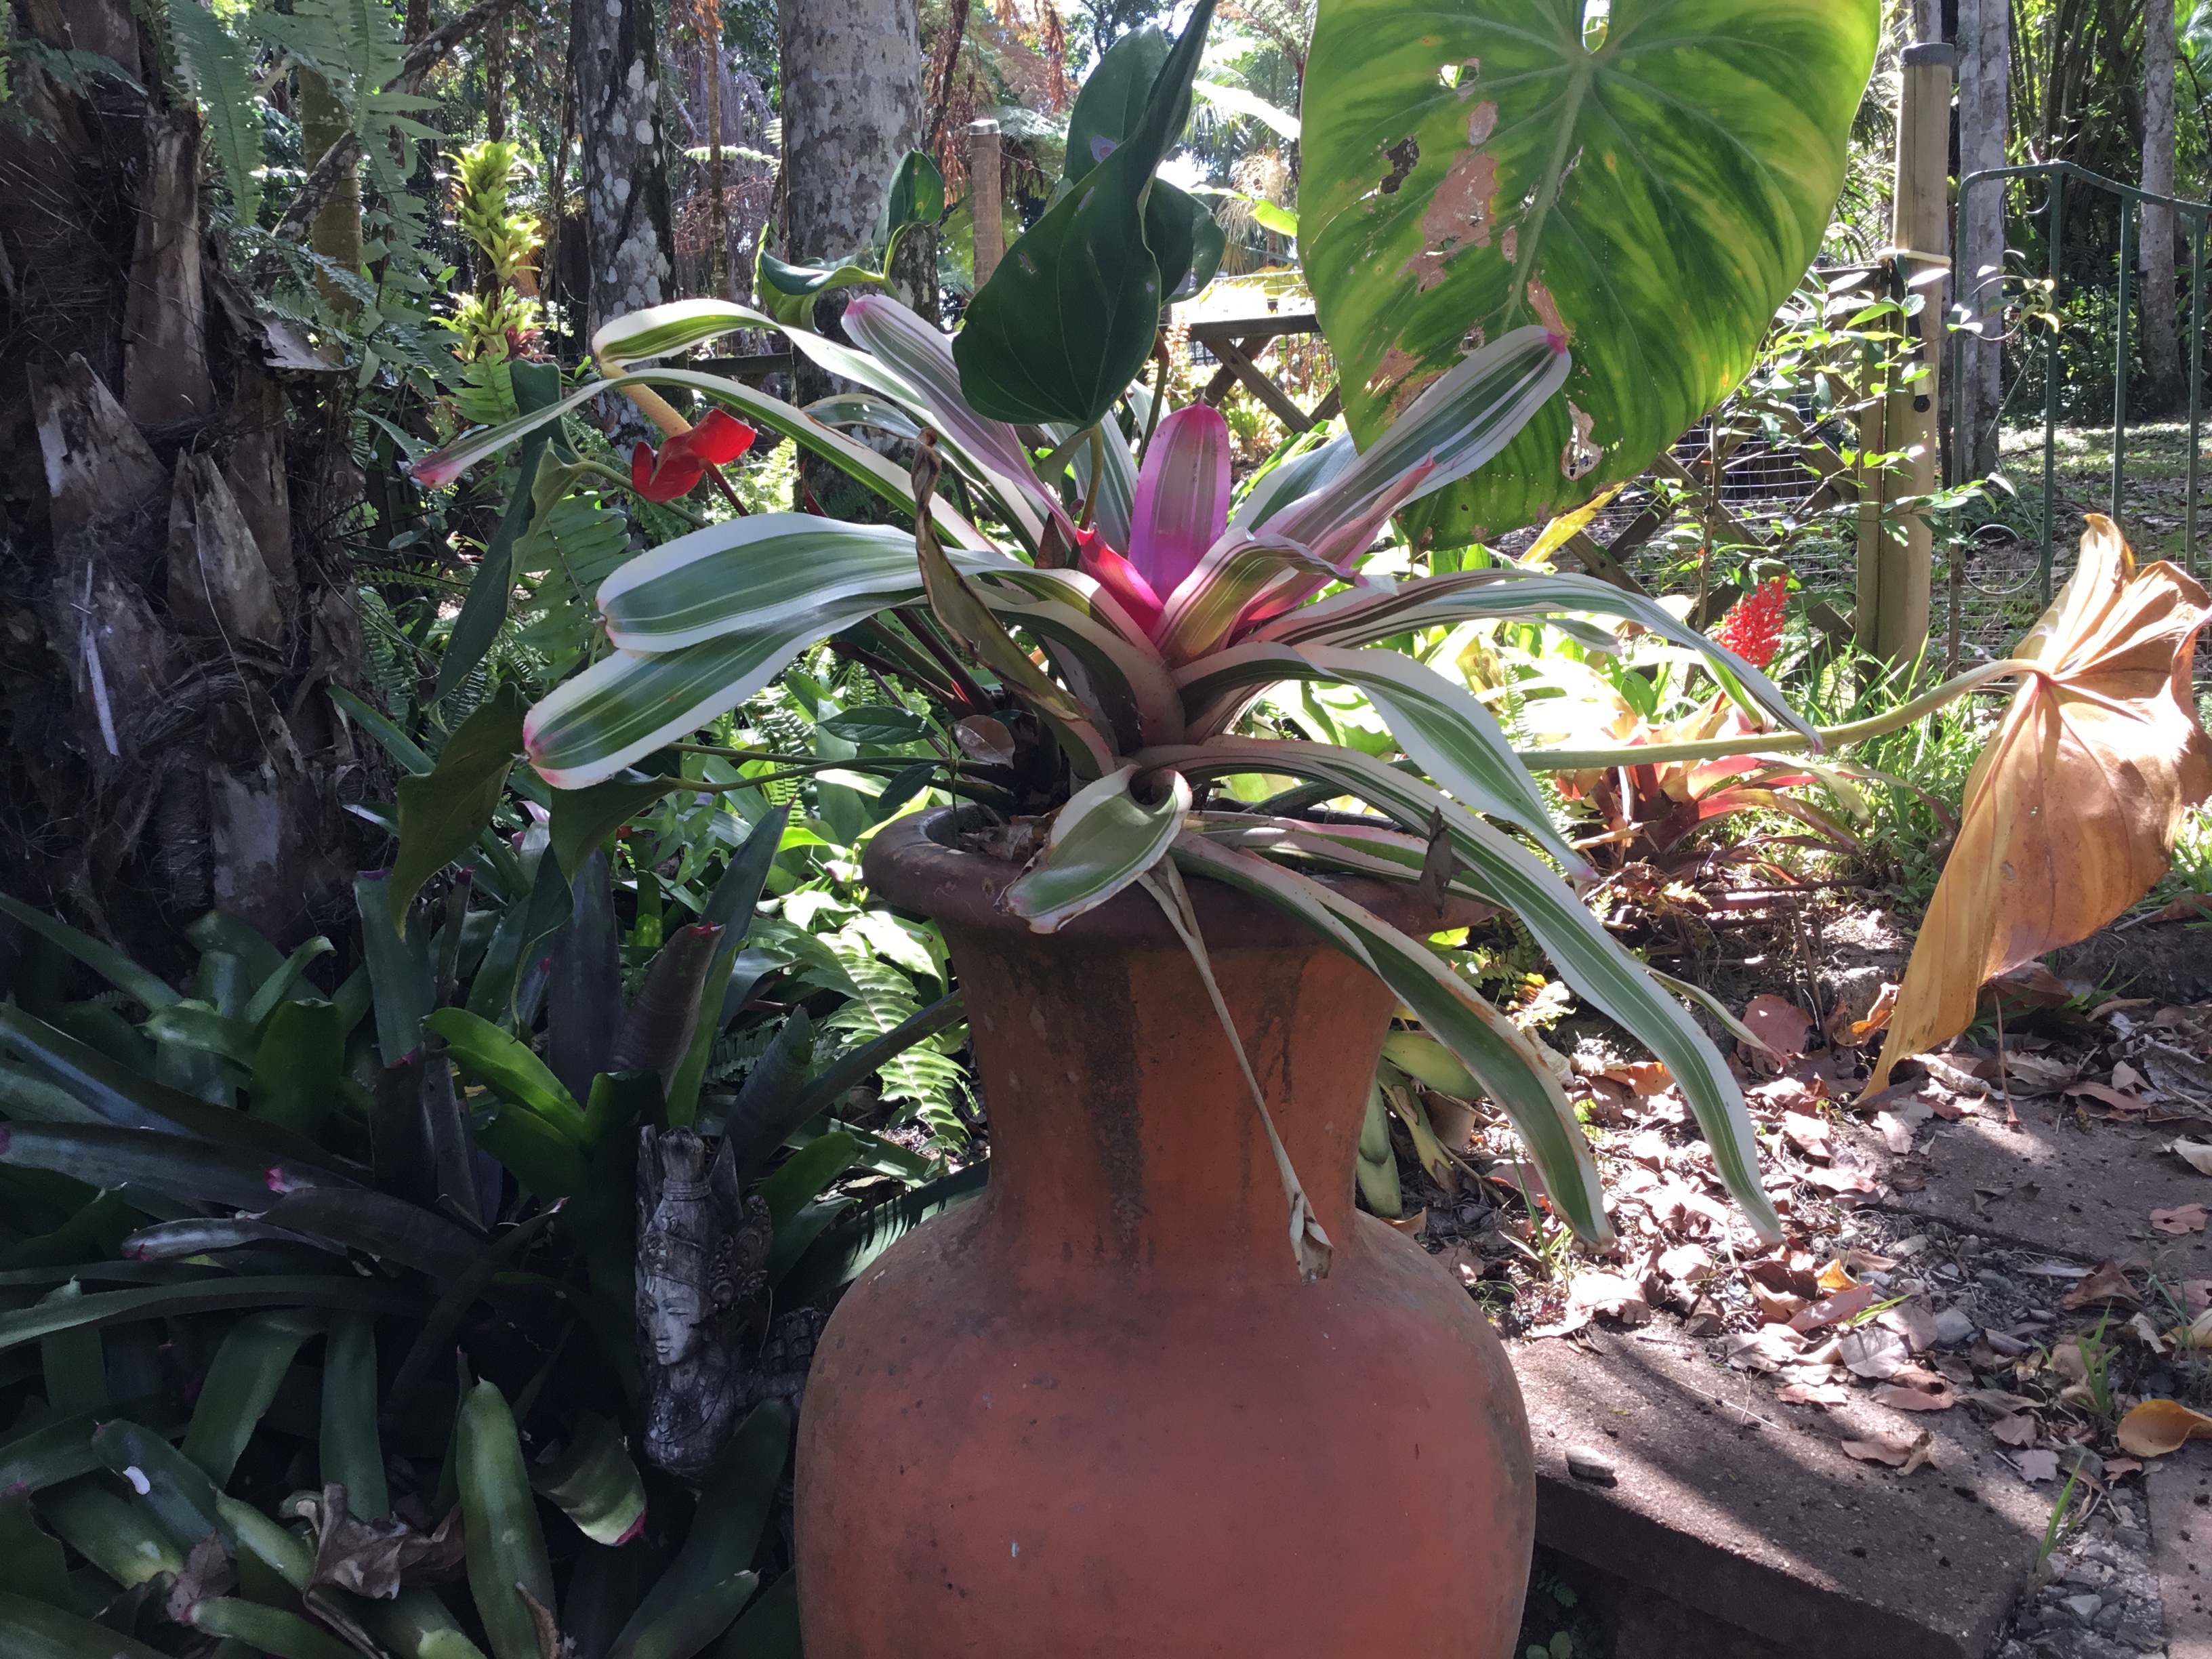

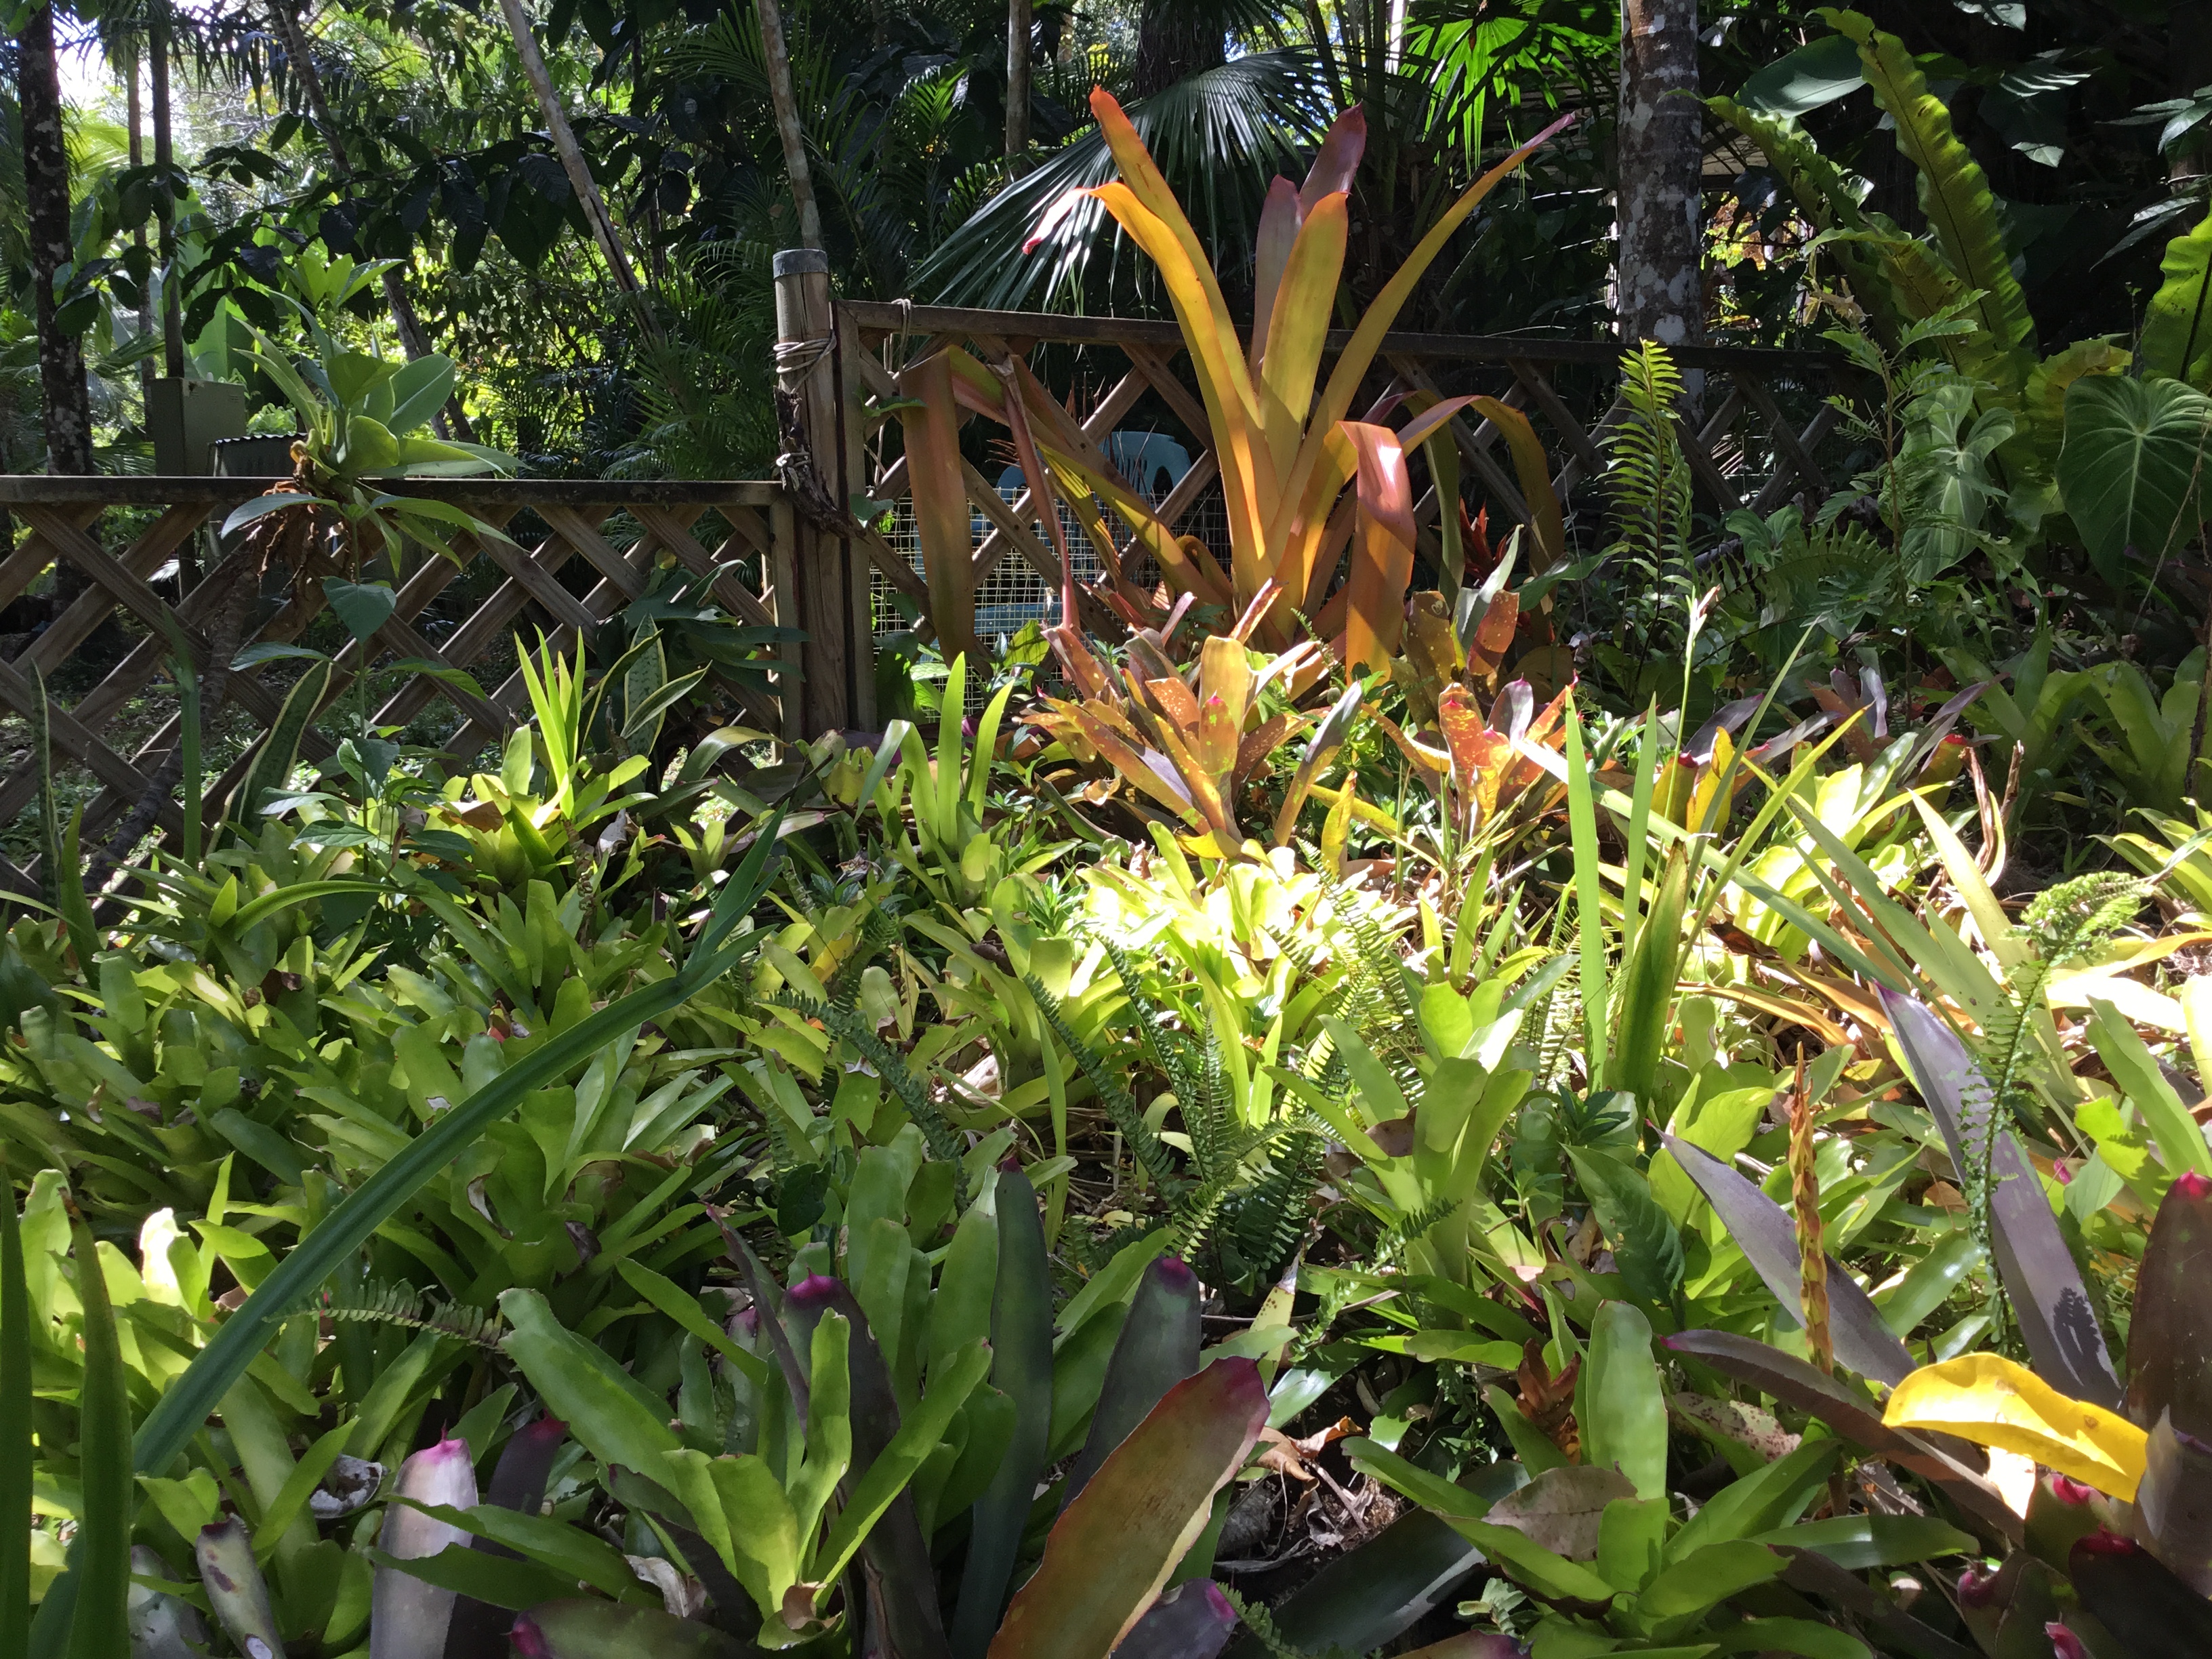
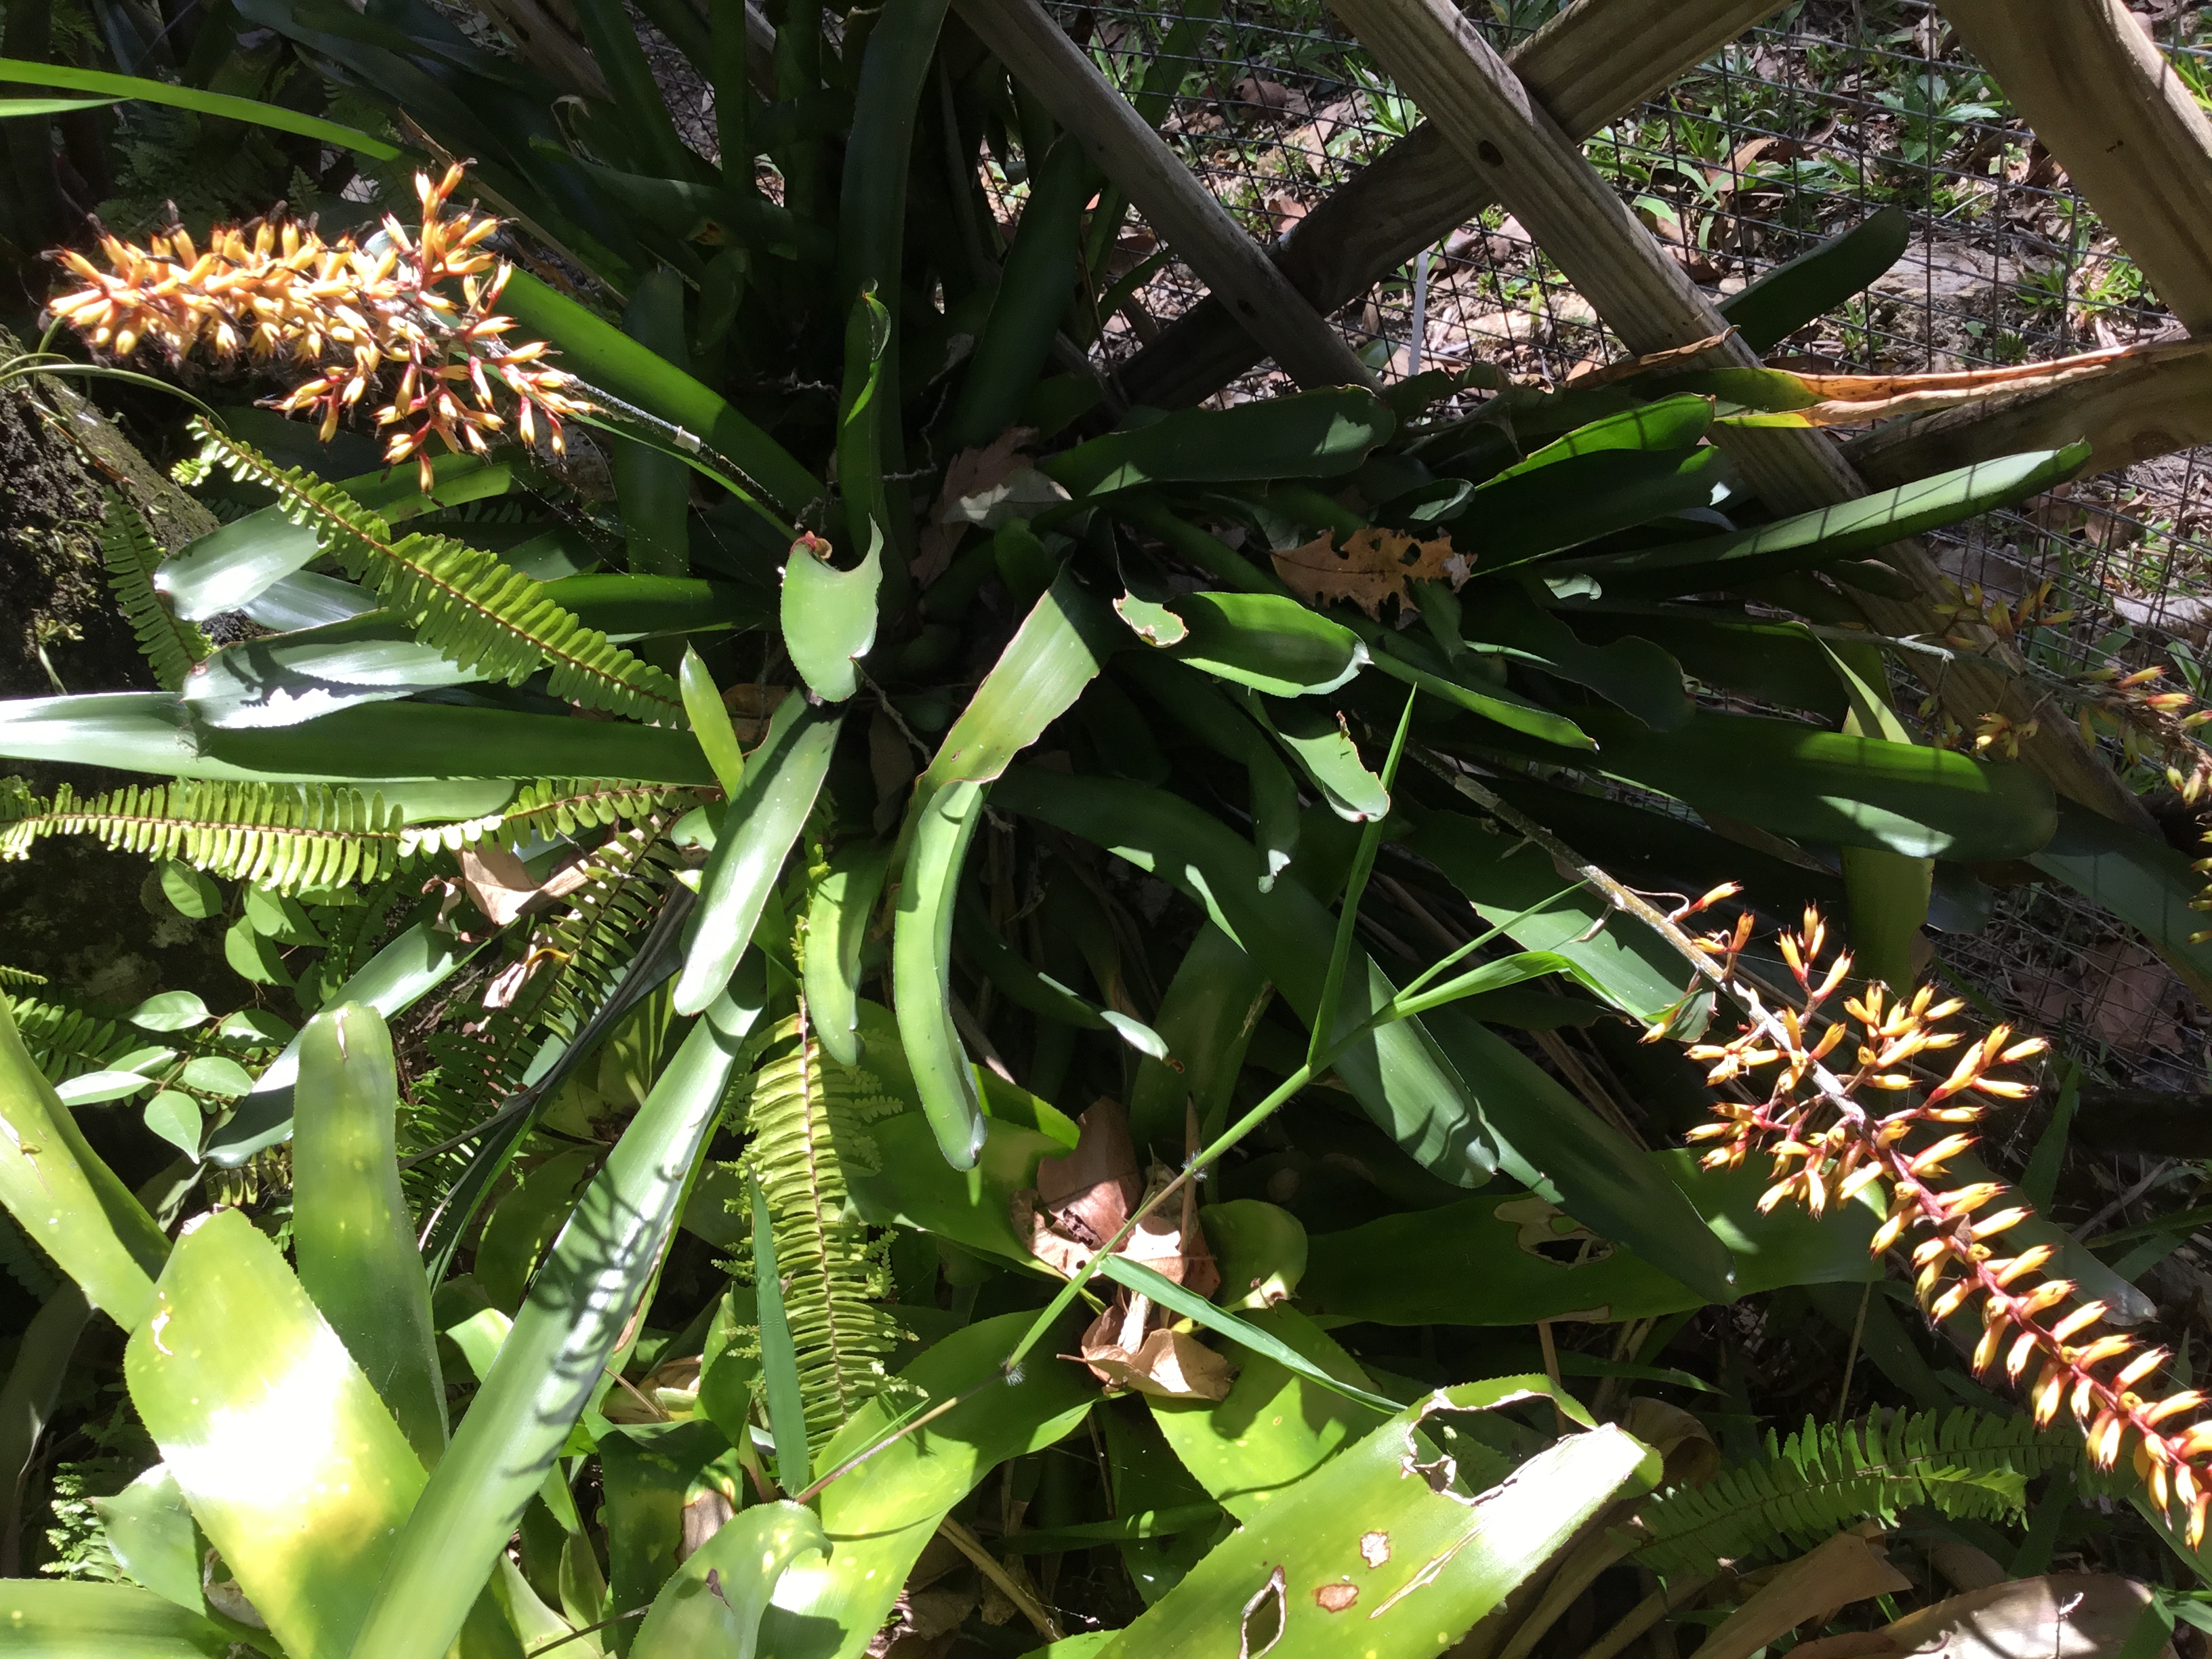
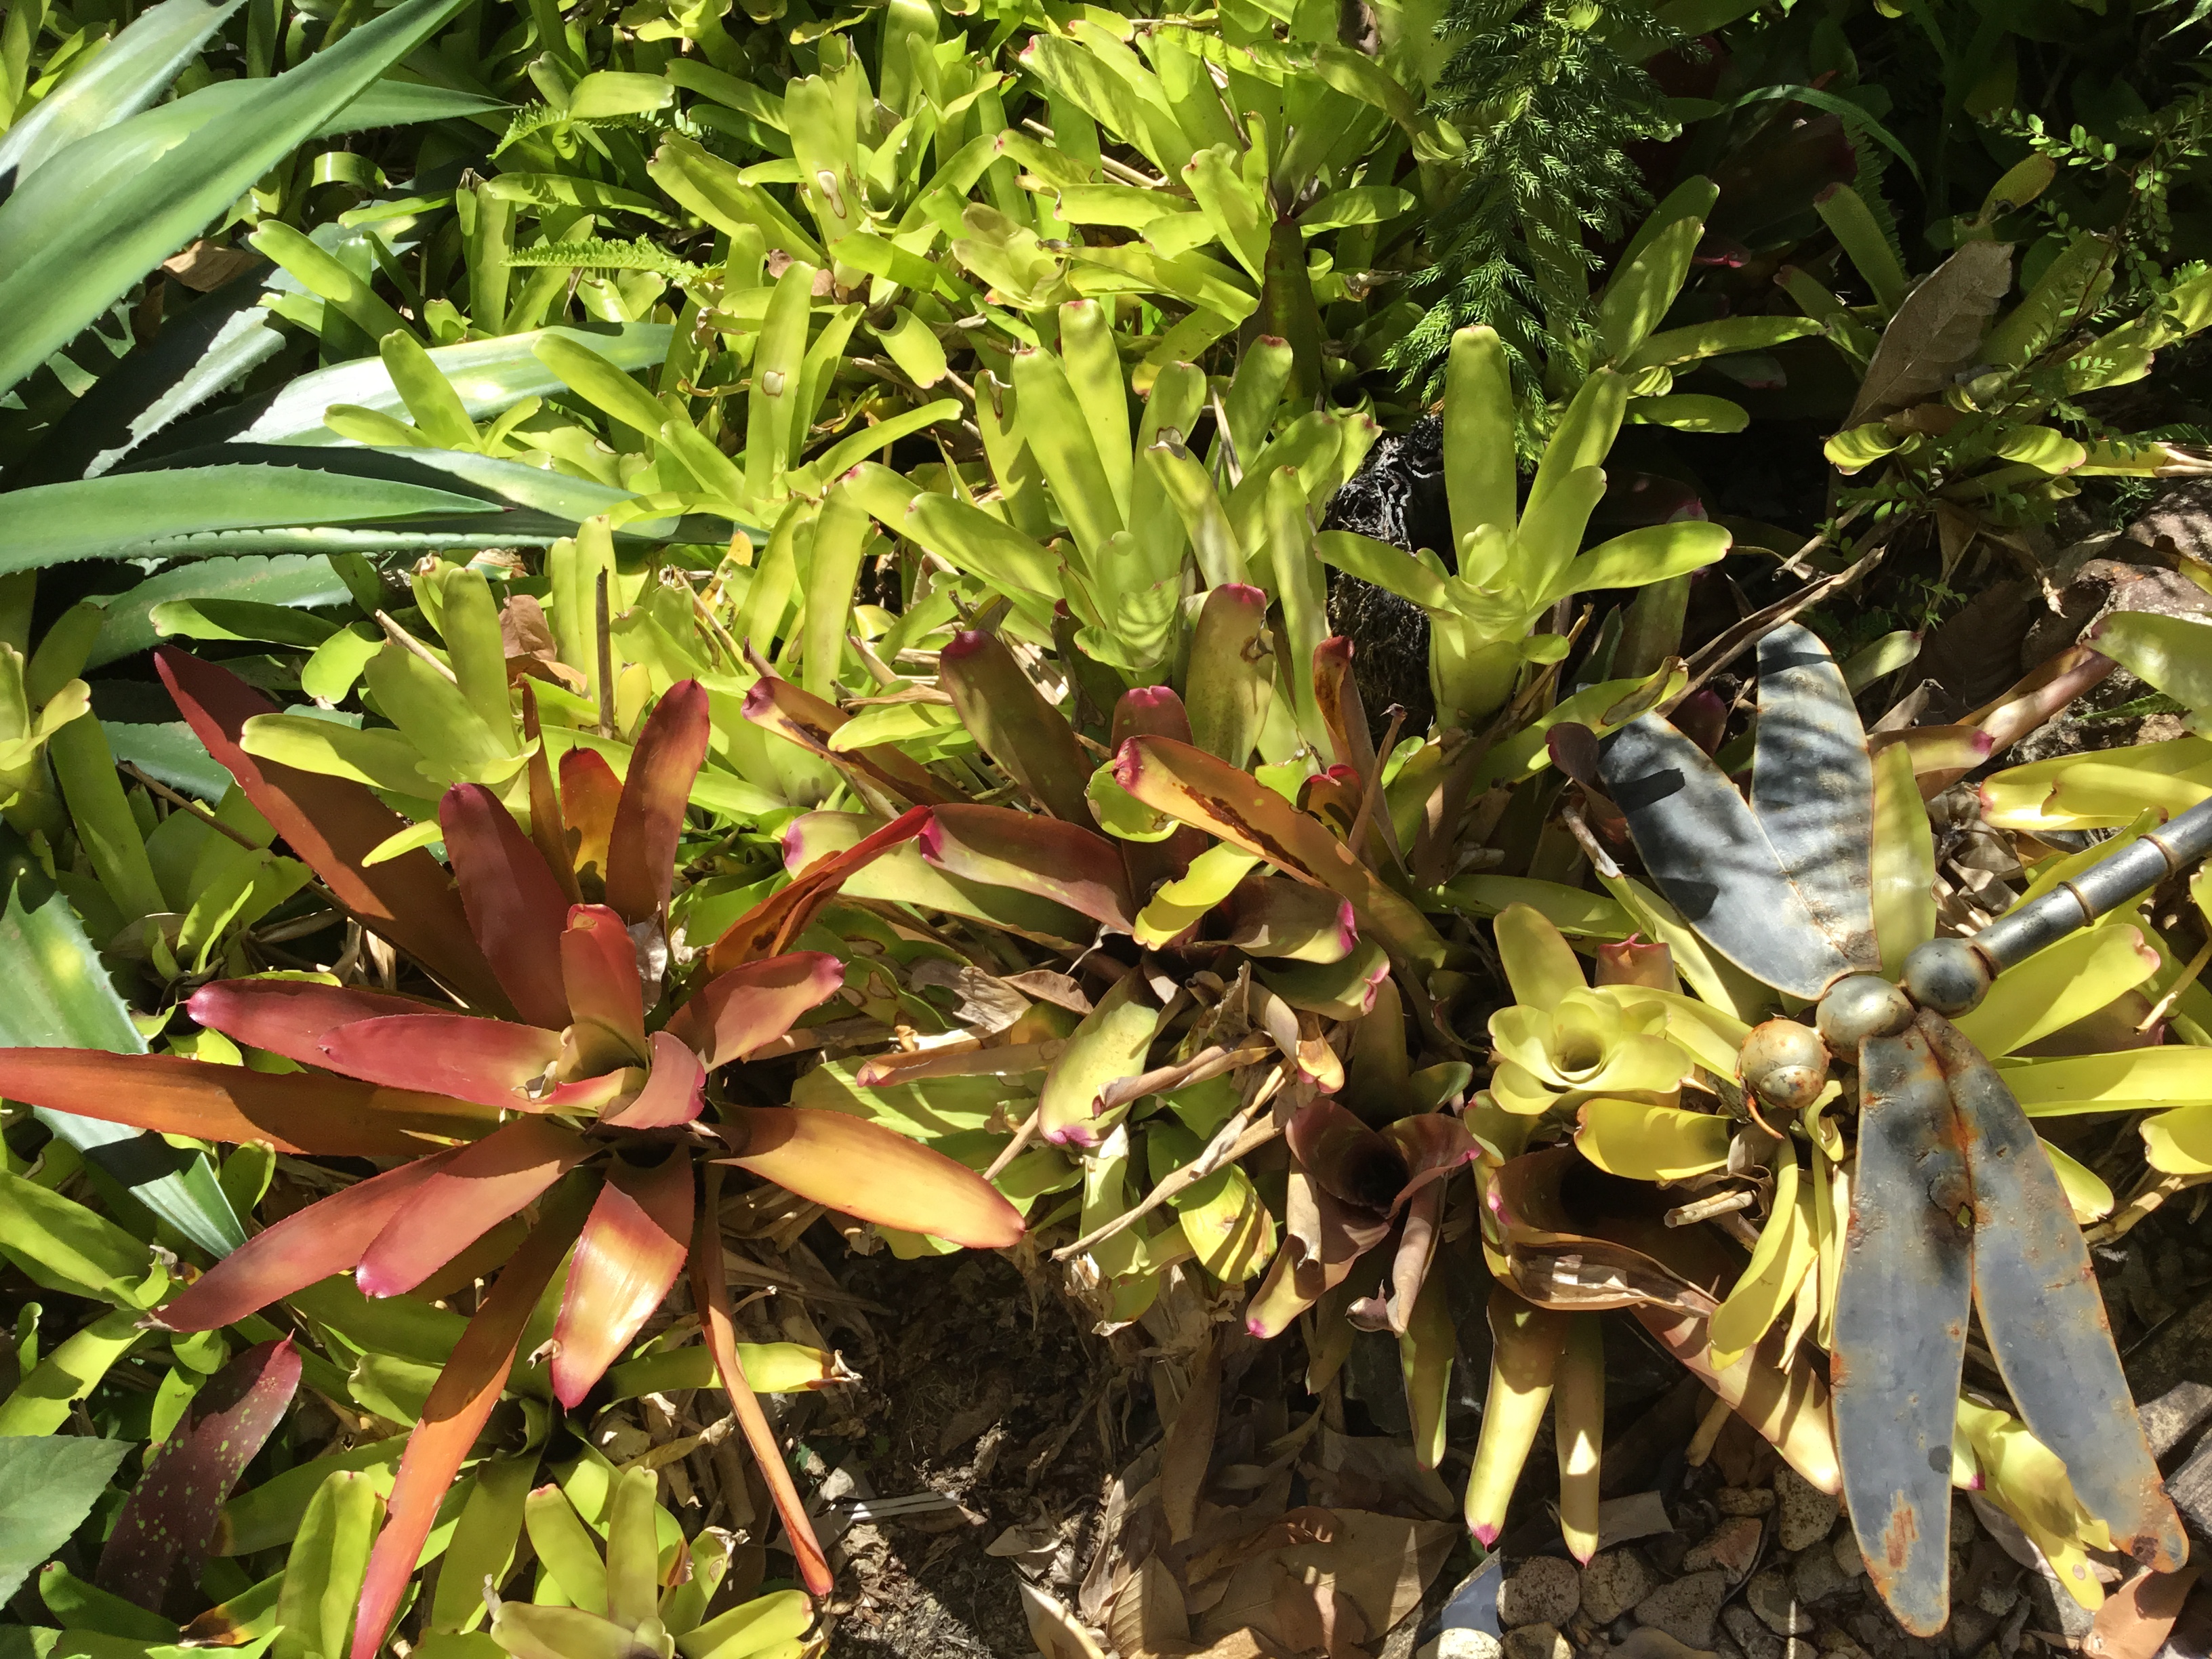
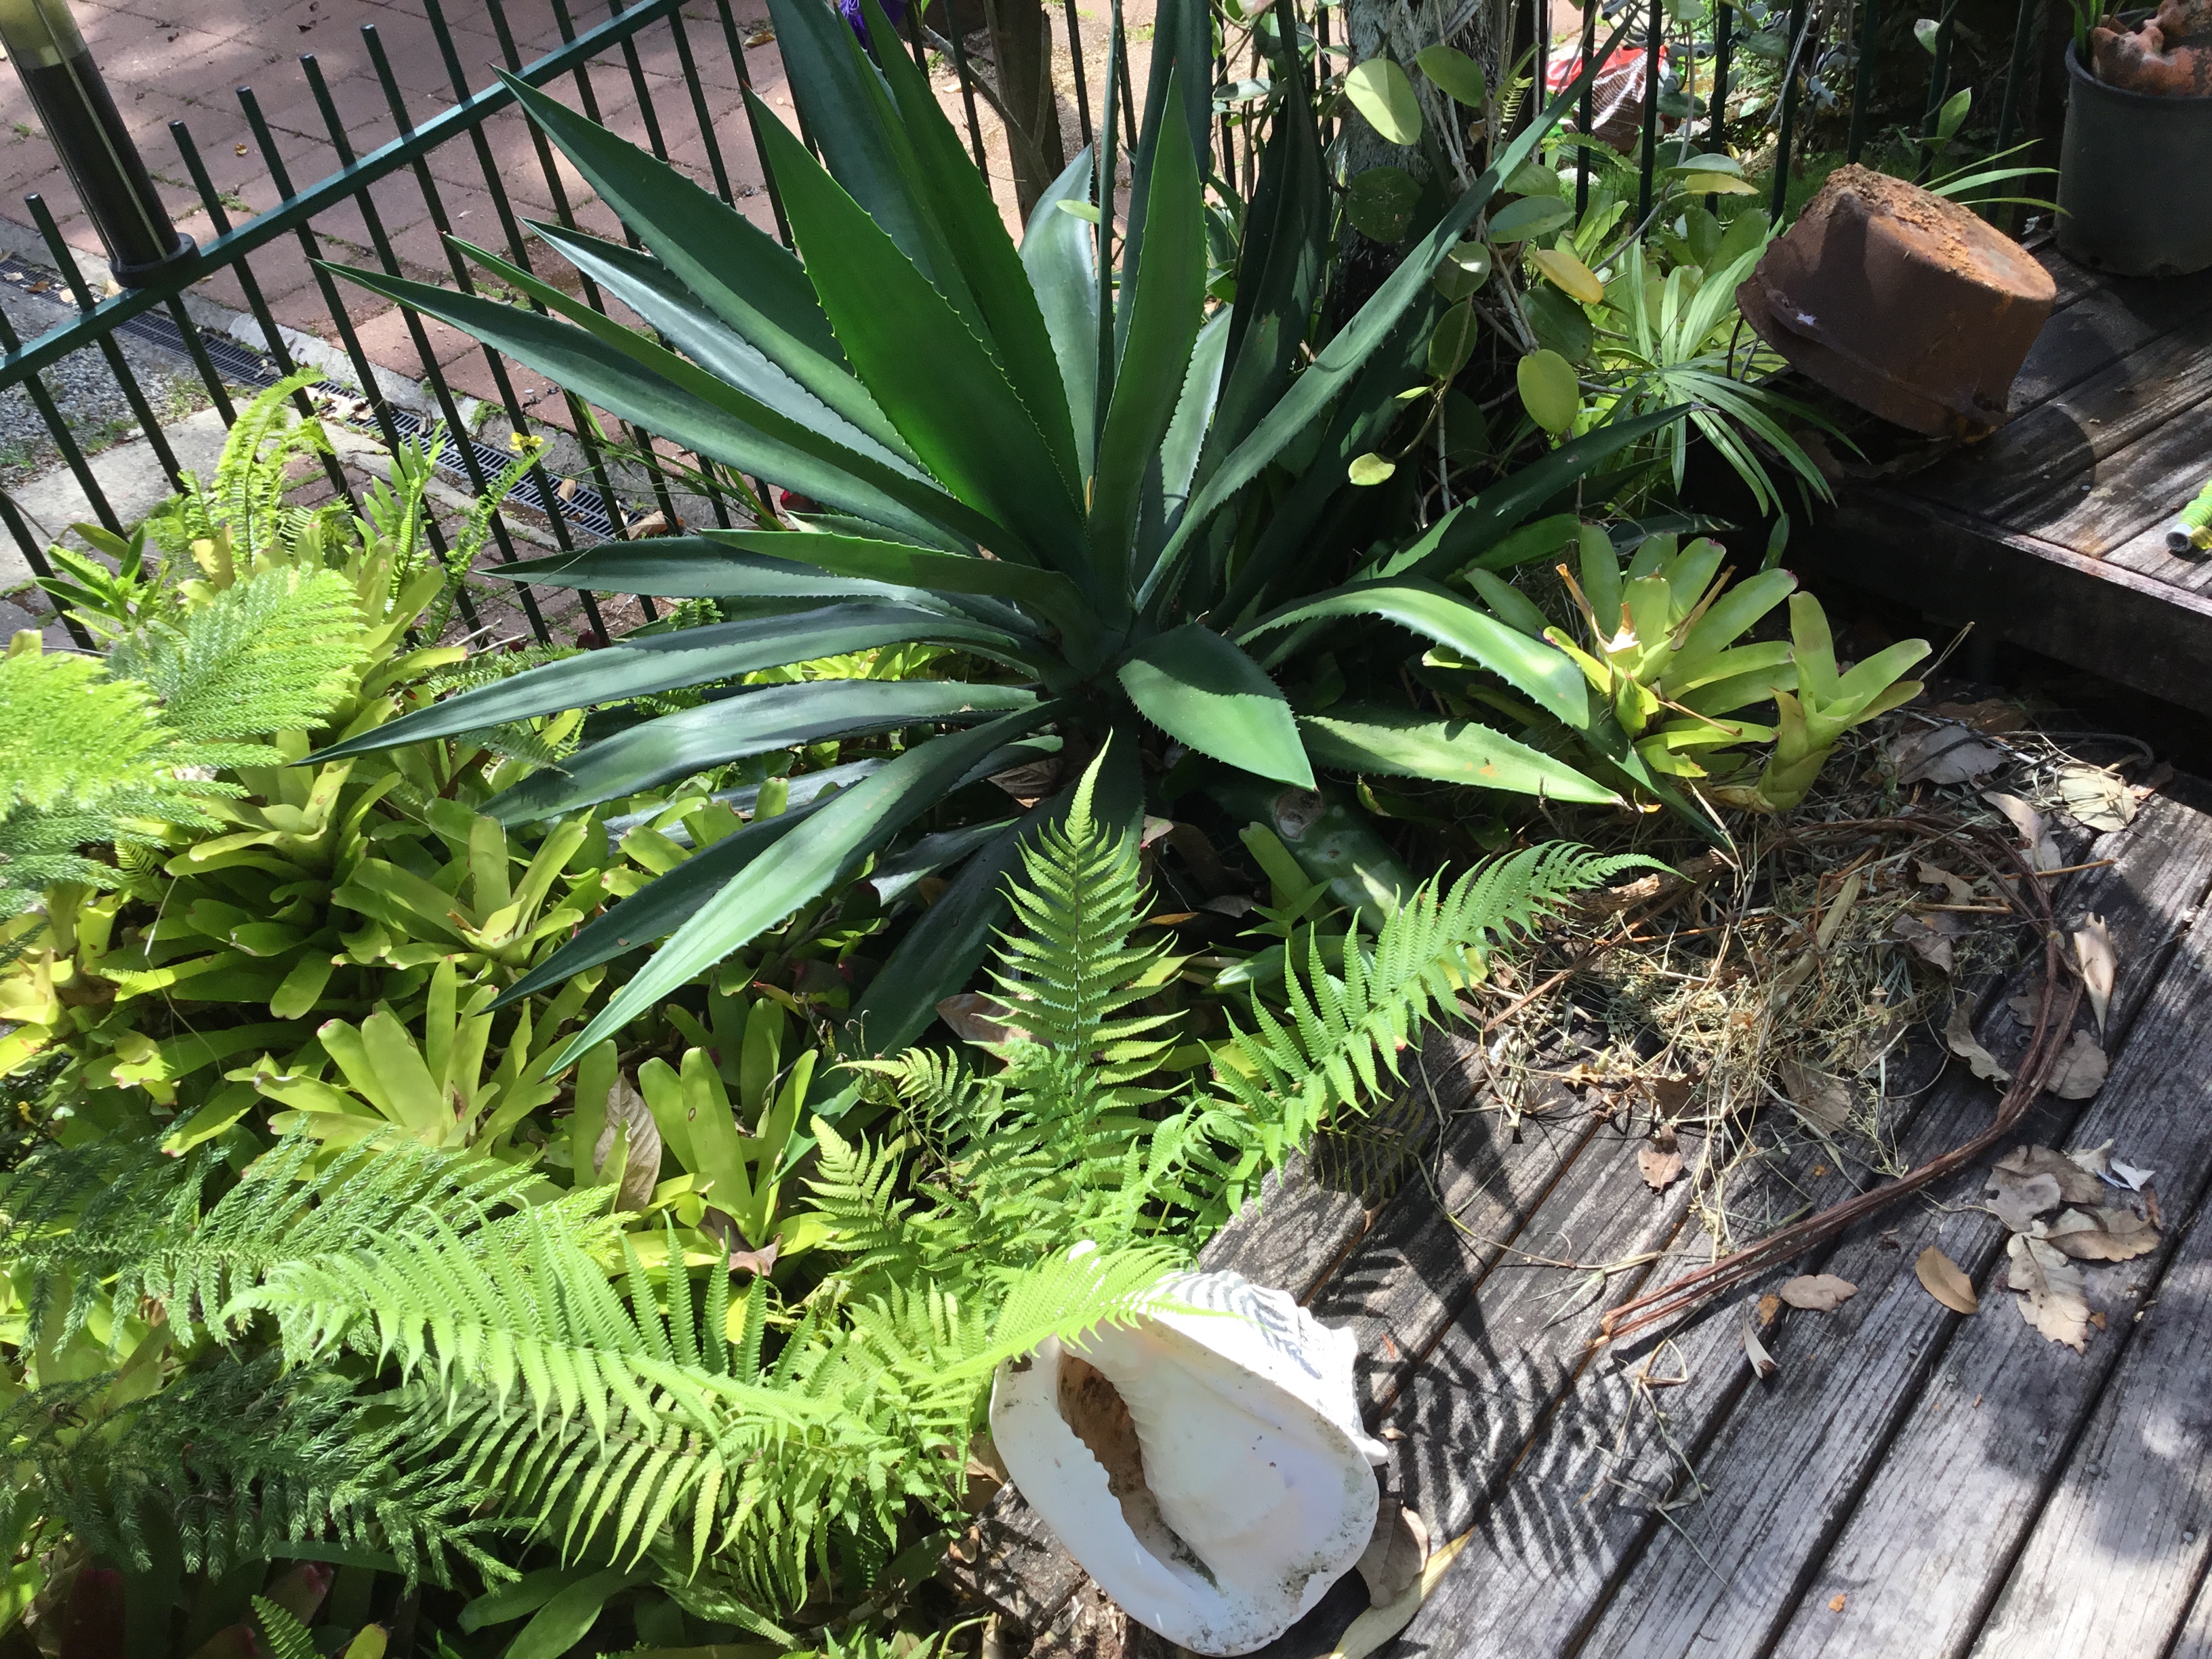
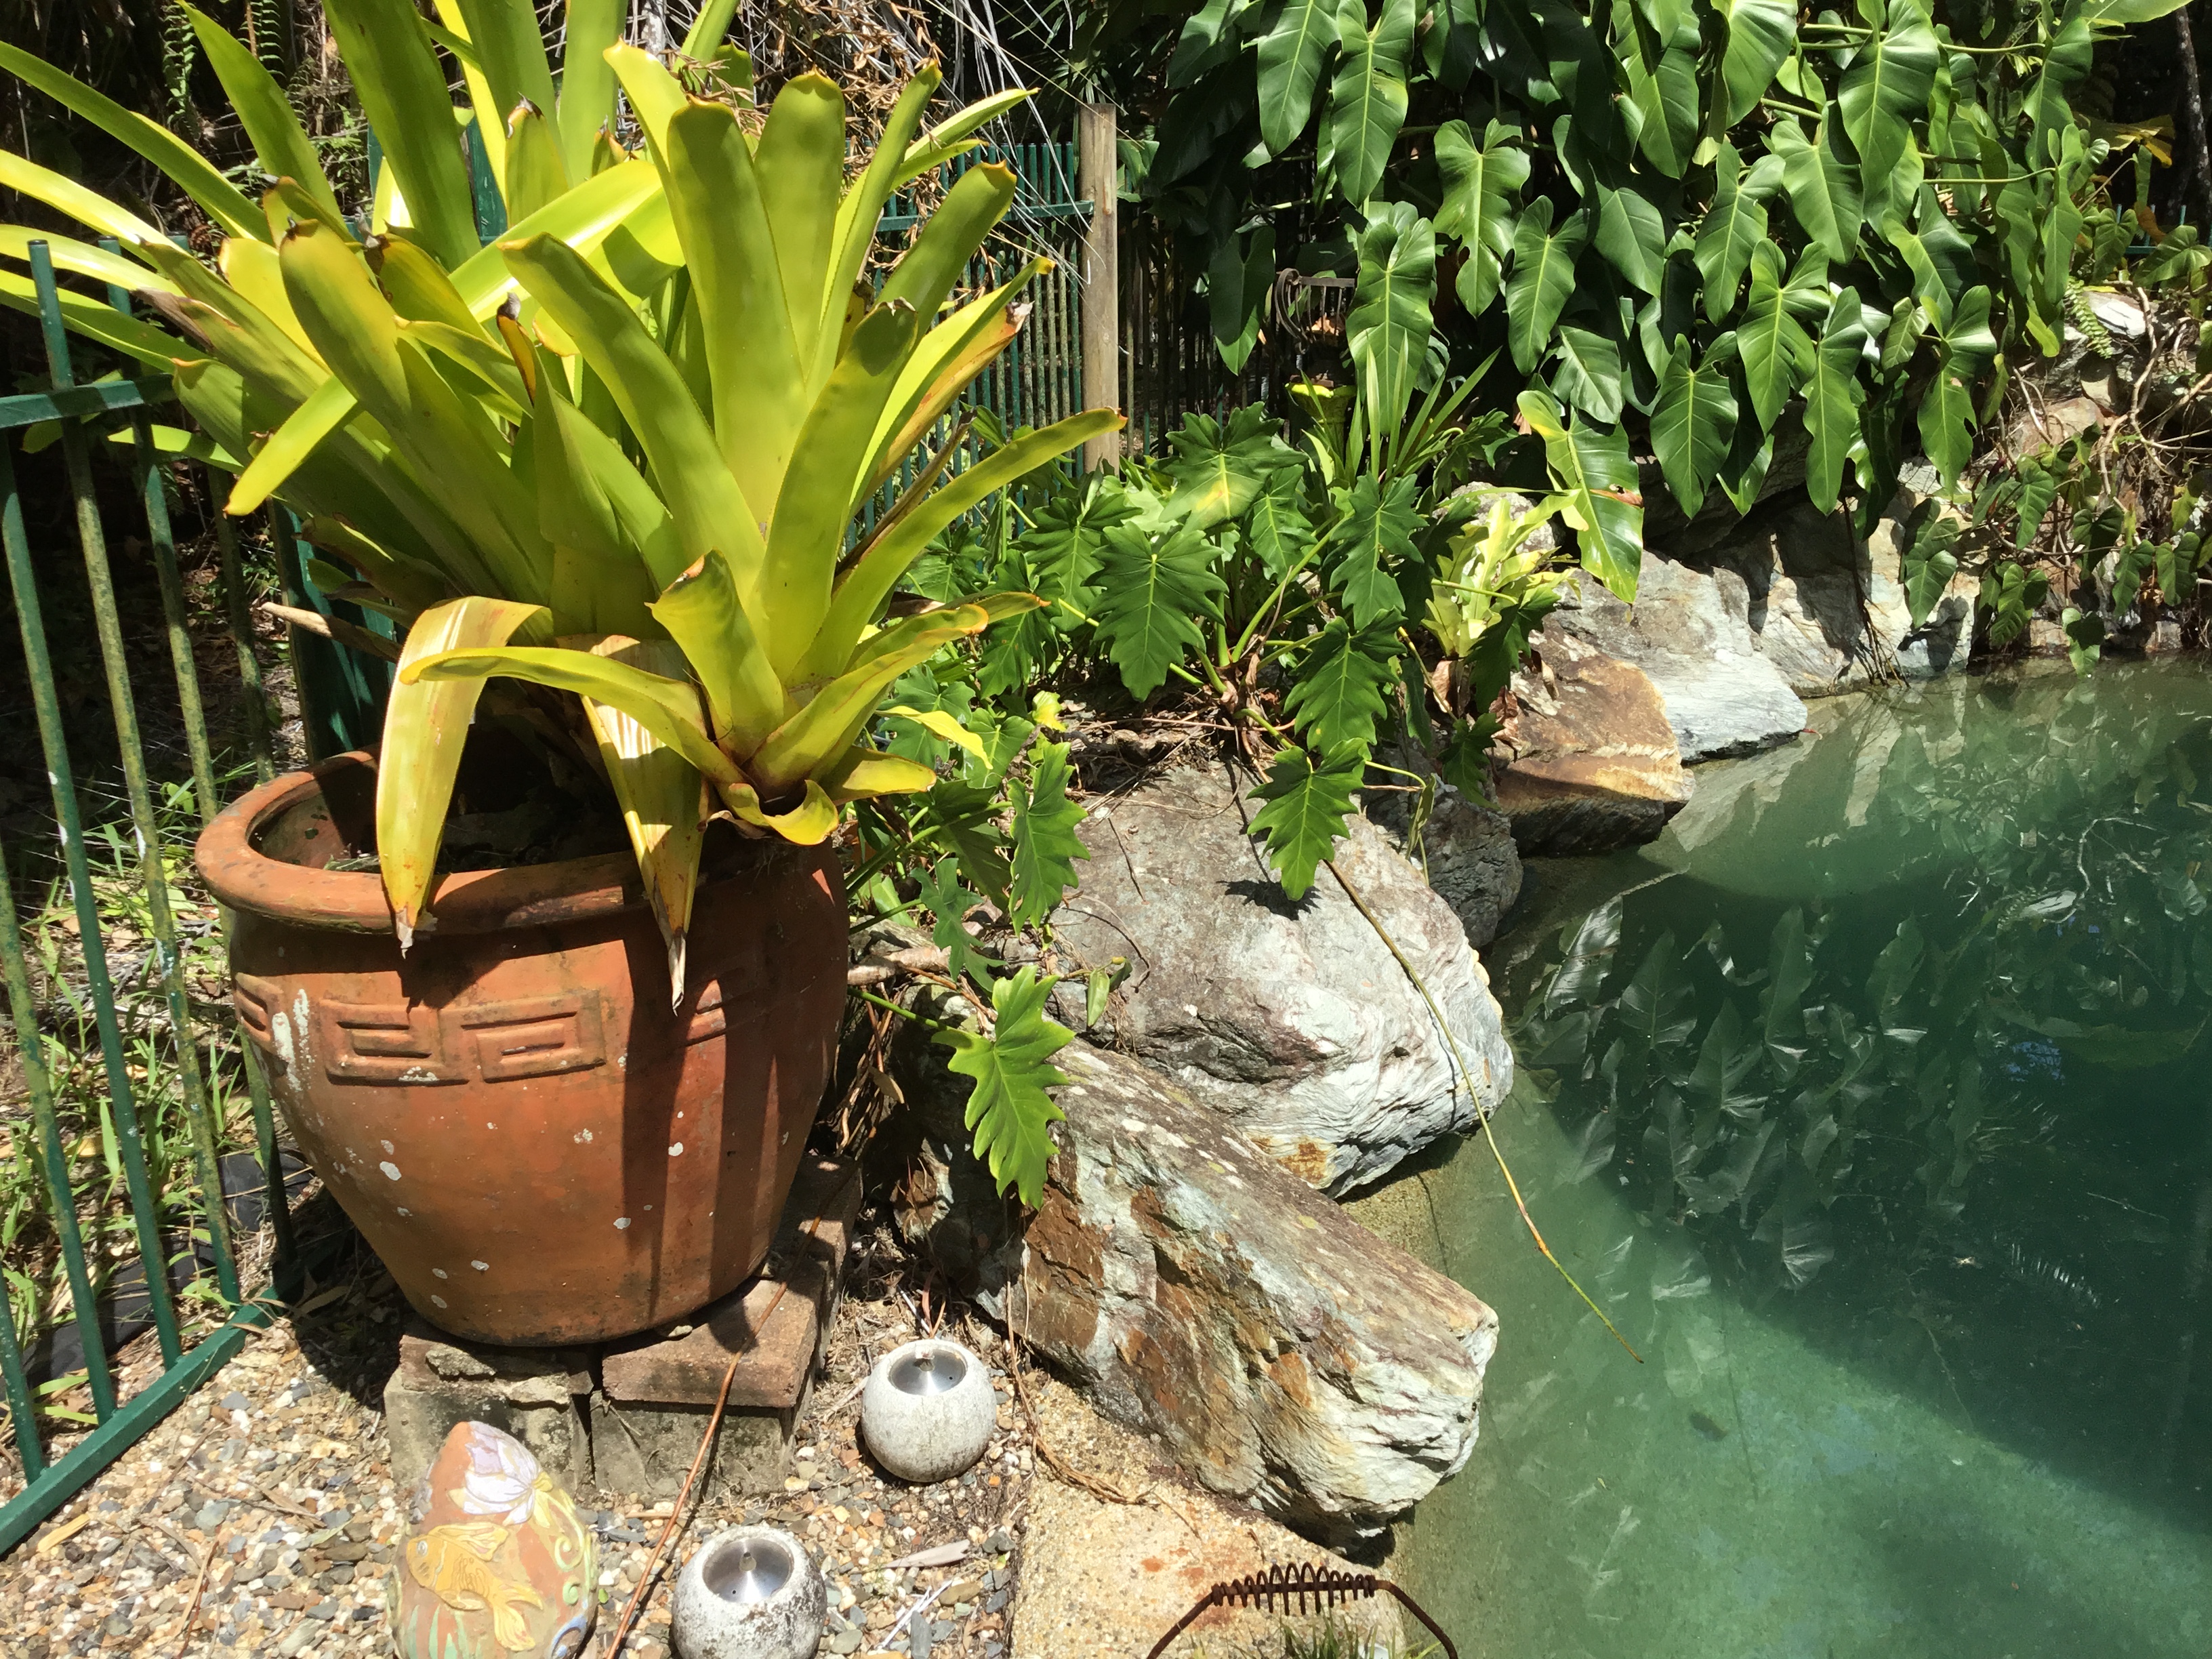
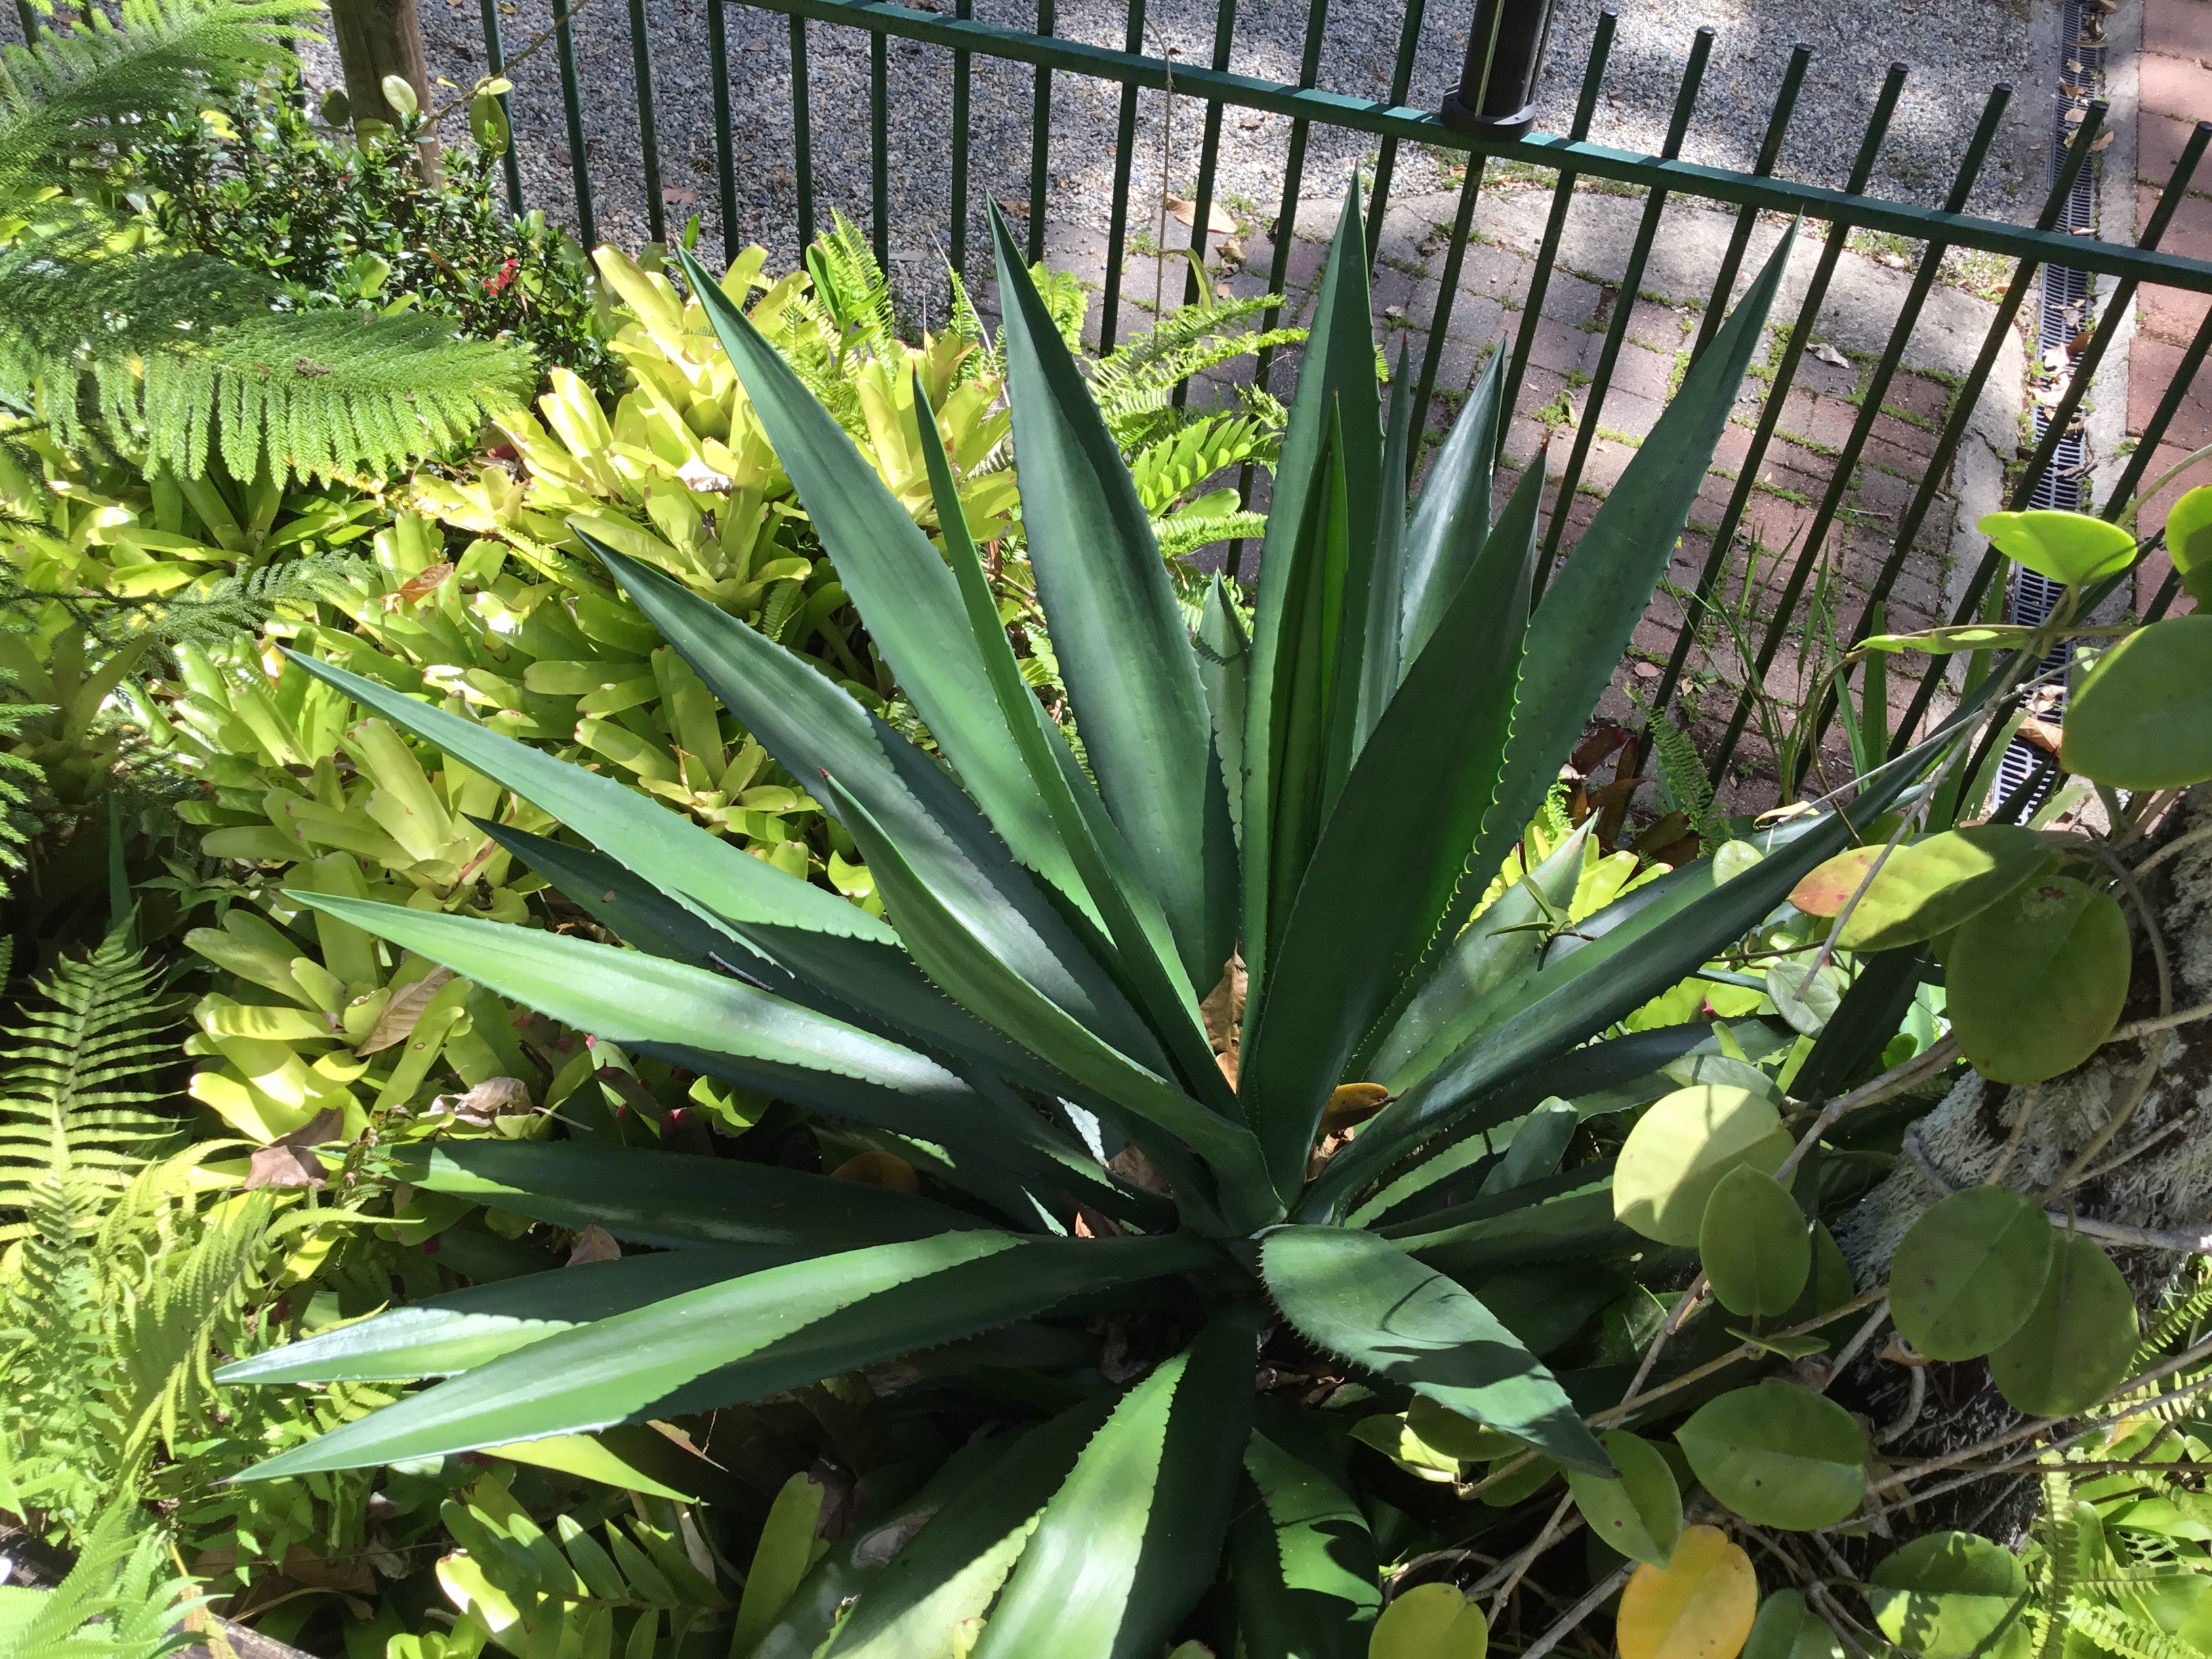
Looking at some of the leaves in my garden you can see where the leaves beside the bouquet in Hold On ToYour Heart idea came from specially photo 11 ???
Thanks for dropping by to keep me company.
Cheers Glenda.
14 Responses to WOW or WIP’s 20th Nov 2020.