
This is how I built up my 4th block of WIL.
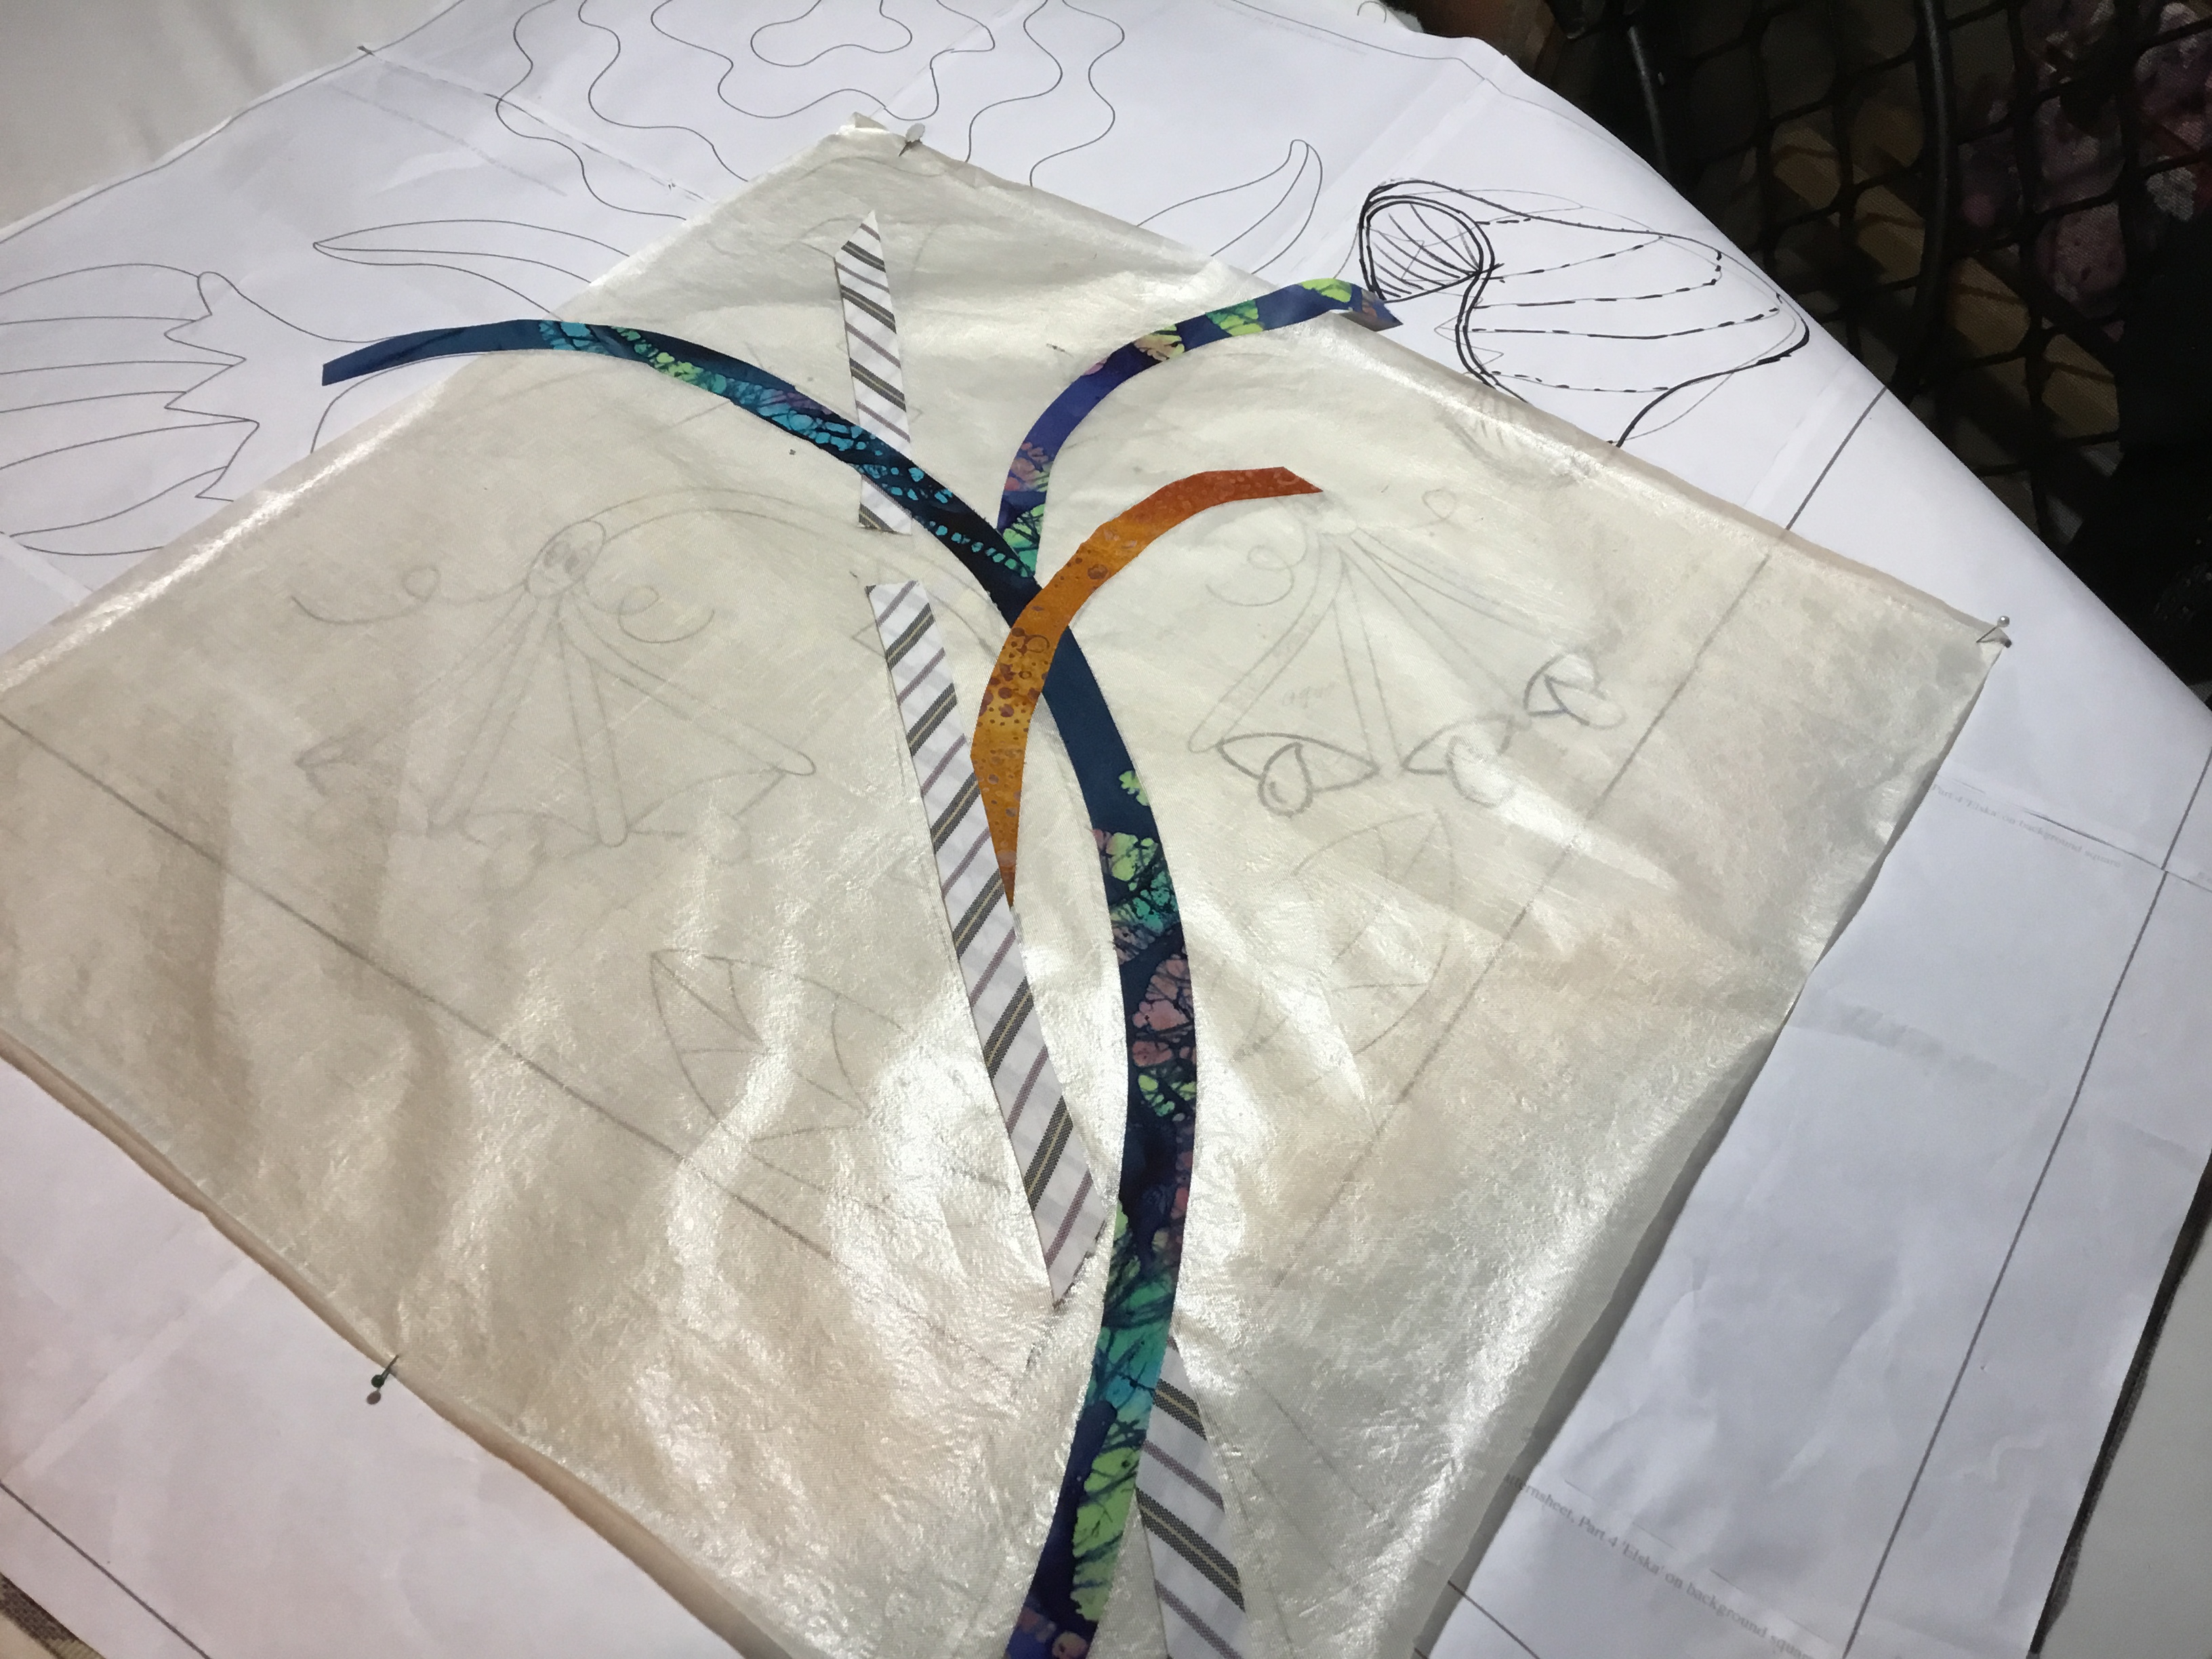
It is made up off hurried cut out strips to show you? Not colours I’d use together for my quilt but just to show how I did it? I’ve run out of my original fabrics?
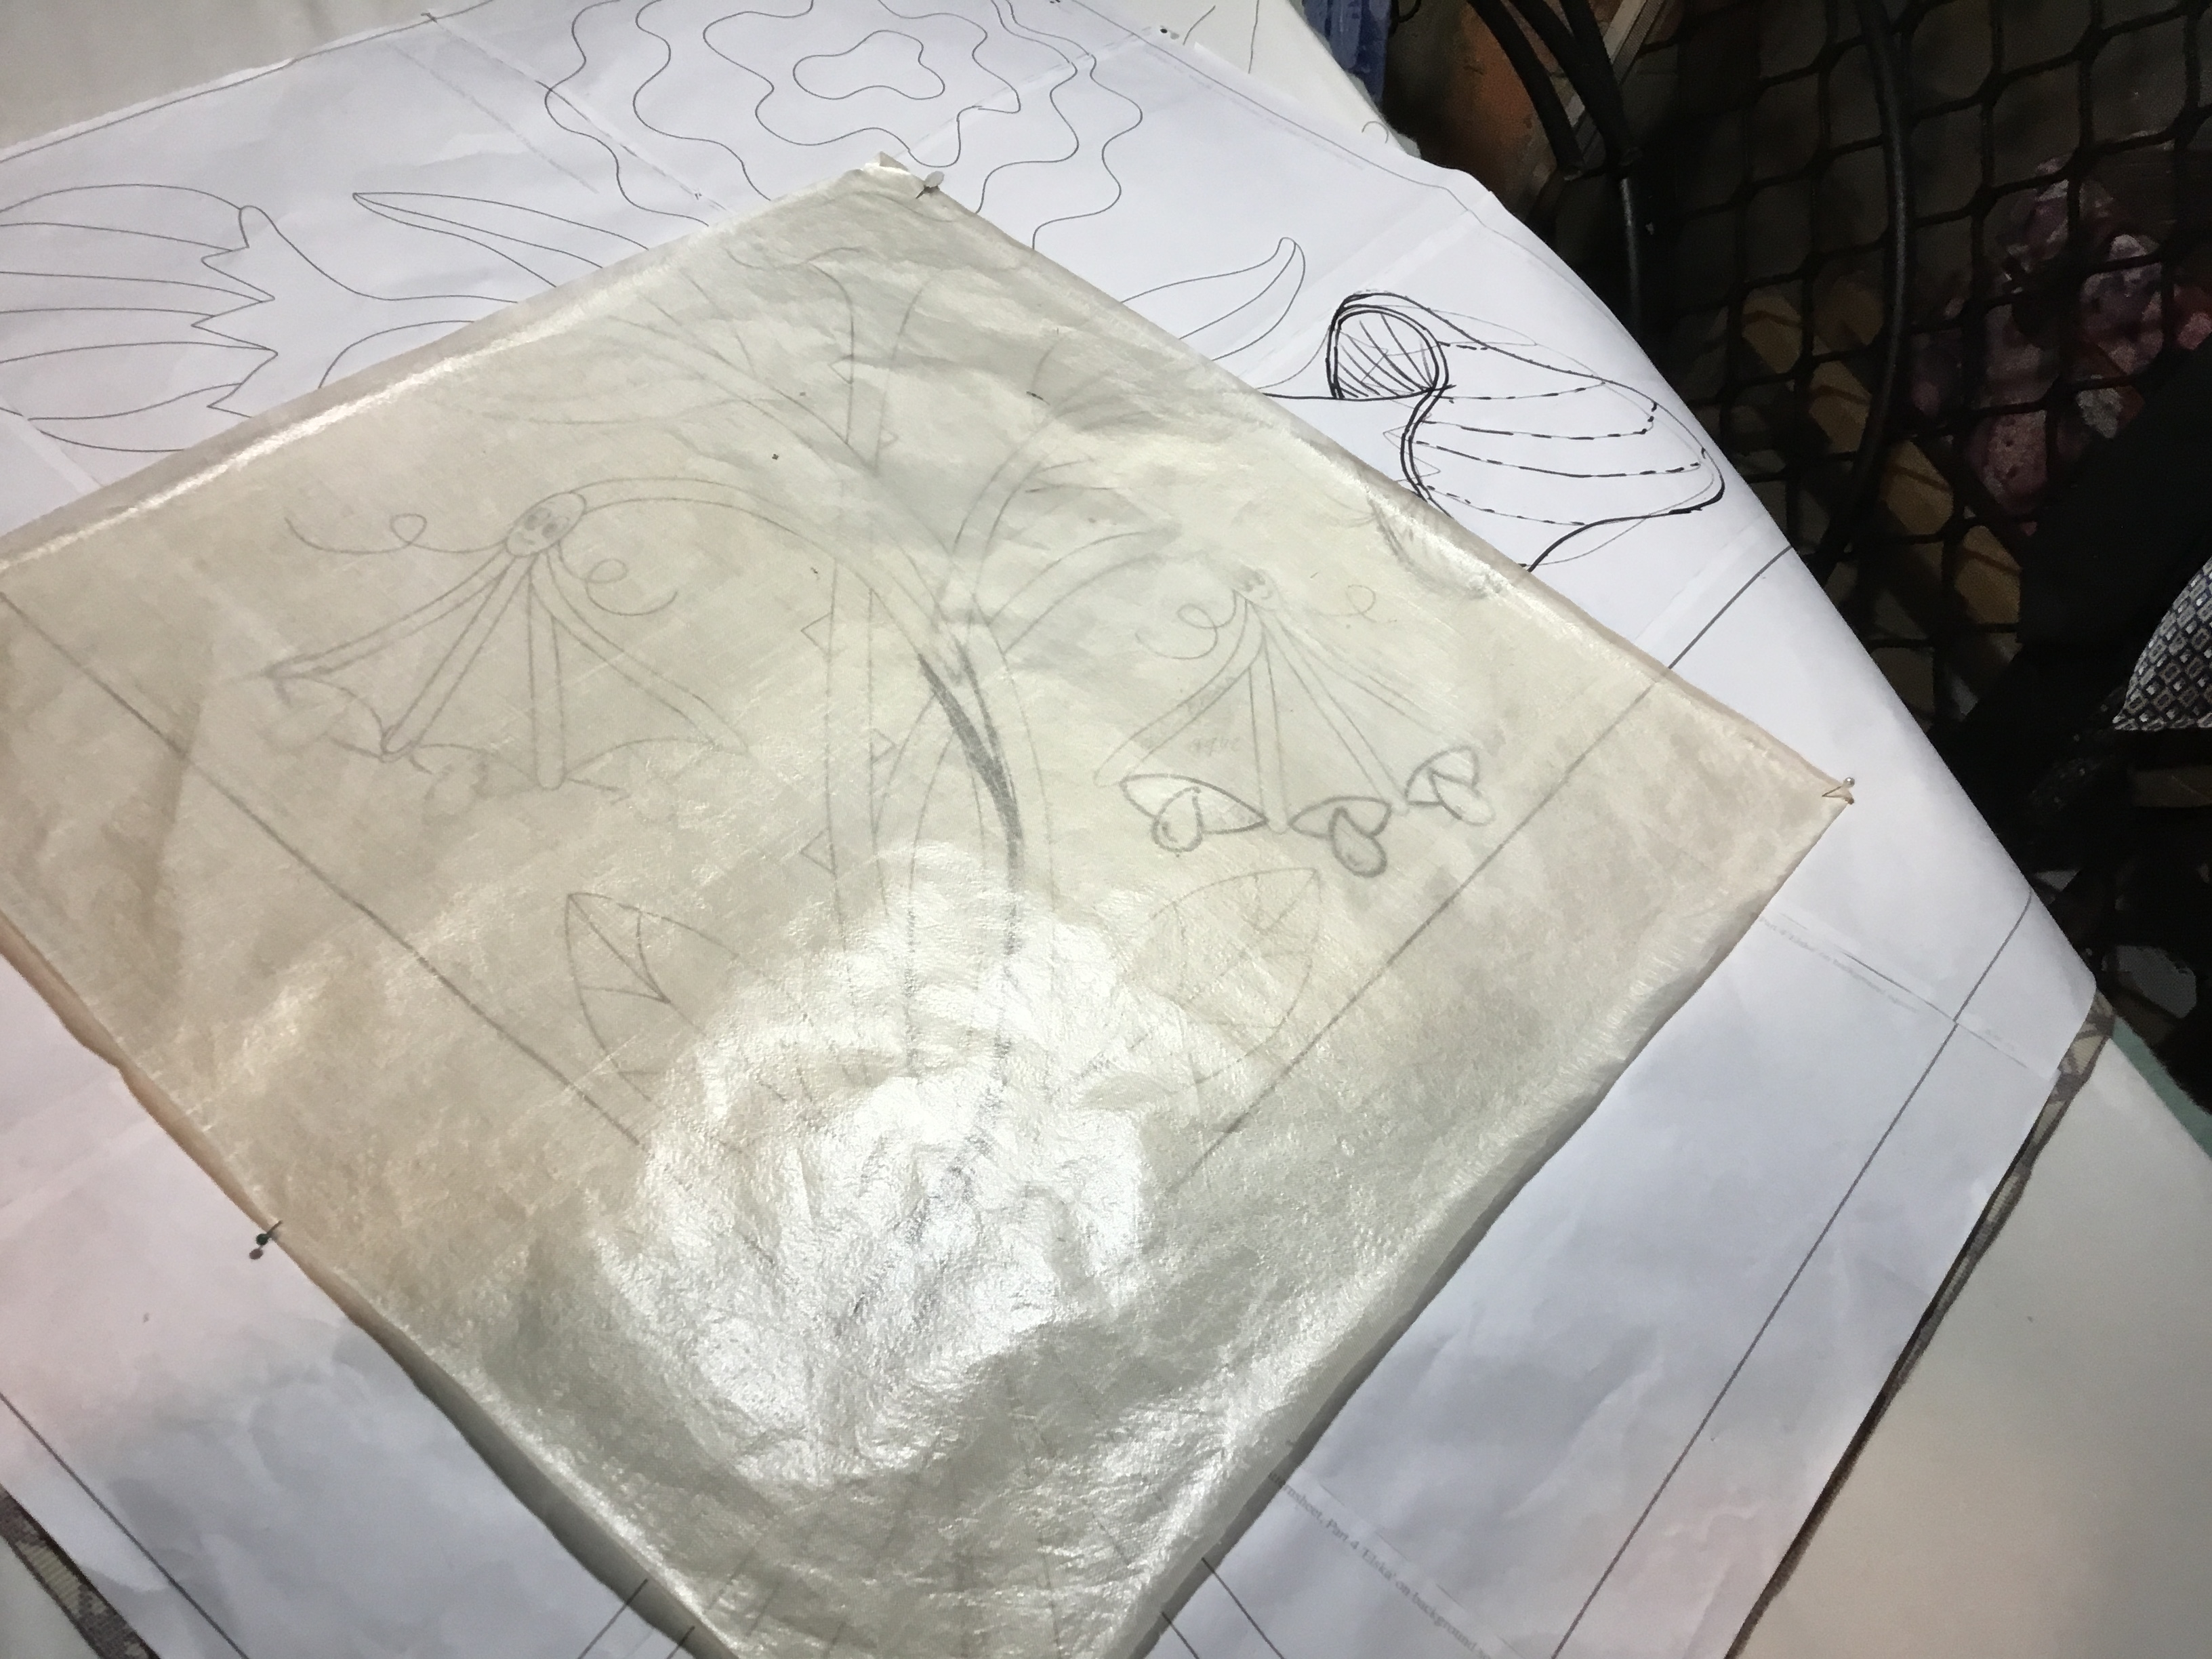
Design area covered by a teflon is sheet pinned
Iron down main stem, stems I turned at the edges I ironed on a strip of iron on fussing, so all stems can be ironed down.
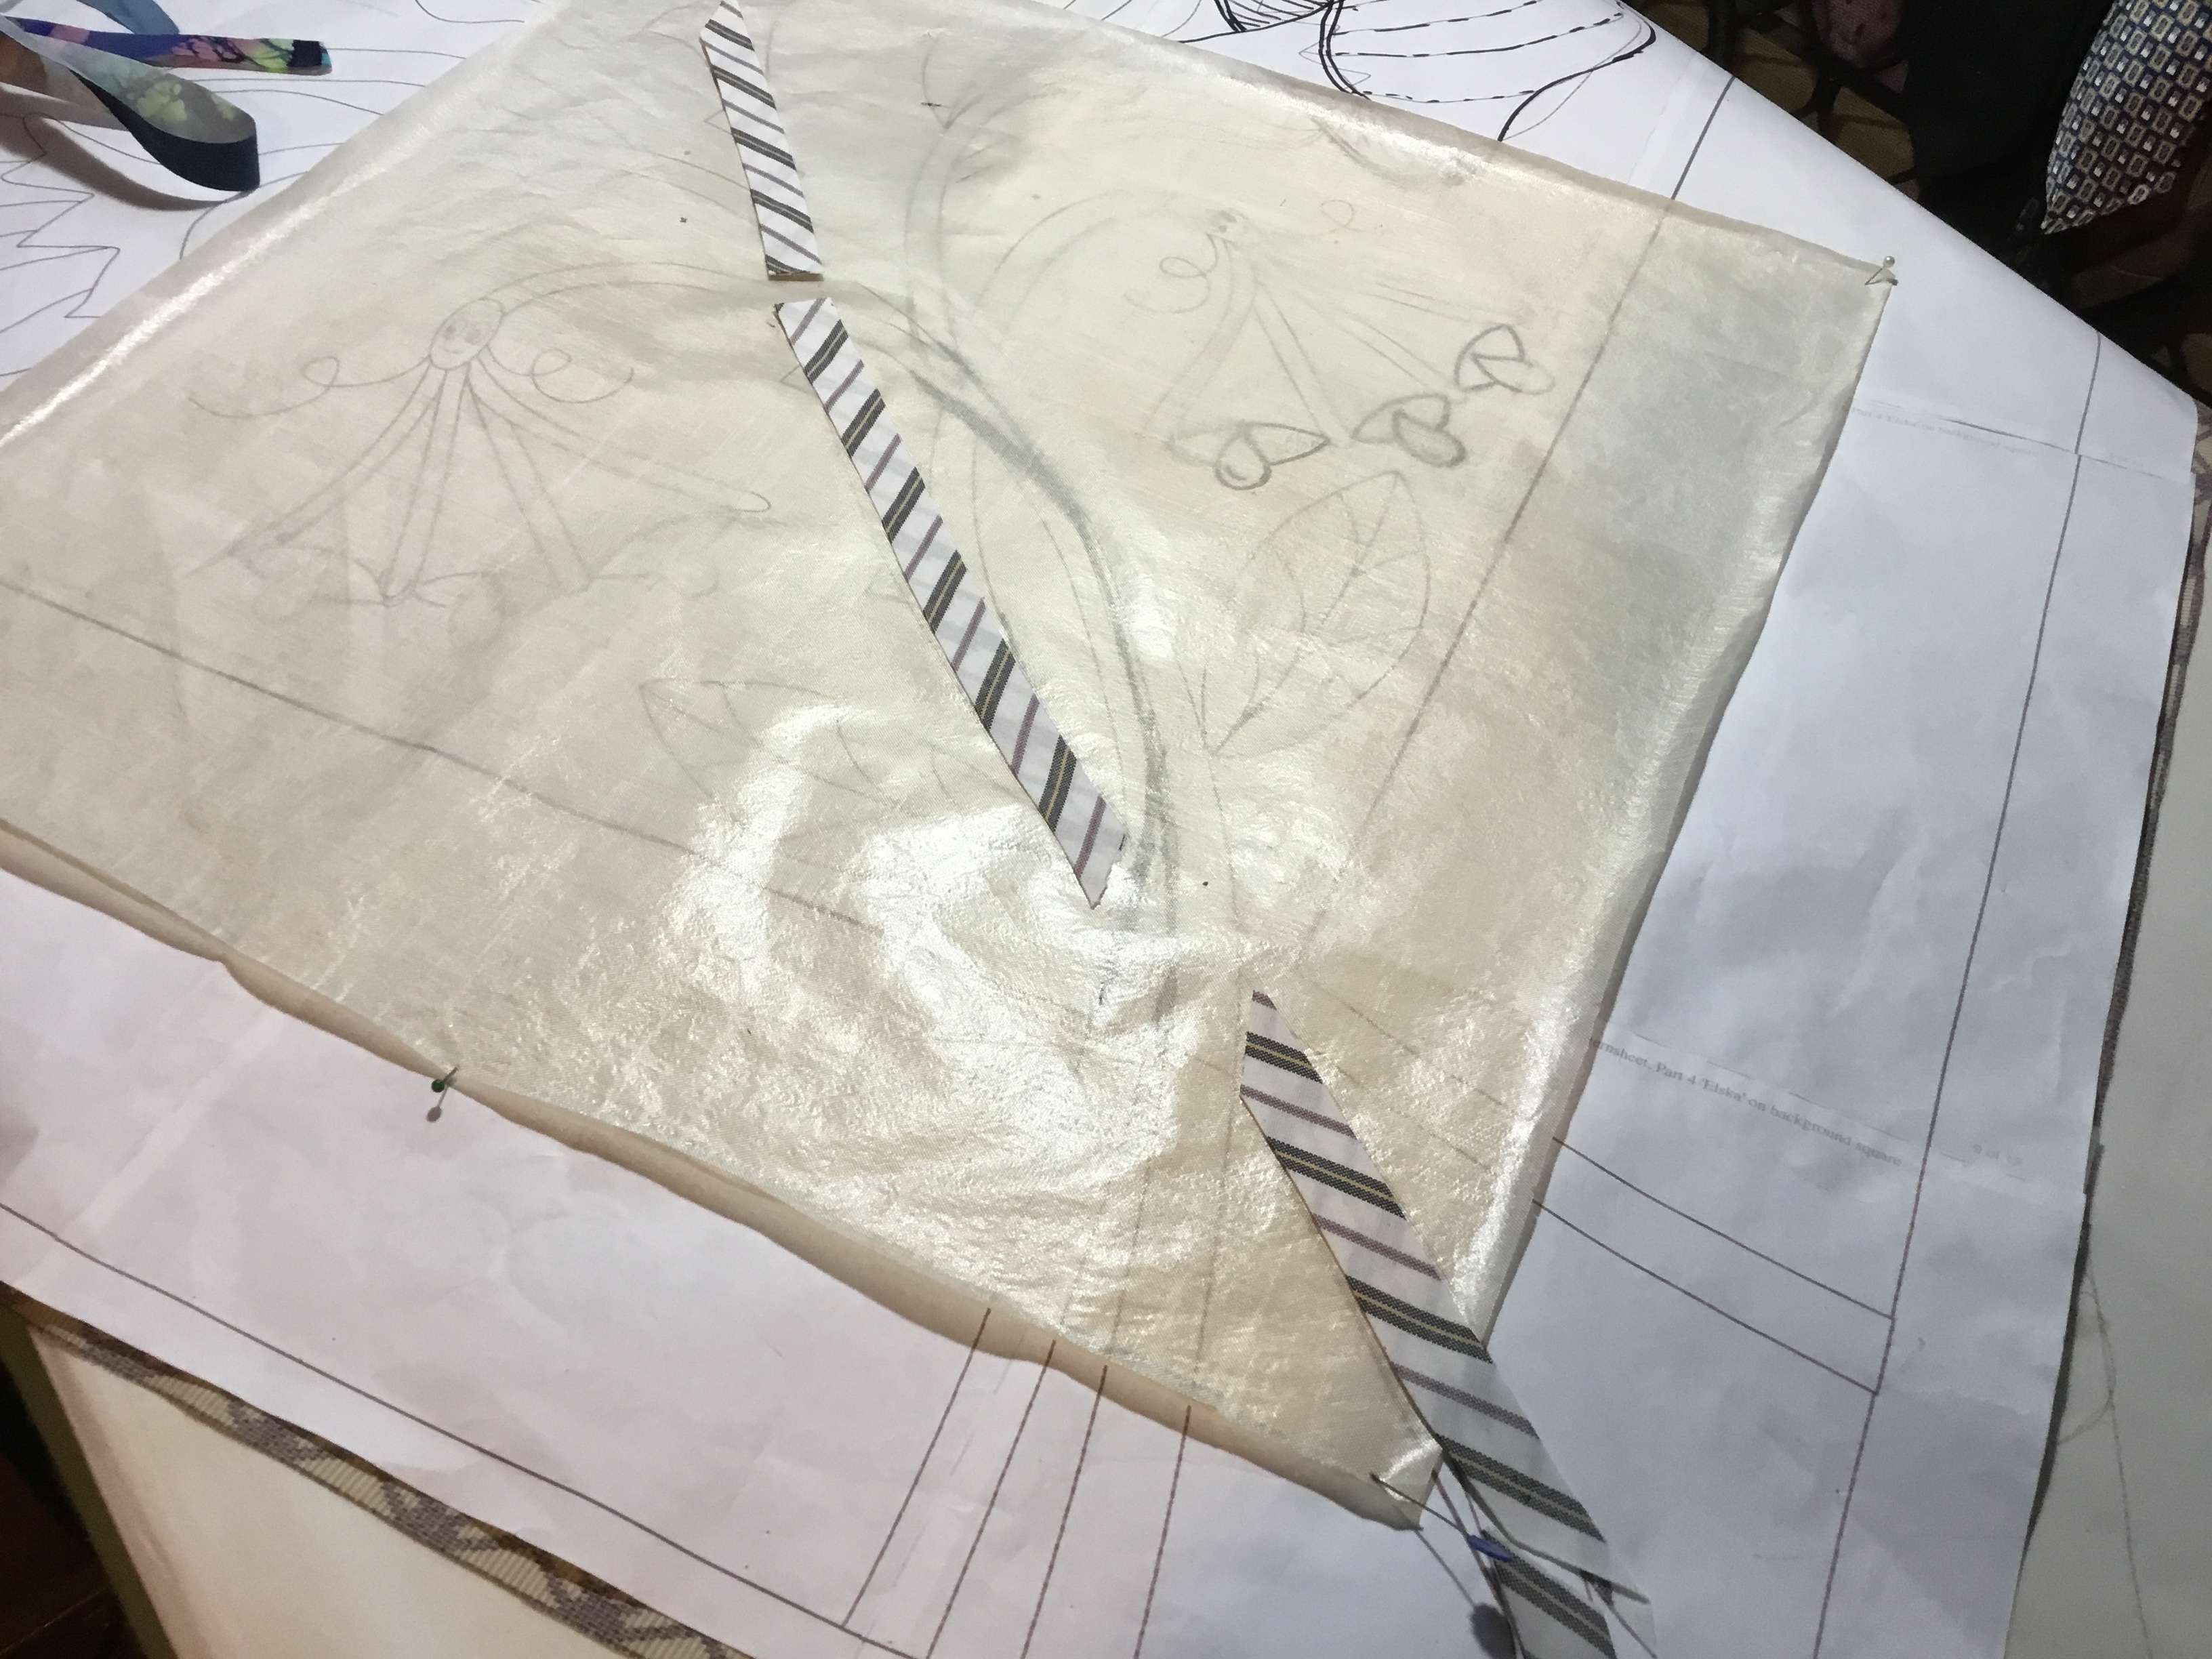
Next stem added and pressed in place
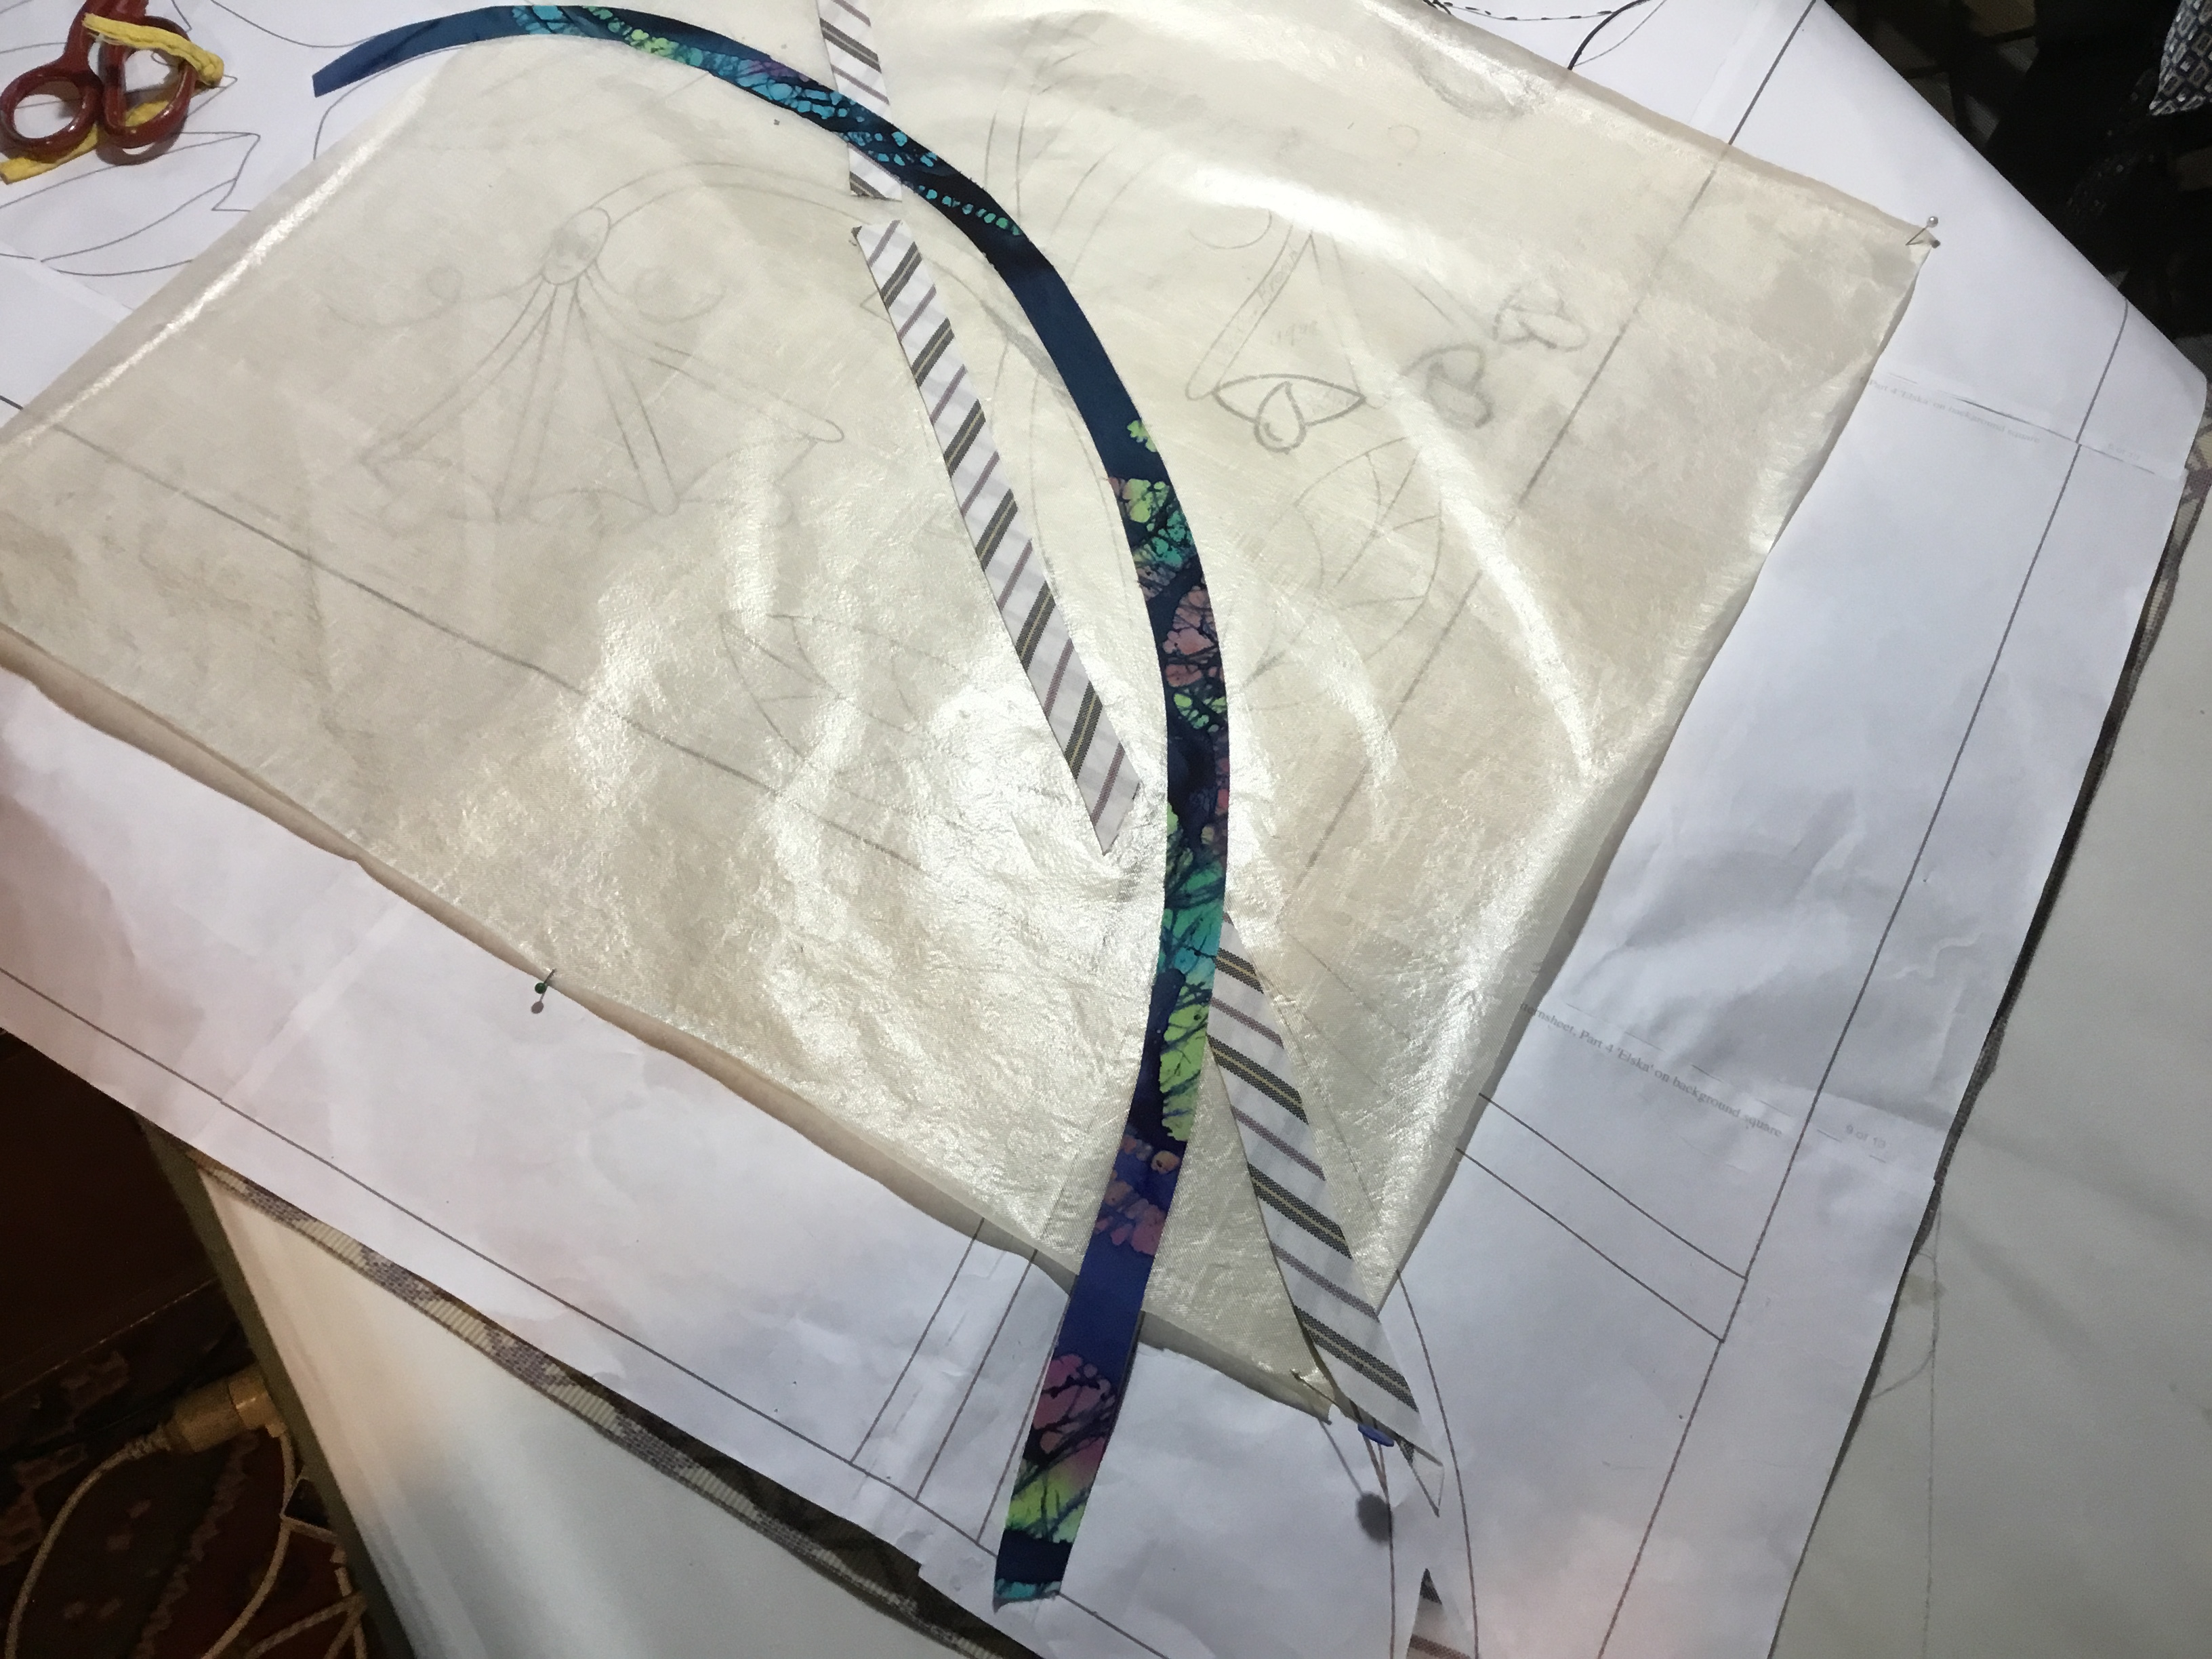
More stems added
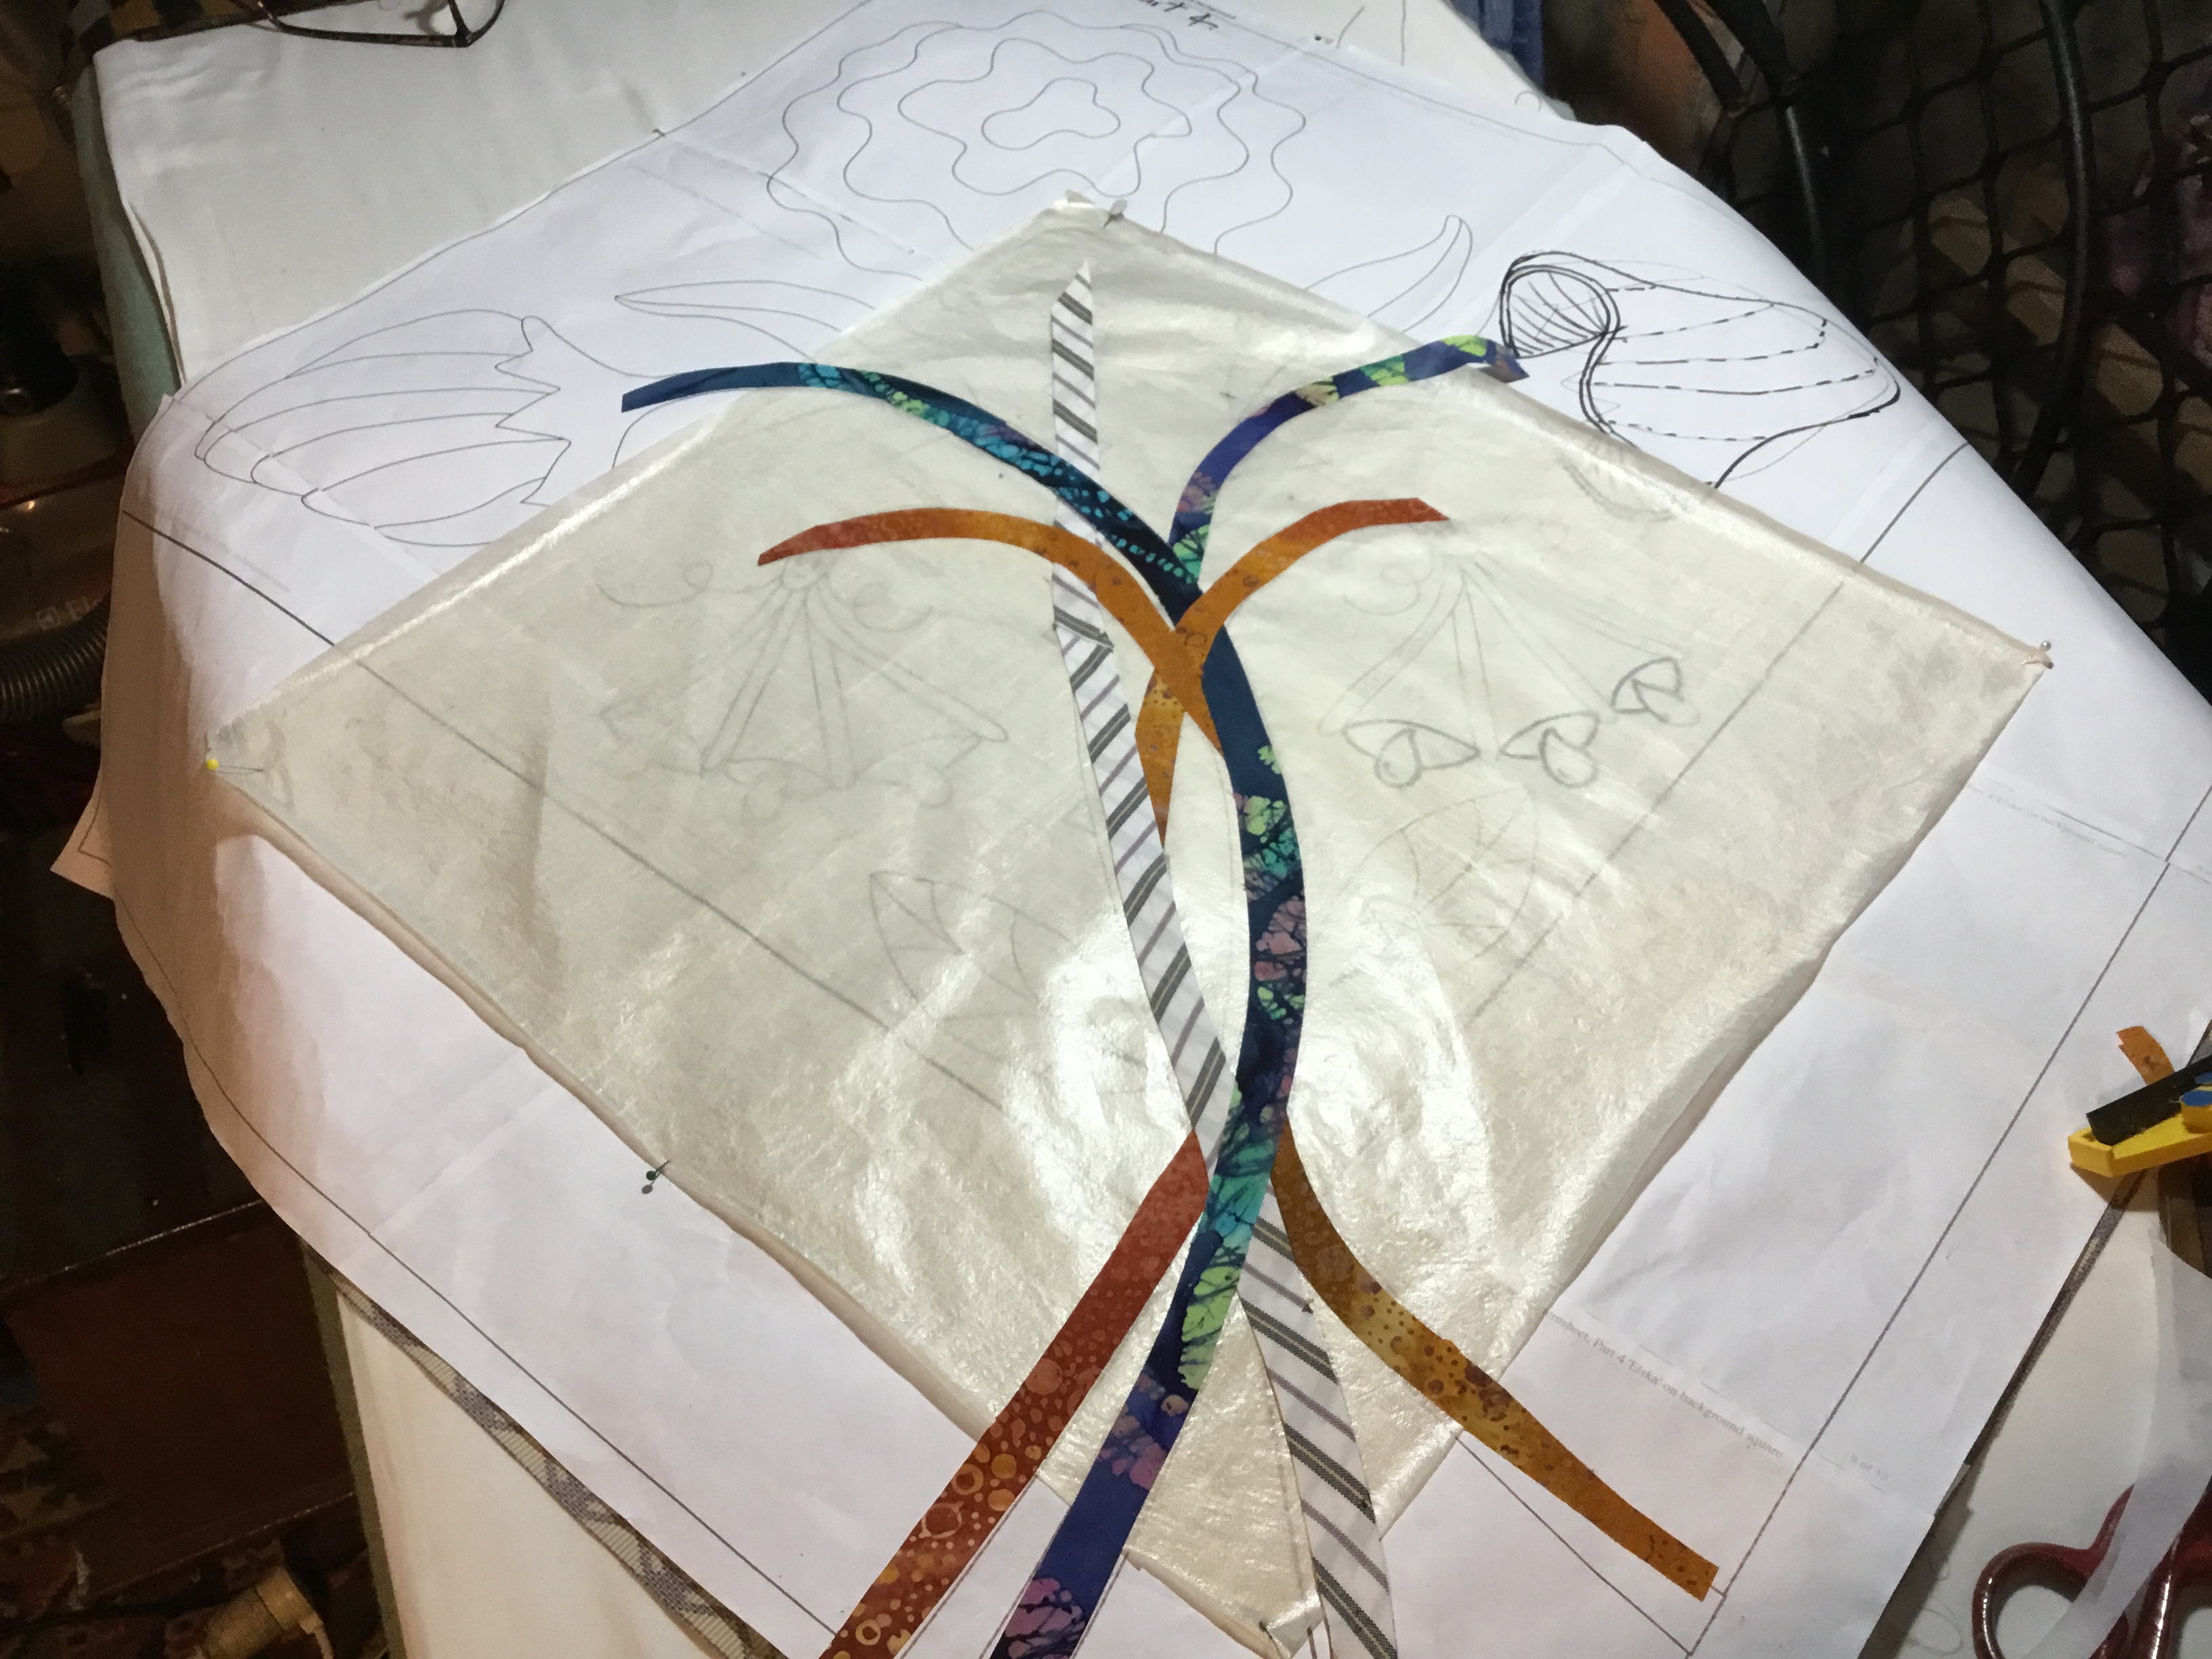
Then final stem, keep in mind this is a rough job just to share, or I’d be here all night doing this?
Now I leave it to get real cold and hardened in to shape and those cross over areas are really glued together, gently peel off and move on to my black back ground, I have my pattern drawn on to a sheet of baking paper and place this on top to get a perfect line up. There you have it. Hope it helps, I do use lots of different ways for different projects but use this way to make up most of my flowers and houses.
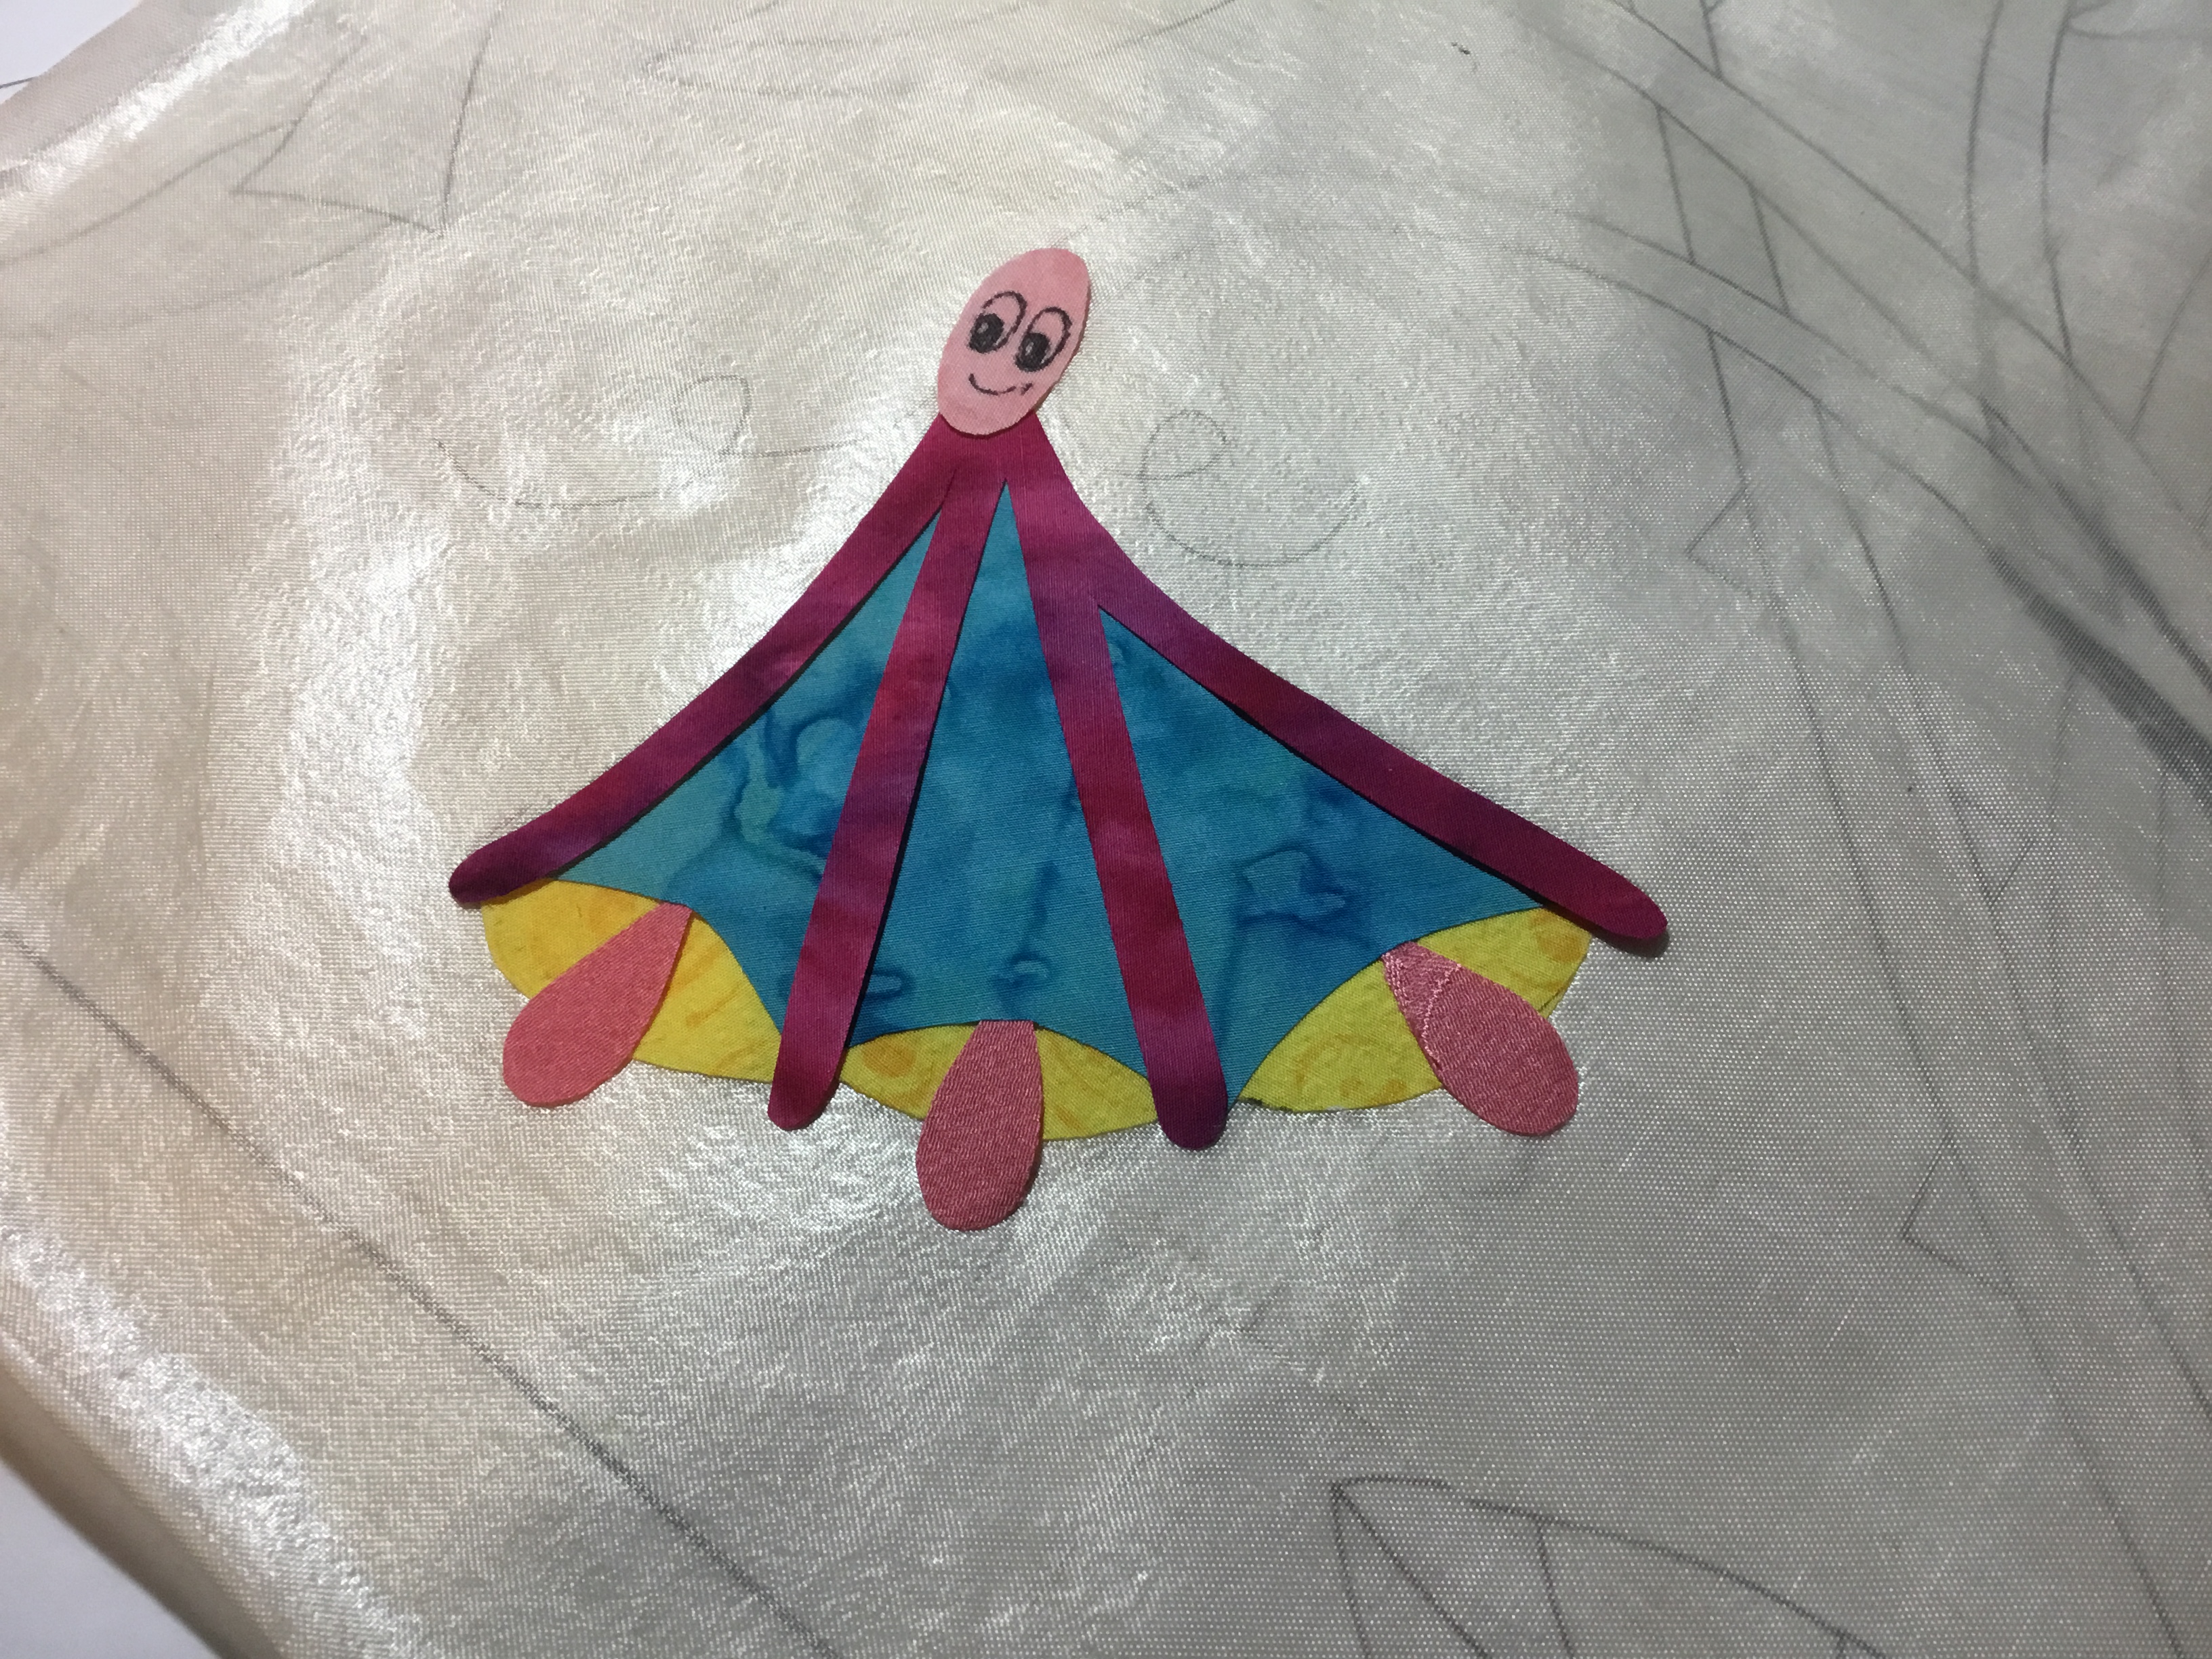
I made up my happy dancing flowers this way?
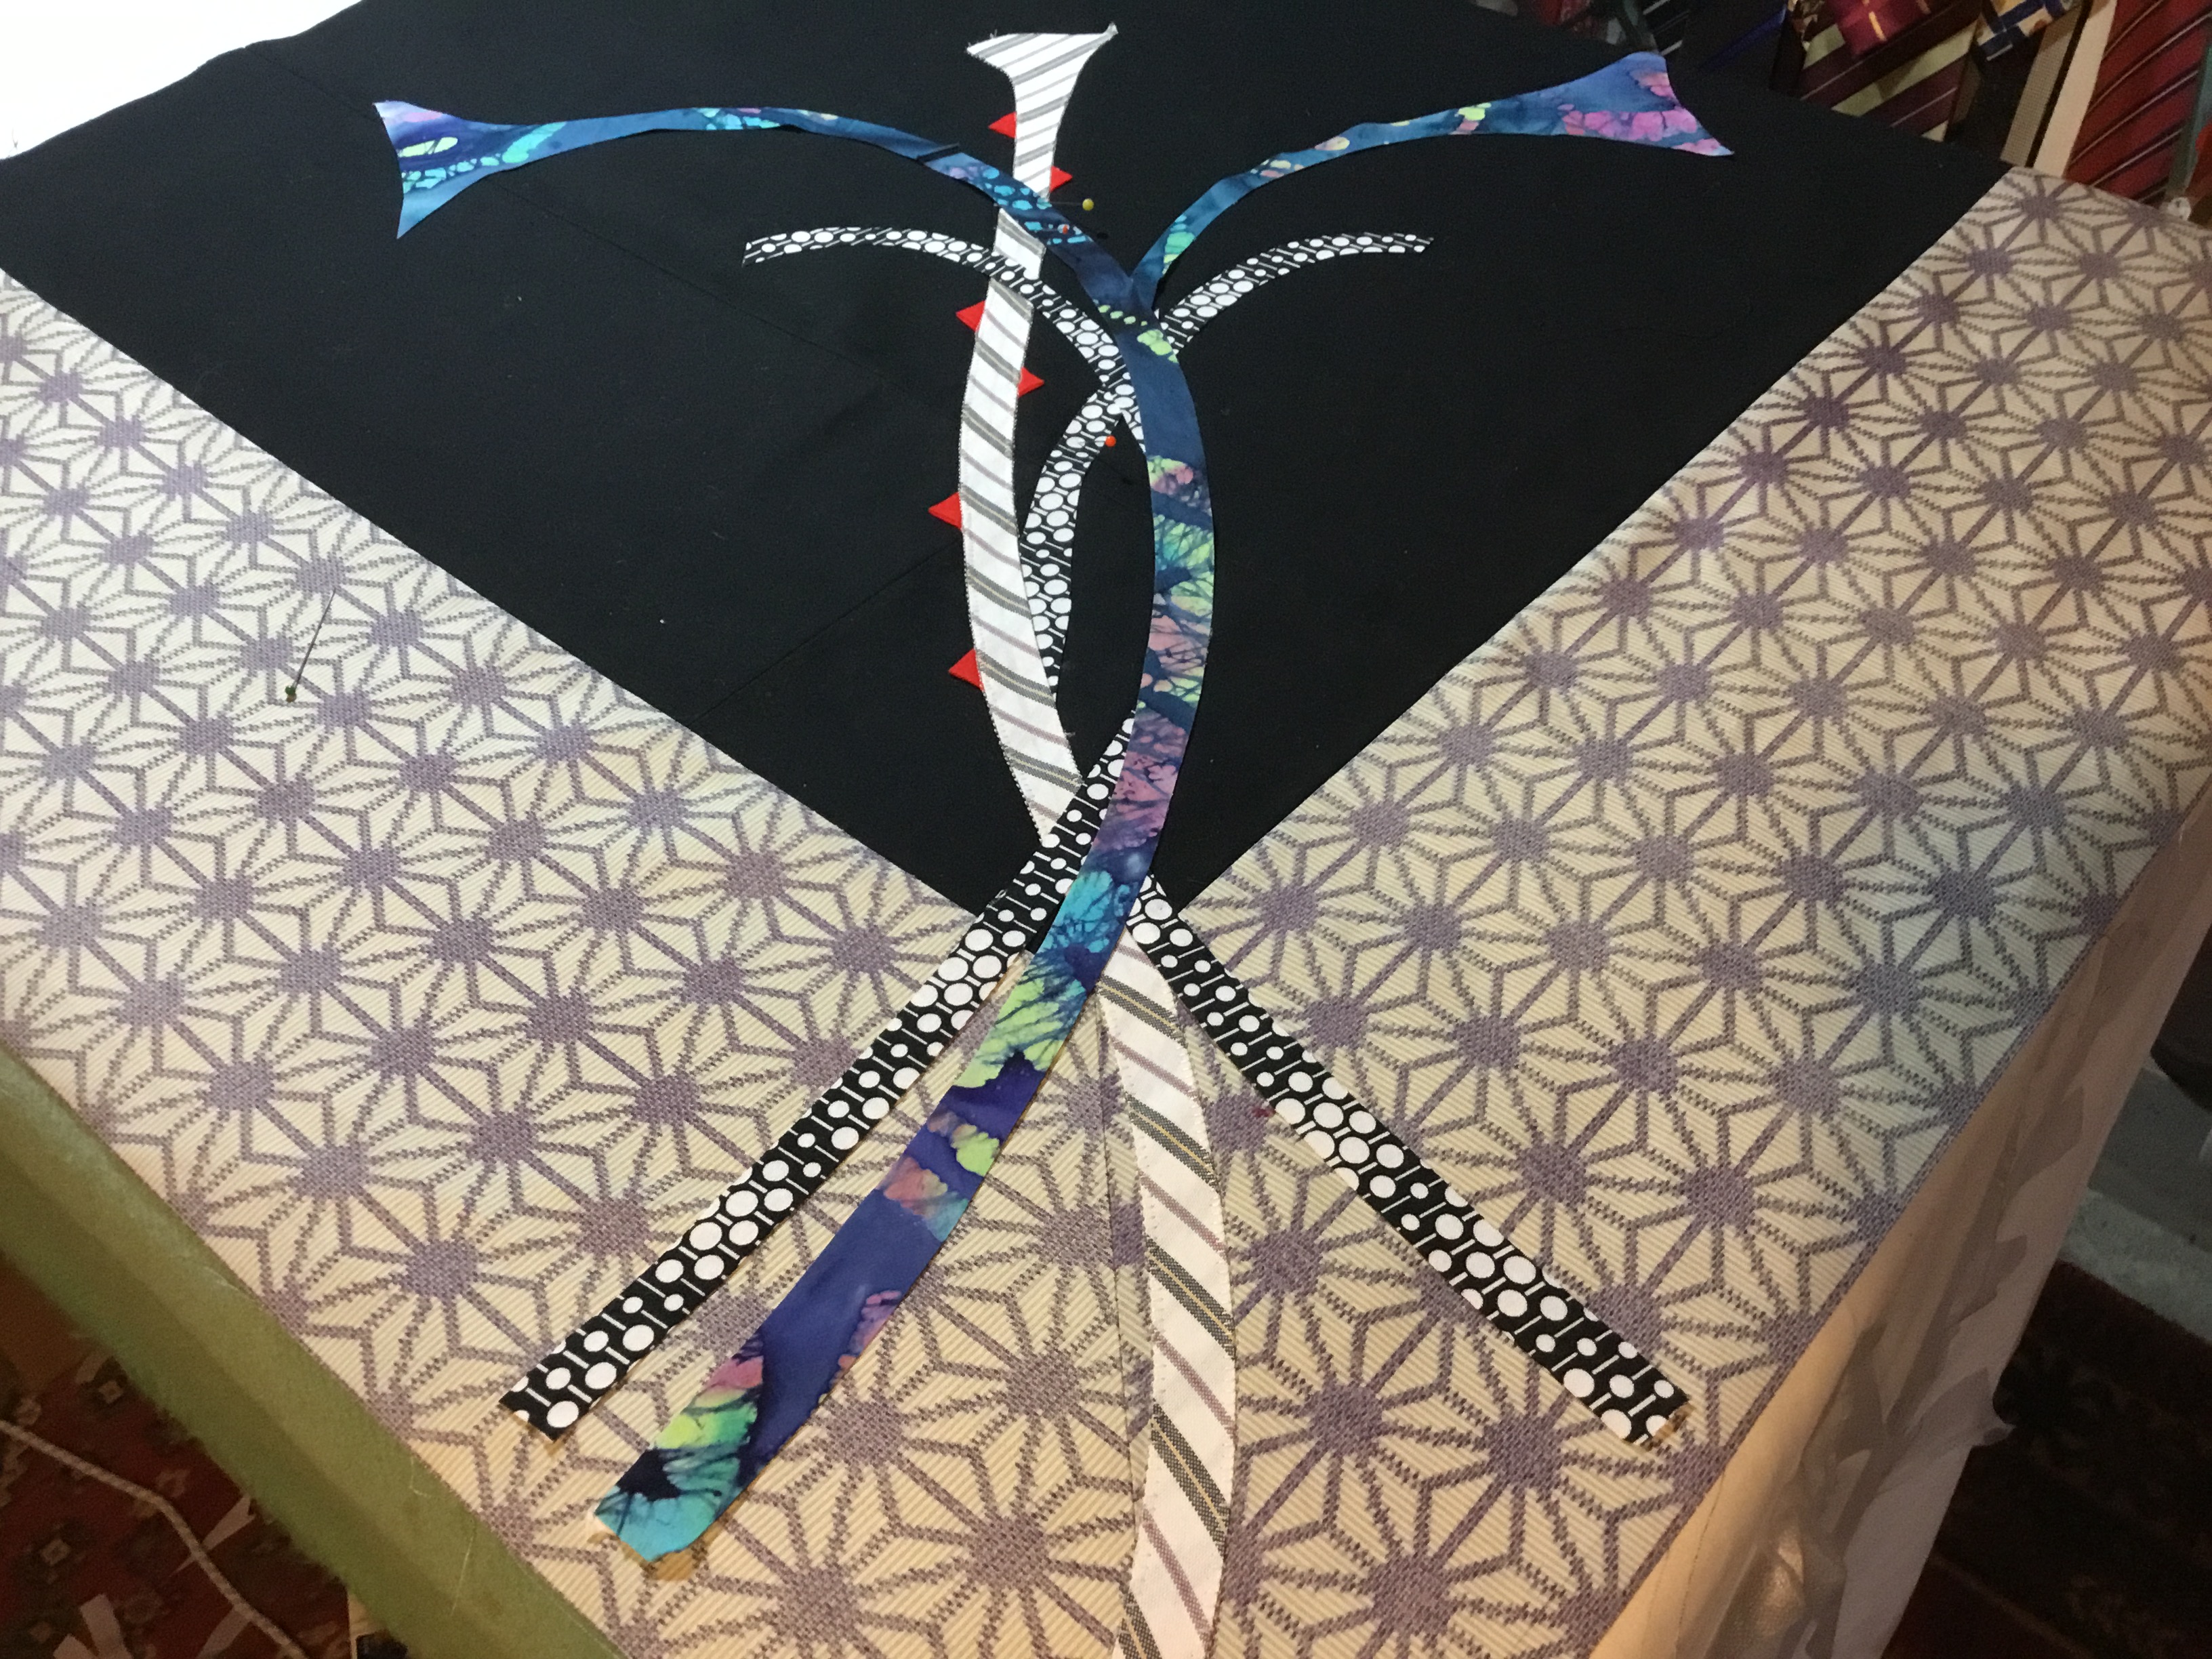
My stems for block 4 of WIL carefully lifted of the teflon sheet to the background then iron down?
5 Responses to Adding applique to a black background