
Up-date 27th Nov 2019 Have been with out the internet for 18 hrs so going to use this blog for my link incase I loose the internet again, I wrote this for Sobana on the 14th of Jan. Happy sewing every one Cheers Glenda
For you Sobana
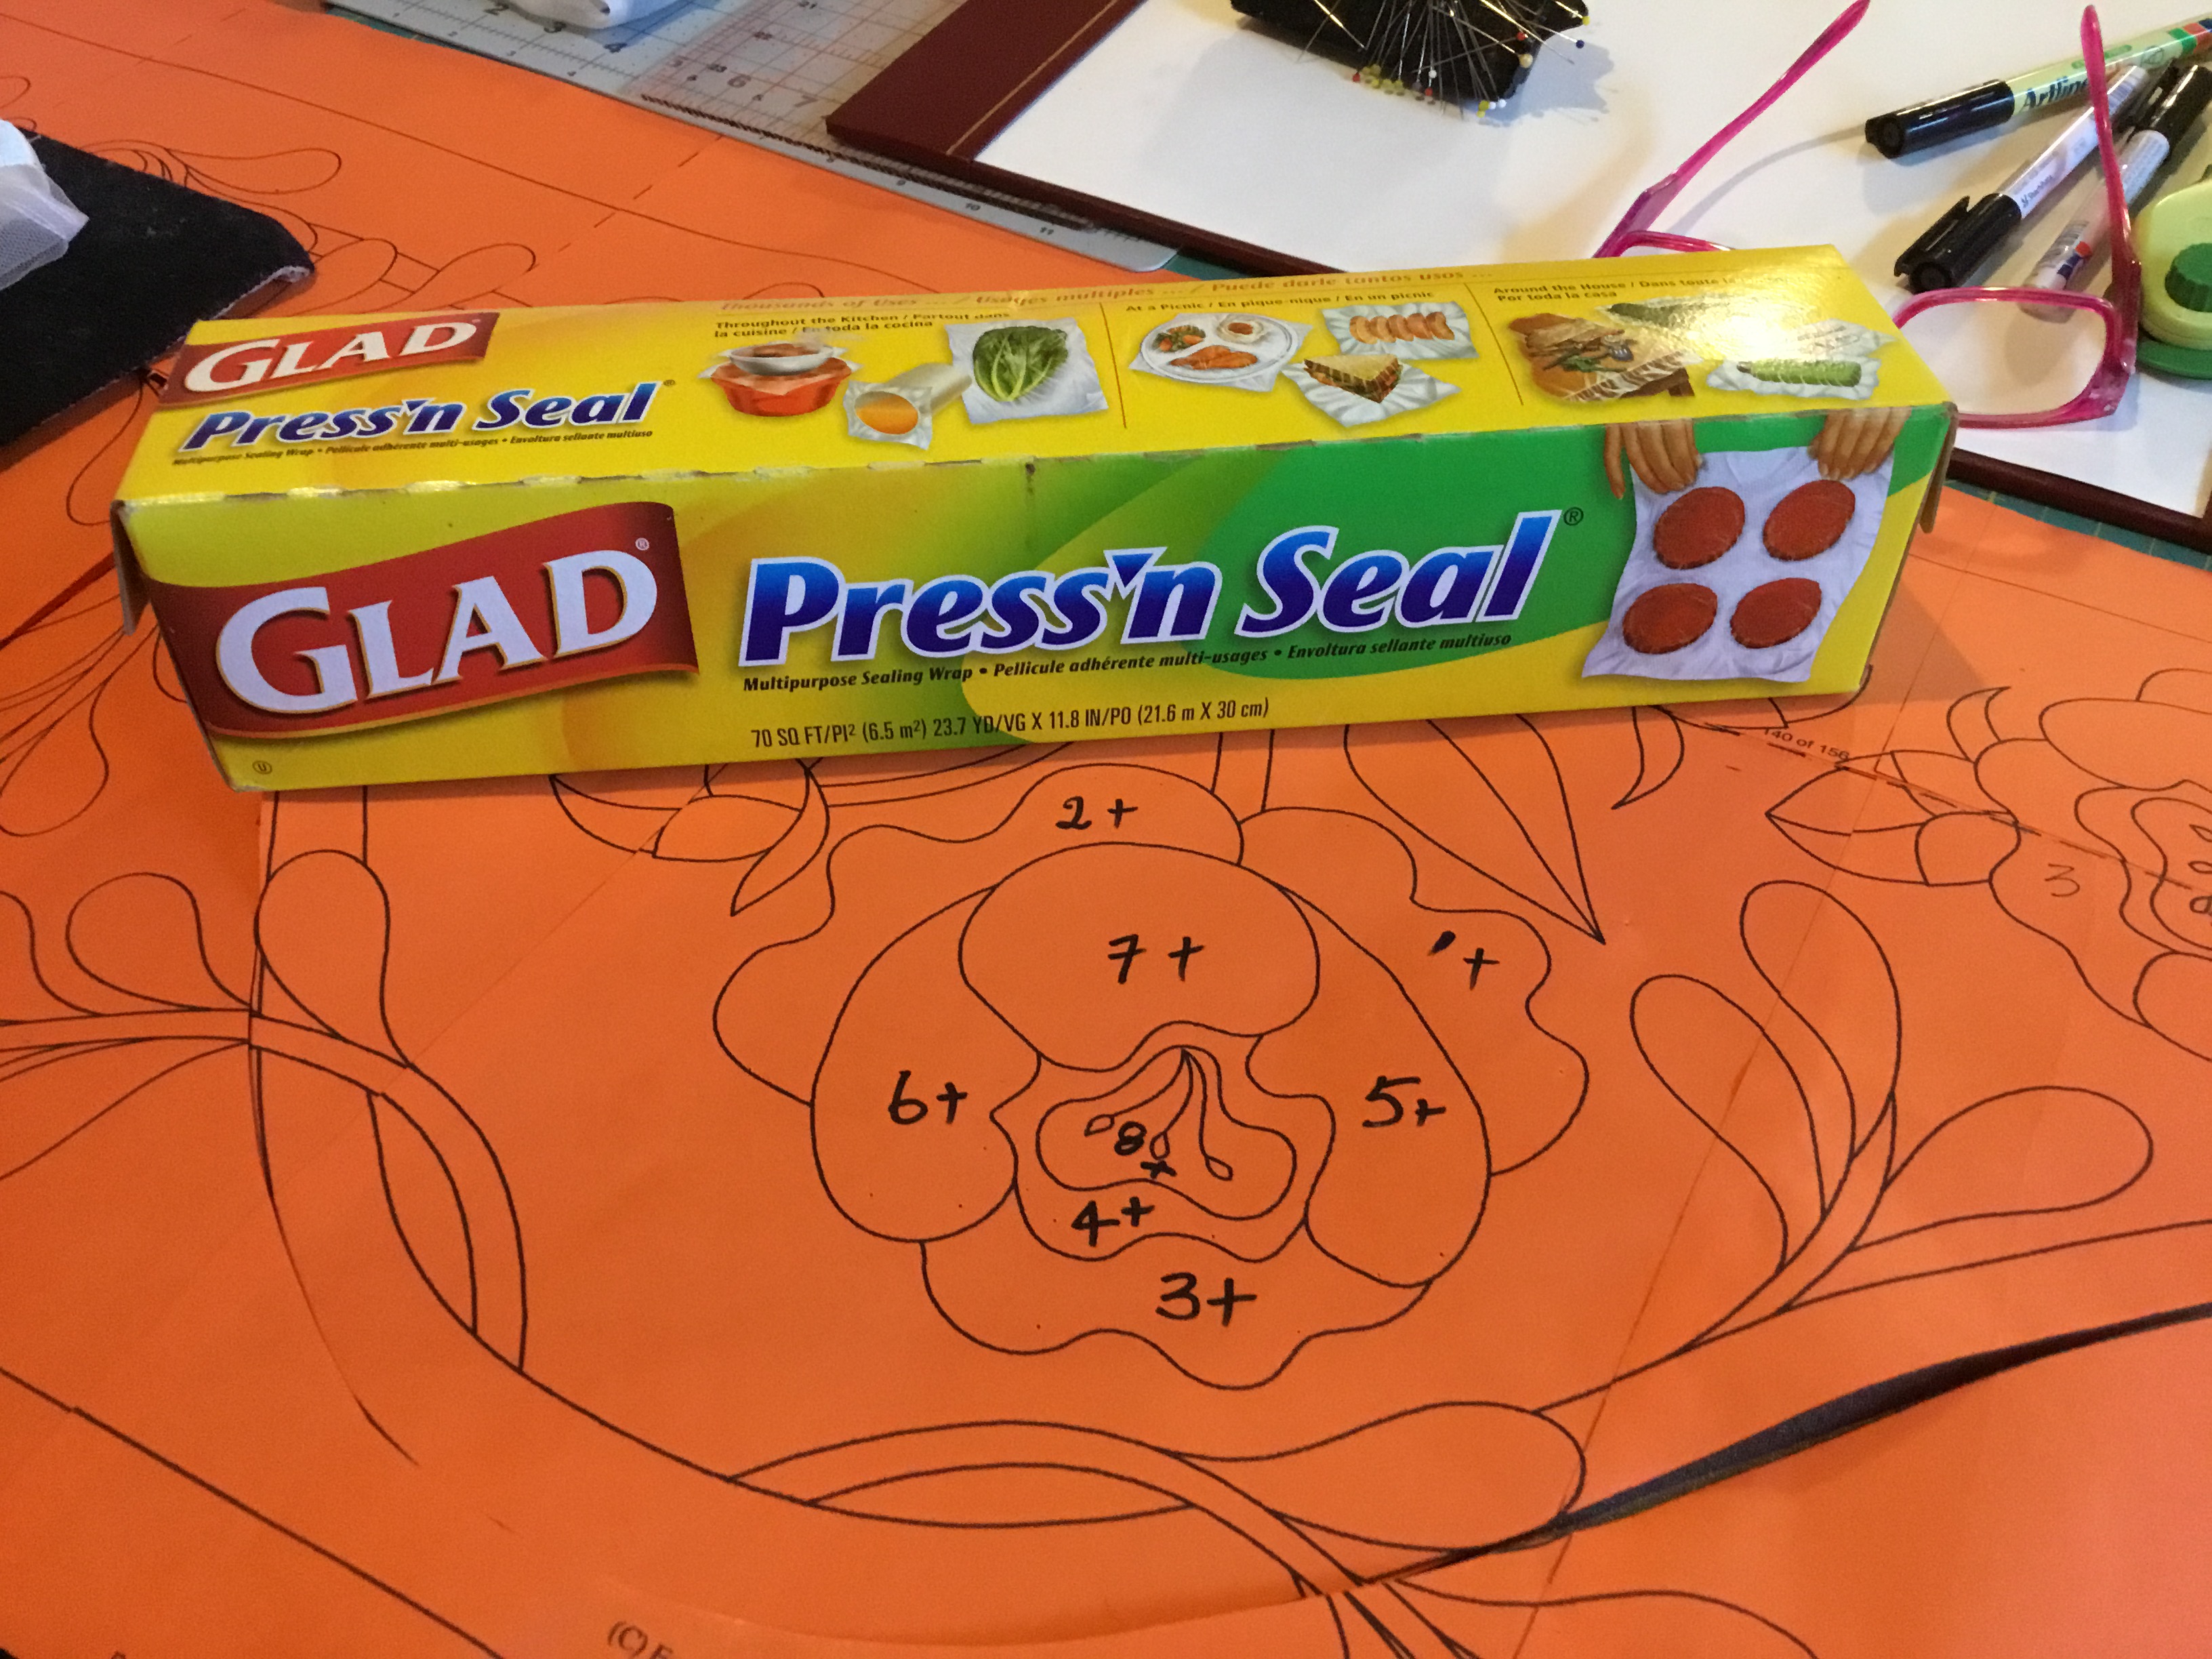
First number all the pieces of the rose, also add a mark that tells you this is the front of the rose and if placed on the front side of the fabric will give you the rose as you see it, if placed on the back of the fabric it will be reversed. Cover flower with press and seal it will stick and not move if you do it carefully and press with your hands. Use a fine permanent marker and draw all the pieces adding seams where needed, you will ahve to lift the press and seal constantly to get the shapes that need seams. see below how I have the shapes. make sure you number and add any memory marks.
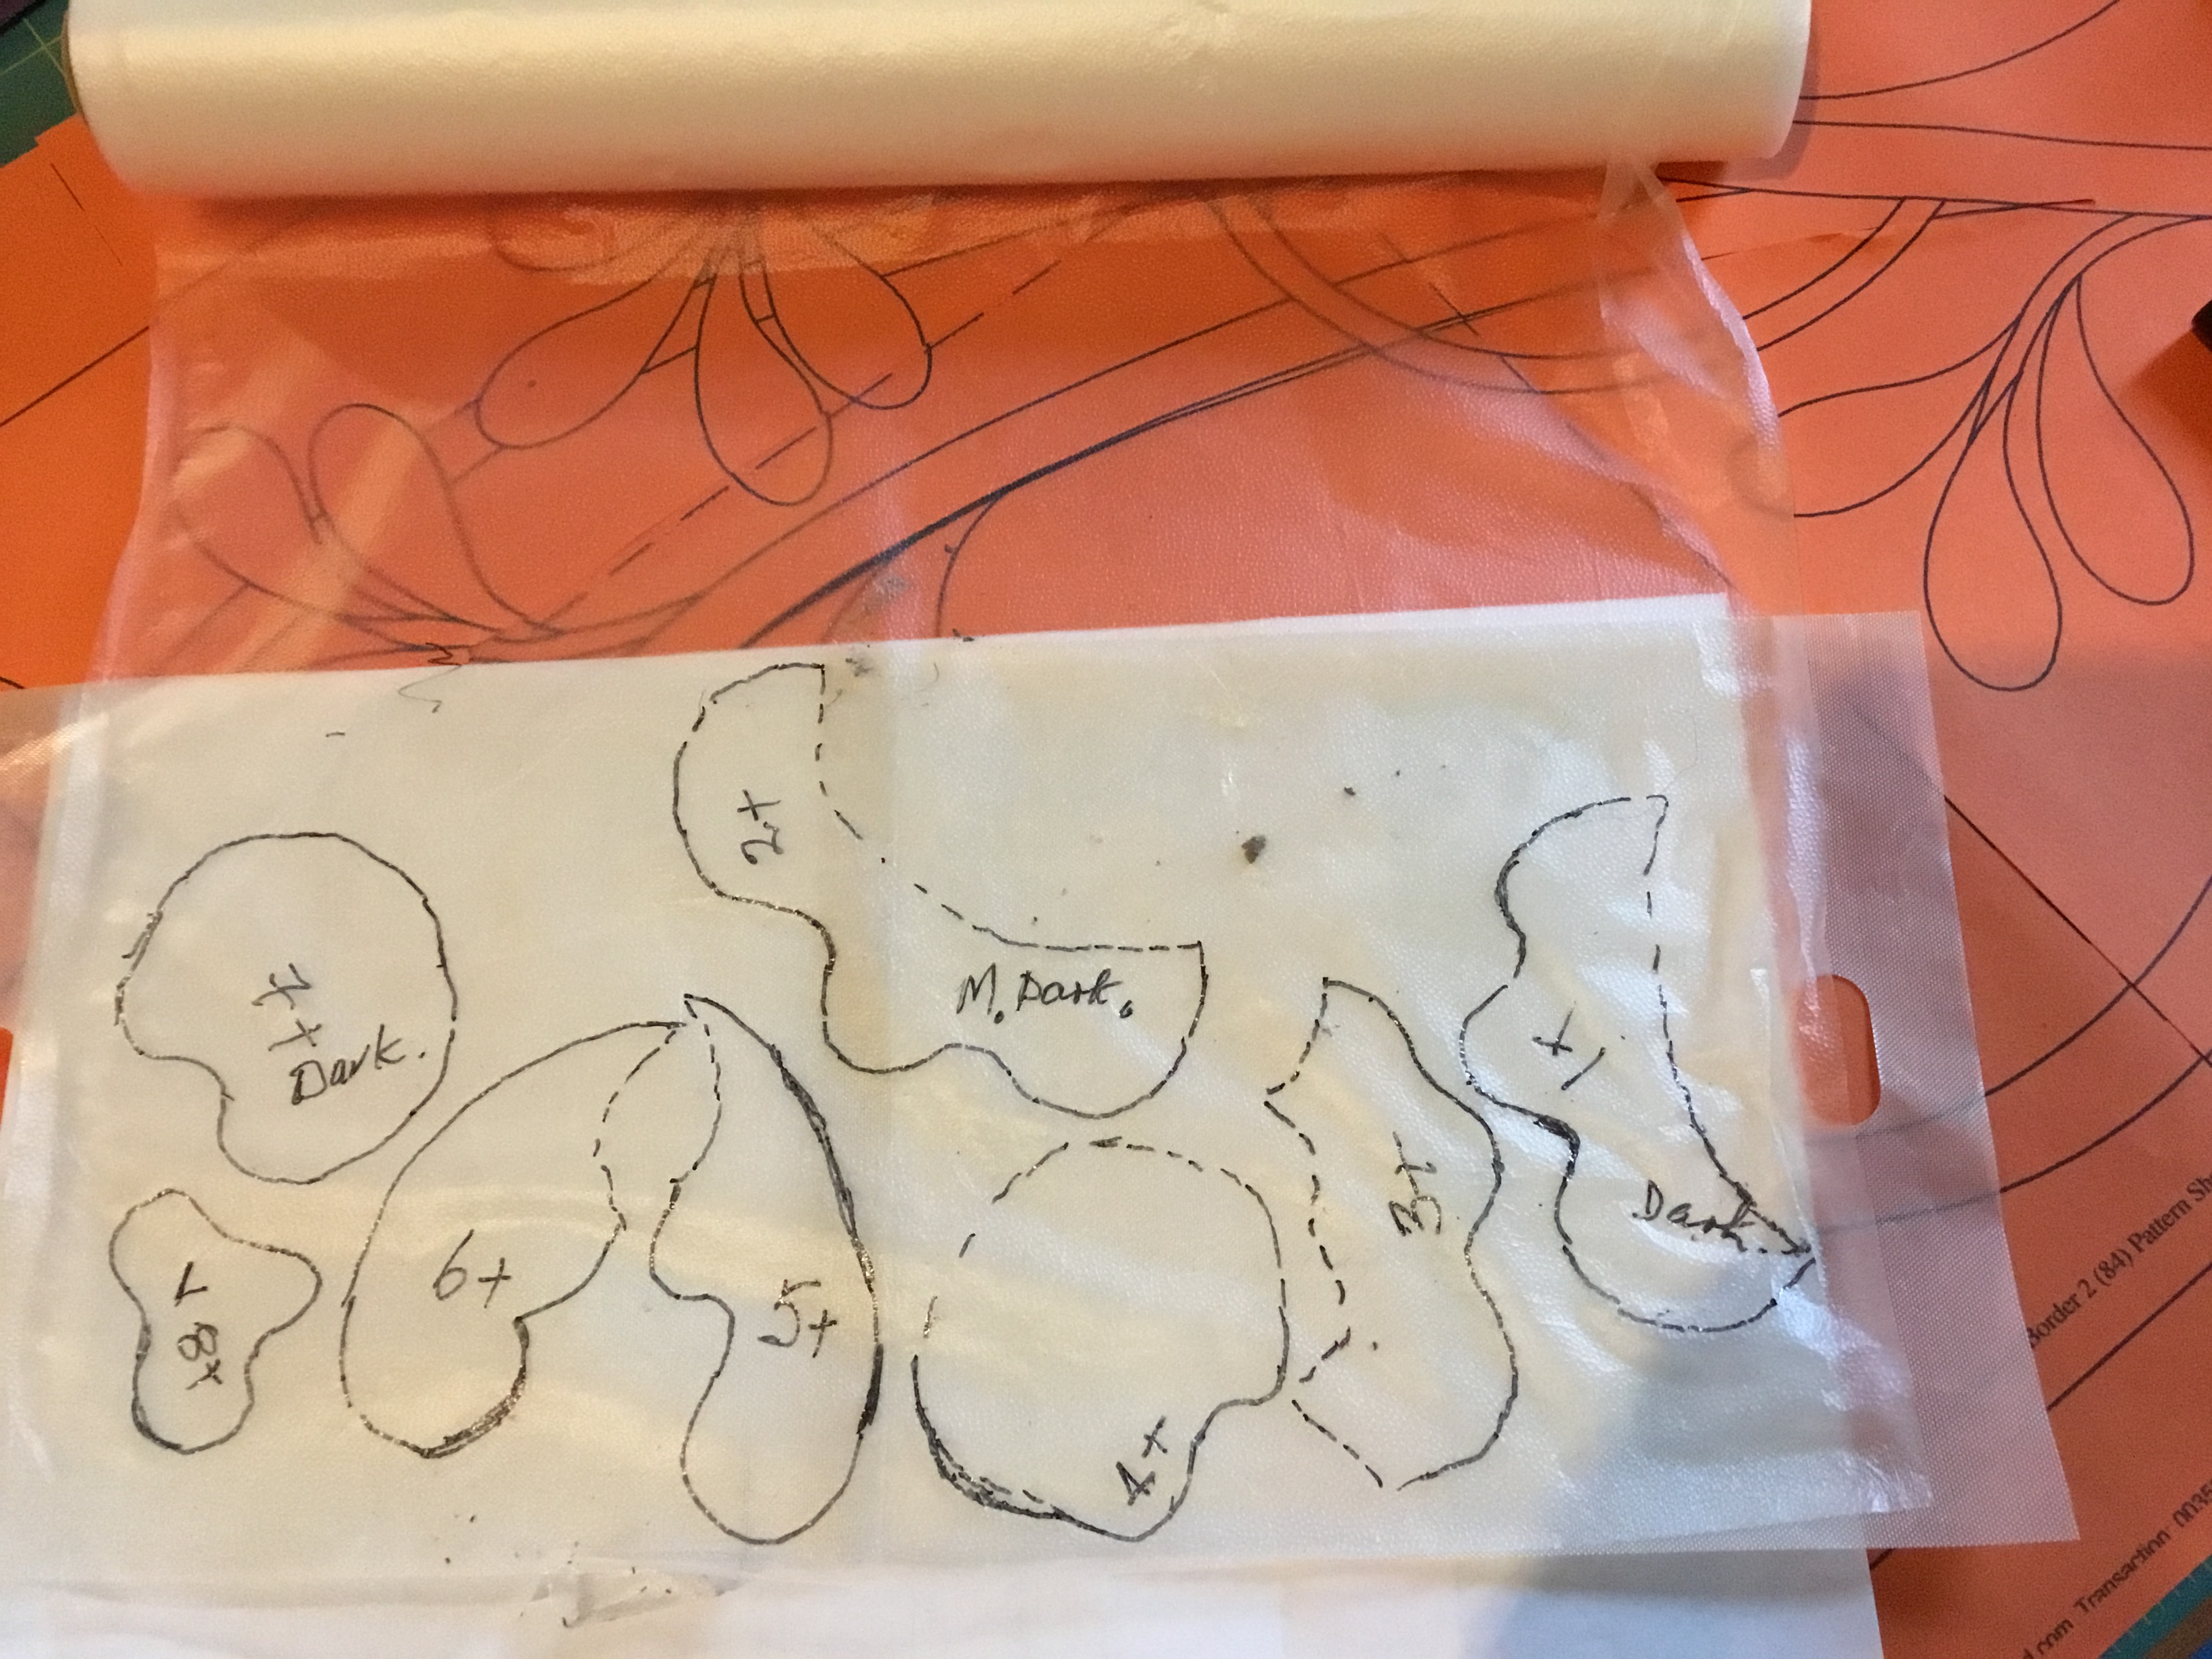
Traced all my pieces on to the Press’nSeal, these now need to be cut apart with very sharp sicissors roughly, then placed on to the top of the fabrics you want to use for your rose?
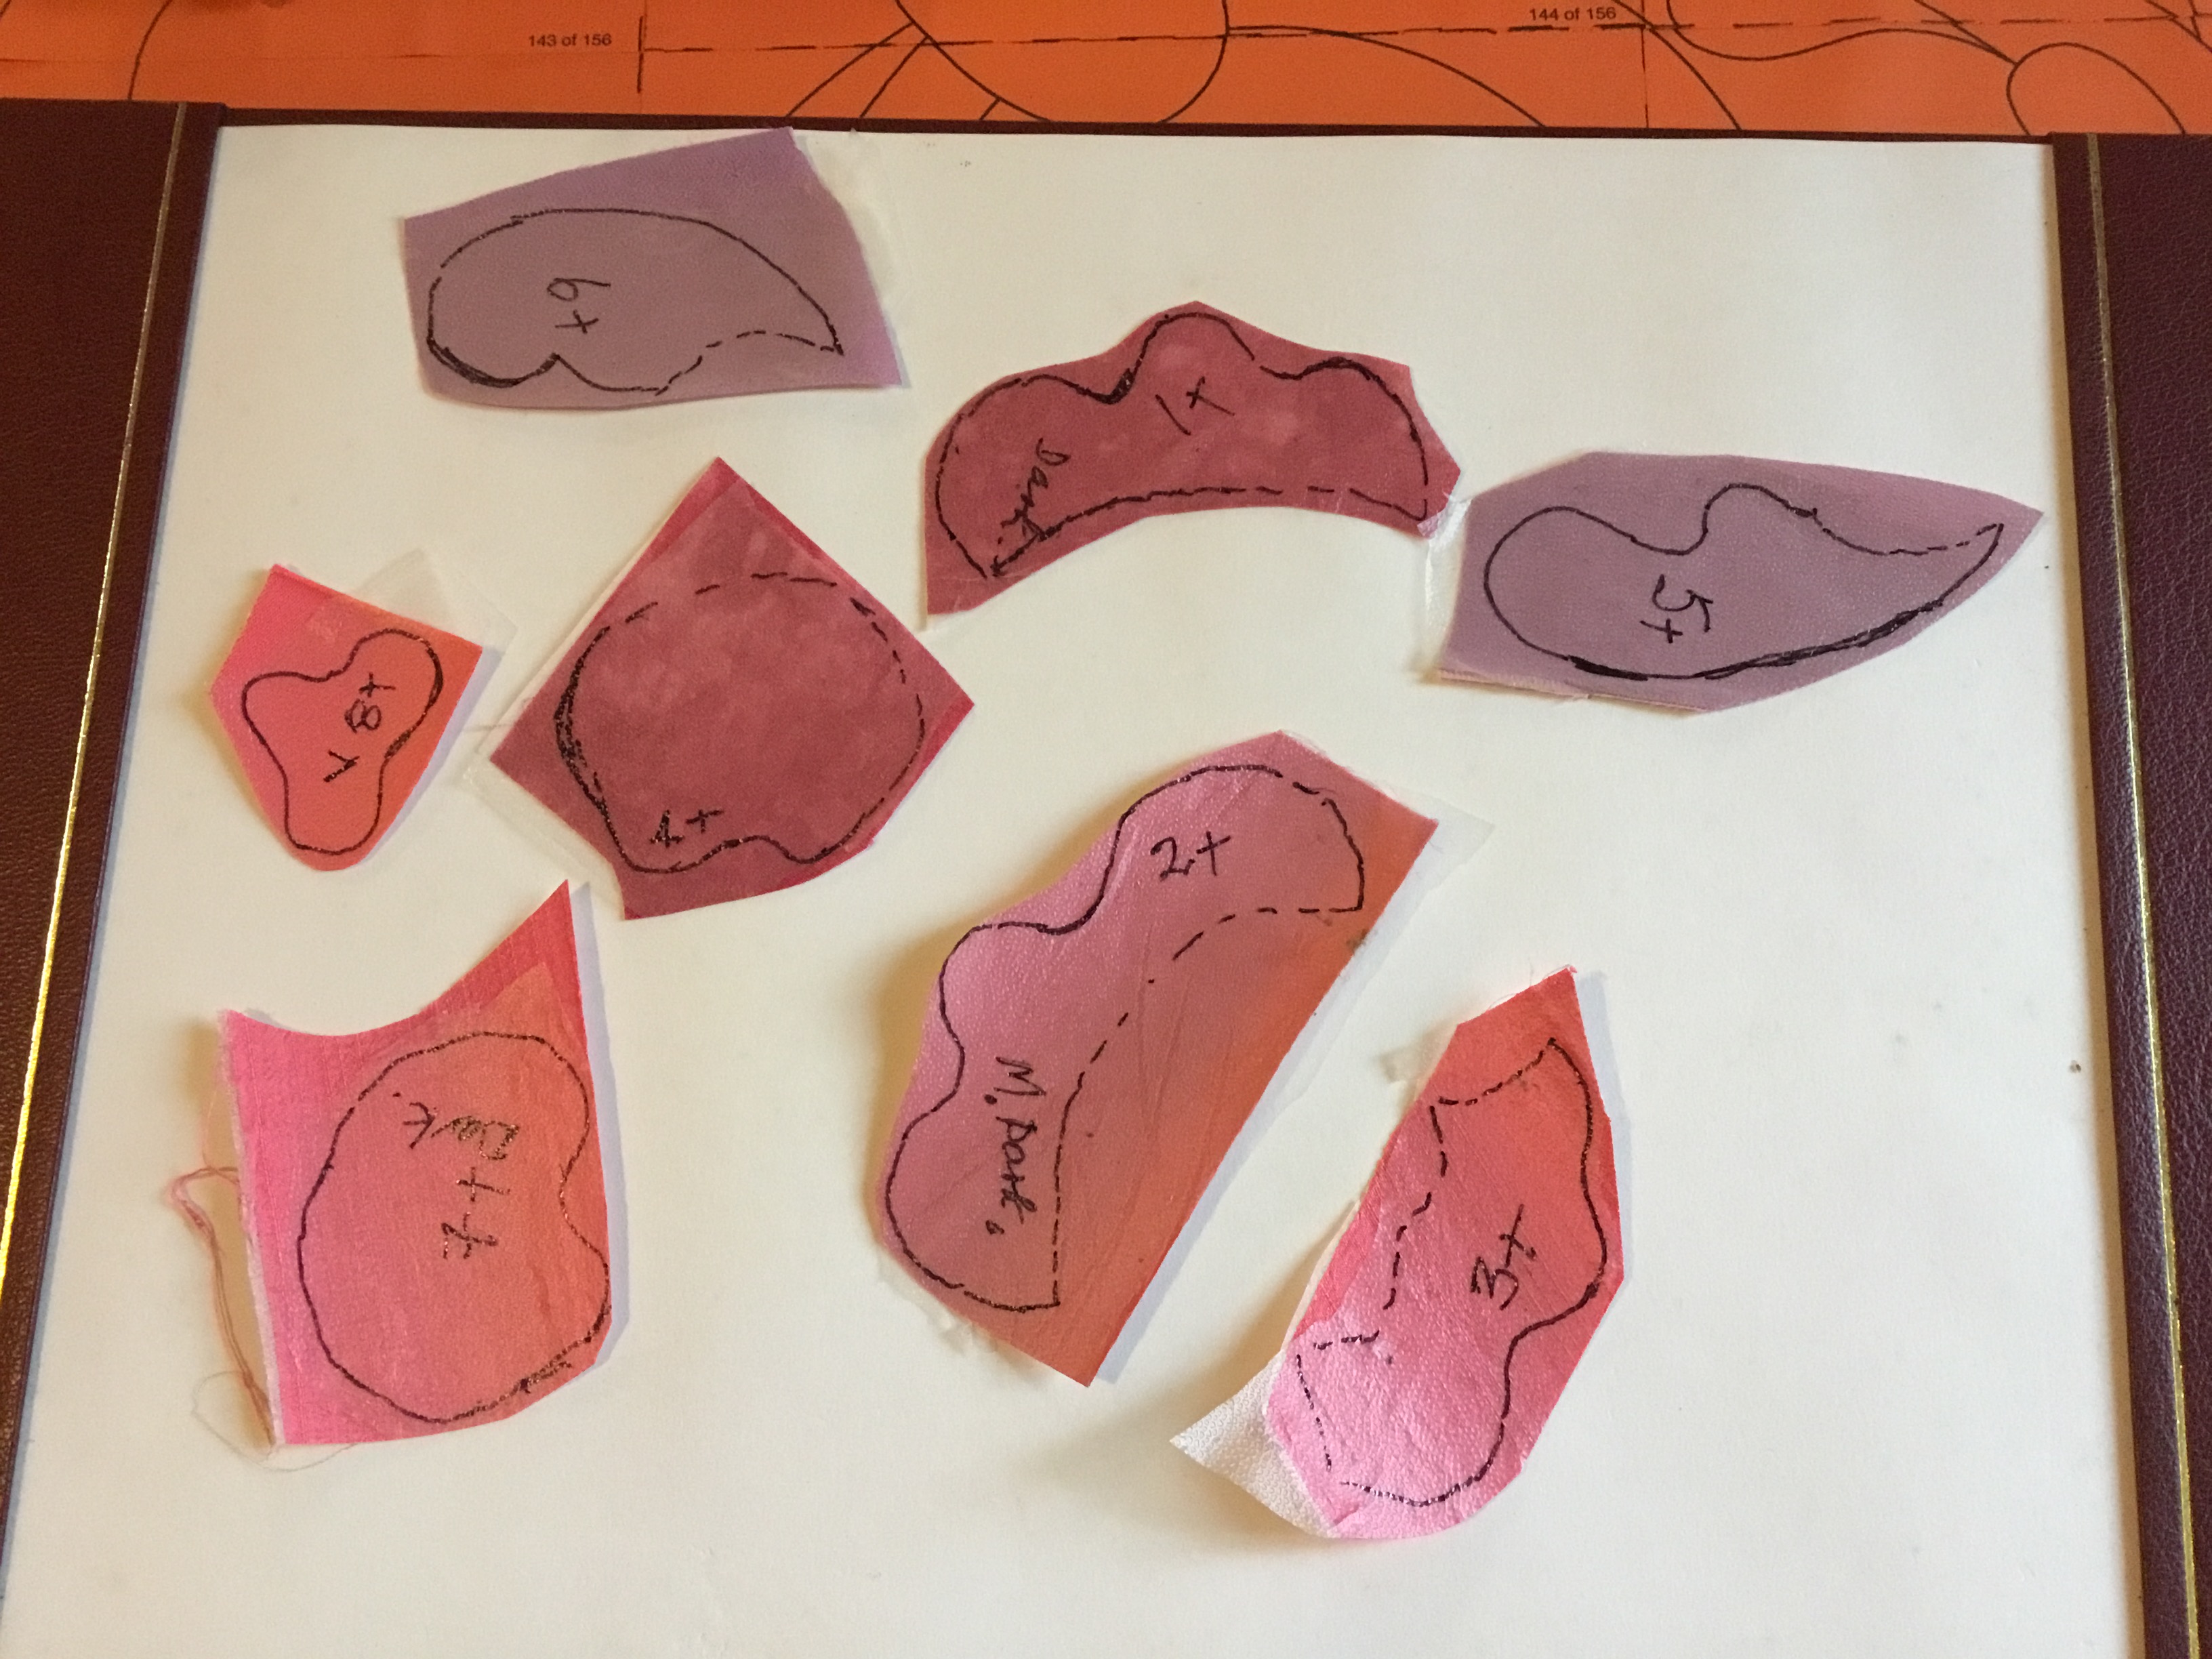
Press and smooth the press and seal with your hands only. Cut out roughly from material then care full with very sharp scissors cut the pieces out .
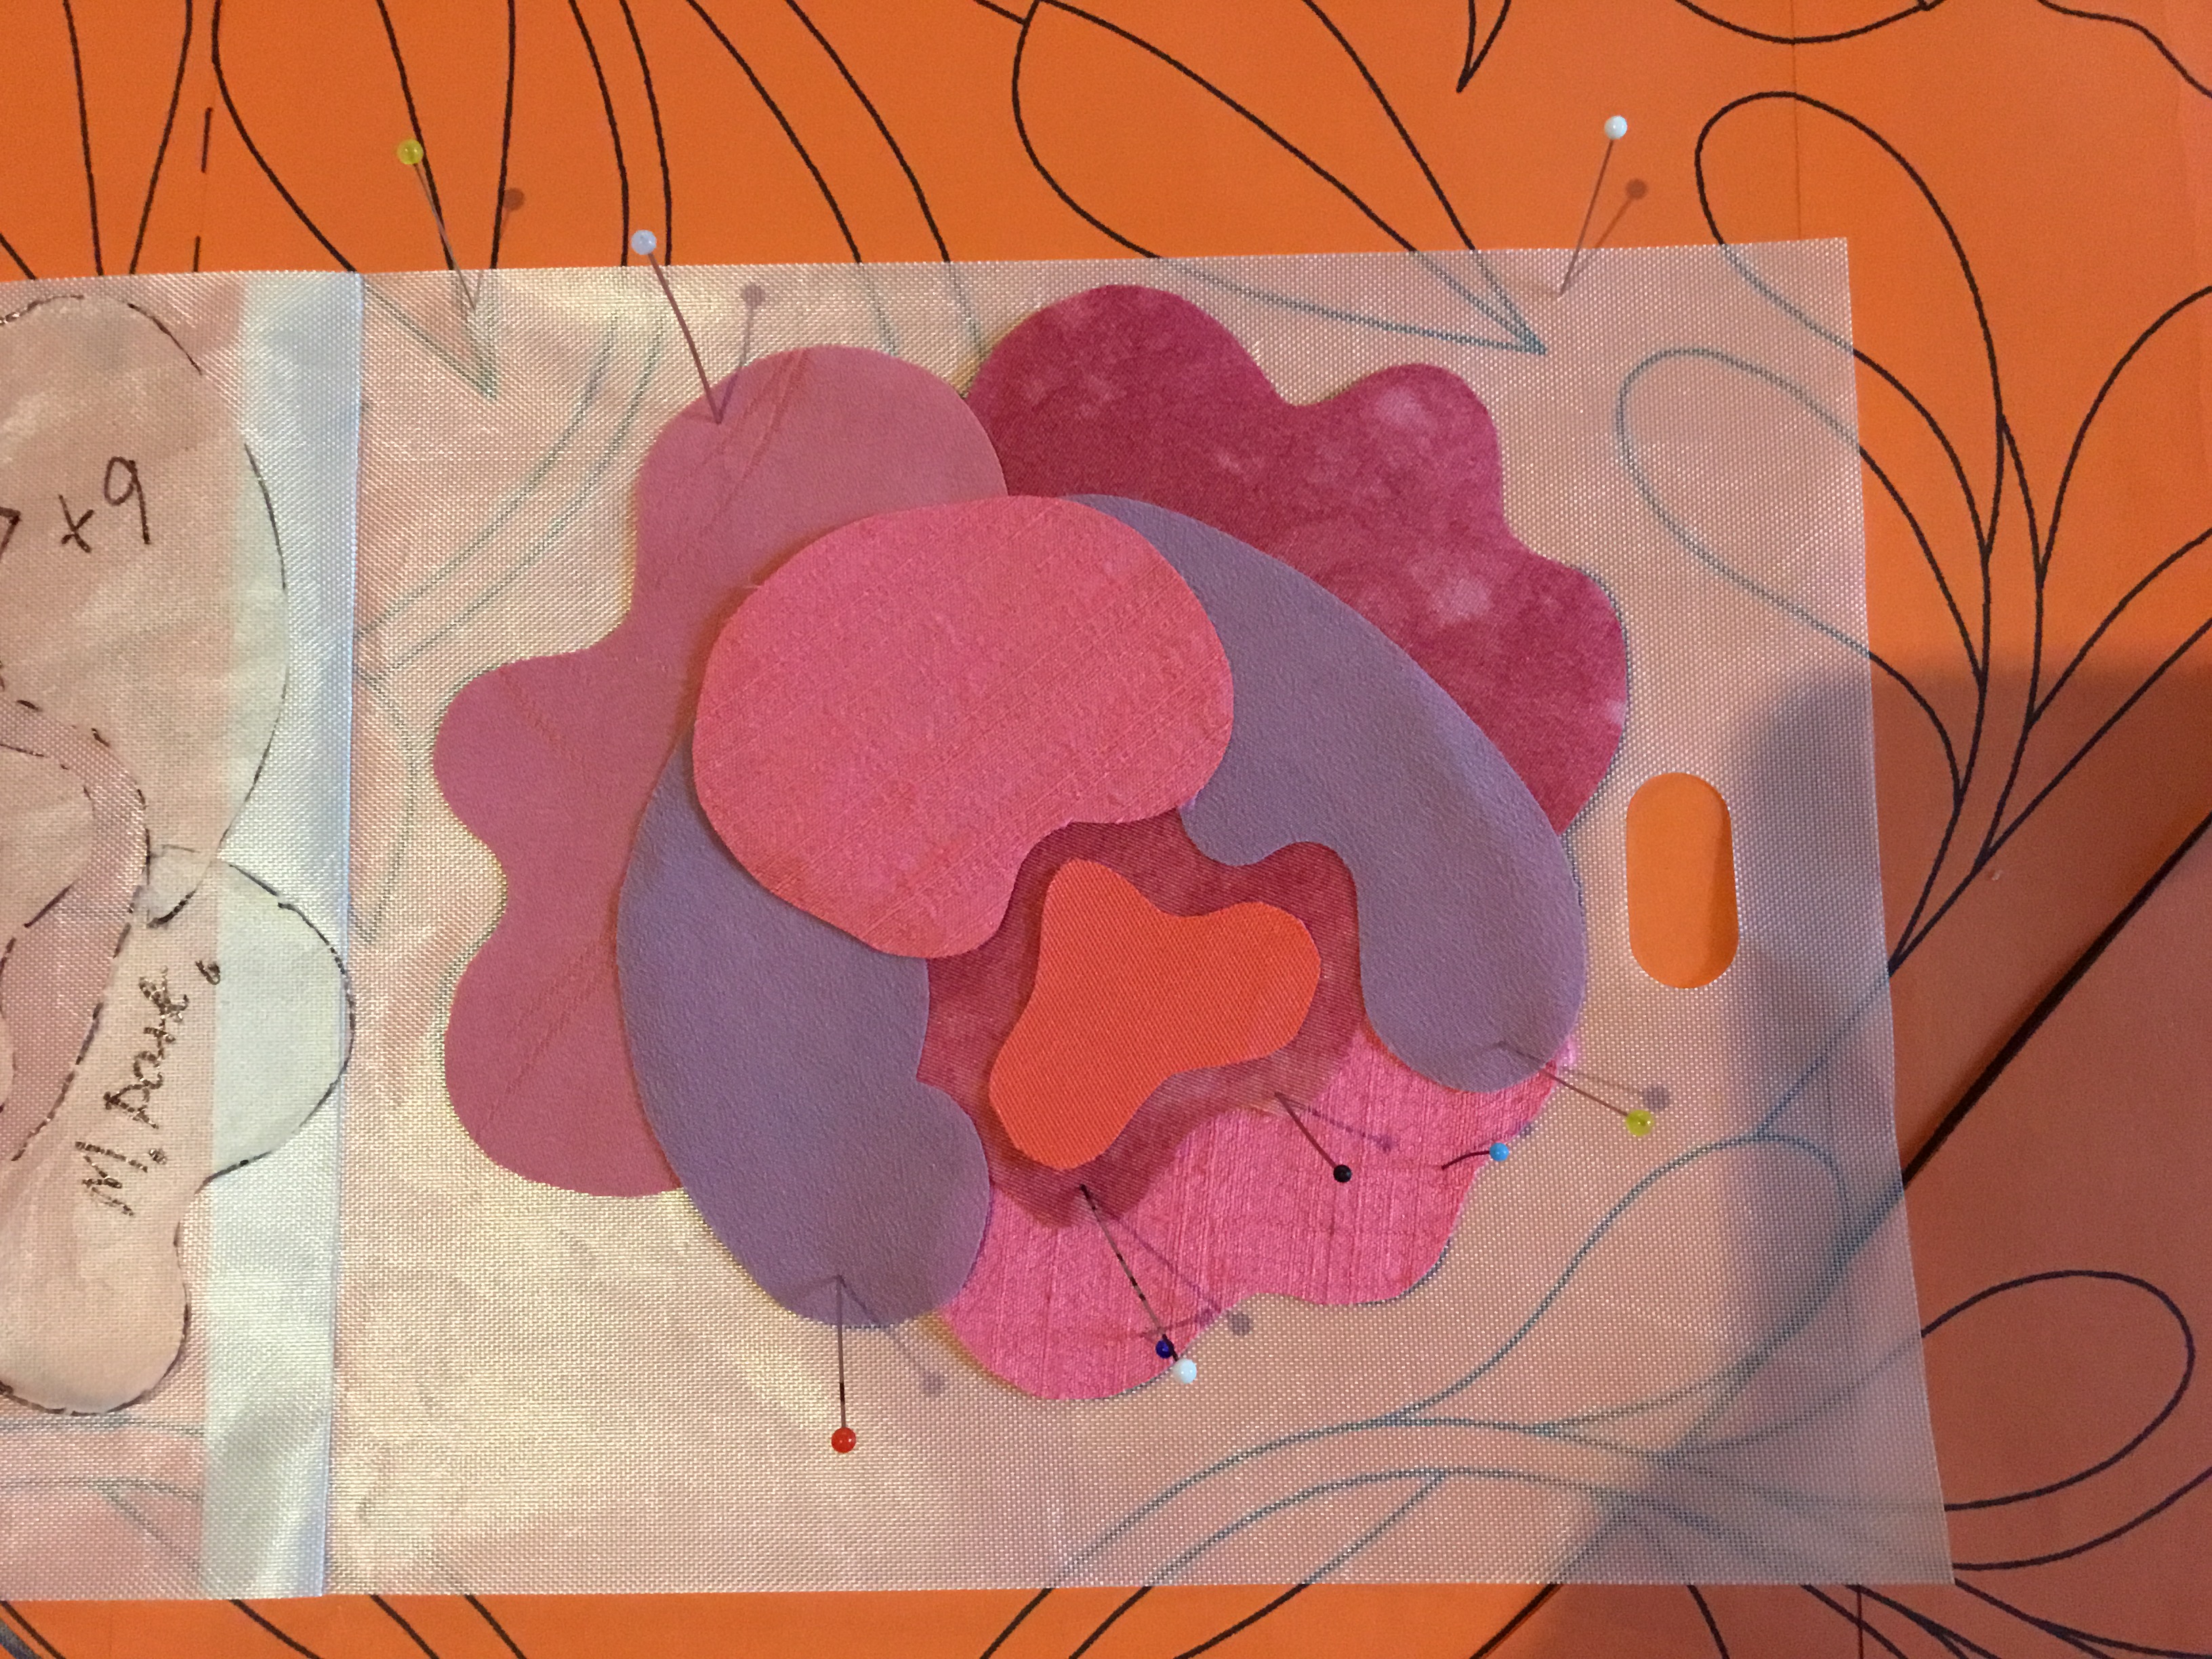
First Cut out pieces very carefully and smoothly, my first two pieces ready to be ironed down using a Teflon sheet.
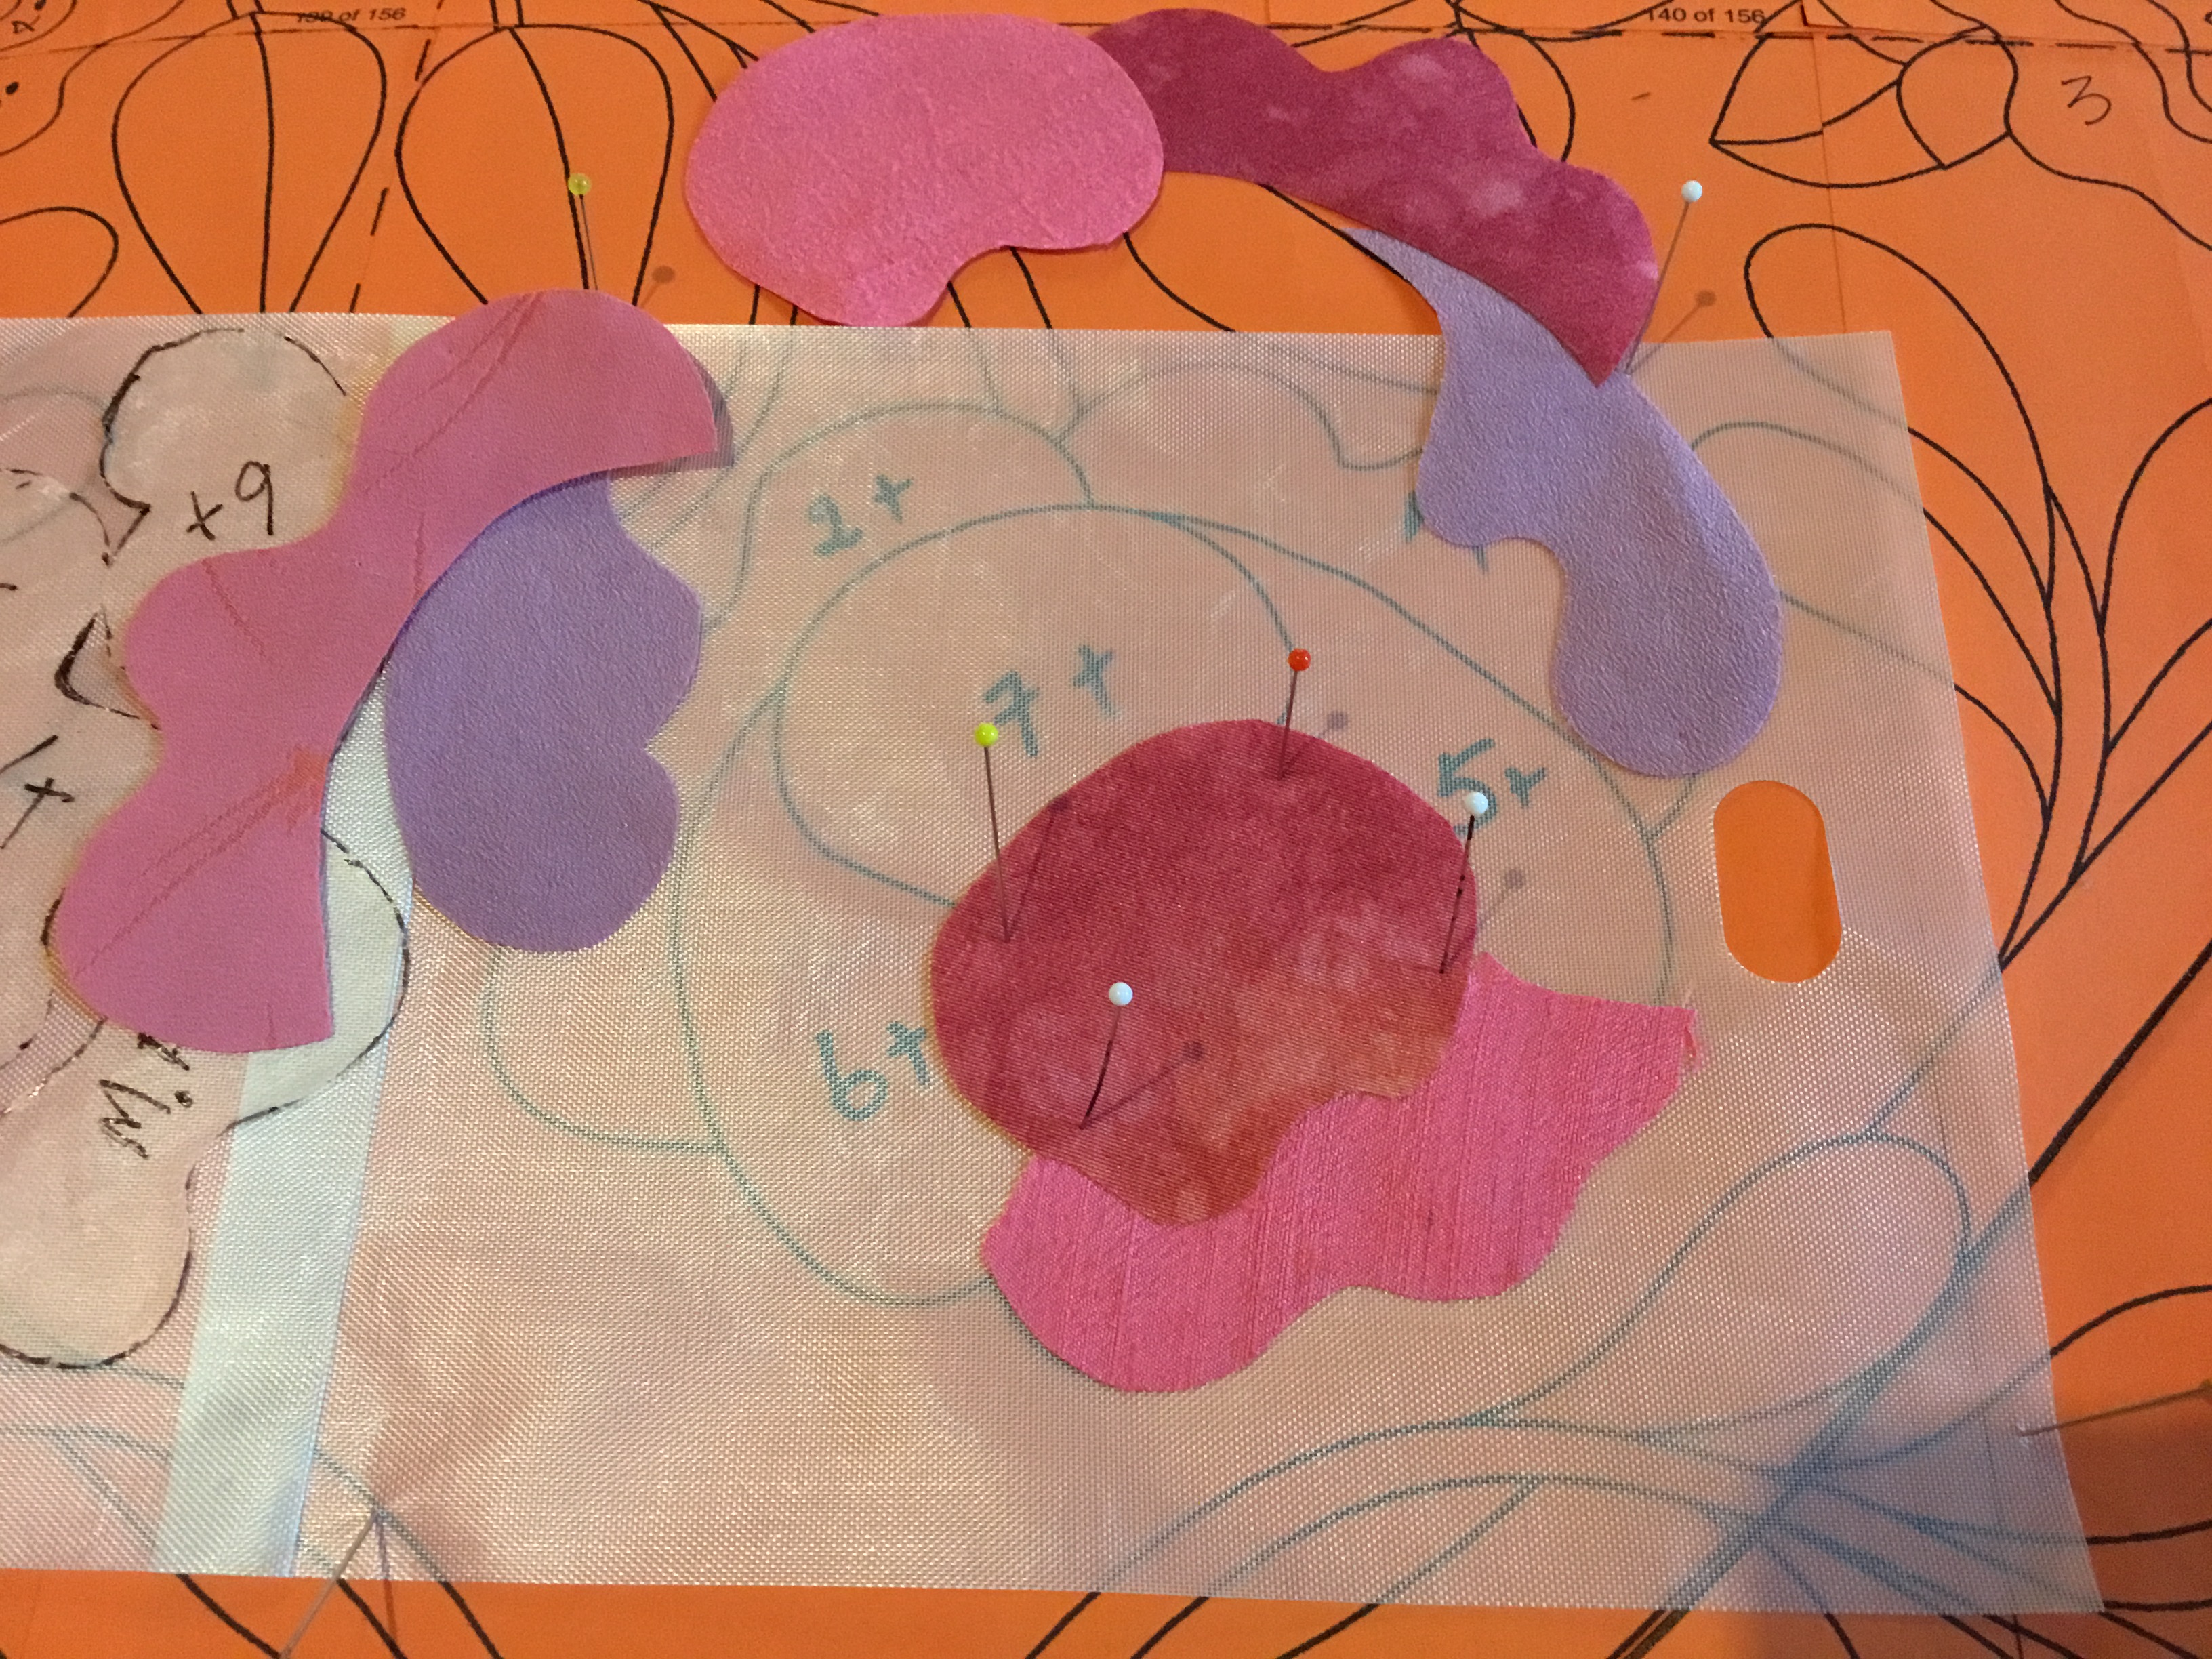
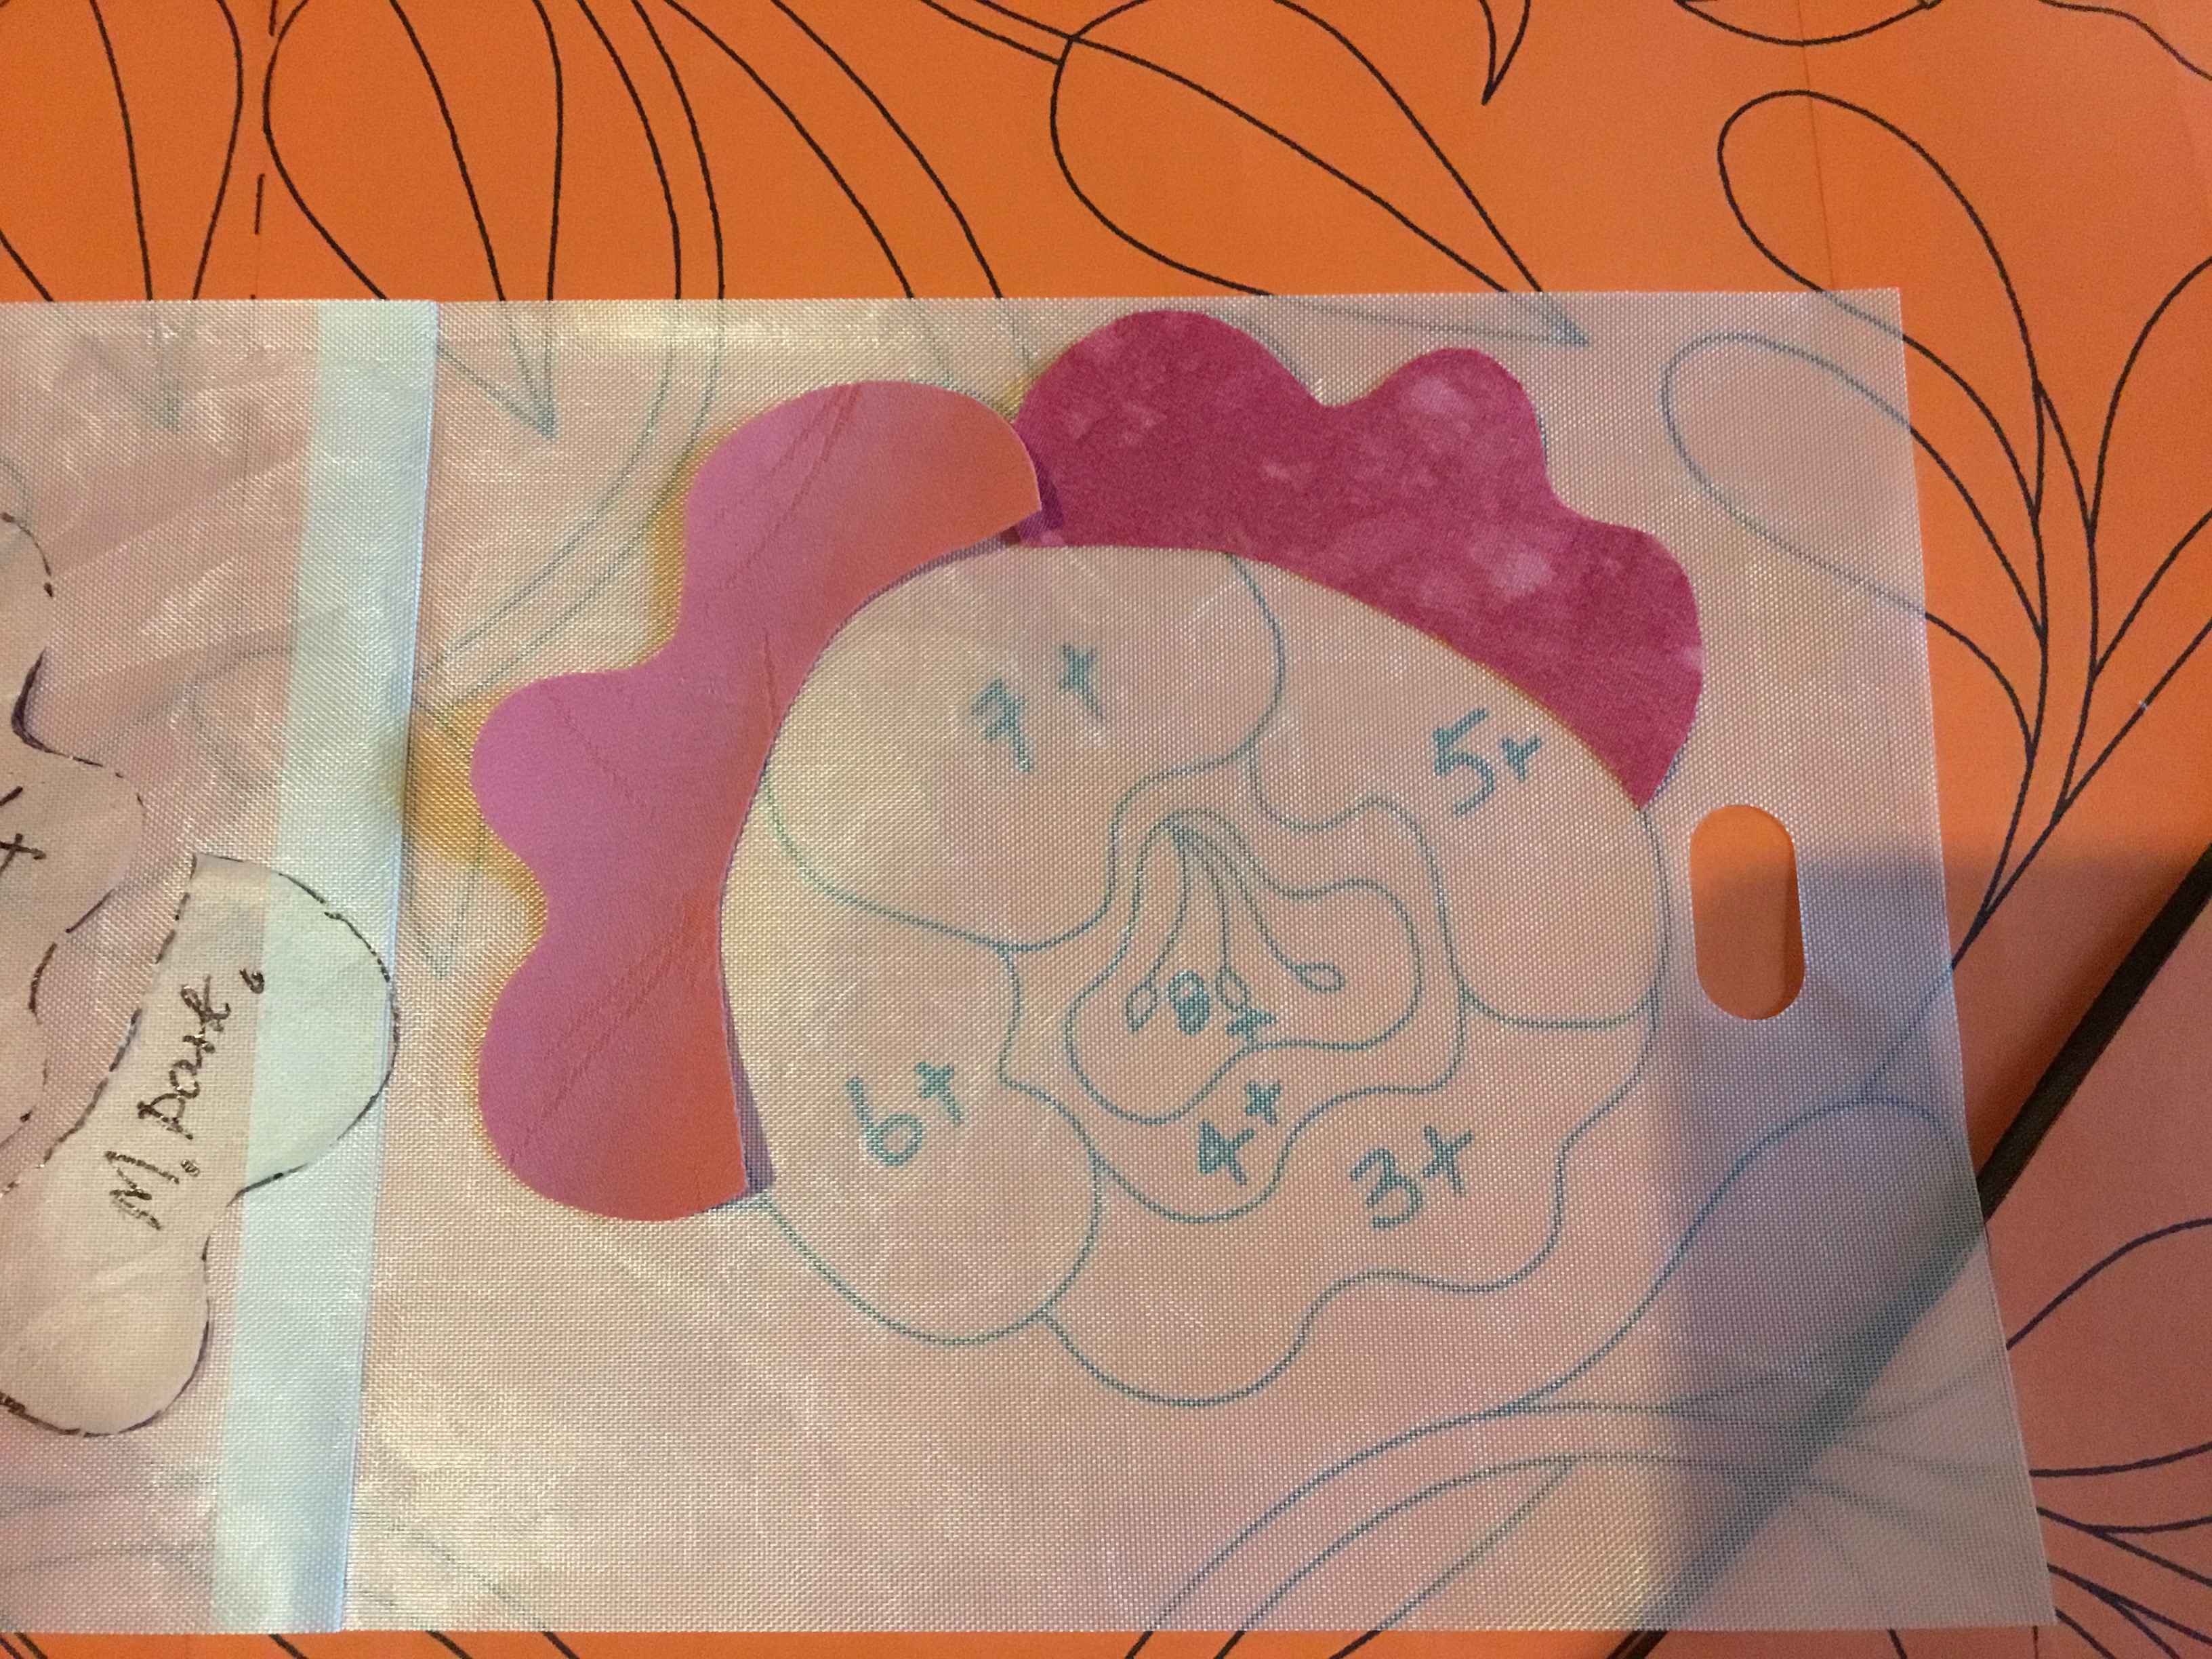
My pattern paper is pinned over a mini ironing board. Added my top pieces and those bottom pieces first then added the rest. I pinned the pieces in place behind the printed paper is a mini ironing board
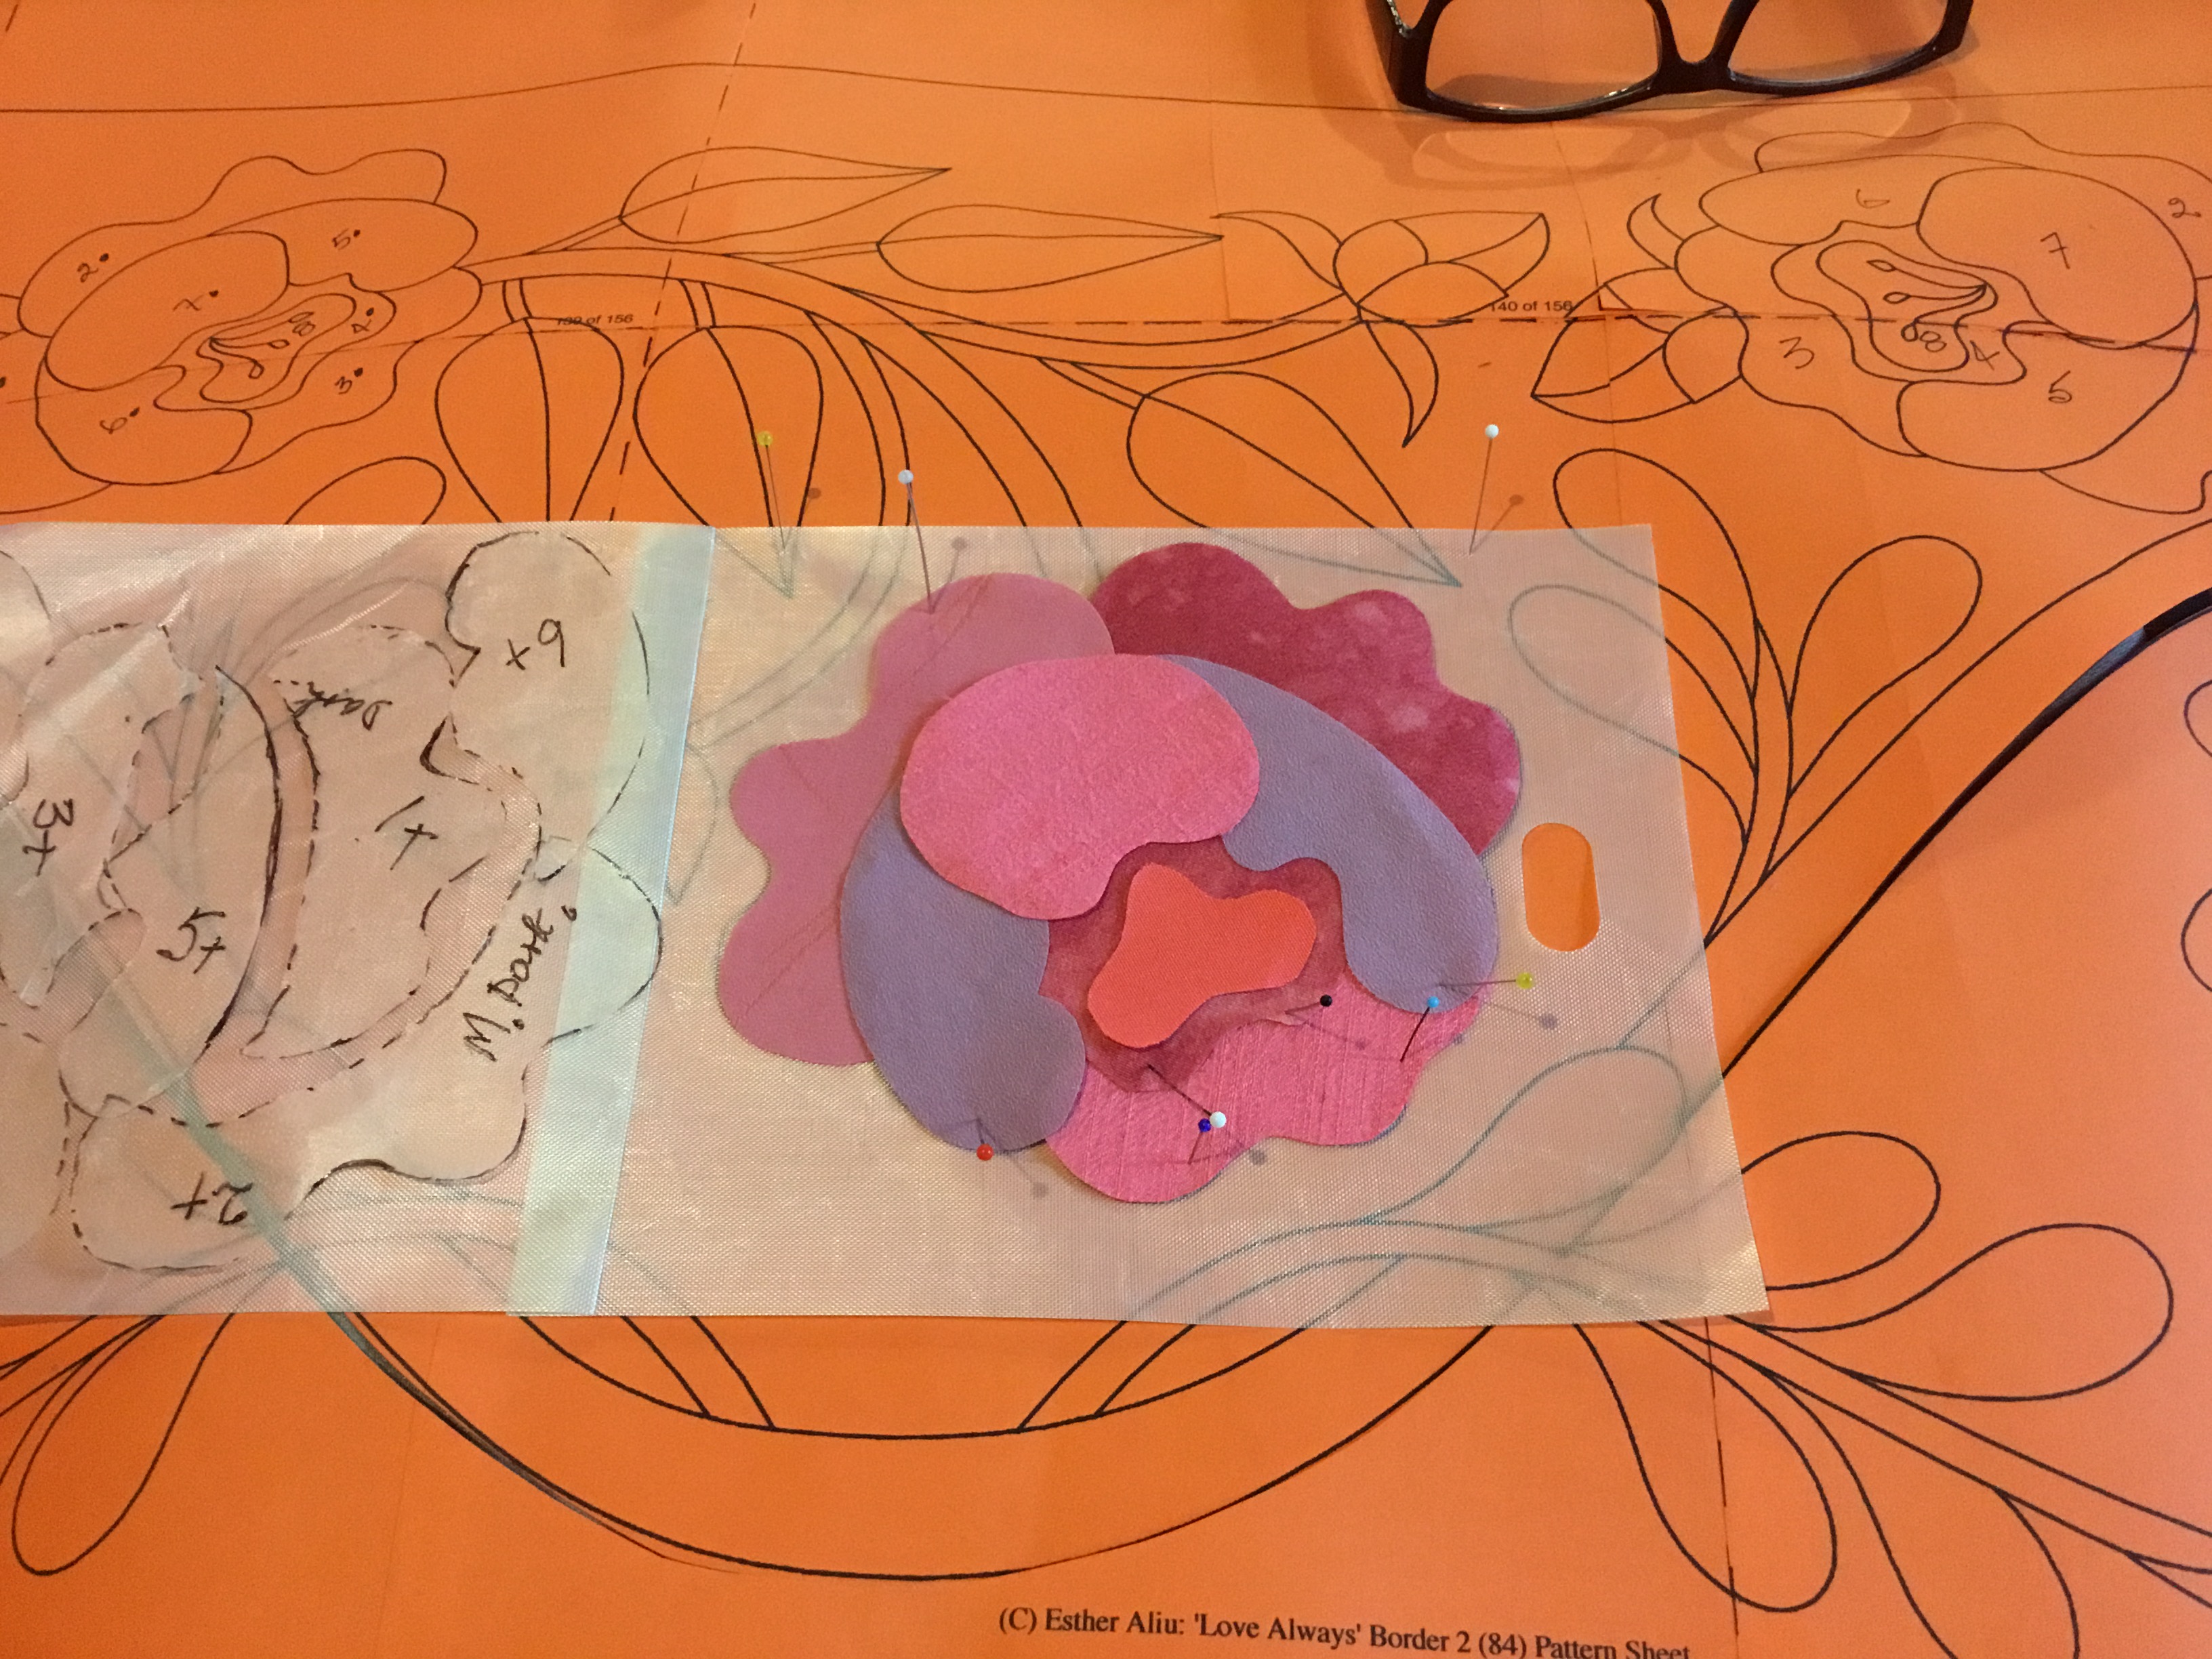
I’ve carefully peeled off the press and seal and placed on to the teflon to use again, it takes practice to use twice or 3 times the same pieces!!!!!!
Rose all ready to fuss together then use on the quilt border.
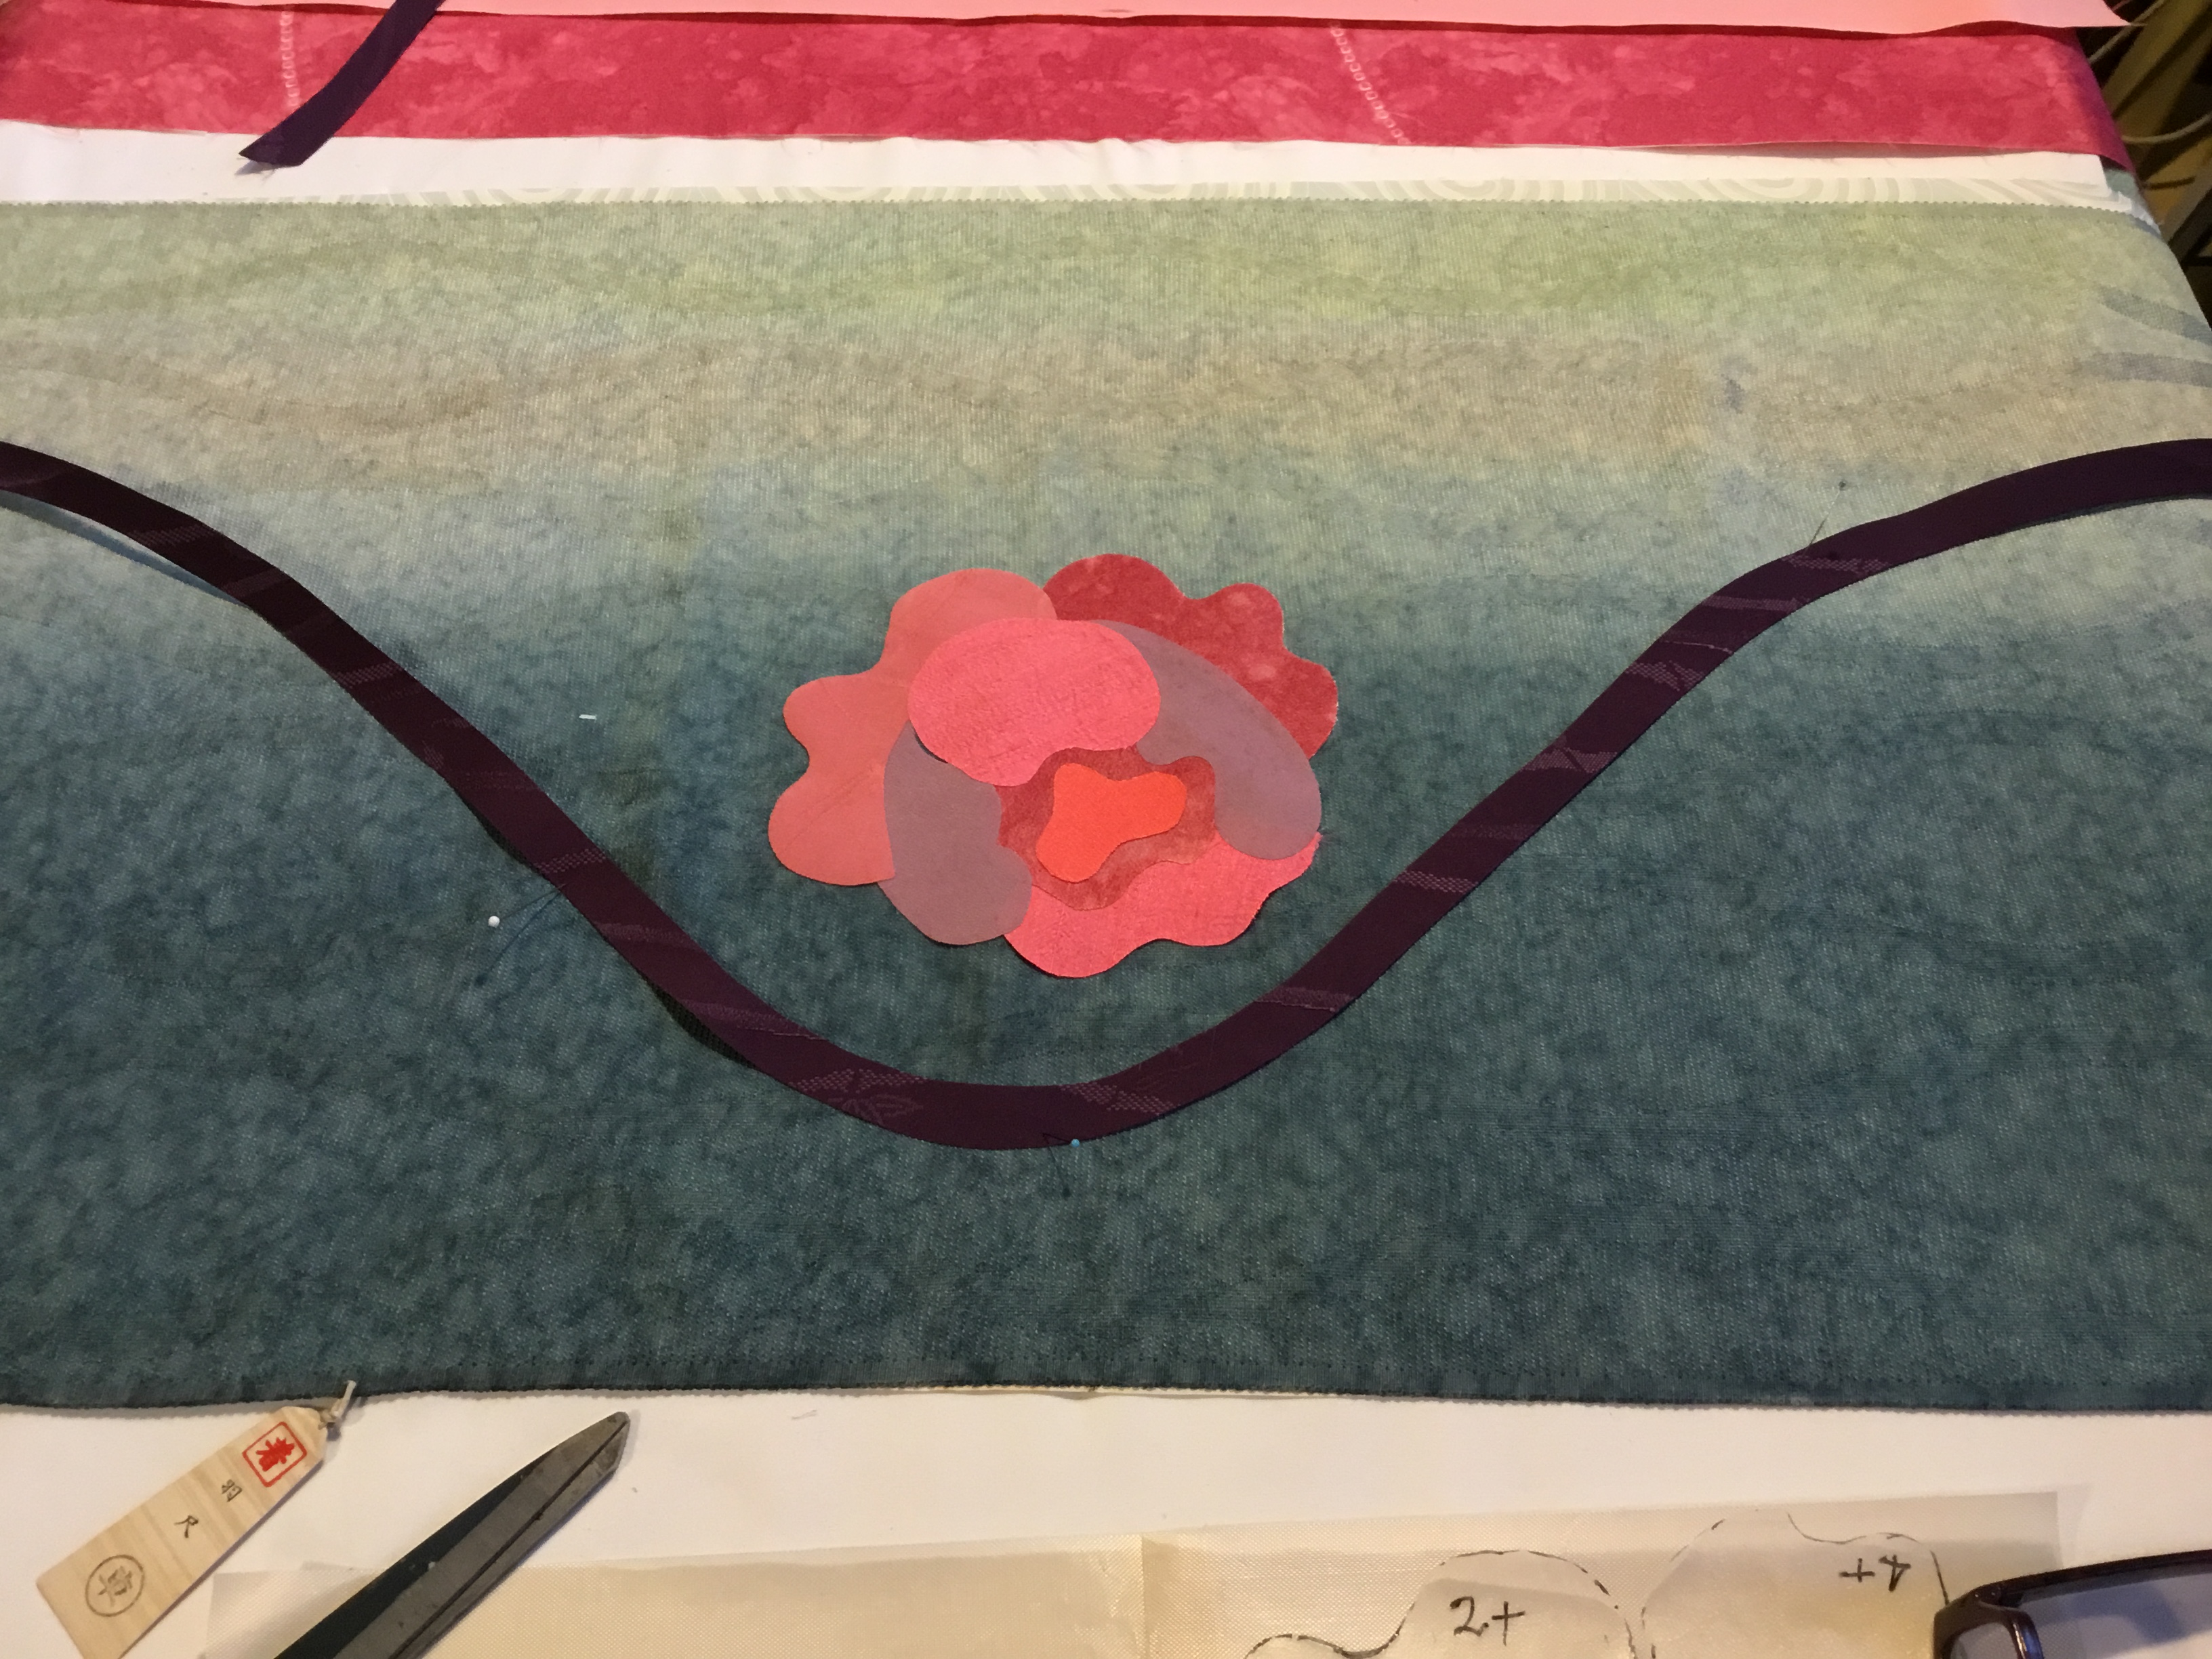
I can use it any time now, now I need to make 3 more like this one and and then make some others in reverse or differnt roses?????
Updated for Dawn 27th Nov 2019
Hope this helps you Sabana Cheers Glenda
6 Responses to Press and seal appliqué tutorial 27 Nov 2019